
How to Make a Ghost Tea Light Holder
This ghost tea light holder is such a fun and easy fall craft! Make a cute and spooky ghost tealight, the perfect DIY project for Halloween.
Yield: 1 ghost tealight
Cost: $2
Equipment
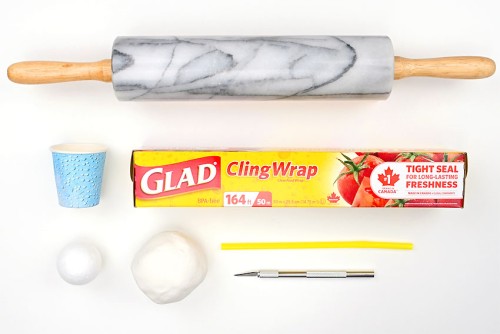
- Styrofoam ball (1-1/2 inch diameter)
- Bowl (6 inch diameter)
- Water (for smoothing clay)
Instructions
Step 1: Find what you need
- Gather your supplies and materials.
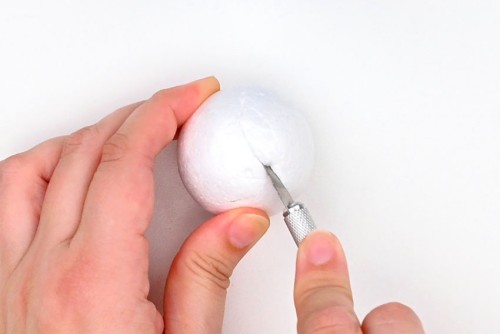
Step 2: Make the ghost tealight base
- Use a craft knife to cut the bottom 1/3 off the styrofoam ball.
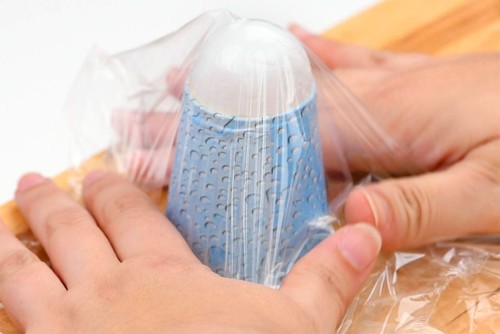
- Set the ball, flat side down, on the bottom of a small paper cup.

- Cover the ball and cup with a piece of saran wrap. Set aside.
Step 3: Roll out the clay
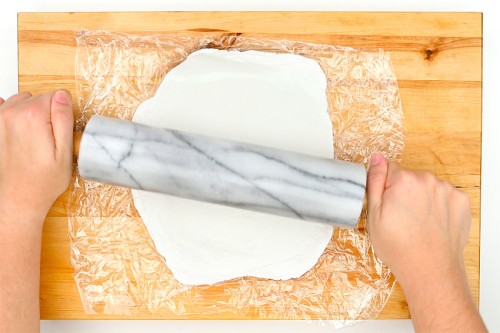
- Place the ball of clay between two pieces of plastic wrap. This will stop the clay from sticking to your rolling pin and work surface.
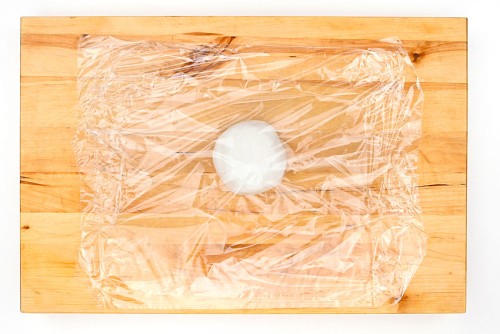
- Roll the clay both vertically and horizontally, so the clay forms a rough circular shape.Keep rolling until the clay is about 1/4 inch thick.
- Remove the top layer of plastic wrap and gently place a bowl upside-down on top of the clay.Use a craft knife to cut around the bowl.
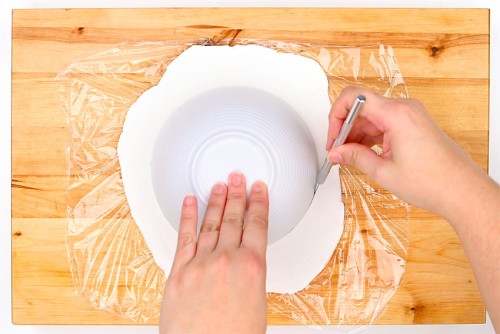
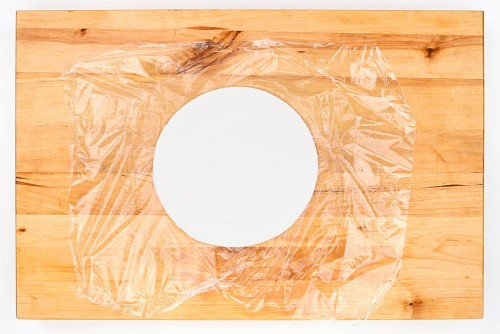
- Remove the bowl (it might stick a bit at first), and then remove the excess clay around the cut circle.
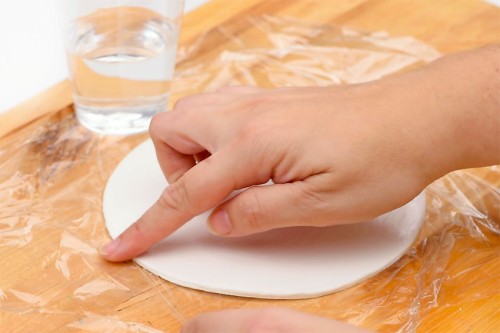
- Dip your fingers in water and then use your fingertips to smooth out the edges of the clay.
Step 4: Form the ghost shape
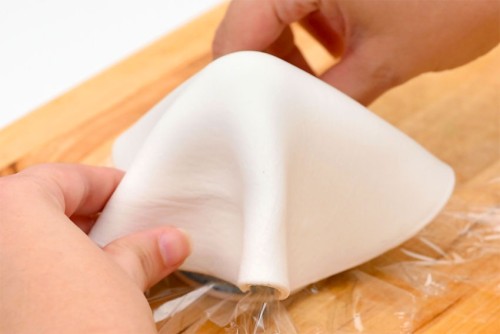
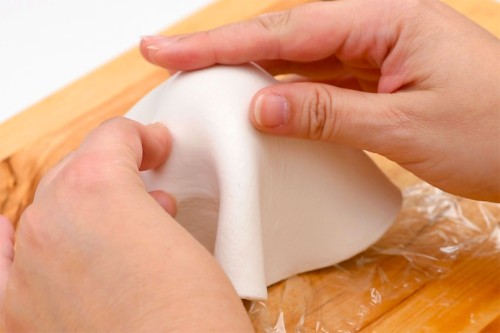
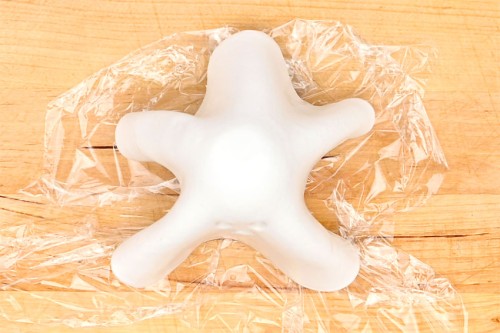
- Place the clay circle on top of the Dixie cup form, centering it.Gently mold the front of the clay on both sides, creating folds in the ghost.

- Arrange the back of the ghost so that the clay drapes in waves there as well.
- Make any final adjustments and smoothing until you're happy with the look of your ghost.
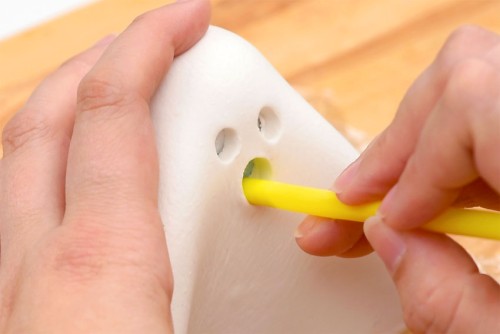
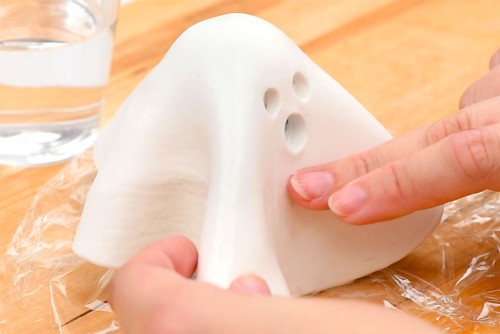
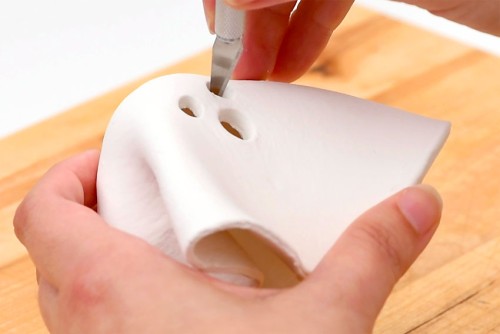
- Push a straw into the front of the ghost to make 2 eyes and a mouth. Move the straw around gently to create larger eyes, or a mouth of a different shape.
- Dip your finger in water and rub the clay to smooth out and remove any imperfections.
- Allow the clay ghost to dry for at least 24 hours.Check on the ghost and leave it for another day (48 hours total) if it isn't completely dry.
Step 5: Final touches
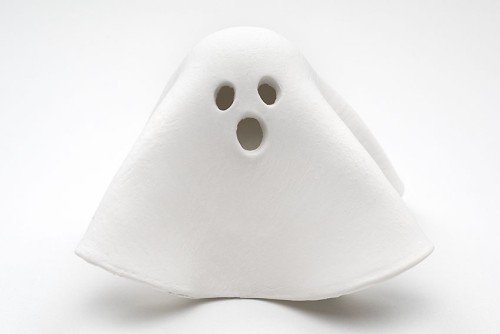
- Once the clay ghost is dry, remove it from its form.

- Use the craft knife or a thin nail file to remove any sharp edges from the eyes and mouth.
- Your ghost tea light holder is complete!Place your ghost tealight overtop of a flameless tealight candle, dim the lights, and enjoy!
Video
Notes
Looking for more ghost crafts? Here's a few of our favourites:
Cheesecloth Ghost
Macrame Ghost
Lolly Pop Ghosts