
How to Loom Knit a Pumpkin
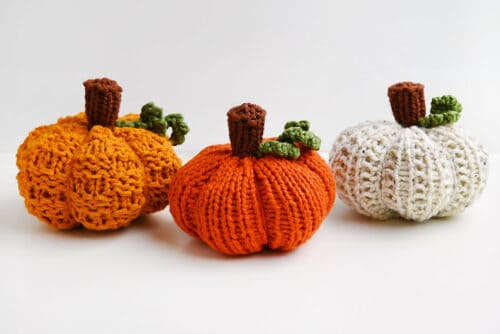
Follow these simple steps to make an adorable loom knit pumpkin, the perfect knitting craft for fall, Thanksgiving, and Halloween. This plush decoration is easy to make for loom knitting beginners, and there are 3 different stitch patterns to use.
Yield: 1 loom knit pumpkin
Cost: $5
Equipment
- Knitting spool (8 pegs)
Materials
- Orange super bulky yarn (or size 5)
- Green super bulky yarn (or size 5)
- Brown super bulky yarn (or size 5)
- Polyester fiber fill
Instructions
Find what you need:
- Gather your supplies and materials
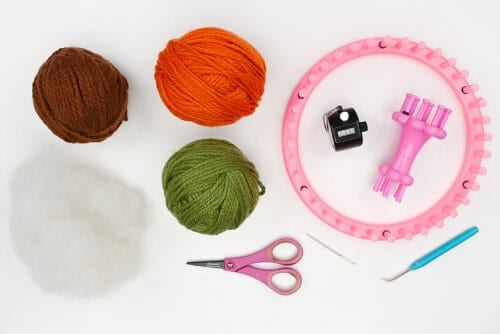
- To make our pumpkins we're using a 36 peg loom. We've placed stitch markers on every 6th peg to indicate where the purl stitches will be made.You can use fancy stitch markers, or just use small elastic hair bands like we have.
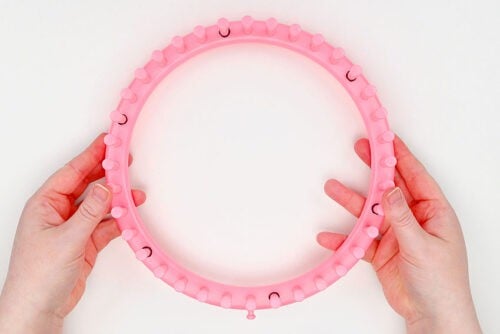
Drawstring cast-on:
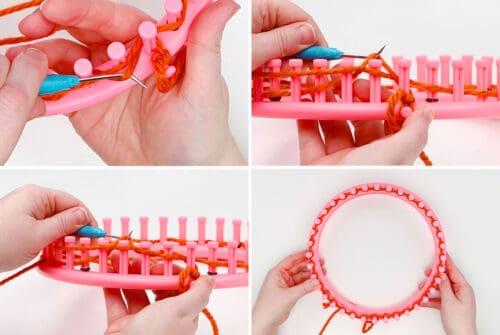
- Begin by making a slip knot and attaching it to the anchor peg. Then use a drawstring cast-on to attach the yarn.To do this, go behind the first peg, in front of the second, behind the third, etc. Finish by bringing the yarn behind the first peg again (if your loom has an even number of pegs).
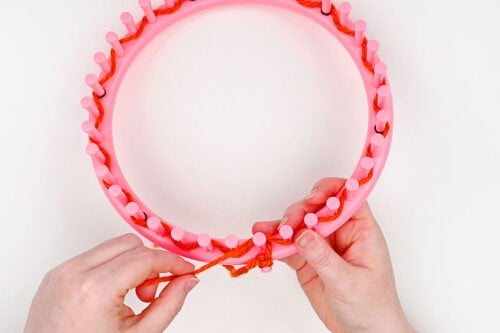
- Complete the cast-on by bringing the working yarn in front of the pegs again. You'll see that some pegs have 2 loops in front (like peg 2) and some have 1 loop in front (like peg 3).
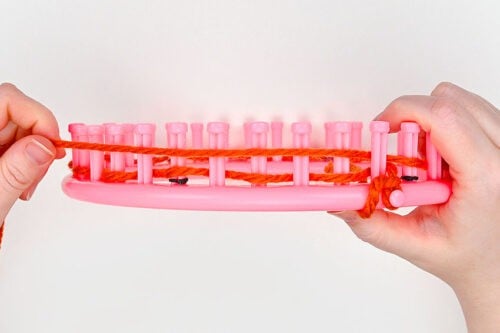
- Grab the bottom loop with your hook and lift it over the peg to the back. Repeat on the next peg with 2 loops, and continue this process until you've made it back to peg 1. This completes the cast-on.
How to u-knit:
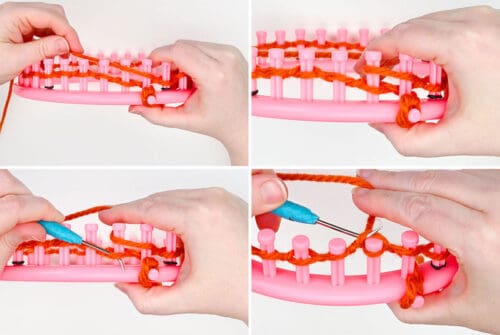
- To make our pumpkin we'll be starting with 5 u-knit stitches. For peg 1 in this first round we're just going to bring the yarn across the peg and start by knitting off peg 2.To make a u-knit wrap the yarn half-way around the peg, placing it above the existing loop. Just hold the working yarn loosely at the back with your non-dominant hand.There will be 2 loops on the peg. Use your loom hook to lift the bottom loop over the top and to the back of the peg.
How to purl:
- On every 6th peg around the loom you'll make a purl stitch. The stitch markers are an easy way to remember this pattern without counting.
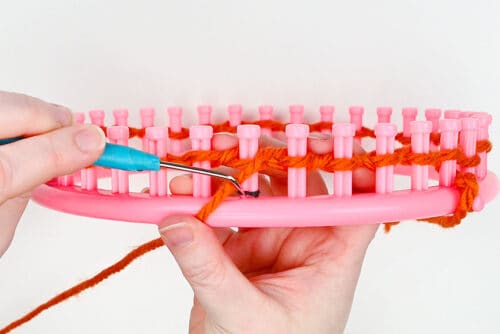
- Begin by holding the working yarn below the existing loop. Insert your hook into the top loop from above. Grab the working yarn with the hook and pull it up through the existing loop.Pull the existing loop off the peg and place the new loop back on. Pull the working yarn to tighten the stitch.
Knit the pumpkin:
- Round 1: To make the pumpkin follow this pattern around: u-knit 5, purl 1.Remove the slip-knot from the anchor peg after completing the first row.
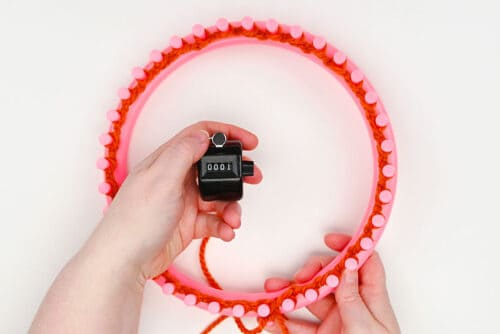
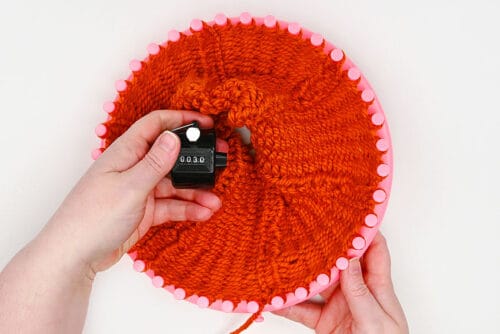
- Rounds 2–30: Repeat this simple pattern (u-knit 5, purl 1) around for 30 rows total.
Gather bind-off:
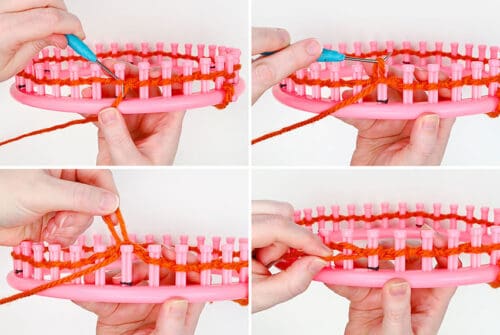
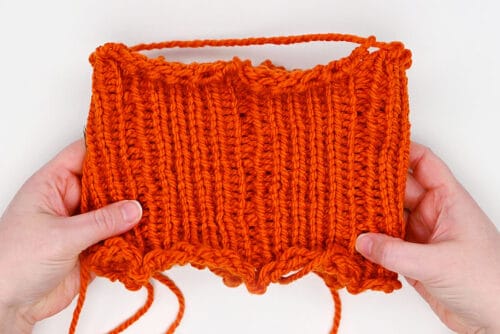
- Wrap the working yarn around the loom 3 times and cut from the ball.For a normal gather bind-off you can wrap around twice, but we're going to use the extra-long tail to shape the pumpkin.
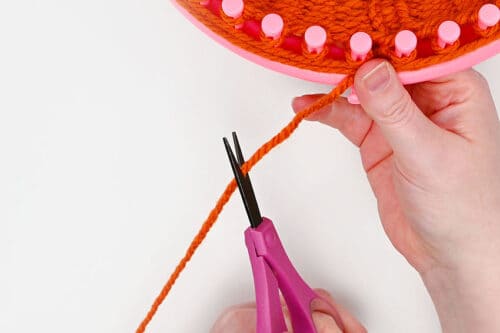
- Thread the tail onto a yarn needle and insert the needle up through the loop on peg 1.
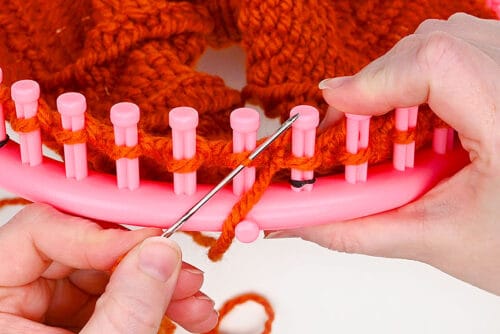
- Pull the yarn all the way through and then remove the loop from the first peg.
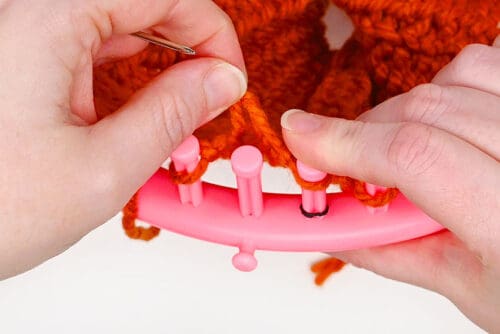
- Repeat around until your work is removed from the loom.
Pumpkin stem:
- To make the pumpkin stem (and vine) we're using an 8-peg knitting spool. Since it doesn't have an anchor peg we've marked peg 1 with another "stitch marker".
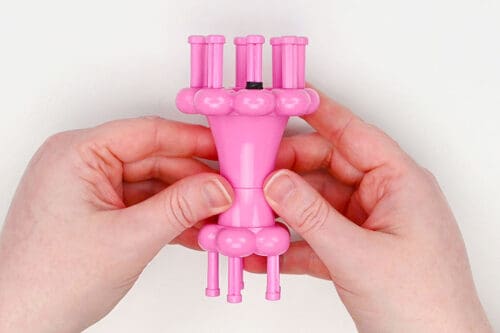
- Begin by attaching brown yarn with a drawstring cast-on.
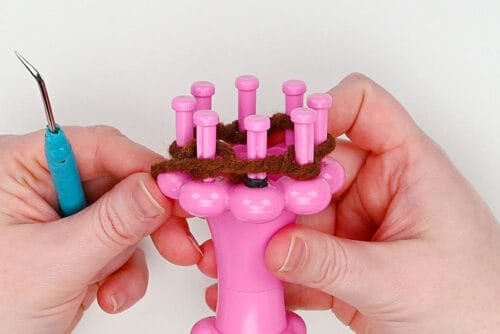
- Rounds 1–2: U-knit around.
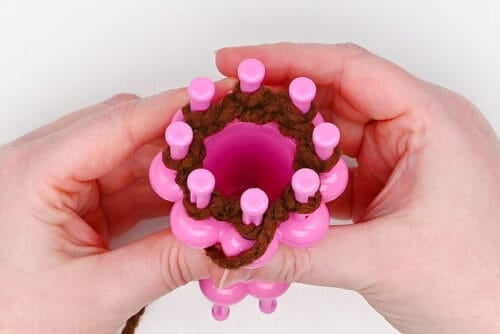
- Round 3: Purl around.
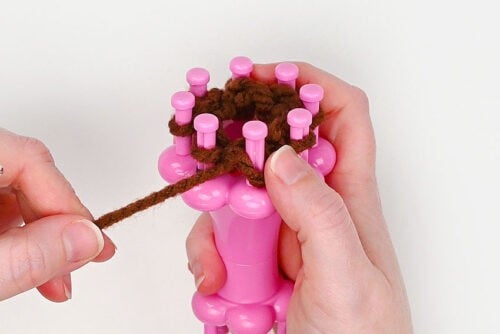
- Rounds 4–10: U-knit around.
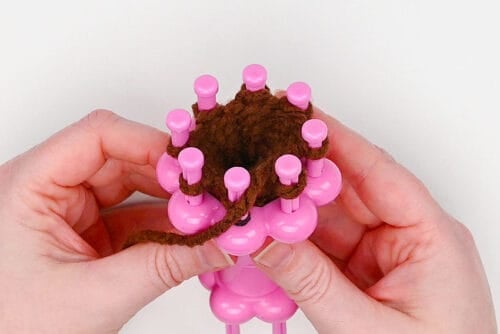
- Finish with a basic bind-off. Begin by knitting pegs 1 and 2 like normal. Then take the loop from peg 2 and place it on peg 1.Knit off peg 1. Then take the loop from peg 1 and place it on peg 2. Peg 1 will be empty now.
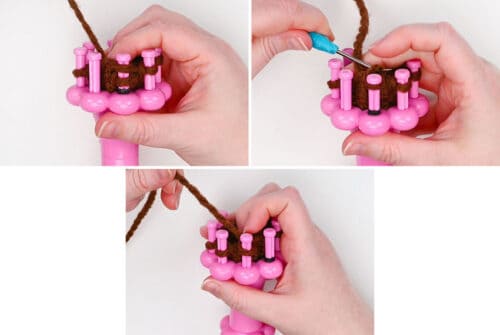
- Repeat this process around (knit the second peg, move the loop to the first peg, knit off, move the loop back) until you reach the last peg.Cut a long tail and pull the yarn through the loop on the last peg before removing it from the loom.
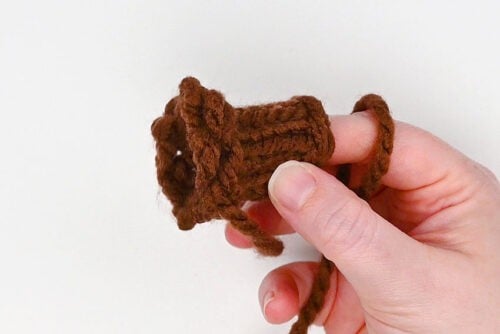
- To form the top of the stem pull the tail from the gather cast-on. This will bring the top of the stem together, while the purl round naturally forms the top edge of the stem.
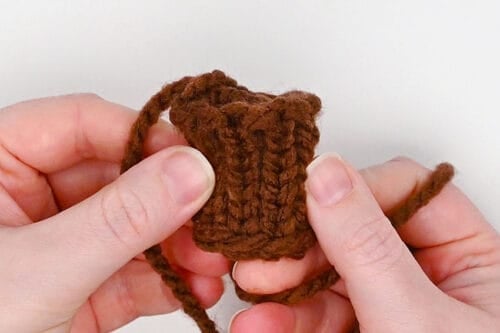
- Thread the short tail onto the yarn needle and weave in the end to secure the gathering.
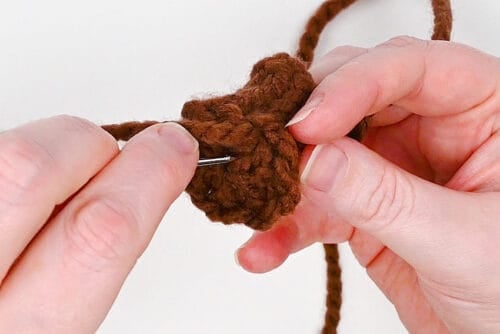
Pumpkin vine:
- Make a slip-knot with green yarn and attach it to 1 peg on the spool. (It doesn't matter which one. We're only going to use 2 pegs.)
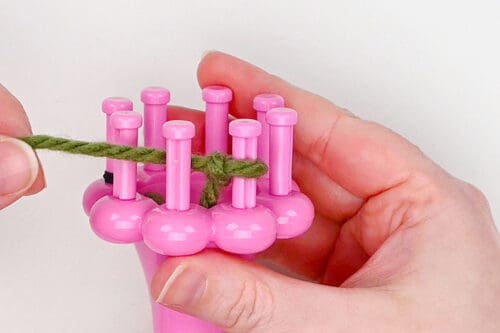
- Wrap pegs 1 and 2 in a figure 8 pattern. Basically, bring the working yarn behind peg 2 and back around it, to back of peg 1 and around to the front.
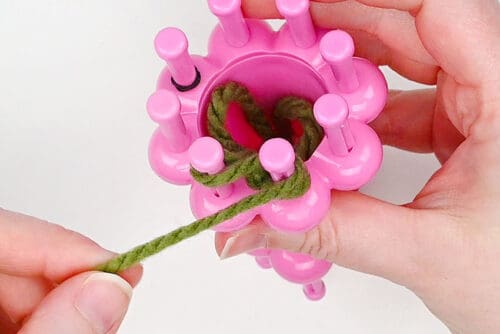
- Wrap peg 2 again, starting from behind the peg and ending by holding the working yarn at the center of the loom. There should be 2 loops on each peg.Knit off both pegs.
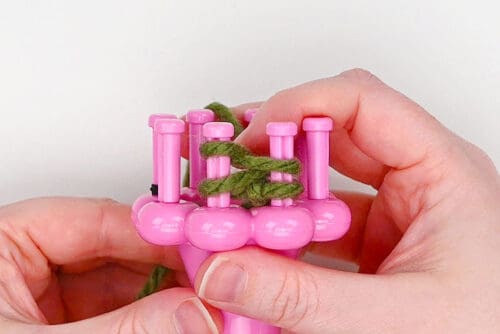
- Now we're going to e-wrap knit peg 1 three times (3 knits in a row on the one peg).
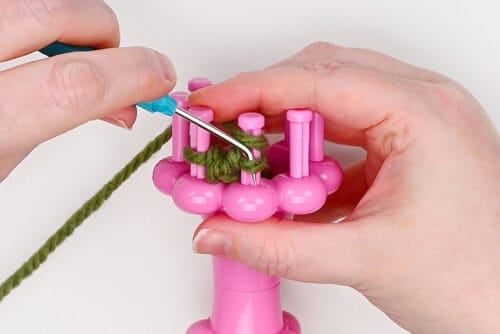
- Figure 8 wrap and knit off both pegs again.
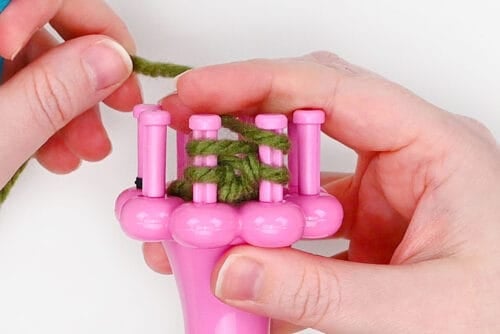
- Repeat those steps (knit peg 1 three times, figure 8 wrap and knit-off) until you're happy with the length of the vine. We repeated 13 times total.
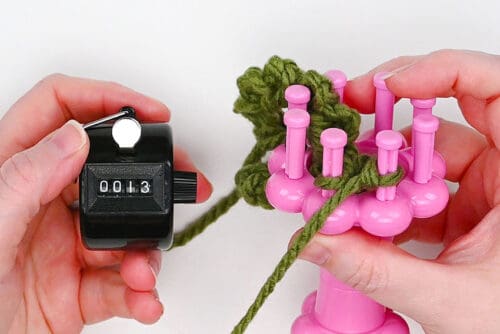
- To cast-off bring the loop from peg 1 over to peg 2 and knit-off.
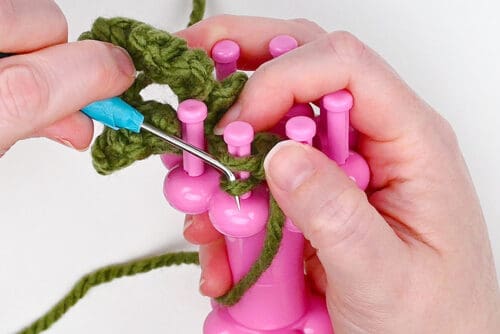
- Cut the yarn and bring it up through the last loop to secure the end. Remove it from the loom.Then weave in 1 end and cut off the excess tail. Keep 1 long tail for attaching.
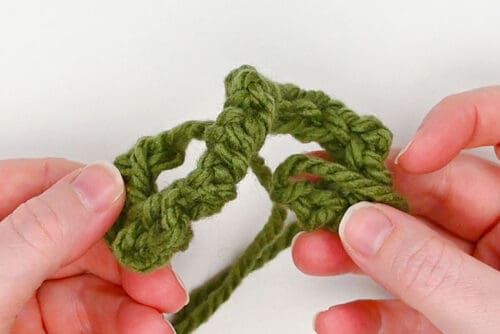
Assemble the pumpkin:
- Pull the cast-on tail to gather the pumpkin together. Do this slowly to arrange the stitches so they're fairly even around.
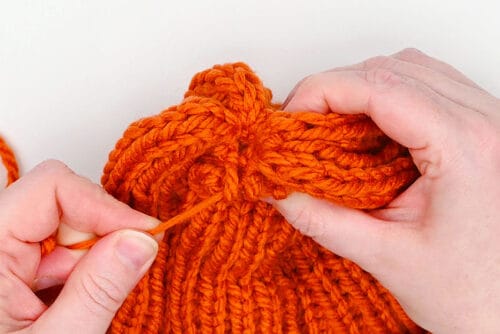
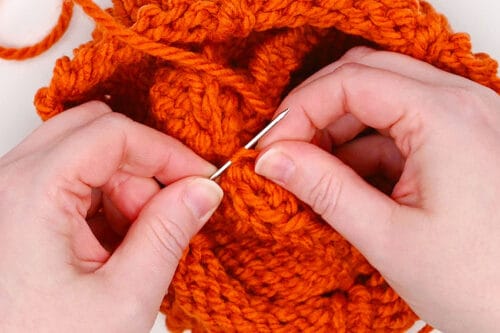
- Thread the yarn onto a yarn needle and go around through some of the first stitches again to tighten the gather.Weave back and forth through a few stitches and then secure the gathering by making a knot on the inside.Cut off the excess tail.
- Add poly-fil stuffing into the pumpkin until you're happy with the firmness.
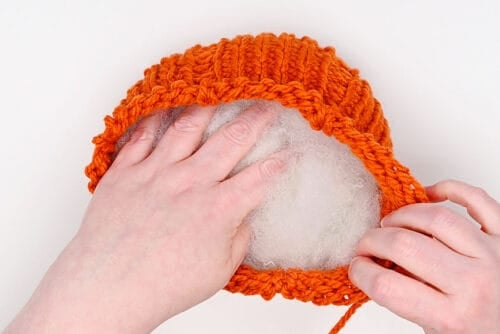
- Pull the tail to gather the top of the pumpkin. Leave a small gap to make it easy to sew the stem on.Sew back and forth through a couple stitches to secure the gathering in place.
Shape the pumpkin:
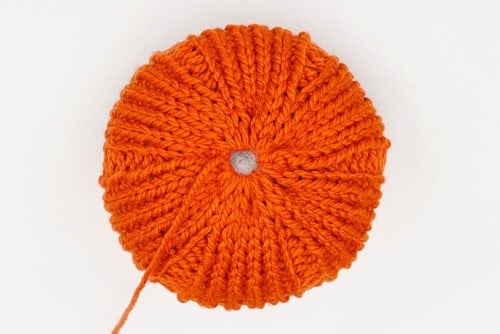
- To shape our pumpkin we're going to be separating it into 6 sections.You can see that our purl stitches have done that for us, creating rows that are a bit recessed compared to the knit stitches.
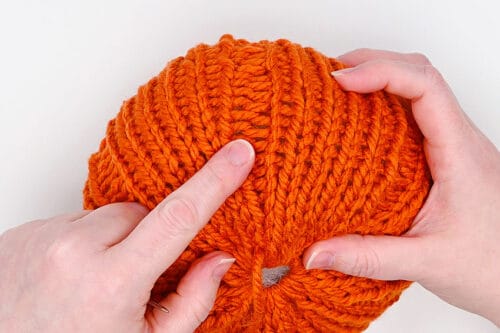
- Bring the yarn from the center and place it so it goes down along the purls.
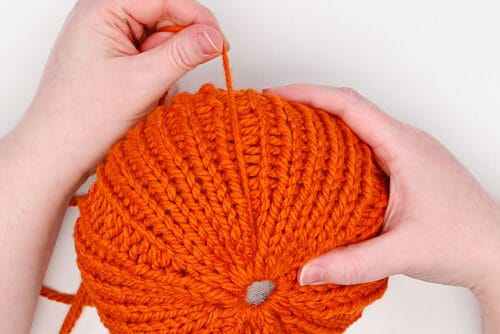
- Insert the yarn needle near the bottom center of the pumpkin and pull the yarn through.
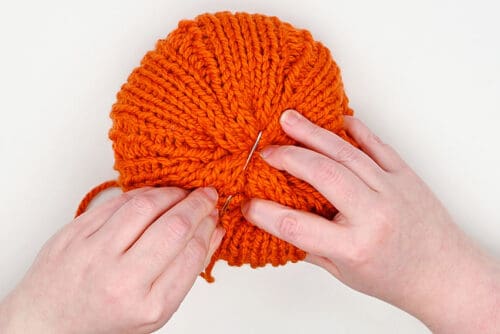
- Then when you pull on the tail you can see the ridge of the pumpkin being formed.
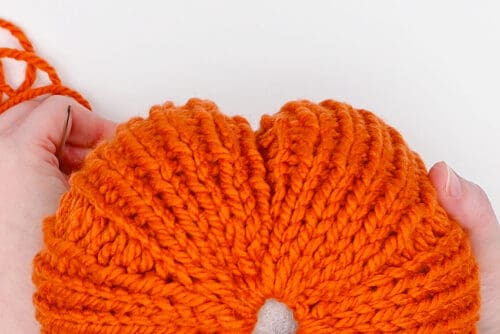
- Repeat this process around until you have 6 distinct sections on the pumpkin.Finish by sewing through a few stitches at the top opening and making a knot before cutting off the excess tail.
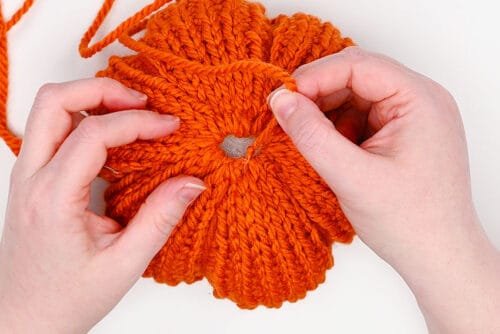
Attach the stem and vine:
- Add a bit of stuffing into the stem.
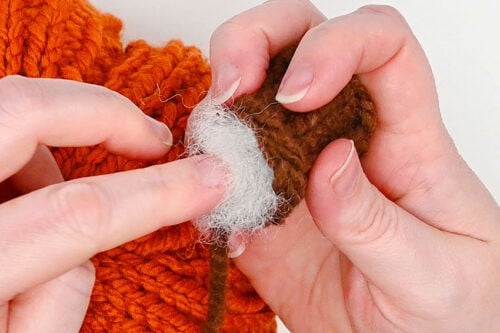
- Then sew the stem to the top center of the pumpkin. Begin by attaching the tail to the pumpkin, then sewing into the bottom edge of the stem. Repeat around.
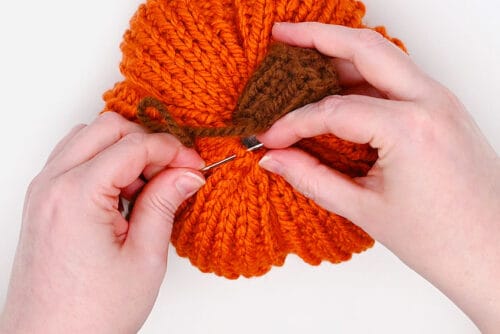
- Finish off the tail by inserting the needle close to the stem and coming out near the middle of the pumpkin. Cut off the excess yarn close to the pumpkin body.
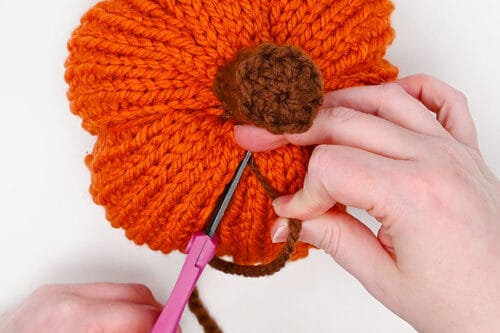
- Sew the vine to the side of the pumpkin near the stem. Finish off the tail in the same way.
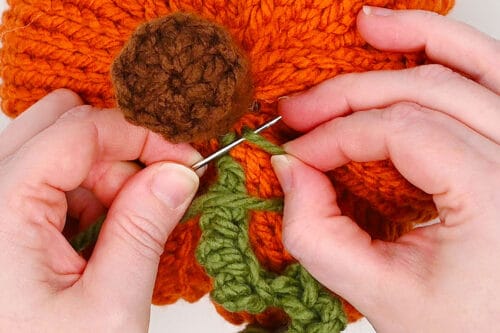
- Your loom knit pumpkin is complete!
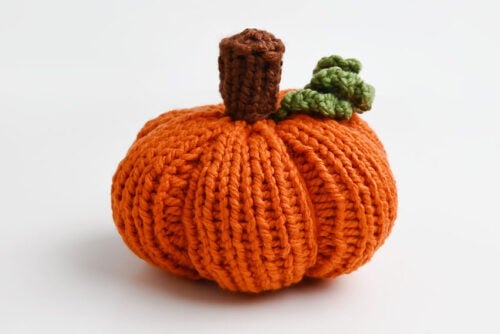
- Make pumpkins in different colours or use different stitch patterns. Find details about the other patterns below!
Video
Notes
Looking for more loom knitting crafts? Here's a few of our favourites:
Loom Knit Cat
Loom Knit Scrunchie
How to Loom Knit a Hat