
DIY Easter Gnomes
These Easter gnomes are SO CUTE! Make these adorable DIY gnomes using pastel striped socks and felt bunny ears. It's a super easy craft to make your own spring decor.
Yield: 1 Easter gnome
Cost: $5
Materials
- Striped socks
- White sock
- Polyester fiber fill
- 12 gauge Wire
- Felt (tan or other skin tone)
- Rice
- Rubber band
- Gnome beard
- Felt (white and pink)
- Wooden ball (1 inch)
- Faux carrot decoration
- Large white pom pom(s) (2 inch)
Instructions
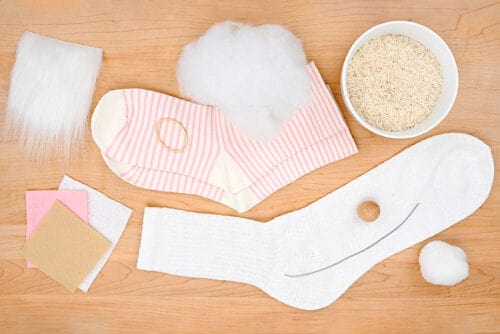
Step 1: Find what you need
- Gather your supplies and materials.
Step 2: Make the gnome's hat
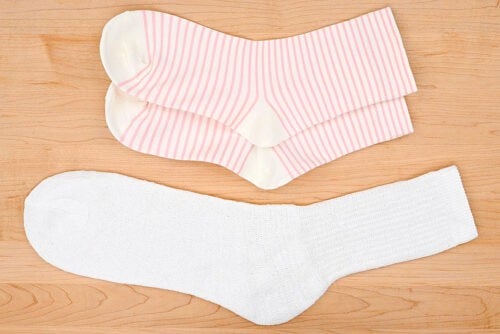
- To make this Easter gnome, you’ll need 3 socks: 1 solid white for the body and 2 in a pastel colour or striped pattern for the hat, arms, and feet.
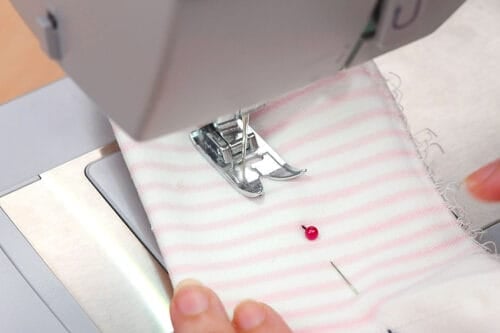
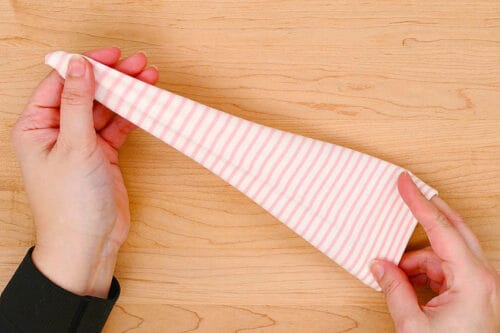
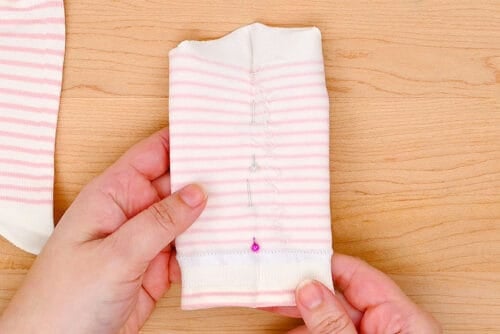
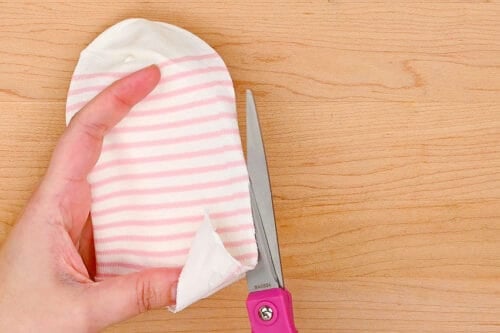
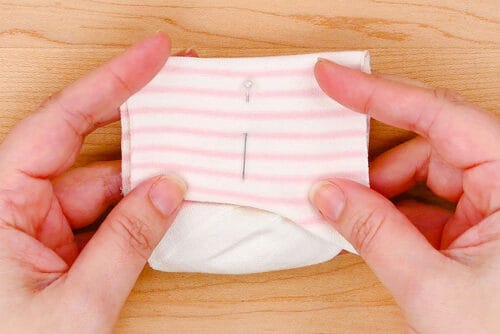
- Turn one of the striped socks inside out and use sewing pins to create a curved line across the sock from one side to the other, creating a hat shape about 10 inches long.Don’t include the toes or heel in the “hat” area.

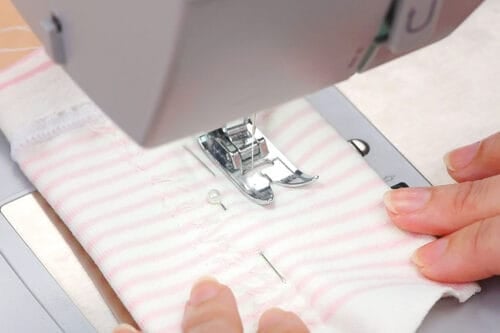
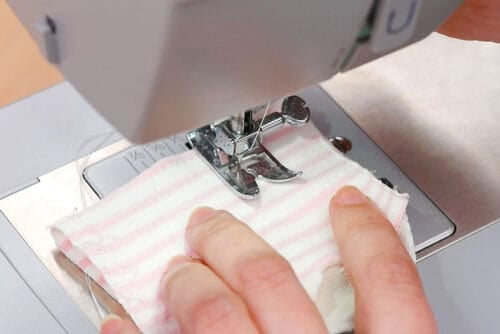
- Sew along the pin line to create a pointed hat. You can use a sewing machine or sew the hat by hand.
- Cut off the excess fabric, creating a 1/2 inch seam.
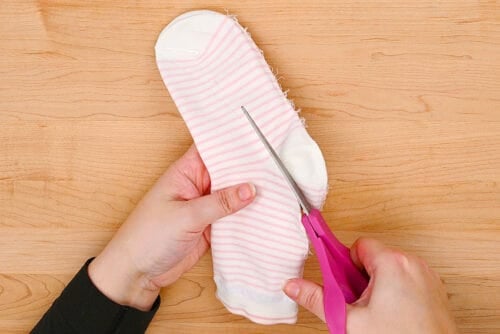
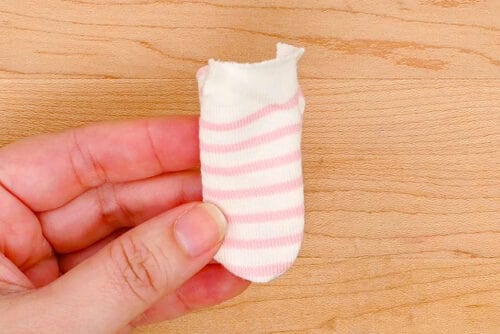
- Turn the hat right side out. Adjust it so the seam is at the back of the hat.
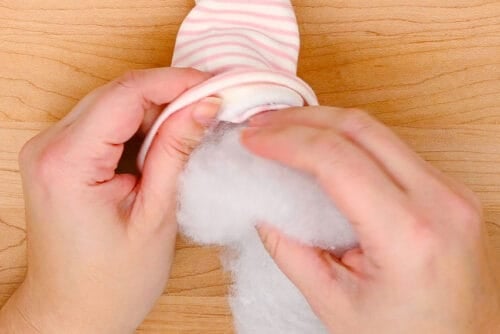
- Add poly-fil stuffing into the hat, so that about 3/4 of it is loosely stuffed.
- Then cut an 8 inch piece of wire.
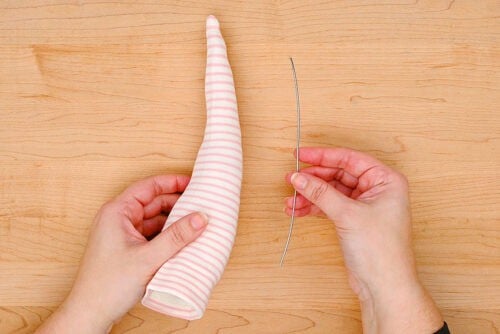
- Add the wire into the hat, pushing it into the stuffing so it goes to the top of the hat. Curve the top of the hat down to whatever jaunty angle you like.
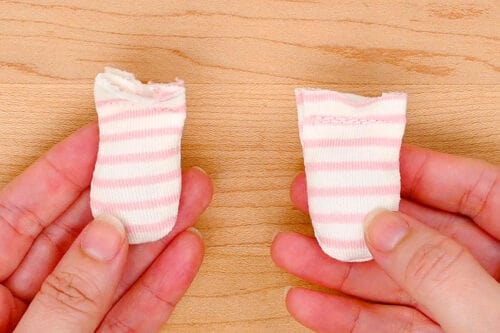
Step 3: Make the gnome's arms
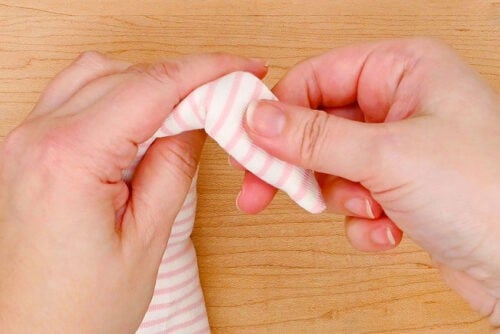
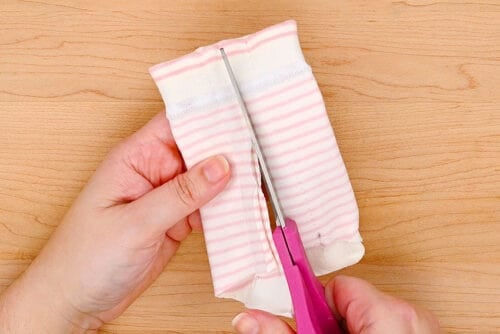
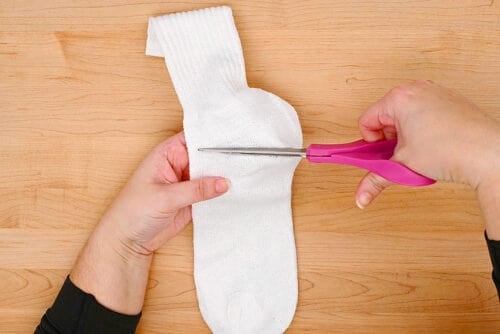
- Cut the 2nd striped sock in half horizontally, at around the heel mark. Put a line of pins going down the center of the ankle part of the sock.
- Sew a line on either side of the pins, creating tube sections about 7 inches long.
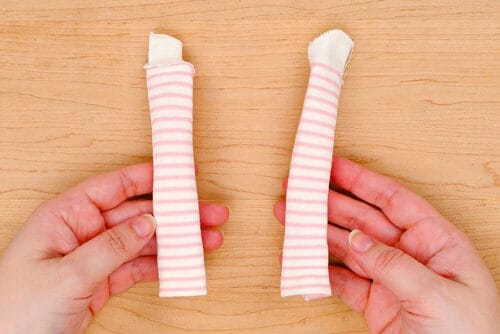
- Cut the sock in half.
- Turn each piece right side out. These are the gnome's arms!
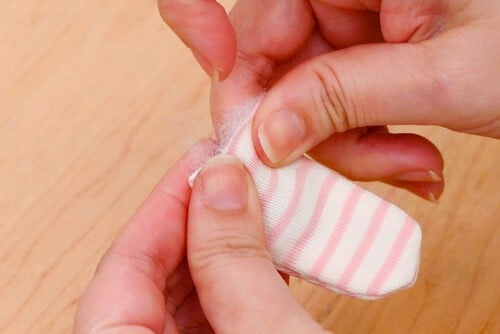
Step 4: Make the gnome's feet
- Cut the heel section of the sock into 2 pieces, separating the front and back sides.
- Fold these pieces in half, putting the pattern on the inside. Add a pin to the middle of each of them.
- Sew a "U" shape into these sock pieces, with the top of the "U" being the open part of the fabric.
- Cut around the sewing to create a small seam allowance and then turn them right-side out.
- Add a small amount of stuffing into each "pocket".
- Sew across the opening of the pieces, creating the gnome's feet!
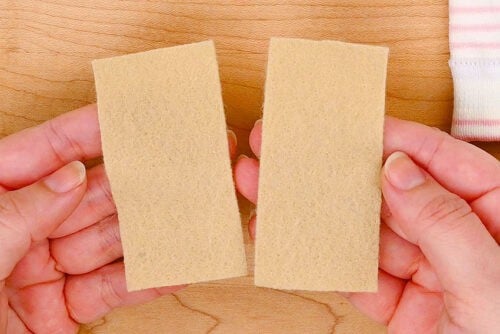
Step 5: Make the gnome's hands
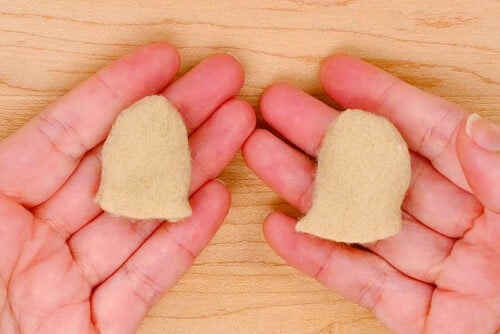
- To make the gnome's hands, cut 2 rectangles of tan felt about 3 inches long by 1-1/2 inches wide.
- Fold the felt pieces in half. Sew another "U" shape onto each of the pieces.
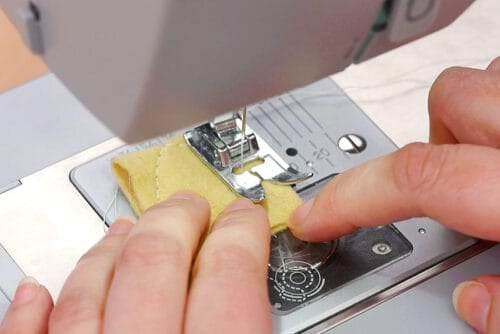
- Trim around the sewing, flip them right-side out, and then add a bit of stuffing inside the hands.
Step 6: Make the gnome's body and attach the arms and feet
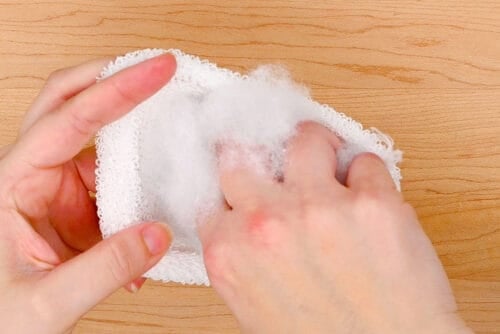
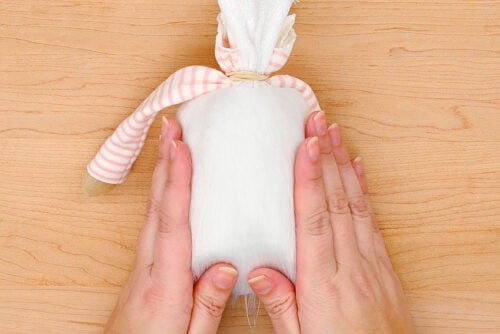
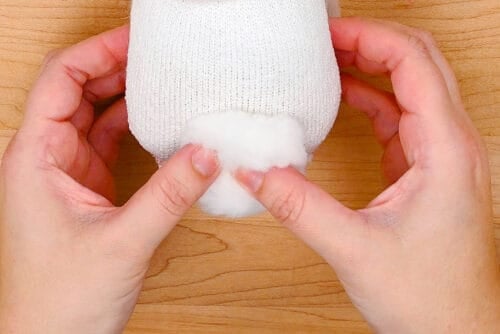
- Cut the toe portion off an adult sized white sock, just before the heel.
- Add 1 cup of dried rice into the bottom of the sock.

- Then add stuffing into the gnome body until you're happy with the size and firmness.Leave a space at the top, at least 1 inch tall.
- Place the hands into the arms of the gnome. Secure them with a dot of hot glue on either side.

- Hold the arms on either side of gnome's body and use a rubber band to close off the body, connecting the arms to it.

- Add a "T" shape of glue to the back of the beard.
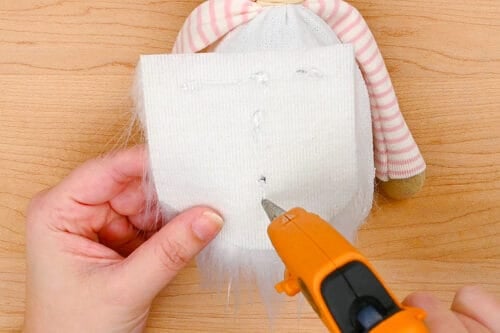
- Attach the beard to the front of the gnome, just below the rubber band.
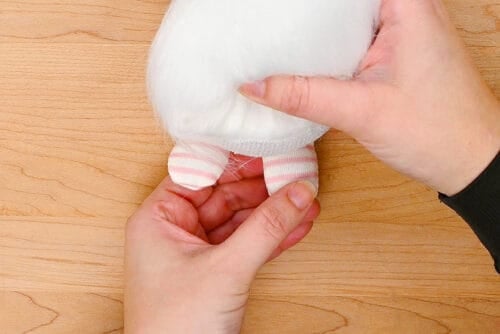
- Now glue the feet to the bottom of the gnome, so they're sticking out the front.
Step 7: Add the hat and bunny ears
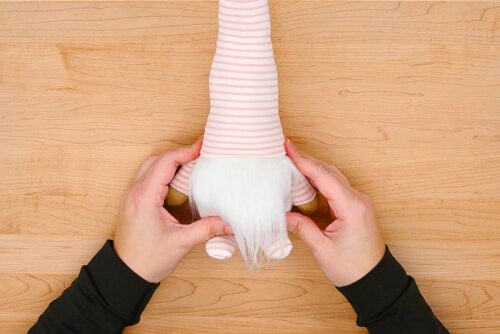
- Stretch the hat onto the sock body, pulling it down enough that it overlaps the beard by at least 1 inch.This will be easier if you've stretched out the body nicely so it's tall rather than squat. Once you've added all the rest of the pieces you can glue the hat on the sides to keep it in place.
- Cut bunny ears from white felt and inner ears from pink felt.The white ears should be about 4 inches tall and 1-1/2 inches wide at the bottom. The inner ears are 3-1/4 inches tall and just under 3/4 inch wide.
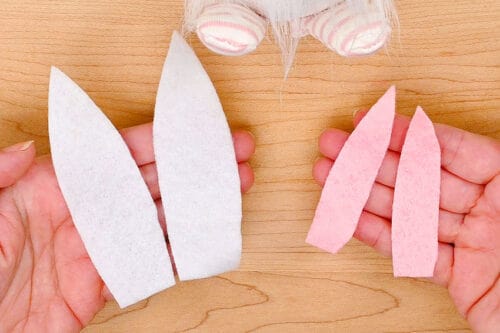
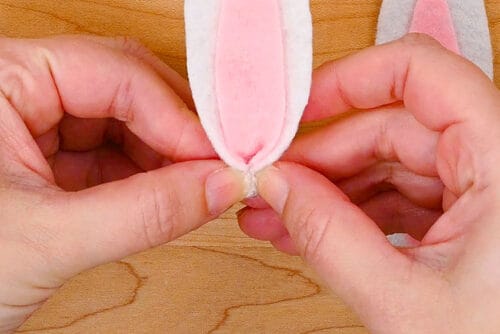
- Glue the inner ears onto the outer ears, lining up the bottoms. Then add a dot of hot glue to bottom center (on the front).
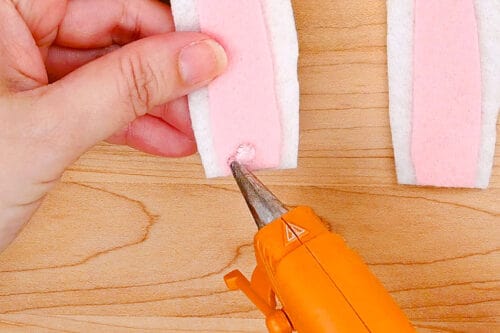
- Pinch the ear in at the bottom, creating a more 3D ear. Repeat with the second ear.
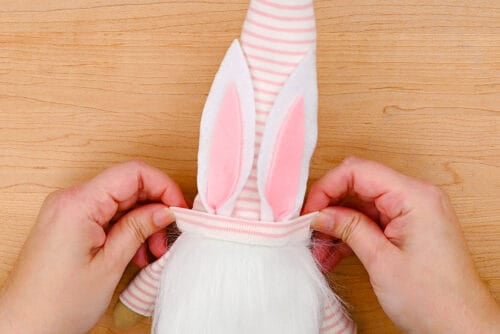
- Glue the ears to the front of the hat, about 1 inch up from the bottom. Then fold the hat up, creating a little cuff.
Step 8: Add the nose and finished touches
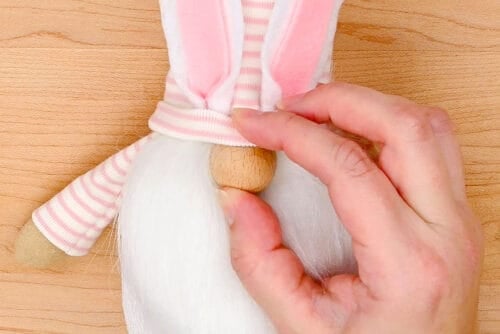
- Use hot glue to attach the wooden ball nose to the gnome. Pull the hat down over it a bit and glue this in place.
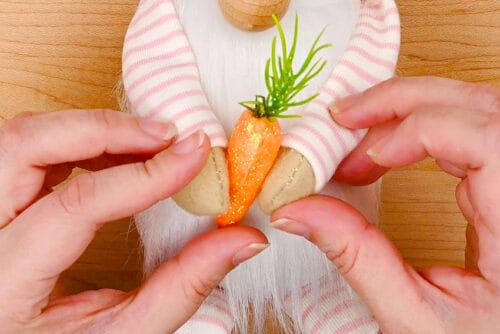
- These gnomes look really adorable holding a small Easter symbol. Here we've given the gnome a carrot to hold, gluing it to both of its hands so it stays in place.
- Finally, glue a large white pom pom to the back of the gnome, creating a bunny tail.
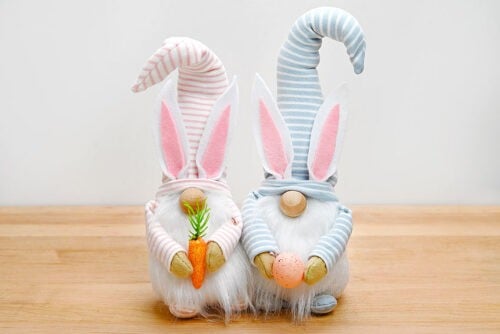
- Your Easter gnome is complete!

- Now make a friend for your gnome! These Easter gnomes look so cute with different colours or patterns of hats.
Notes
Looking for more fun gnome craft ideas? Here's a few of our favourites:
Macrame Gnomes
DIY Halloween Gnomes
Gnome Ornaments