
DIY Christmas Stocking Art Project
Use a simple watercolor resist technique to make this super cute Christmas stocking art project! Make each paper stocking unique using different colours and designs. It's so cool when the oil pastel design appears like magic!
Yield: 1 paper Christmas stocking
Cost: $1
Equipment
- Paper towel (optional)
Materials
Instructions
Step 1: Find what you need
- Gather your supplies and materials.
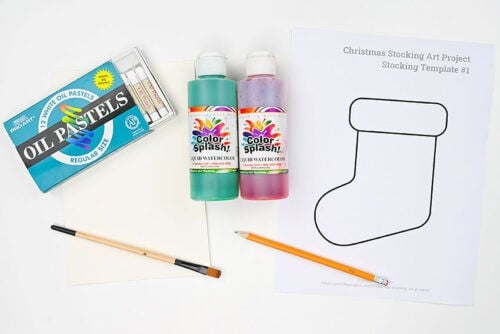
Step 2: Cut and trace the template
- Print one of our stocking outlines. If you print on cardstock it'll be easier to trace, but regular paper works as well.You can find the download link in the materials list above, with more details below the tutorial.
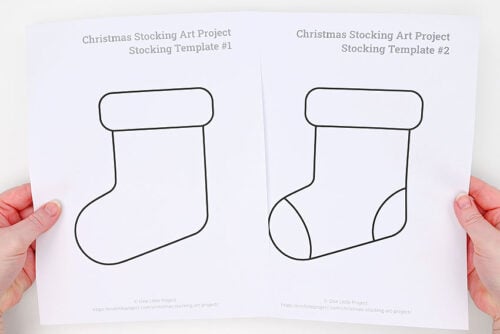
- To make your stocking you'll need a piece of watercolor paper. We've cut one piece in half.
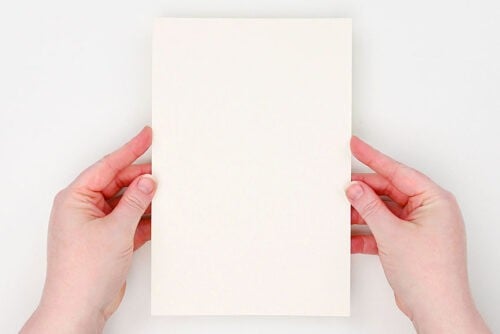
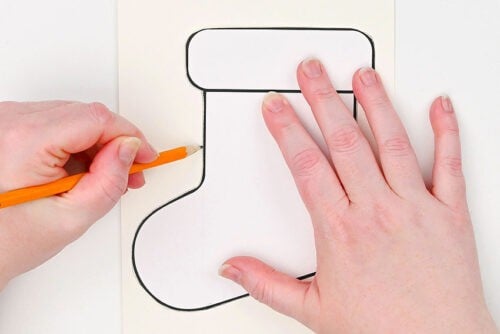
- Cut out the stocking and place it on the watercolor paper.
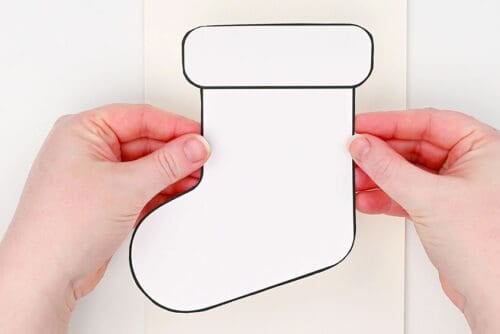
- Trace around the stocking shape with pencil.
Step 3: Draw your design
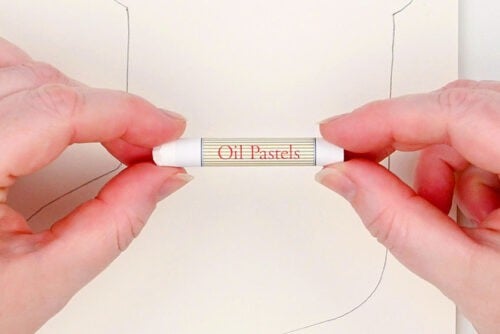
- To draw on your stocking you'll need a white oil pastel.
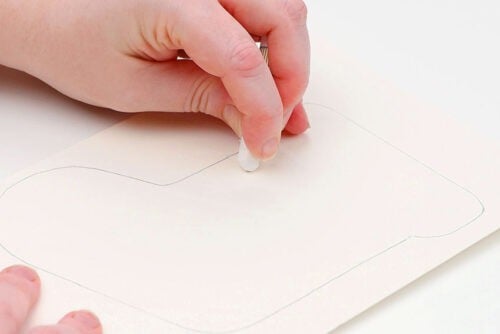
- Draw a pattern on the stocking. You'll be able to see what you're drawing if you look at the paper from a specific angle.
Step 4: Add colour
- We'll be using liquid watercolour paint to add colour to the stocking and reveal the hidden pattern.Follow the instructions on the bottle to dilute the paint.
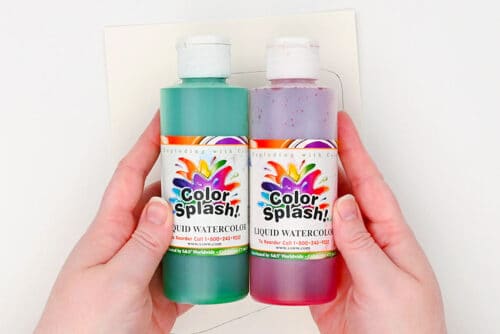
- Brush paint onto the stocking to see your pattern appear like magic!
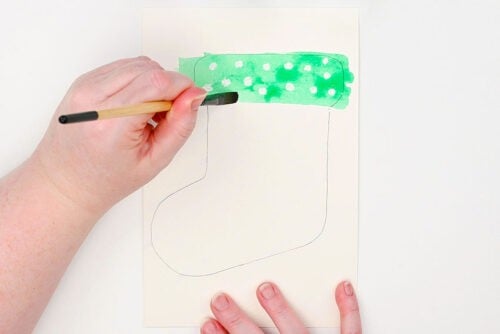
- Repeat to cover the whole stocking. You can use just one colour, or add 2 or 3 colours across the stocking.
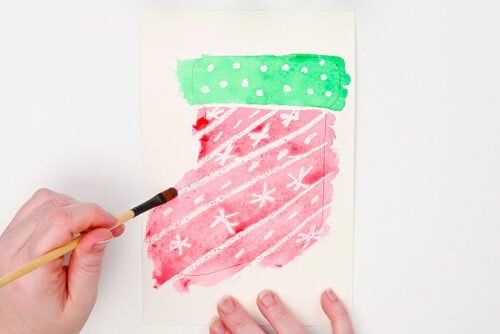
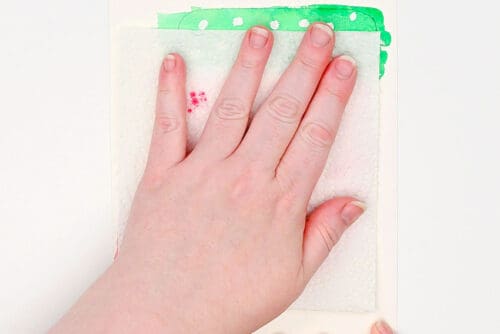
- Optional: Place a paper towel onto the paper. This will add a bit of texture to the paint and soak up some of the liquid, resulting in a more pastel colour.If you want a bright coloured stocking, skip this step.
Step 5: Cut out the stocking
- Cut out the stocking outline, trying to cut on or inside the pencil marks.
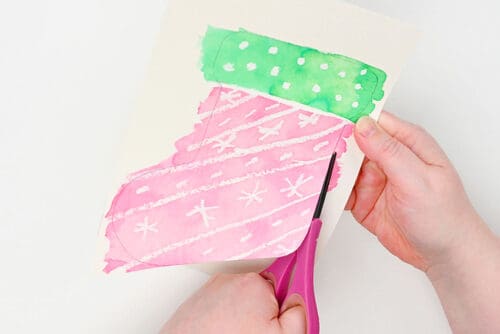
- Your Christmas stocking art project is complete!

Video
Notes
Looking for more fun Christmas crafts? Here's a few of our favourites:
Christmas Perler Beads
DIY Felt Ornaments
Christmas Bean Art