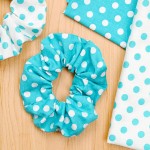
How to Make a Scrunchie
These DIY scrunchies are super cute! Choose a fun pattern for your scrunchy or keep it classic with a plain fabric in your favourite colour.
Yield: 1 hair scrunchie
Cost: $1
Equipment
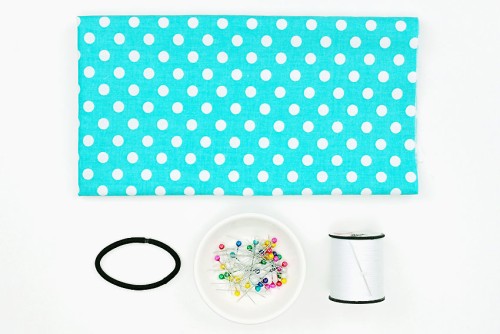
- Fabric scissors (or rotary cutter and mat)
- Sewing machine (optional, but easier)
Materials
- Cotton fabric (printed or plain, colour of choice)
- Hair elastic
- Sewing thread (white, or matching the fabric)
Instructions
Step 1: Find what you need
- Gather your supplies and materials.
Step 2: Pin the fabric around an elastic
- Cut a piece of cotton fabric to 4 x 18 inches. Set it down with the pattern side (good side) up.
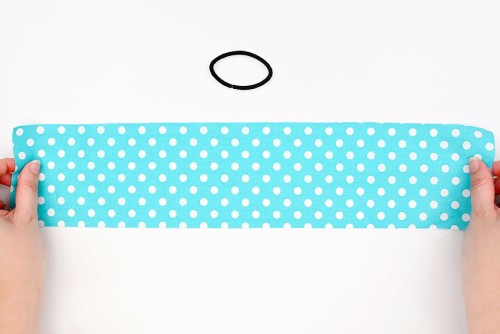
- Place a hair elastic along the side of the fabric. Insert one corner of the fabric into the elastic and fold the fabric up over it.
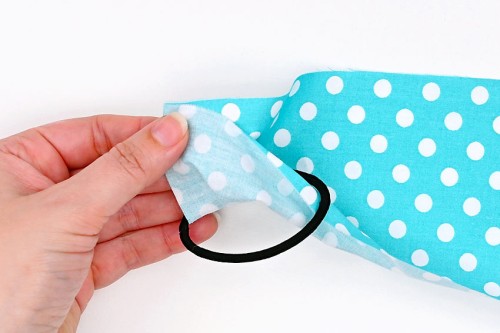
- Pin the two sides of the fabric together, making sure the edges are aligned.
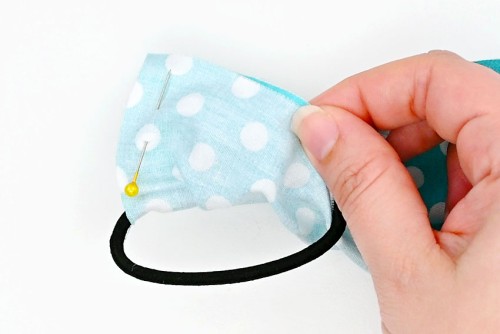
- Line up more of the fabric and add a second pin about 1-1/2 inches away from the first.
- Continue adding pins, scrunching the fabric up on the elastic as you work your way down.

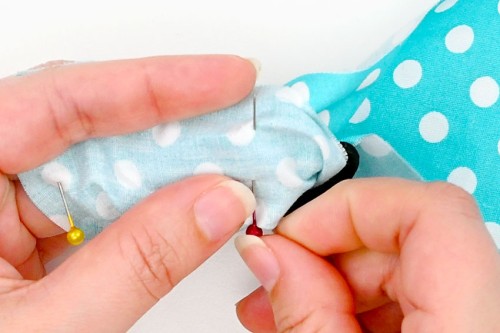
Step 3: Sew the fabric tube
- Machine sew the outer edges of the fabric together, leaving a 1/4 to 1/2 inch allowance.Go slowly and adjust the fabric as needed.(You can also hand sew the scrunchie if you don't have a machine. More on that below this tutorial.)

- Turn the fabric tube right side out.Use a loop turner hook for ease, or manually push the fabric so the printed side is showing.
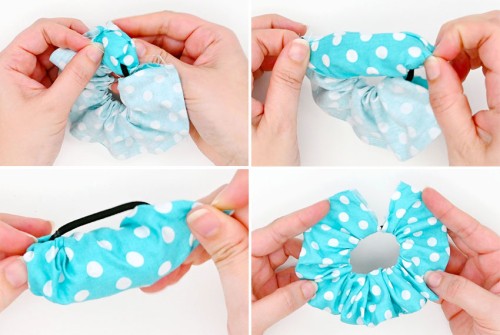
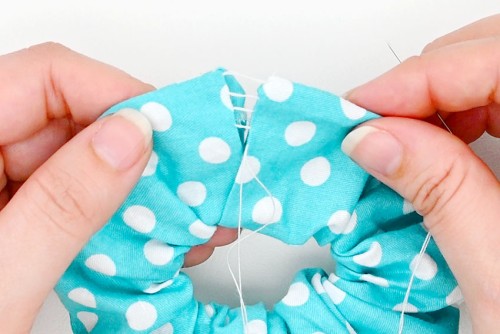
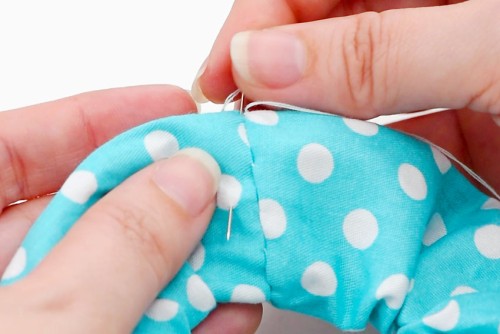
Step 4: Hand sew the scrunchie ends together
- Fold the edges of the tube inside, hiding the cut edge of the fabric.
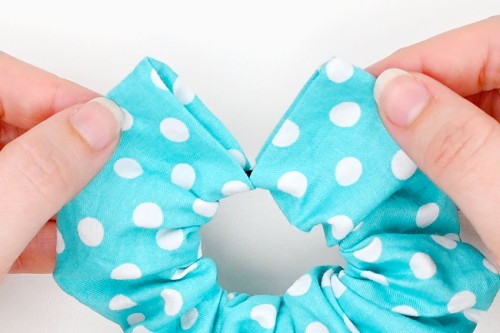
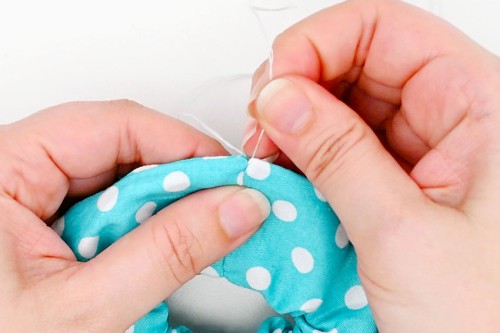
- Sew the edges of the scrunchie together with a ladder stitch (also called a slip stitch or invisible stitch).Push your needle up through the seam allowance on one side, and then go back and forth between the two sides, creating a ladder of hidden stitches.
- Sew all the way around the scrunchie and then pull gently on the thread ends to hide the stitches inside the scrunchie. Don't pull too hard, or the seam will pucker.
- Tie the thread ends together in a double knot.
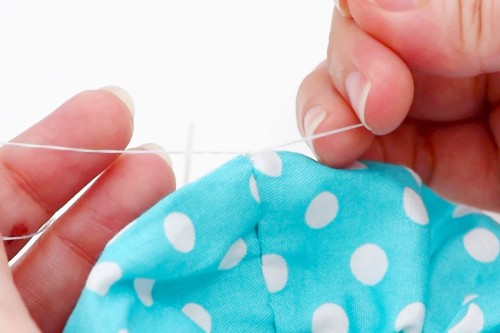
- Push the needle down through 1 side of the fabric to hide the thread, and then cut off the excess.
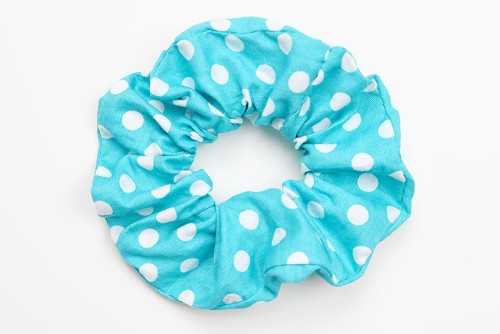
- Your DIY hair scrunchie is complete!
Video
Notes
Looking for more DIY hair accessories? Here's a few of our favourites:
Crochet Scrunchie
Felt Flower Hair Accessories
Felt Crown Barrette