
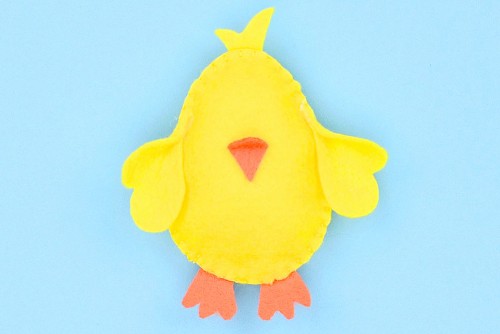
DIY Felt Chick
This felt chick is such a cute DIY toy, and it's really easy to make using our free pattern for the chick and its eggshell house.
Yield: 1 felt chick (with egg!)
Cost: $2
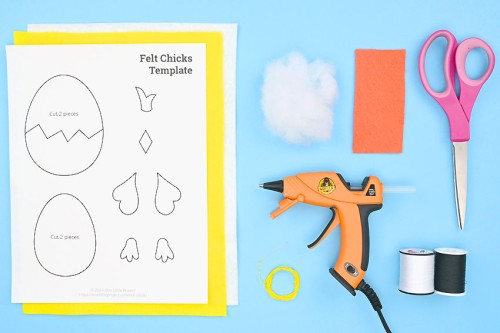
Equipment
Materials
- FREE Printable Felt Chick Pattern
- Felt (yellow, white, and orange)
- Sewing thread (yellow, white, and black)
- Fiber fill stuffing
Instructions
Step 1: Find what you need
- Gather your supplies and materials.
Step 2: Cut out the template pieces
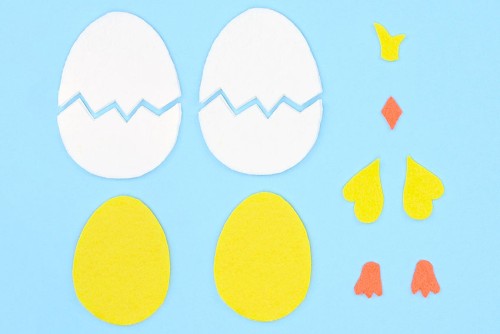
- Print our free felt chick pattern (link in the materials list above!) and cut out the template pieces.Make sure you cut the egg template into 2 pieces on the zig zag line.
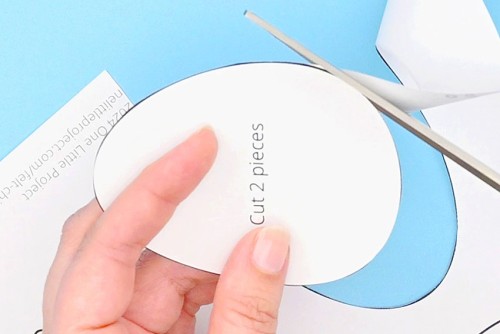
- Hold the pattern piece on top of the felt to cut it out. Or you can pin the pattern to the felt or trace around it with chalk or a gel pen if you’re worried about the template pieces moving as you cut the felt.
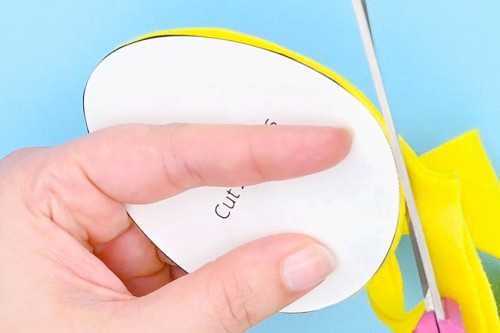
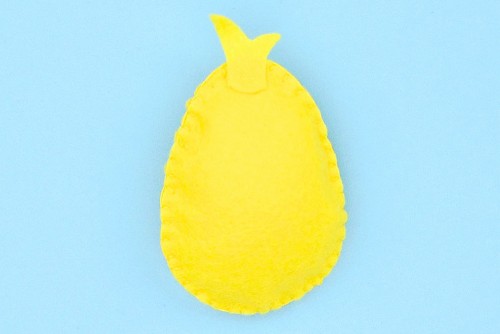
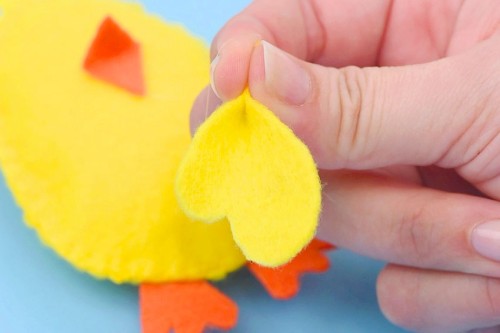
- Cut the two sides of the egg from white felt.Use yellow felt for the body, wings, and tuft of feathers.Finally, cut the beak and feet from orange felt.
Step 3: Sew the chick together and stuff it
- Line up the 2 pieces of the chick's body and use a sewing needle and a double layer of yellow thread (or 2 strands of embroidery floss) to blanket stitch the edges together.Start by putting your needle through both layers of felt, about 1/8 inch away from the edge.
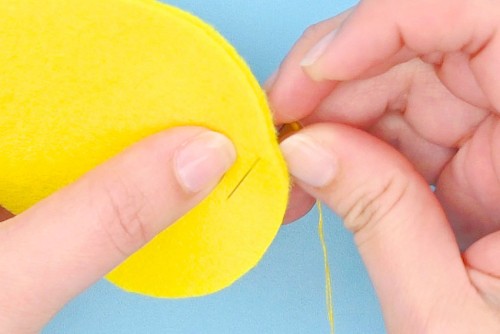
- Pull the thread through, leaving a couple inches of tail. Tie a double knot in the thread.

- Tuck the excess thread inside the pieces of felt, and bring the needle in from the bottom of the felt, about 3/16 inch (5mm) away from the last stitch.Wrap the thread around the needle before pulling it through.
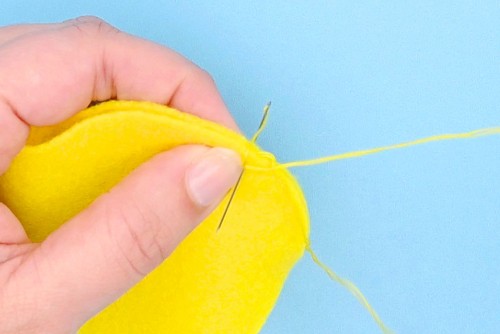
- Repeat, keeping an even distance between your stitches.
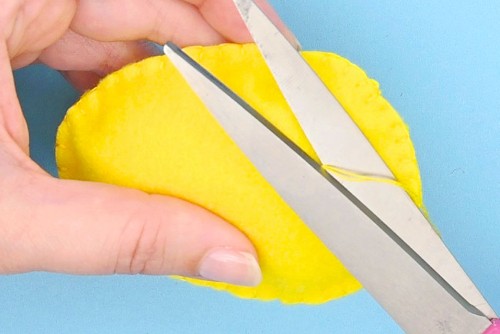
- Continue blanket stitching the 2 sides of the chick together, stopping when there's about 2 inches left open.
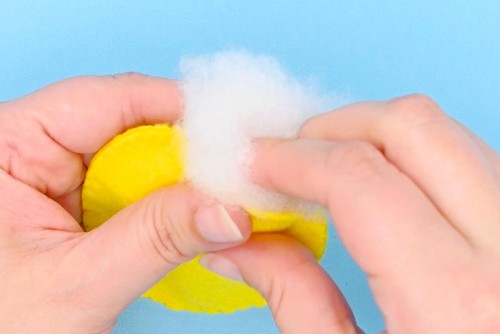
- Stuff the chick with poly-fill stuffing.
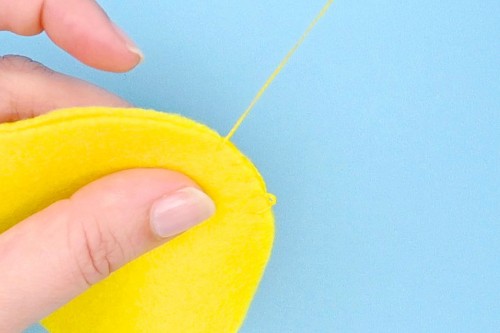
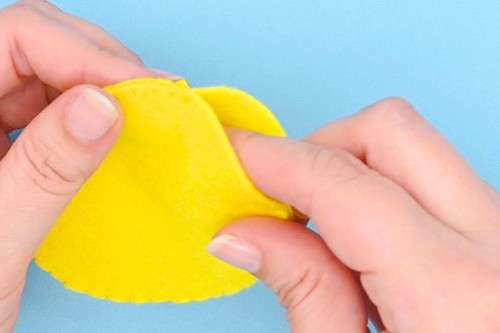
- Finish sewing the chick's body body together and finish by pushing your needle through the center of the body.Cut off the thread close to the felt and then wiggle the felt around to make the thread disappear inside.
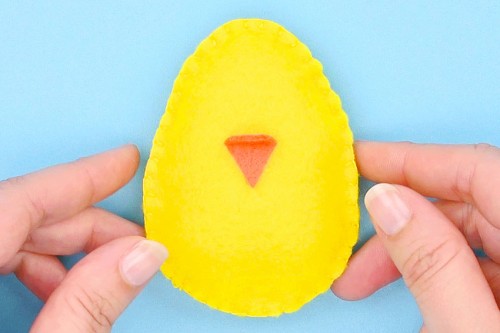
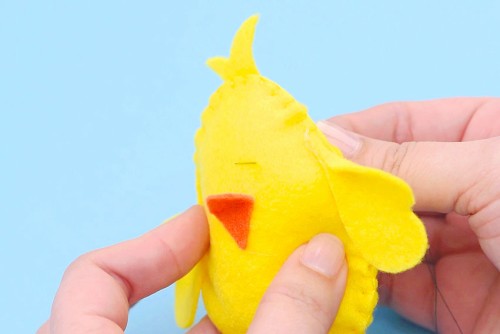
Step 4: Attach details to the chick
- Add hot glue to the bottom half of the beak.
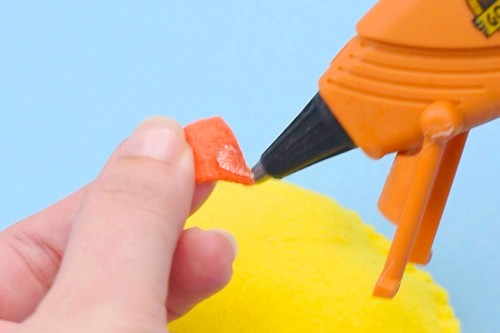
- Attach the beak to the center of the chick with the glue part at the bottom.
- Flip the chick over and add glue to the bottom of the feather tuft.

- Attach it to the top center of the back of the head.
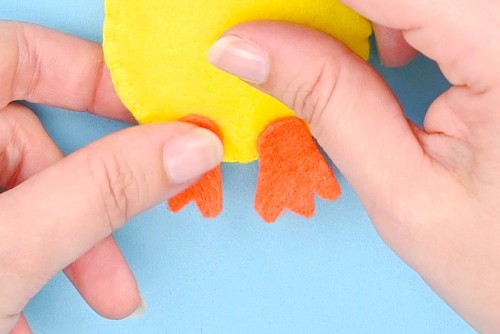
- Add a dot of glue to the backs of the feet and attach them to the bottom back of the chick, sticking out from the bottom.
- To attach the chick's wings, start by adding a dot of glue to the point.
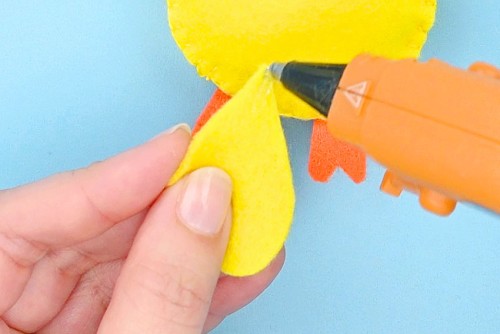
- Fold the edges of the wing into the glue, pinching it in place until it stays together on its own.
- Add a line of glue about 1/2 inch long to one side of the wing, close to the point.Attach the wing to the side of the chick, leaving the rest of it unglued so it can "flap" and be folded in.Repeat, attaching the second wing to the other side. Be sure to add the glue to the opposite side so the wings match.
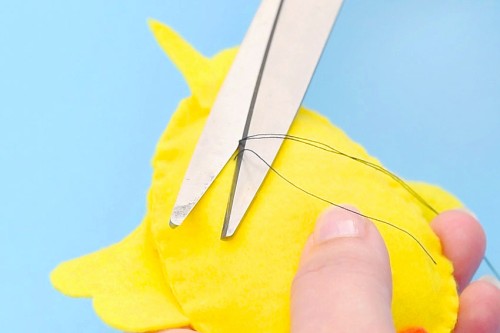
Step 5: Sew on the chick's eyes
- To sew the chick's eyes, thread your needle with black thread.Start by poking the needle in from the back of the chick, finding the perfect spot for the eye.
- Bring the needle up or down and sew just through the top layer of felt. Go back and forth with the thread until you're happy with the size of the eye.
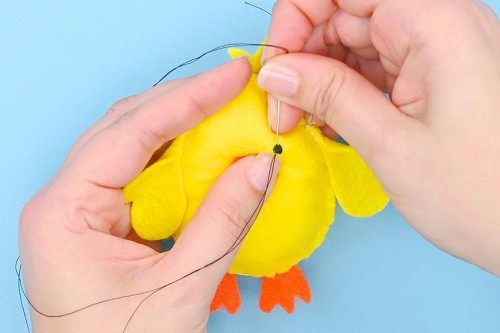
- When you're finished with the first eye, put your needle through both layers of felt so the thread comes out the back.
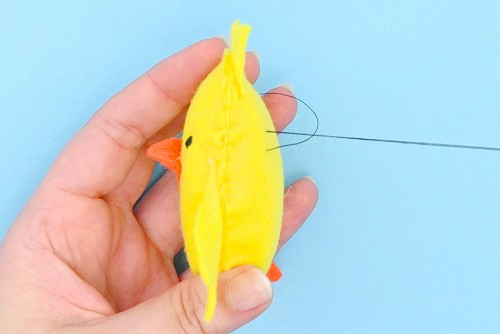
- Cut off the excess thread at the back and then pinch the back felt to hide the black dots of thread inside the chick.Repeat, sewing on the second eye.
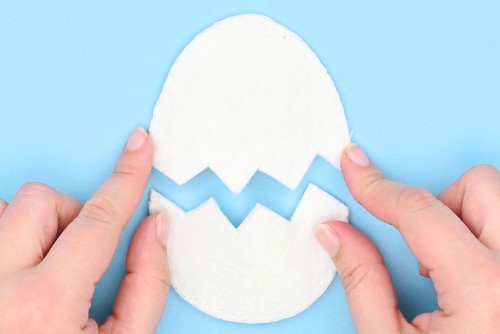
Step 6: Sew the egg together
- Use white thread to sew the two sides of the egg together with a blanket stitch. Leave the zig zag edge unsewn.Repeat with the second part of the egg.
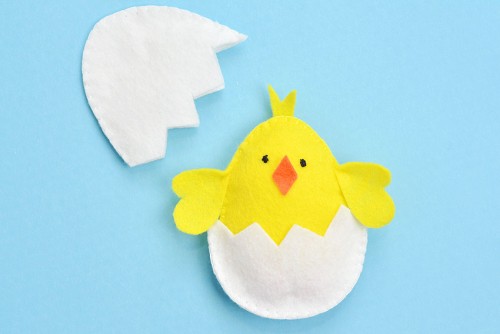
- Slide the chick into the egg and your felt chick is complete!
Video
Notes
Looking for more free felt patterns? Here's a few of our favourites:
Felt Dragon Pattern
DIY Felt Ornaments
Felt Monster Pattern