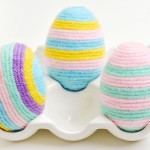
DIY Yarn Easter Eggs
Relax and enjoy making these yarn wrapped Easter eggs. This simple Easter craft is fun for both kids and adults!
Yield: 1 yarn wrapped Easter egg
Cost: $1
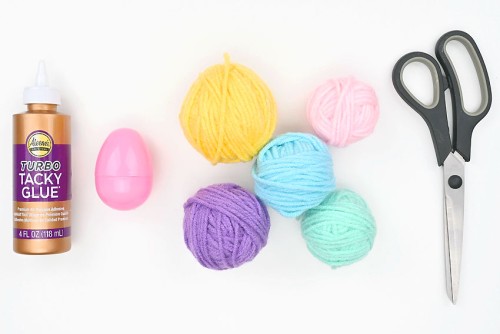
Equipment
Materials
- Plastic Easter egg
- Tacky glue
- Worsted weight yarn (spring/Easter colours)
Instructions
Step 1: Find what you need
- Gather your supplies and materials.
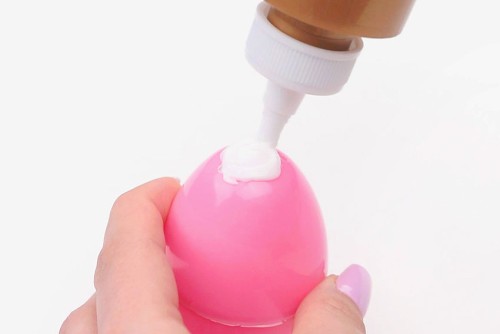
Step 2: Add your first colour of yarn
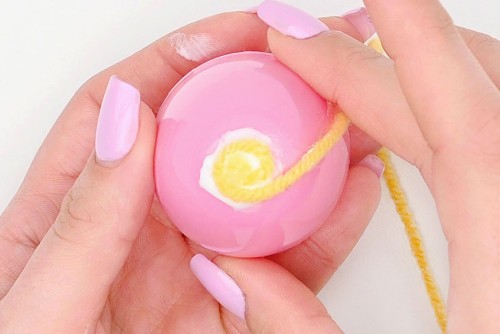
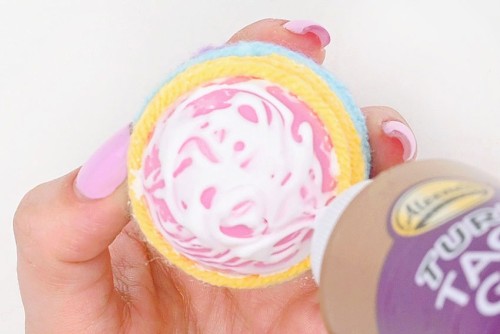
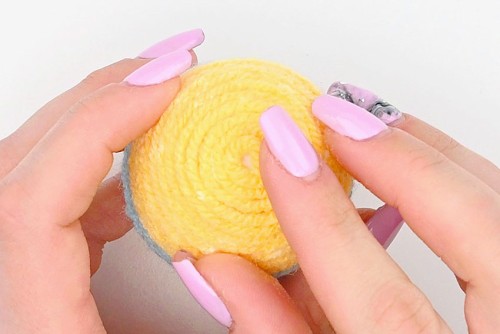
- Add a generous circle of tacky glue to the top of the plastic egg.
- Place the end of the yarn (still attached to the ball) in the center of the glue. Press it down and wait at least 30 seconds for it to adhere.
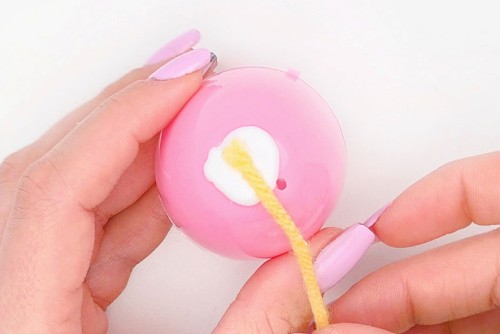
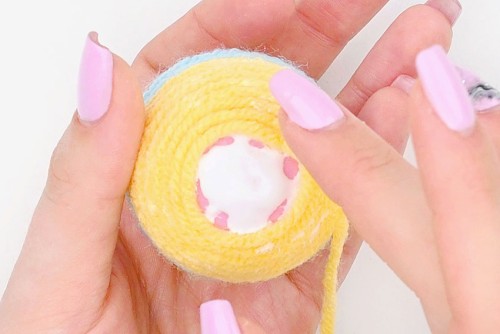
- Hold the end of the yarn down while wrapping it around itself in a circle.
- Add more glue below the yarn and continue wrapping it around.You can either spin the egg in your hand while holding the yarn, or you can wrap the yarn around while holding the egg still -- whichever is more comfortable for you.
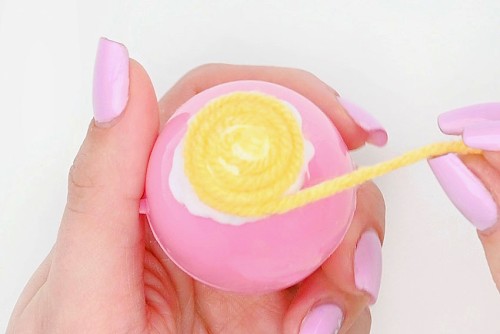
- Continue wrapping the yarn until you want to add a different colour. Cut off the yarn and press it into the glue.

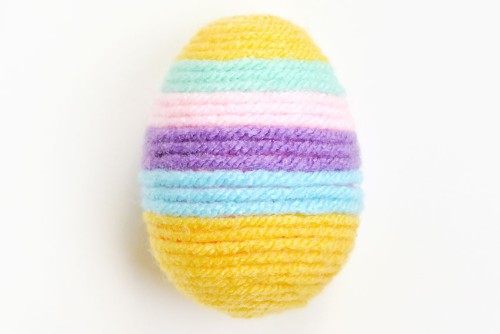
Step 3: Add a second colour of yarn
- Start the next colour of yarn, placing it into the glue beside the previous colour.
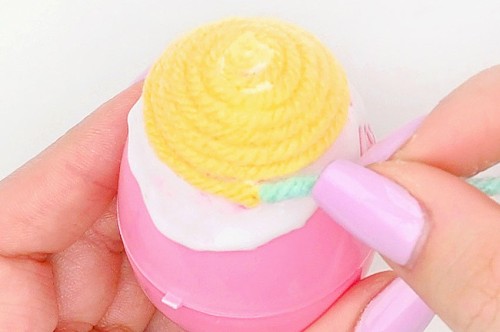
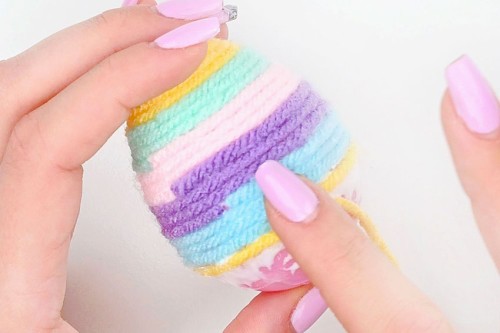
- Wrap this colour of yarn as many times as you'd like. You can create thin stripes or larger colour blocks.Try to cut the yarn so it ends around the same area as the colour before it. This ensures you only have one "bad" side of the egg.
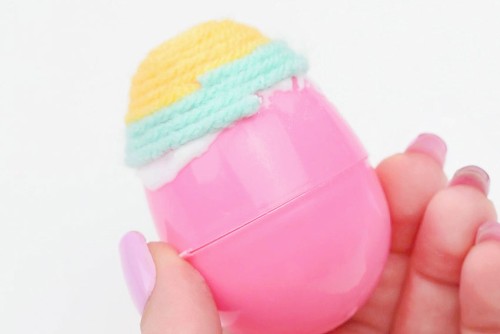
Step 4: Continue wrapping the egg
- Continue wrapping different colours of yarn around the egg, adding glue when needed.As you work, continue to push down on the yarn to keep it in place.
- When you reach the bottom of the egg, cover the whole area in glue.
- Wrap the yarn carefully, pushing it down and adding more glue to the very bottom of the egg, if needed.
- When you're close to the end of the egg cut the yarn, leaving about a 1/4 inch extra at the end (or however much you'll need to fill in the end).
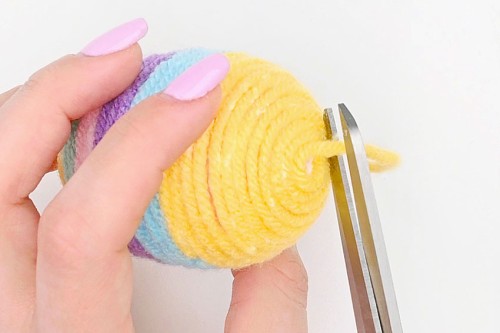
- Twist the yarn into the bottom center and push down.Allow the glue to dry.
- Your yarn wrapped Easter egg is complete!
Video
Notes
Looking for more Easter egg crafts? Here's a few of our favourites:
"Watercolor" Easter Eggs
Penguin Easter Egg Craft
Galaxy Easter Eggs