
How to Make Egg Candles
Have you ever made an egg shaped candle in a real eggshell?! It's such a fun spring craft! Follow our step by step tutorial and read below for lots of helpful tips and tricks.
Yield: 6 egg candles
Cost: $5
Equipment
- Ceramic egg holder (optional; or empty egg carton)
Materials
- Egg
- Soy wax (at least 1/3 cup per egg)
- Wax dye
- Short candle wick (2-3/4 inches tall; 1/2 inch base)
Instructions
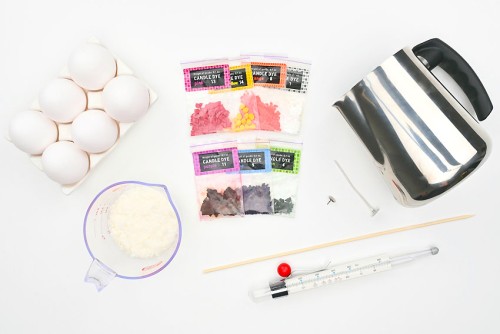
Step 1: Find what you need
- Gather your supplies and materials.
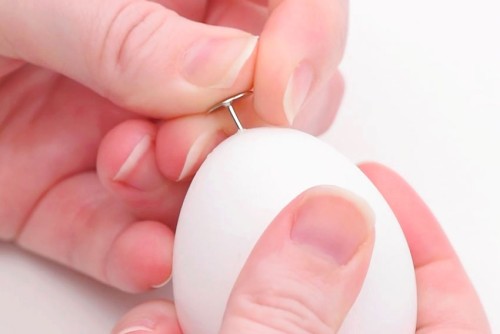
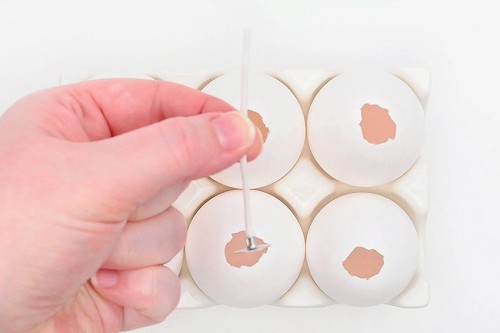
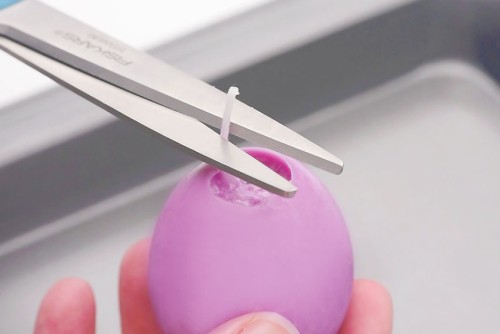
Step 2: Empty and clean the eggshells
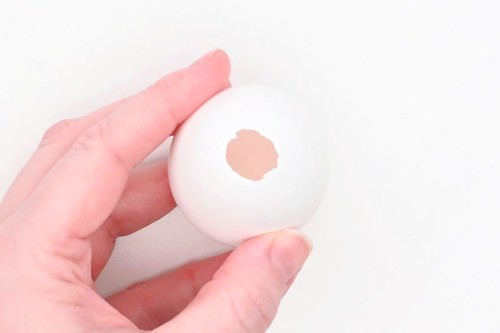
- Carefully push a thumb tack into the top of the egg to make a hole through the shell.
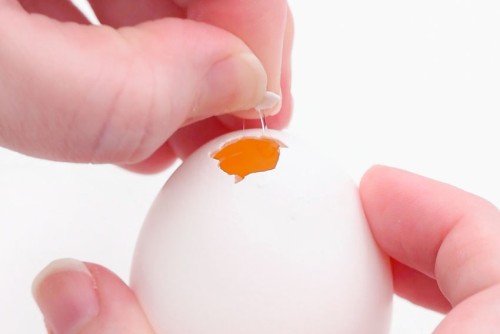
- With the thumb tack inside the eggshell, push it up on an angle to break some of the shell.Repeat, using the thumb tack or your fingernail to remove just enough of the eggshell to fit the base of the candle wick.
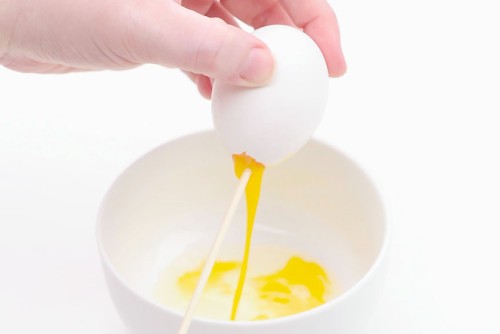
- Use a wooden skewer to break up the yolk inside the egg so it comes out more easily.Empty the contents of the egg into a bowl or straight into a frying pan.
- Rinse the inside of the eggshell with warm water and a bit of soap. Cover the hole in the shell with your finger and shake the contents.Rinse the egg out several times and then allow to dry upside-down overnight.
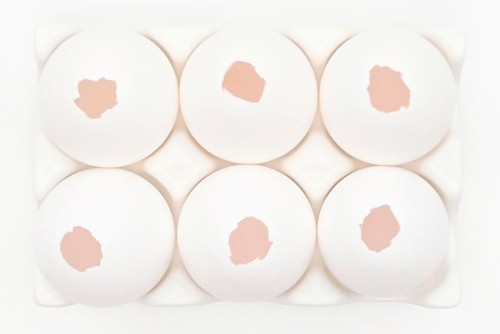
- Repeat, cleaning however many eggshells for the number of candles you'd like to make.Once the eggshells are dry, place them back in an empty egg carton or egg holder.
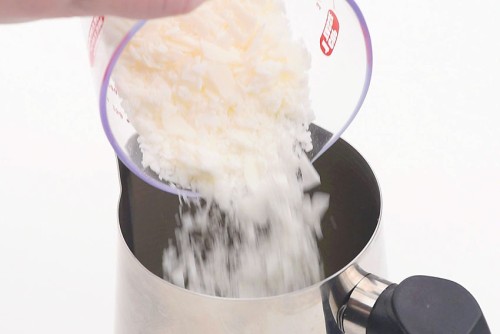
Step 3: Prepare the candle wax
- Add a generous 1/3 cup of wax to a melting pot for each egg candle you'd like to make.If your eggs are large, use 1/2 cup instead. It's better to have a bit of extra wax melted than to run out before the egg is full!
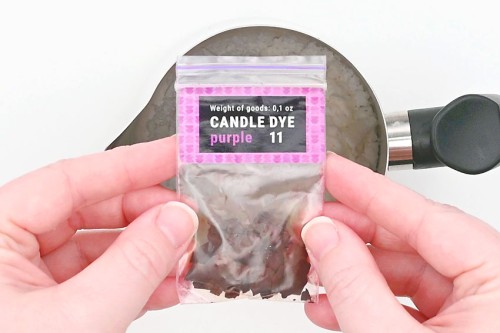
- Then add wax dye to the melting pot. To make a pastel coloured candle start with just a tiny piece of dye.Keep reading below the tutorial for more information on colouring candles.
- Add 1 to 2 inches of water to a pot and bring to a boil on high heat. Once the water is boiling, turn down to medium-low, maintaining a simmer.
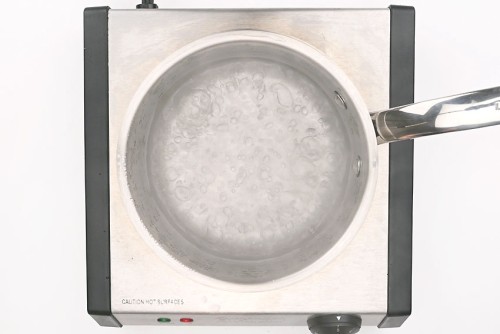
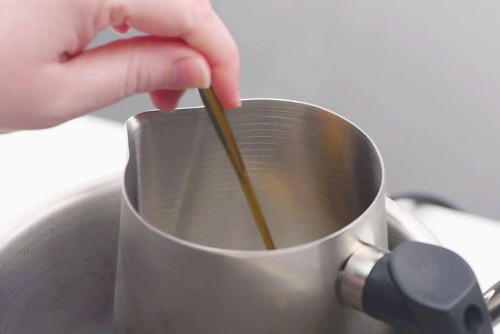
- Insert the melting pot into the boiling water. Allow the wax to melt, stirring occasionally.
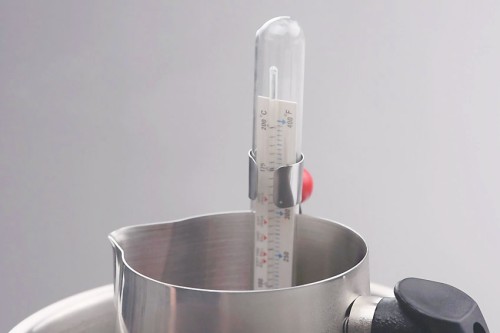
- Bring the wax to 175F.
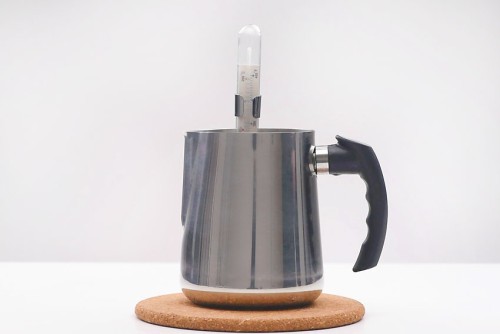
- Remove the melting pot from the heat.At this point you can add a scent if you'd like. If you do so, stir slowly and thoroughly for 2 to 3 minutes to combine.Cool the wax to between 110F - 120F.
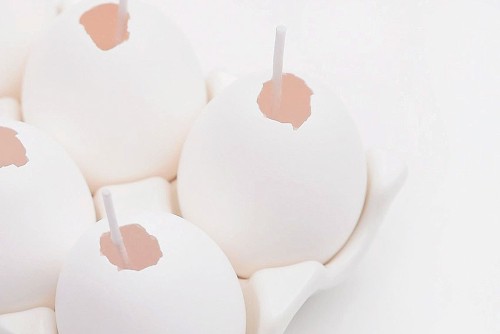
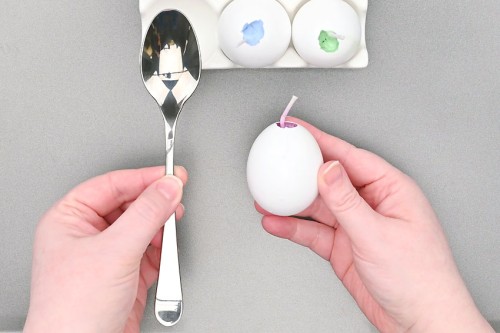
Step 4: Add wicks and pour the wax
- For these candles we'll be using a short wick with a small 1/2 inch tab.Usually you'll want to use a wick sticker (or something to make sure the wick stays centered at the bottom), but with these egg candles we found it worked best to just place them in the egg.
- Add wicks into each of the prepared eggshells. Center and straighten them as best you can.
- Pour the cooled wax into the eggshell, slowly and carefully.
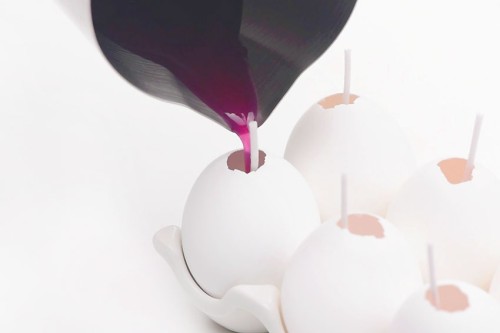
- Repeat the same process with different colours of wax.Allow the wax to harden overnight.
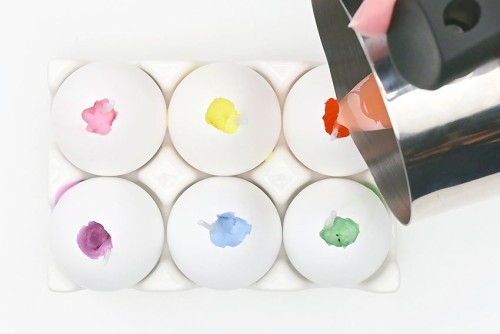
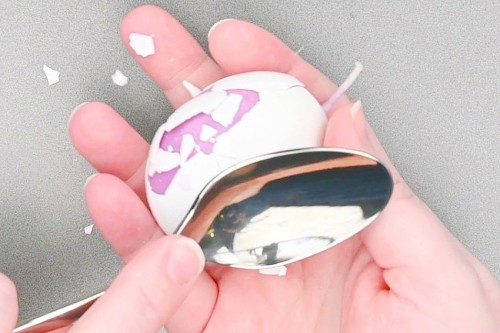
Step 5: Remove the shell and trim the wick
- To remove the shell from the egg you'll want to use the back of a regular tablespoon.
- Hit the eggshell with the back of the spoon. Use the back of the spoon only, since the side of the spoon will dent the candle.You'll need to use a small amount of force to break the shell, but not too hard, or you'll dent the candle. You'll quickly be able to find the right balance.
- Continuing hitting the egg and peeling off the shell carefully. You can wipe the candle with a paper towel to remove any remaining shell residue.
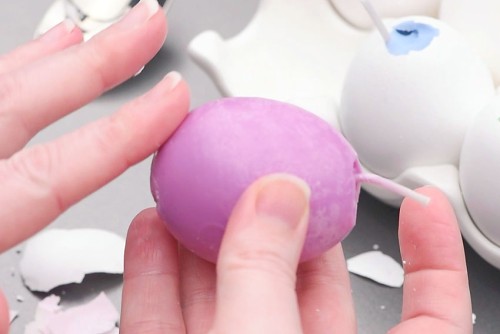
- Repeat with your remaining egg candles.
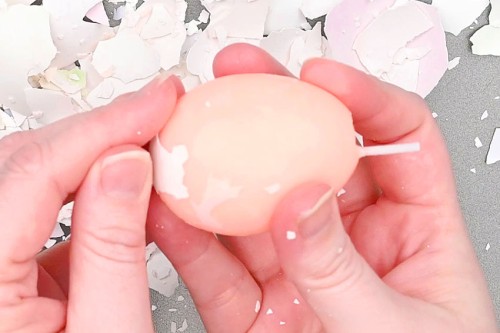
- Trim the wicks to 1/4 inch before burning.
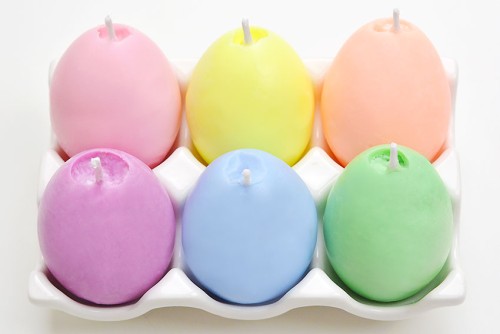
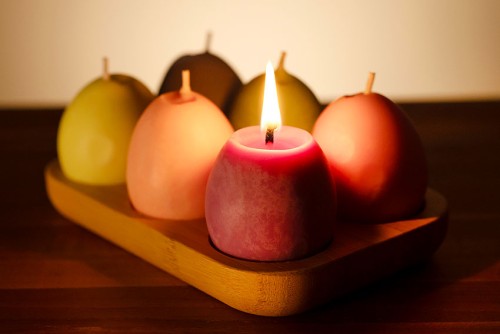
Step 6: Enjoy your egg candles!
- Your egg candles are complete!
- Your DIY candles can be lit after 24 hours, but ideally you want to allow the candle to "cure" for 1 to 2 weeks before burning.Soy wax will continue to harden over time, and waiting to burn the candle will improve the burn.
Video
Notes
Looking for more candle crafts? Here's a few of our favourites:
How to Make Citronella Candles
Mason Jar Candles
How to Make Wax Melts