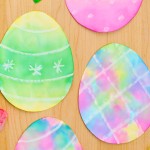
How to Make Bleeding Tissue Paper Easter Eggs
Watch in amazement as the colour from the tissue paper magically transfers to your paper Easter egg! This craft is a lot of fun, and an easy way to explore colour.
Yield: 2 paper Easter eggs
Cost: $2
Equipment
- Spray bottle (with water)
Instructions
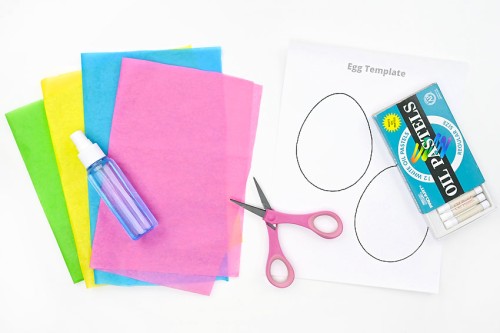
Step 1: Find what you need
- Gather your supplies and materials.
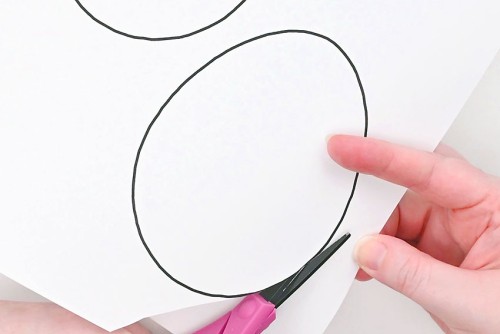
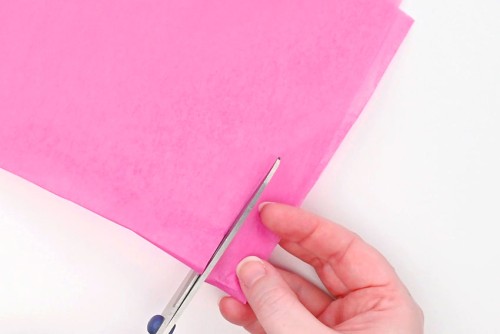
Step 2: Cut your paper Easter eggs and tissue paper
- Print the free Easter egg template (link in the materials list above!) on white cardstock and cut it out. Repeat for as many Easter eggs as you'd like to decorate.
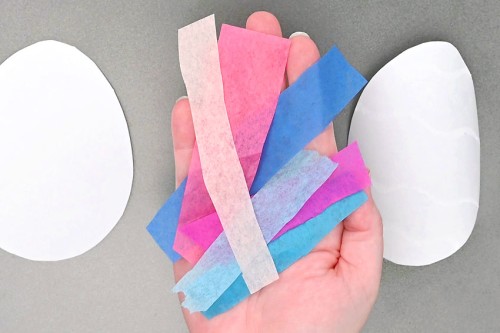
- Gather all the colours of bleeding tissue paper you'd like to use.
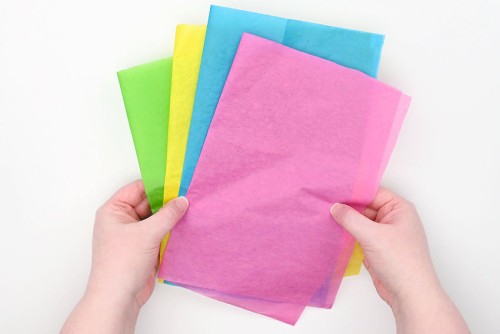
- For some of the Easter eggs you may want to cut strips of tissue paper. The strips of paper make the craft really easy and quick to make.
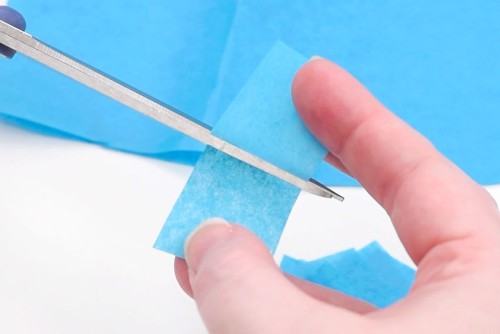
- You can also cut smaller squares of tissue paper for a collage style Easter egg that creates a multi-coloured tie-dye effect on the paper.
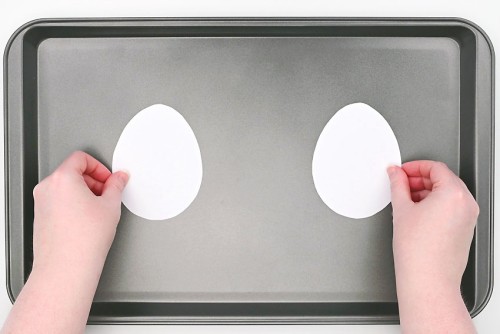
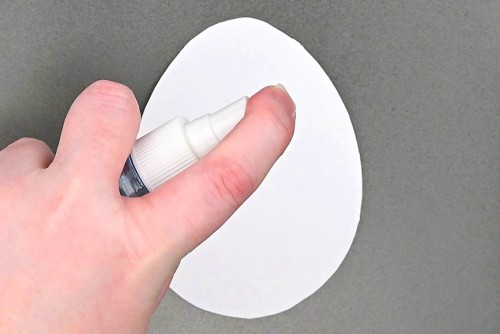
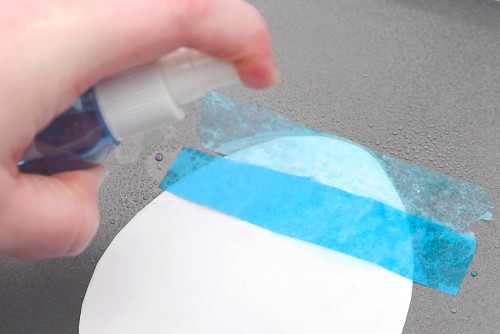
Step 3: Draw on the paper eggs and add water
- Set the paper eggs down on a baking sheet or another protective surface that you don't mind getting wet.
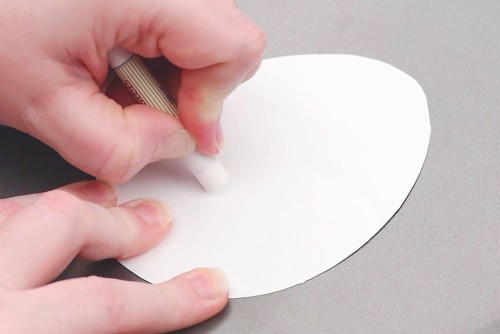
- Use white oil pastel to draw a design on the Easter eggs. Whatever you draw will show through the colour later.
- Spray the egg with a layer of water. The paper might curl up at first, but if you wait a minute it will flatten again.
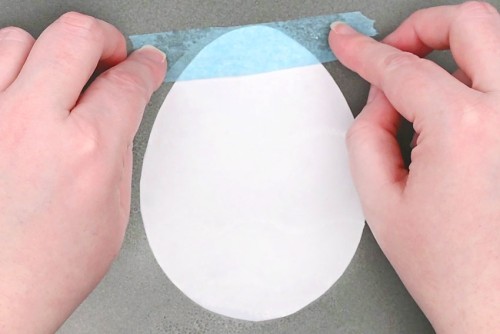
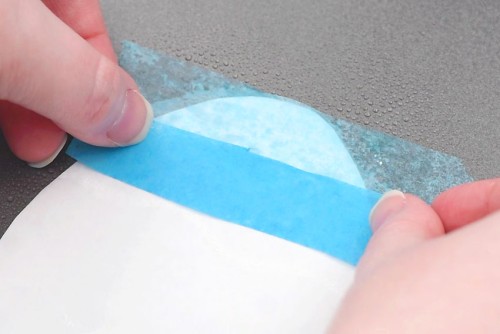
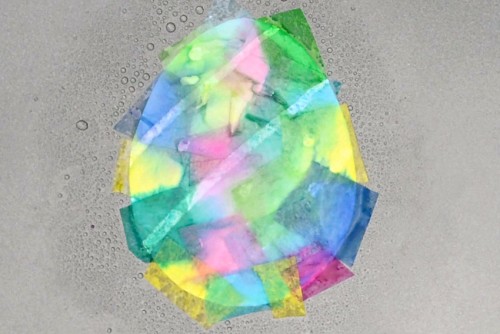
Step 4: Add bleeding tissue paper
- Gather tissue paper in the colours you'd like to use. We find it helps to plan your colour and design ahead of time.
- Place your first piece of tissue paper down. You can start at the top of the egg, or wherever you'd like.
- Spray the tissue paper with more water to stick it down.
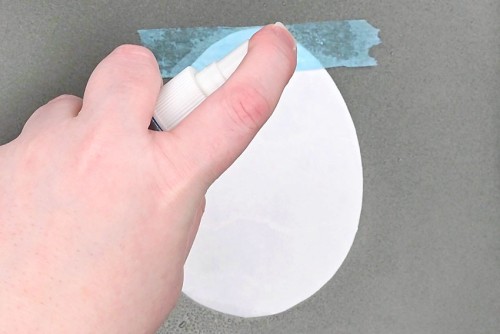
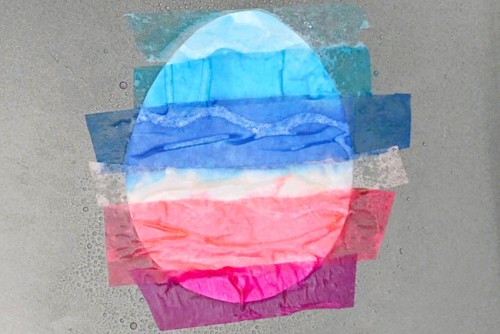
- Place the next piece of tissue paper. Overlap the pieces a bit so there won't be any white space left.
- Spray this second piece of tissue paper with water.
- Repeat until the egg is covered with wet tissue paper. Make sure the tissue paper is flat to the egg, covering all of it.
- Gather pieces of tissue paper for your next egg design. For this Easter egg we'll be using small squares of tissue paper in multiple colours.
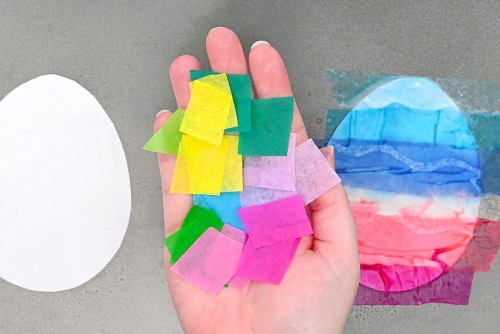
- Draw the oil pastel design on the second egg and add tissue paper randomly across the egg.Especially with the small pieces, make sure they're stuck down well with water, or else spraying the next piece will move them out of place.
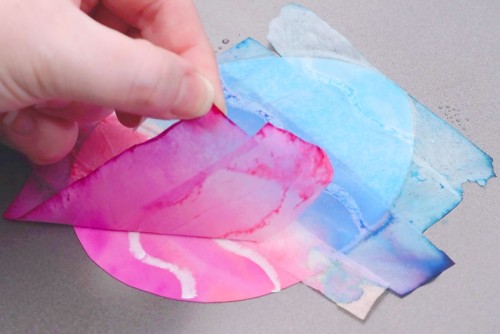
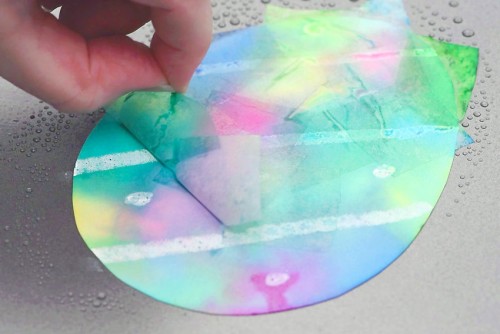
Step 5: Reveal your bleeding tissue paper coloured Easter eggs
- Allow the tissue paper to sit on the paper eggs for at least 10 minutes. For a less messy experience, allow the tissue paper to dry fully (at least 1 hour) before removing it from the paper.When dry, the tissue paper will slide right off the paper. If it's still a bit wet you can peel it off.
- Repeat for any other eggs you made, and allow the cardstock to dry.It will dry more quickly if you move it off the wet tray, but be careful not to damage the edge of the paper if you move it.
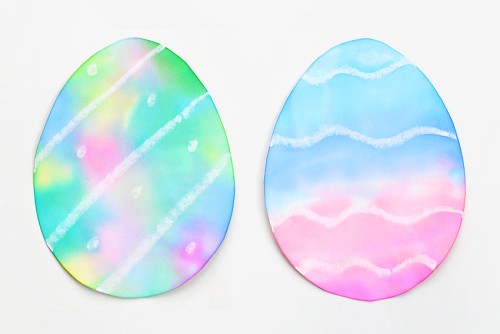
- Your bleeding tissue paper Easter eggs are complete!
Video
Notes
Looking for more Easter crafts? Here's a few of our favourites:
Peek-a-boo Clothespin Eggs
Easter Coloring Pages
Marbled Paper Easter Eggs