
DIY Valentine's Day Bean Art
Have fun making Valentine's Day bean art! Heart shaped bean mosaics are a great craft for both kids and adults.
Yield: 1 bean art Valentine
Cost: $1
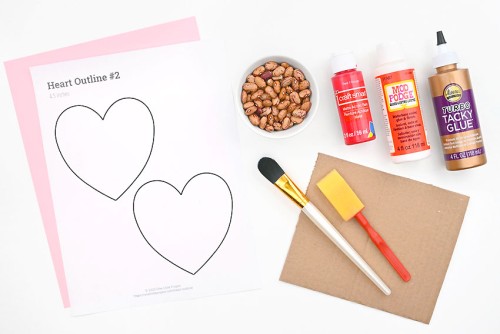
Equipment
Materials
- FREE Printable Heart Templates
- Cardstock - Valentine's Day colours
- Cardboard (Amazon box, cereal box, etc)
- Acrylic paint (red, or another Valentine's Day colour)
- Tacky glue
- Dried beans (romano, or another type)
- Glossy Mod Podge
- Black marker
- Glue tape
Instructions
Step 1: Find what you need
- Gather your supplies and materials.
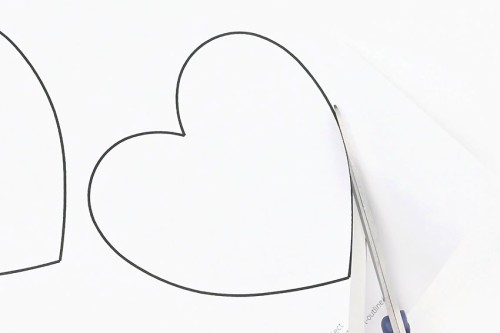
Step 2: Paint a cardboard heart
- Print one of our free heart outlines and cut out the shape.
- Trace the heart template onto a piece of cardboard.Save the template for later.
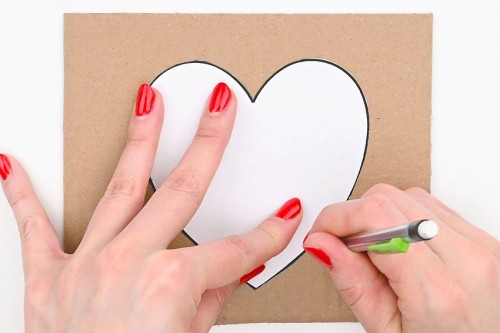
- Paint the cardboard heart with a Valentine's Day red, or another colour of your choice.Allow to dry.
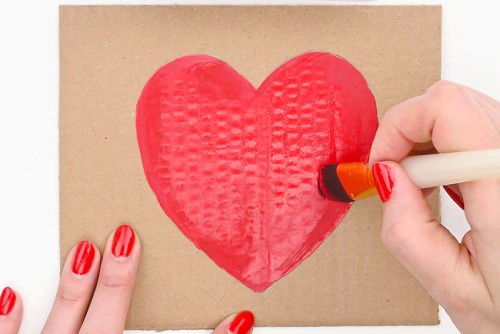
- Cut out the heart.

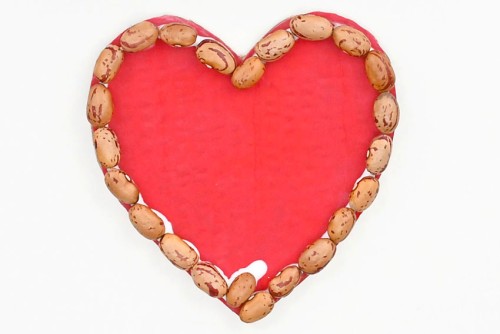
Step 3: Glue beans onto the cardboard heart
- Starting at the bottom of the painted cardboard heart, add a short line of tacky glue along the outside.
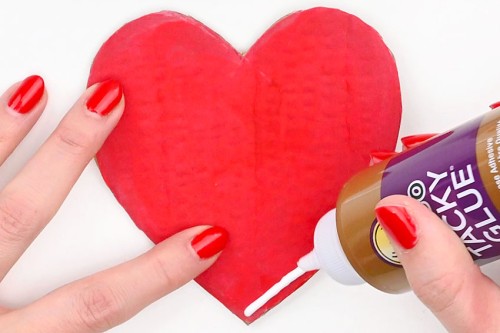
- Press beans into the glue so that the long edge faces the outside of the heart.
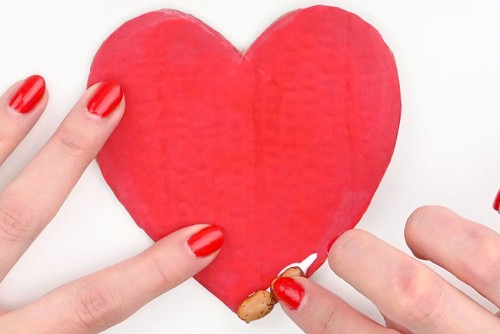
- Continue, adding more glue, working a few inches at a time.
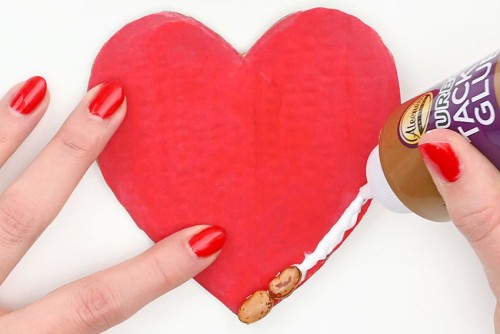
- Add more beans into the glue.
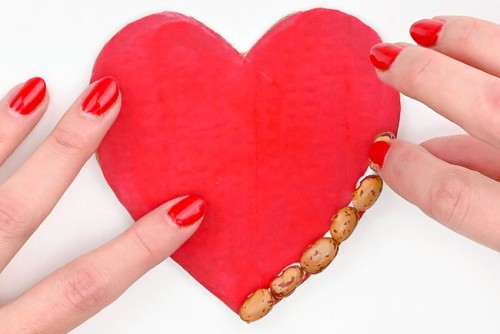
- Repeat these steps until the outside of the heart is filled. Then begin the next row of beans.If there's only a small space towards the bottom, set one of the beans parallel to the first bean you placed, so the shorter edge fills the outside gap.
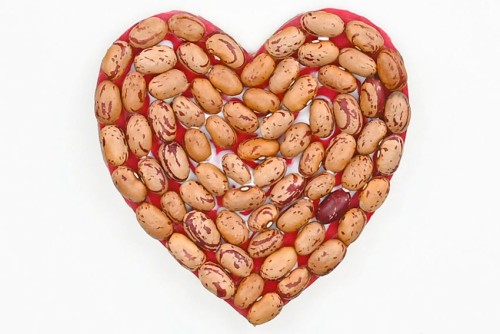
- Continue adding beans, working counterclockwise towards the center.

- Repeat until the heart is full.Allow the glue to dry.
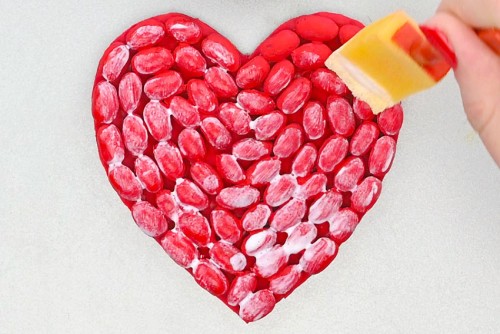
Step 4: Paint your heart bean art
- Place your heart on a tray, or another surface you don't mind getting paint on.Use a medium or large sized paint brush to paint the beans the same colour as the cardboard background.
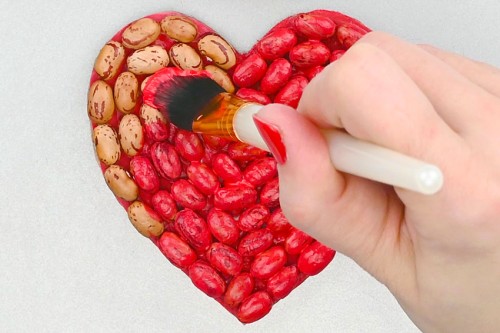
- Continue until all the beans are covered. Try to paint down between the beans as well so the coverage looks uniform. Allow to dry, and add a second coat of paint if needed.
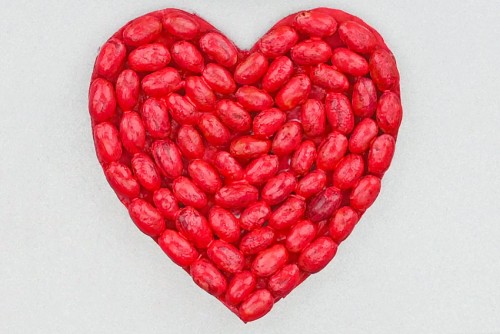
- Optional: Use a sponge brush to add a coat of glossy Mod Podge to give your bean art a shiny look.
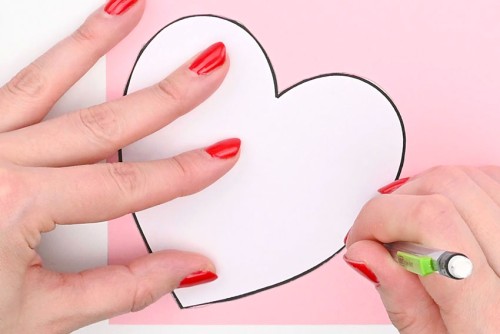
Step 5: Make your bean art into a Valentine
- Trace the heart outline onto a piece of cardstock or paper that complements your paint colour.(You can also print the template onto the coloured cardstock or paper.)
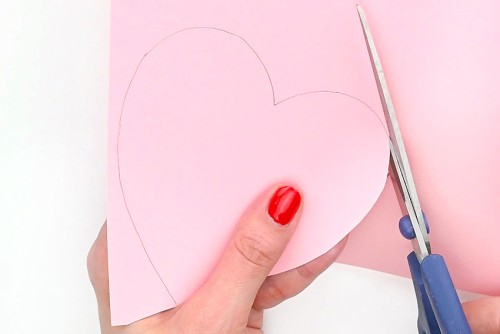
- Cut out the coloured heart shape.
- Use marker to write your Valentine's message onto the paper heart.

- Add glue tape to the back of the coloured heart.
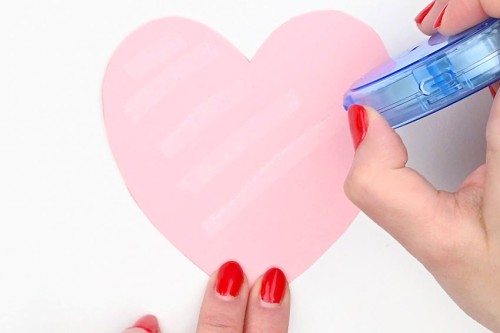
- Attach it to the back of the bean mosaic heart (the plain cardboard side).

- Your bean art Valentine is complete!

Video
Notes
Looking for more cool art projects? Here's a few of our favourites:
Fall Bean Mosaics
Bean Mosaic Art
DIY Yarn Art