
How to Make Heart String Art Cards
These heart string art cards are SO EASY to make! Make a beautiful DIY Valentine's Day card using only cardstock and embroidery floss.
Yield: 1 heart string art card
Cost: $1
Equipment
- Cork trivet (or cork board)
Materials
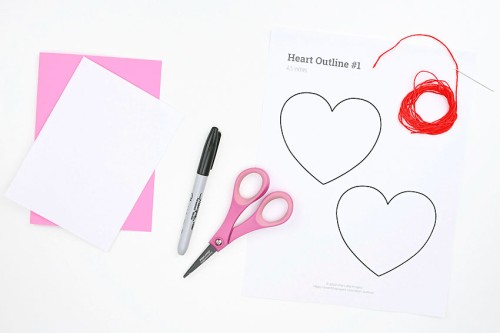
- FREE Printable Heart Template
- Cardstock (cut to 7 x 10 inches, folded in half)
- Embroidery floss (red, or colour of choice)
- Tape
- Printer paper (cut to 6-1/2 by 9-1/2 inches, or 1/2 inch smaller than card dimensions)
- Glue tape
Instructions
Step 1: Find what you need
- Gather your supplies and materials.
Step 2: Punch holes in the card
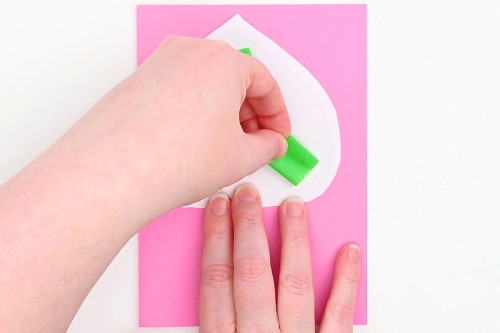
- Choose and print one of our free heart outlines. (Check below this tutorial for more details on which heart template we recommend.)Cut around the shape, leaving a bit of a border around the outside.

- Make loops with painter's tape and attach them to the back of the template.Make sure the tape is within the lines of the shape (not too close to the edge).
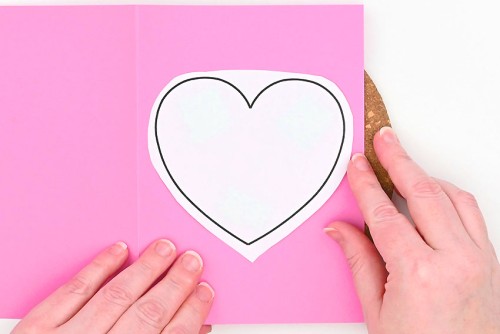
- Attach the heart to the front of a blank card, centering it as best you can.

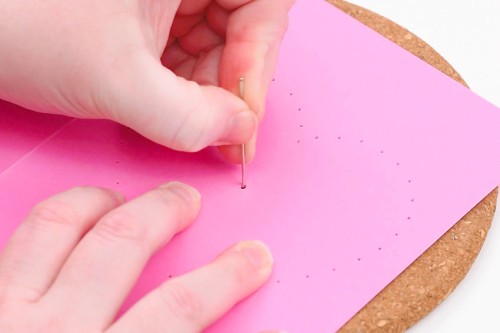
- Open the card up and place the front of it on a cork trivet or corkboard.
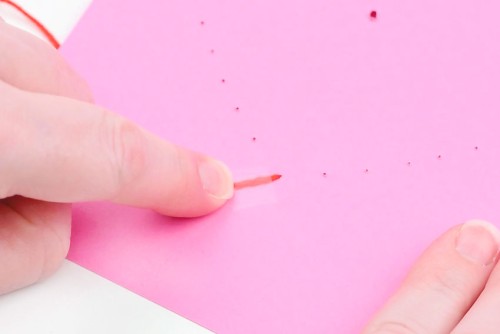
- Use a large needle to punch holes around the outline of the template, going through the card.Be sure to place a hole at every point of the design, and make your holes a little over 1/4 inch apart.
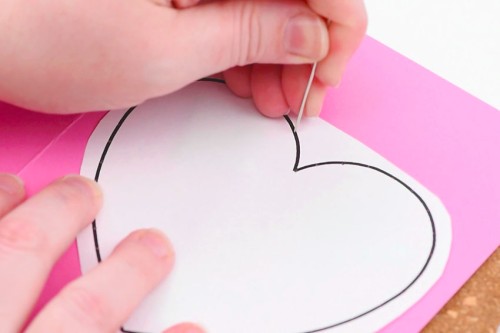
- Once you've made your way all around the outline of the heart, peel off the template from the front of the card.

- Use a ruler to measure 1 inch down from the top center point of the heart. Push the needle through at this mark.
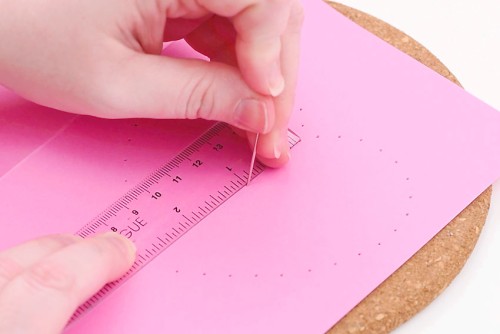
- Move the needle with a circular motion to make a larger hole.
Step 3: Add a string art design across the heart
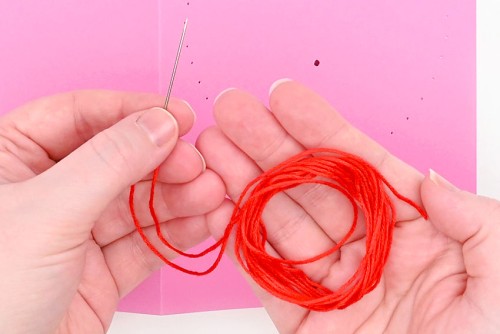
- String a needle with embroidery floss. You'll want to start with a length of string about 2 feet long (24 inches).If you have too long a thread it can tangle easily, so kids might want to start with a shorter string. It's fine if you need to use several different strands to make the card.
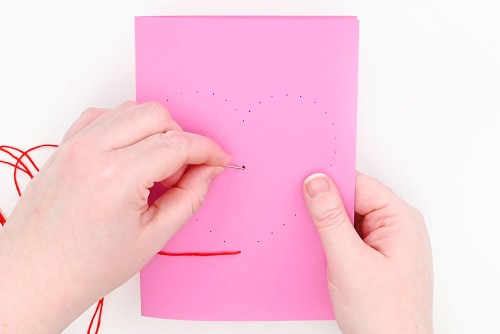
- Open the card and insert your needle into one of the holes from the inside (it doesn't matter where you start).
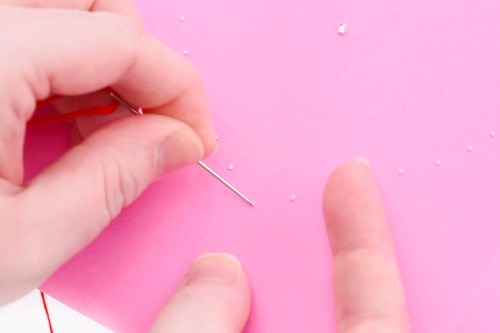
- Pull the string through to the front, all the way until only 1/4 inch or so remains on the inside.Tape the string into place. You can use a whole piece of tape, but this can get in the way of the holes in the card, so we cut a piece of tape into smaller pieces.
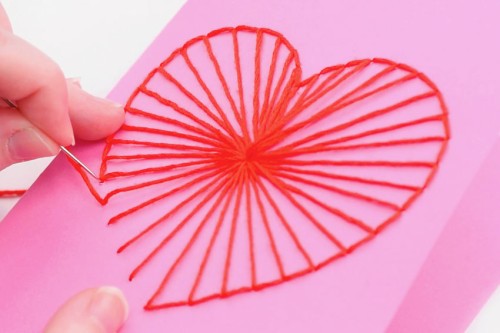
- From the front, push the needle back down through the larger center hole.
- Pull the floss through. Then push the needle through the next outside hole.You can work clockwise or counterclockwise -- whatever you choose, just be sure to keep working in that direction.
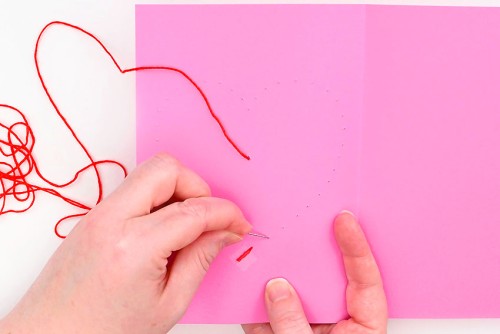
- Bring the floss back through the center hole.
- Keep working around the heart in this pattern until you run out of thread.Tape the floss on the inside of the card and cut off the extra.
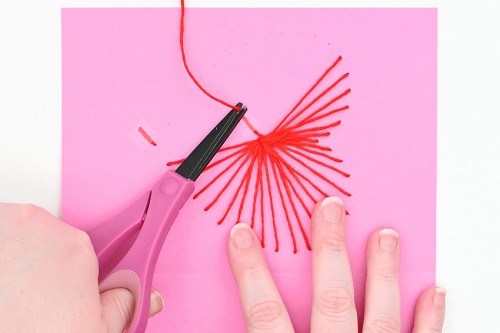
- Start a new piece of floss (taping it into place again) and work around the heart until every outside hole has string going to the center.
Step 4: Make a border around the heart
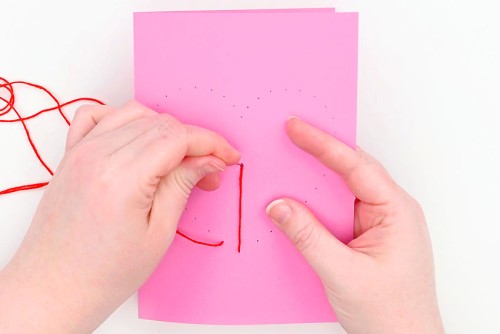
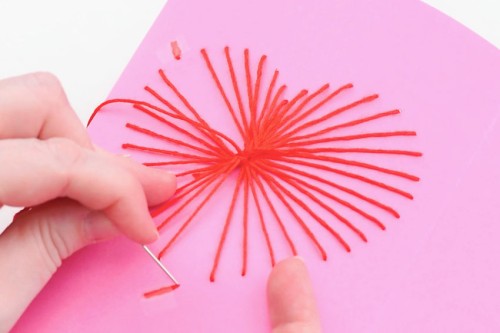
- Now we're going to make a border around the heart.From the inside, push your needle through the hole you started with.
- From the front, push the needle back down through the next hole in the border.Then inside the card, push the needle back to the front through the next hole up. Once you've pulled the string tight to the front again, go back down to the previous hole.
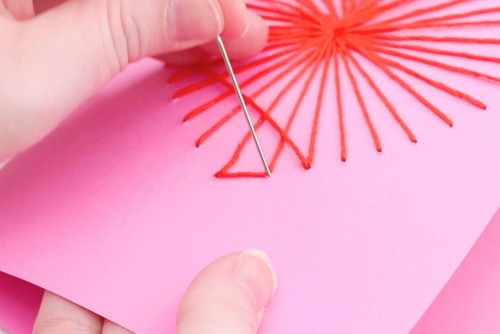
- Continue working around the heart, forming a border.On the inside you'll always go up to a hole with no string across the back, and then back down to the previous hole on the outside.
- Once the border is complete, tape off the string on the inside of the card and cut off any extra thread.

Step 5: Add a card insert
- Cut a piece of printer paper to 6-1/2 by 9-1/2 inches and fold it in half. (Or half an inch smaller than the outer card size).Add glue tape (or double sided tape) to one side of the paper, along the edges and a bit in the center as well.
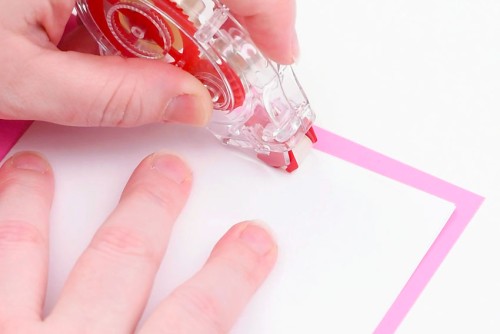
- Line up the paper insert so there's an even amount of space on each side and then close the card, pressing down.This will connect the insert to one side of the card, covering up the inside stitches and tape.
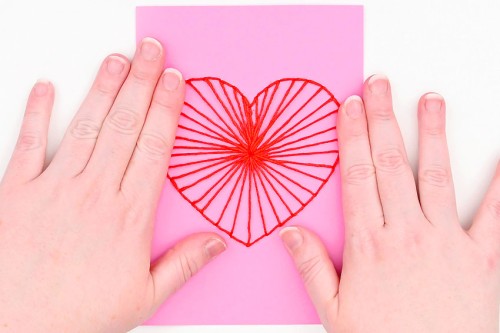
- Repeat, attaching the other side of the insert to the back of the card, and then write your Valentine's Day message inside.

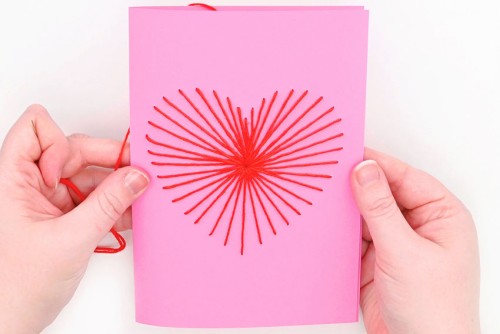
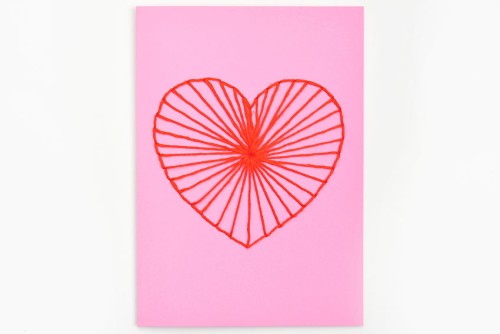
- Your heart string art card is complete!
Video
Notes
Looking for more string art ideas? Here's a few of our favourites:
Dad String Art
String Art Christmas Cards
Halloween String Art Cards