
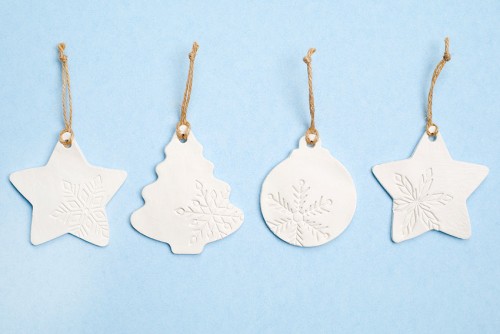
DIY Clay Ornaments
These DIY clay ornaments are SO EASY to make and they look great hanging on the Christmas tree. Such a fun winter craft for both kids and adults!
Yield: 4 clay ornaments
Cost: $2
Materials
Instructions
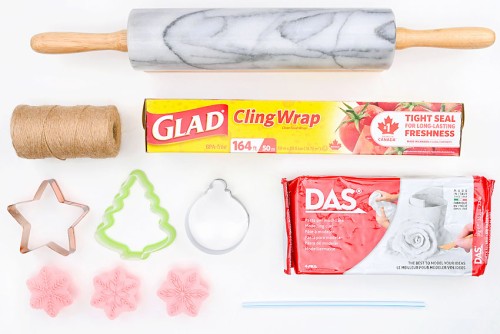
Step 1: Find what you need
- Gather your supplies and materials.
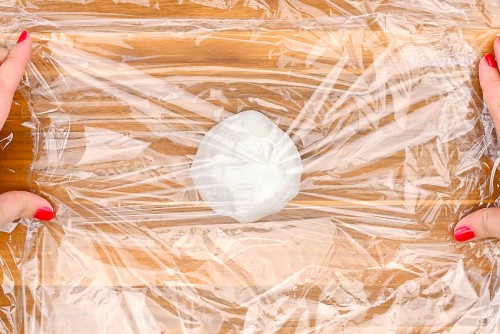
Step 2: Roll out the clay
- Place the ball of clay between two pieces of plastic wrap. This will stop the clay from sticking to your rolling pin and work surface.
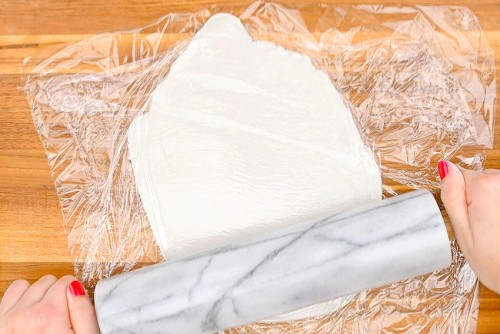
- Roll the clay, going back and forth until the clay is just under 1/4 inch thick.
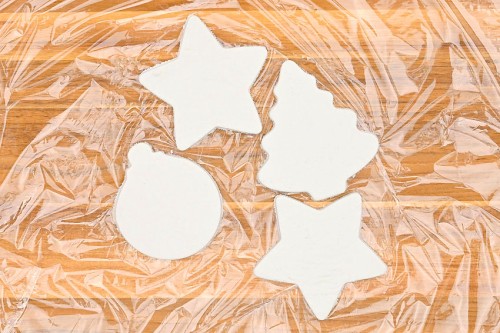
Step 3: Make the clay ornaments
- Peel off the top layer of plastic wrap and push a cookie cutter into the clay.Repeat, fitting in as many shapes as you can.
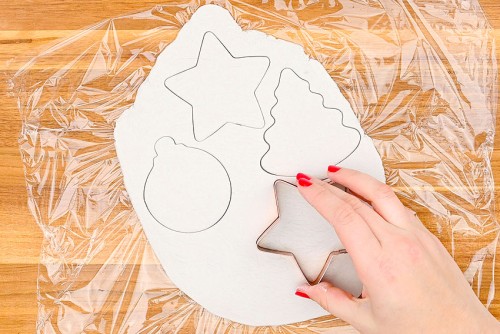
- Remove the clay from around the shapes, leaving the shapes in place.You can roll out more ornaments from the scrap clay if you'd like.
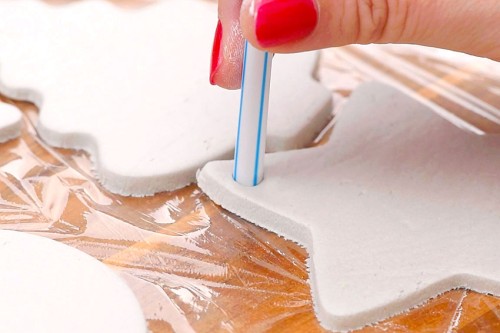
- Push the end of a drinking straw into each shape to make a hole to hang the ornament.
- Push a cookie stamp into the clay ornaments, firmly, but not hard enough to cut through the clay.We chose to place the stamp off-center at the edge of the ornaments, but you can place it wherever you'd like.
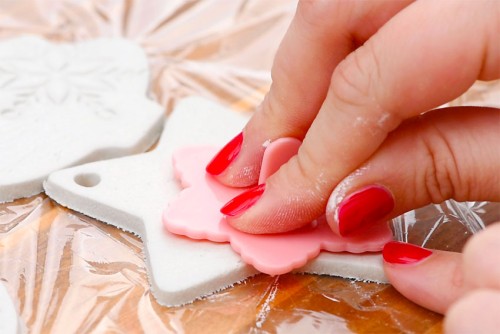
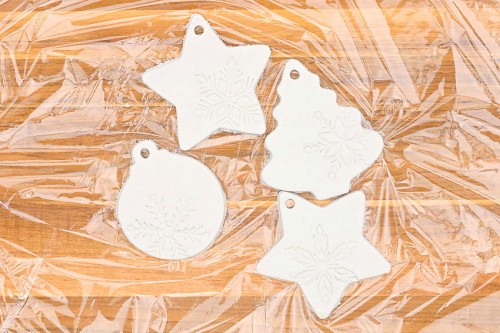
- Lift up the stamp to see the impression made in the clay.

- Allow the clay ornaments to dry for 24 - 48 hours.Flip the ornaments over half-way through, to dry the bottom of the ornament.
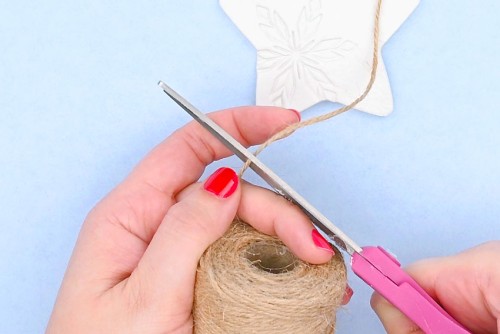
Step 4: Add an ornament hanger
- To make an ornament hanger, cut a piece of twine about 8 inches long.
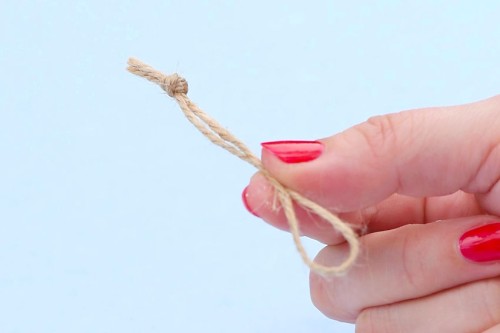
- Fold the twine in half and tie a knot in the end.
- Push the loop of the twine in from the back of the ornament.
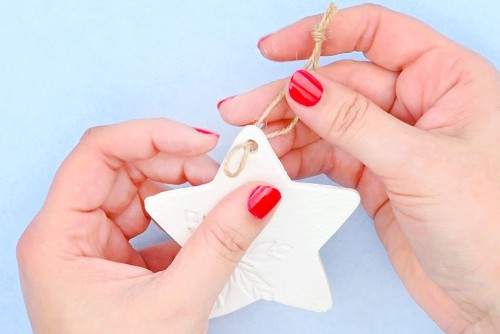
- Bring the knotted end forward through the loop and pull tight.
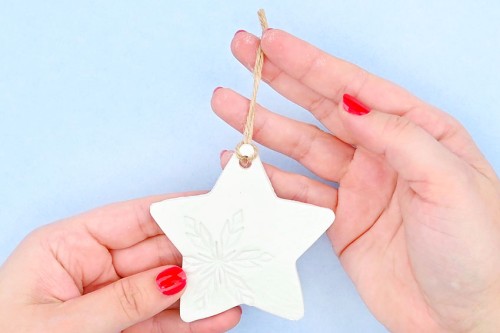
- Your clay ornaments are complete!
Video
Notes
Looking for more clay crafts? Here's a few of our favourites:
DIY Clay House
Clay Christmas Tree
Dried Flower Ornaments