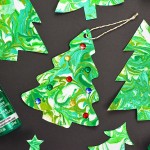
How to Make Marbled Christmas Trees
These marbled Christmas trees are so pretty and fun to make! Use paint and shaving cream to make this super easy winter and Christmas craft!
Yield: 1 marbled Christmas tree
Cost: $1
Equipment
- Stir stick (or popsicle stick, butter knife, etc)
- One hole punch (optional)
- Glue tape (optional)
Materials
- FREE Printable Christmas Tree Templates
- White cardstock
- Shaving cream (foam, not gel)
- Acrylic paint (various shades of green)
- Metallic baker's twine (optional)
- Rhinestone stickers (optional)
- Blue cardstock (optional)
- Printer paper (optional)
Instructions
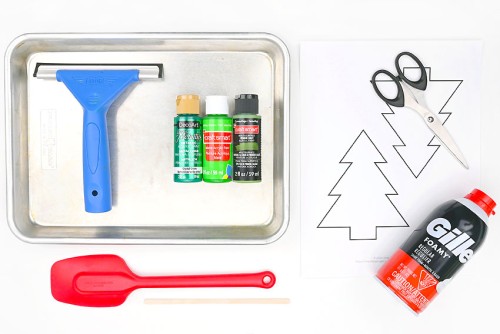
Step 1: Find what you need
- Gather your supplies and materials.
Step 2: Cut out the tree shapes
- Print one of our free Christmas tree templates onto white cardstock.
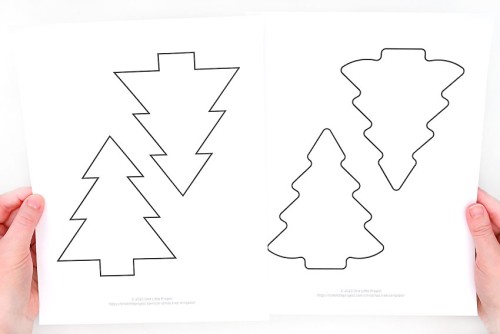
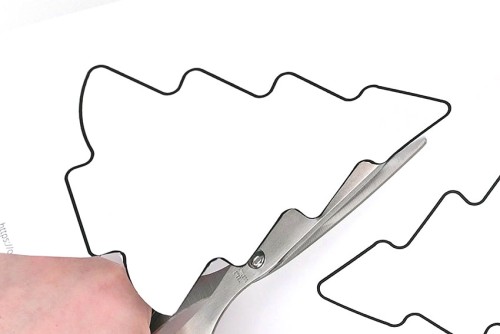
- Cut out the Christmas tree shape. You can also draw your own shapes on cardstock.
Step 3: Prepare the tray
- Add shaving cream to a tray.
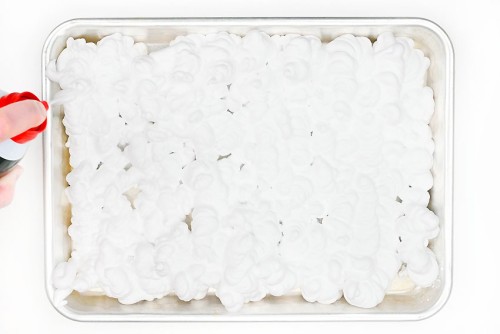
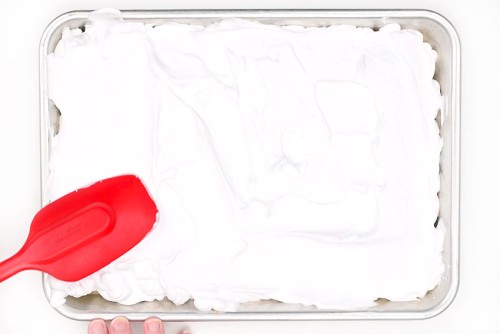
- Spread the shaving cream with a spatula to even it out.
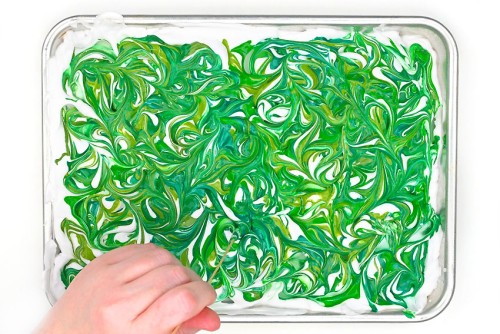
- Squeeze lines and dots of paint on top of the shaving cream in a random pattern.
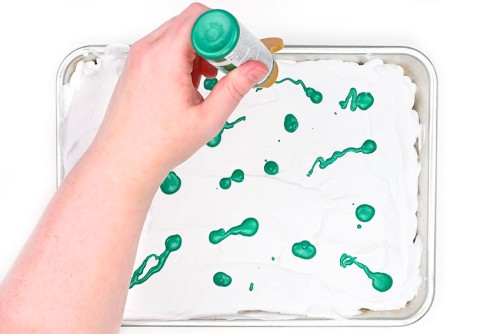
- Continue adding paint to the tray in one colour or different colours until it's evenly covered, as shown in the photo below.We used different shades of green, including a metallic green, but you can add any colours you like!
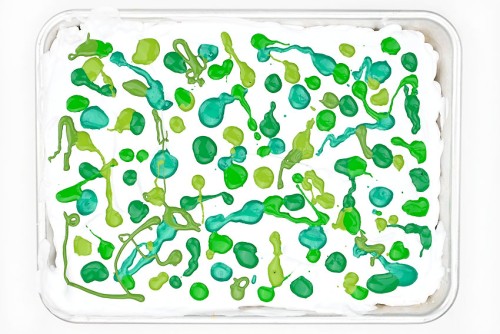
- Use a stir stick to swirl the paint around. Move up and down across the tray, and also side to side.Then move the stir stick in a curved motion until most of the shaving cream is covered in paint, with only small areas of white showing.
Step 4: Make the marbled Christmas trees
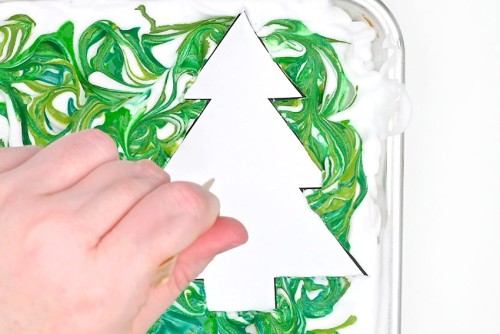
- Place a cardstock Christmas tree into the paint with the black outline side facing up (if you used our template). Press down on the tree (with your fingers, or a clean stir stick) to make sure the whole shape gets covered.Let the tree sit in the shaving cream and paint for a few seconds.
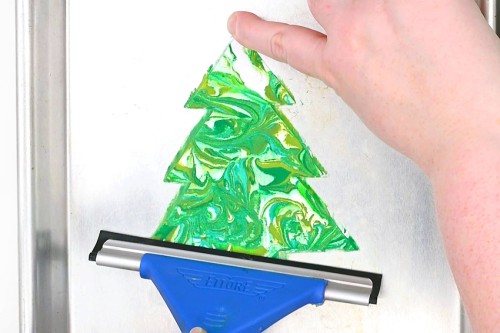
- Carefully peel the cardstock Christmas tree off the shaving cream and place it on a clean tray, shaving cream side up.Grab an edge of the tree with a fingertip and use a squeegee (or plastic ruler) to remove any extra shaving cream and paint. Use firm pressure for best results.
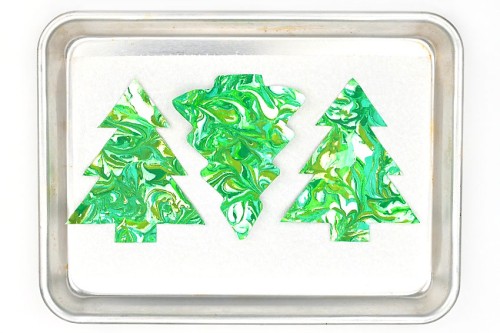
- Repeat with as many trees that fit on your tray.Let the Christmas trees dry for about 30 minutes on a paper towel before handling.
Step 5: Make a DIY ornament (optional)
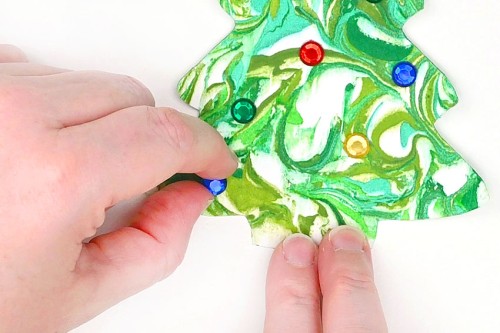
- Attach rhinestone stickers to a marbled tree. We added about 9 colourful rhinestones on the tree, randomly placed like Christmas ornaments.
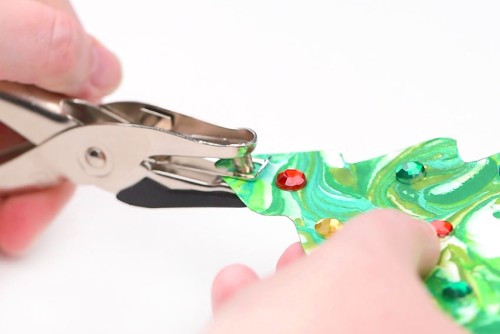
- Punch a hole near the top of the tree.
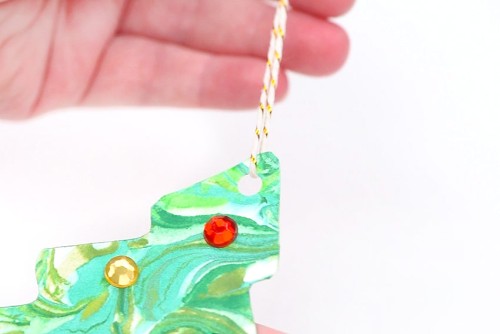
- Cut a piece of string (we used metallic baker's twine) about 8 inches long. Push the string through the hole and tie a knot, creating an ornament hanger.
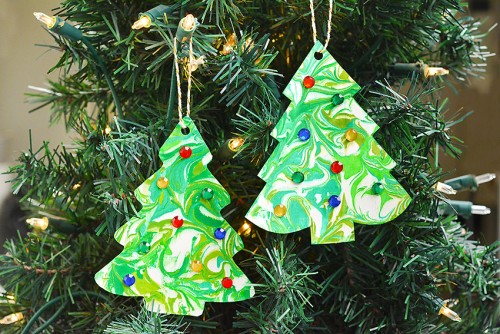
- Your marbled Christmas tree ornaments are complete!Now hang your pretty DIY Christmas ornaments on the tree.
Step 6: Make a homemade Christmas card (optional)
- Add glue tape to the back of a marbled Christmas tree.
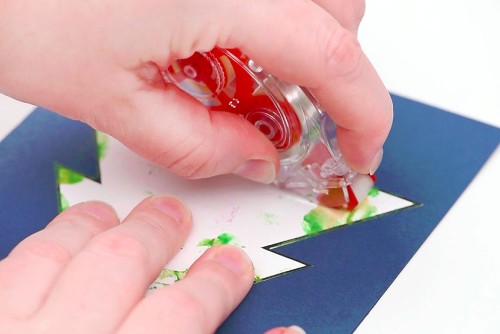
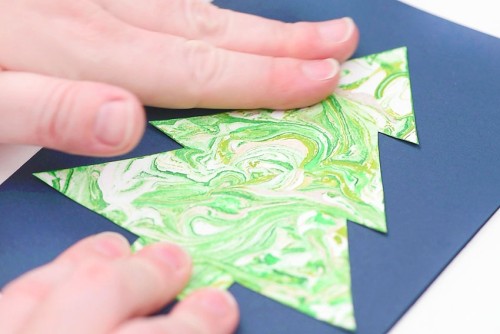
- Center the marbled Christmas tree and press it down on the front of a blank card.We cut navy blue cardstock to 7 x 10 inches and then folded it in half lengthwise, making a 5 x 7 blank card.
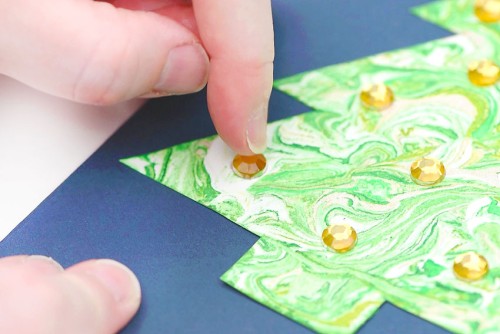
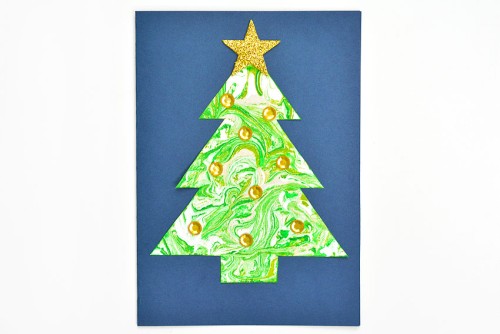
- Press rhinestone stickers onto the tree, and add a sparkly foam star at the top of the tree.
- If your card is a dark colour, like ours, add a white paper insert inside.Cut the paper to be 1/2 inch shorter in both directions (6-1/2 x 9-1/2 inches) and fold it in half. This will create a 1/4 inch border on each side.Glue tape the insert inside the card and then write your holiday message.

- Your marbled Christmas tree card is complete!
Video
Notes
Looking for more fun shaving cream art? Here's a few of our favourites:
Marbled Easter Eggs
Marbled Fall Leaves Painting
Shaving Cream Marbled Hearts