
DIY Felt Gnome Hat
Use our FREE printable felt gnome hat pattern to make this adorable accessory. This gnome hat is SO EASY to make, no sewing skills required.
Yield: 1 gnome hat
Cost: $2
Materials
- Free Printable Gnome Hat Template
- Large piece of felt (red or colour of choice)
- Faux flower decoration
Instructions
Step 1: Find what you need
- Gather your supplies and materials.

Step 2: Arrange and cut out the pattern
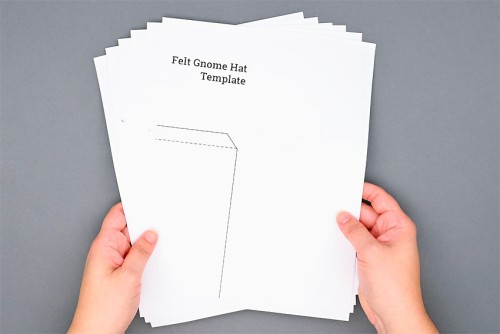
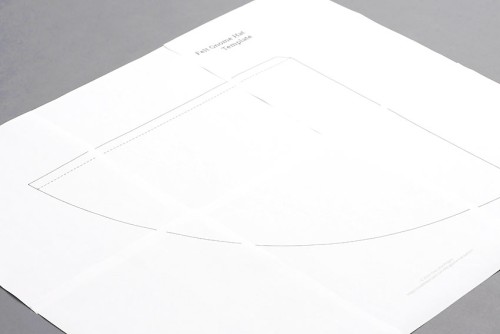
- Print out our free gnome hat pattern. Read below for printing instructions.
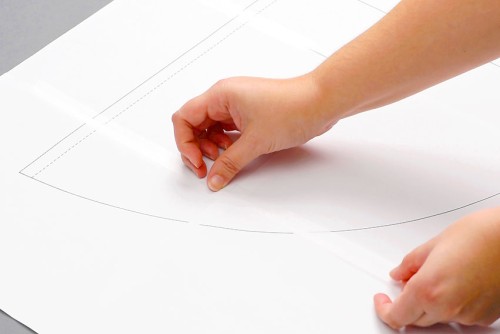
- Arrange the pieces of the pattern so the lines meet and they make the hat shape.
- Tape the pattern together.
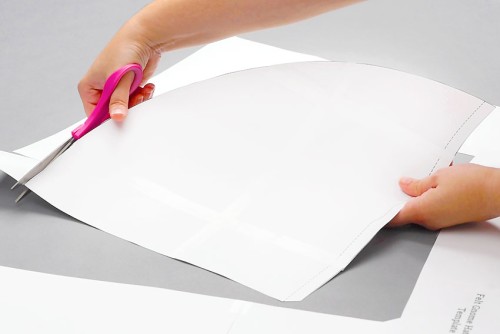
- Cut out the gnome hat template.
Step 3: Trace and cut out the hat
- Place the pattern on top of the felt and trace around it using chalk or a tracing pencil.Optional: Pin the paper to the felt to make sure it doesn't move.
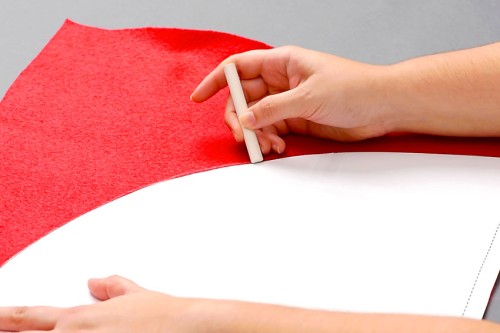
- Don't forget to mark the little corner piece to cut off.
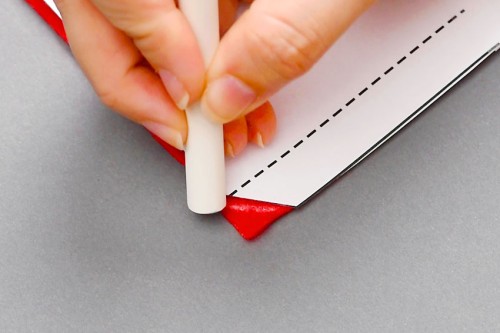
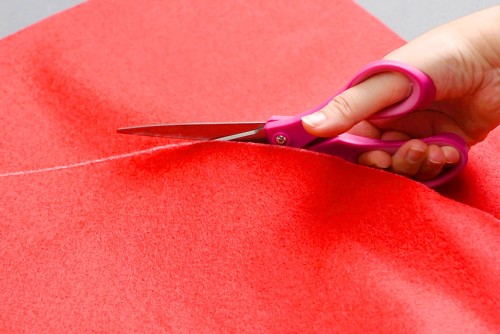
- Cut out the hat shape, using the chalk as a guideline.
Step 4: Glue the hat together
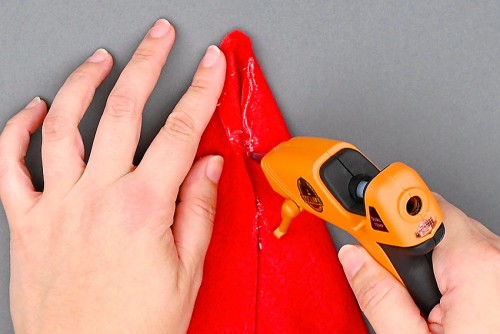
- With the rounded part of the felt in front of you, fold over both sides so that they just overlap.

- Lift up the top piece and add a line of hot glue to the other edge, all the way up the hat.

- Press the top piece of felt back down, into the glue. Hold it in place until it sticks well.

- Add glue near the top point, making sure it's well connected.
- Press down over top of the freshly glued section to keep it in place.Repeat for any other areas, as needed.

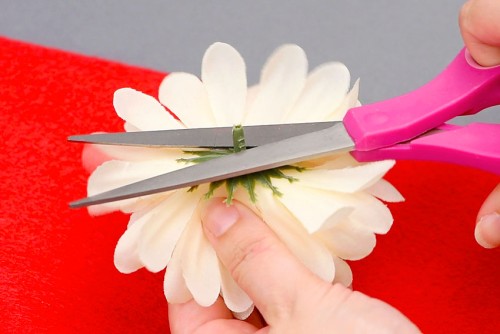
Step 5: Add a flower accent
- Flip the hat over so that the seam is at the center back.Snip off the flower's stem, as close to the back as possible.
- Add a generous amount of hot glue to the back of the flower.
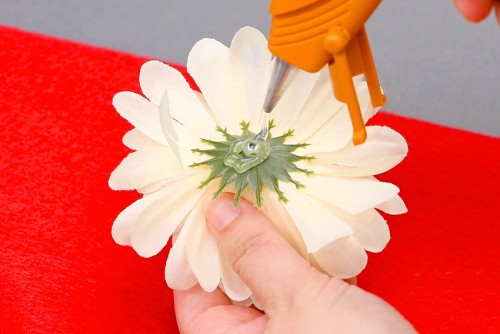
- Press the flower into place, close to the bottom side of the hat.

- Your gnome hat is complete!

Video
Notes
Looking for more felt crafts? Here's a few of our favourites:
Felt Monster Pattern
Felt Pumpkin Pattern
DIY Felt Roses