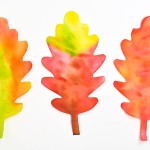
How to Make Coffee Filter Leaves
Make colourful fall leaves from regular coffee filters. Such a fun and easy kids craft for fall!
Yield: 2 coffee filter leaves
Cost: $1
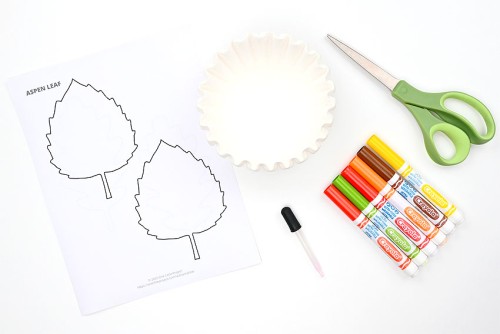
Materials
- Free Printable Leaf template
- 2 Coffee filters
- Washable markers (fall colours)
- Water
Instructions
Step 1: Find what you need
- Gather your supplies and materials.
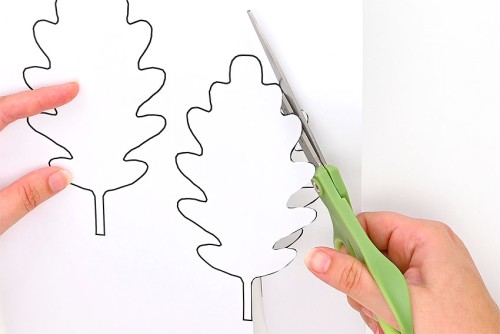
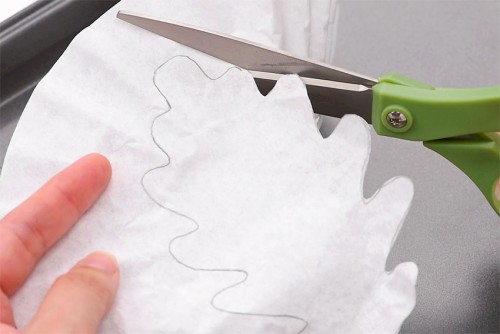
Step 2: Cut out your coffee filter leaves
- Print out a free leaf template (the link is in the list above) and cut out the leaf shape.
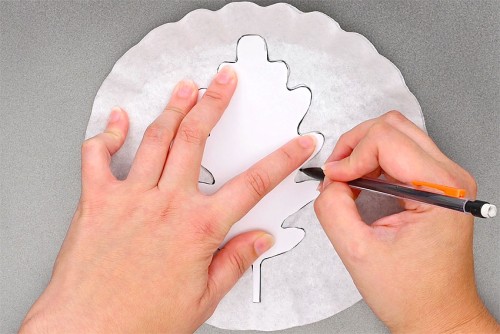
- Make a stack of two coffee filters.

- Trace the leaf shape onto the top coffee filter.
- Cut out the leaf shape while holding the two coffee filters together.
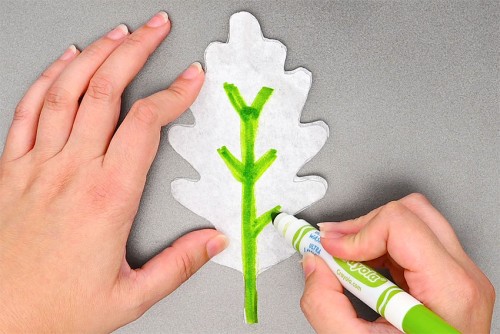
Step 3: Colour your coffee filter leaves
- Keep the two layers of coffee filter leaves together in a stack and place them on a baking sheet.Begin colouring on the leaf with washable markers. We drew the veins of the leaf down the center, but you can also just draw randomly.
- Add a second colour of marker to the leaf. Choose colours that will blend well together.
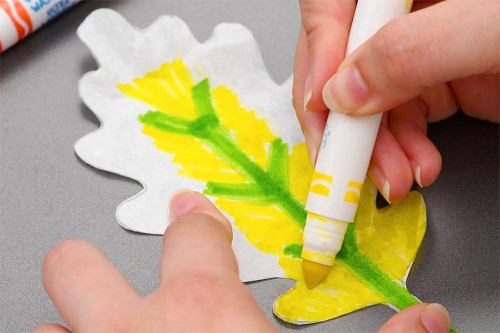
- Continue colouring the leaf, with another colour or two.For a bright and vibrantly coloured leaf, colour the entire leaf without leaving any white space. If you leave white space on your leaves, they'll end up being a light colour when they're done.
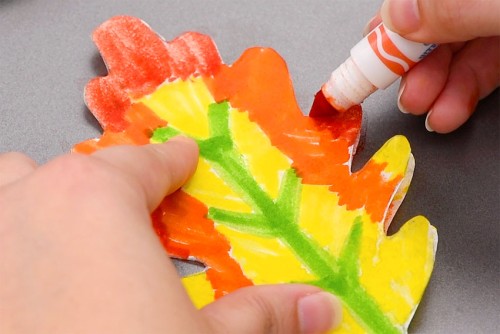
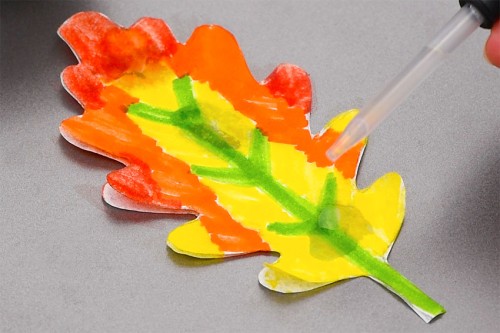
Step 4: Add water to the leaves
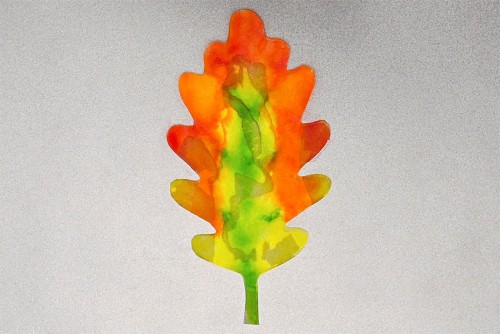
- Use an eyedropper to add one or two drops of water at a time to the leaf. Watch the water spread and blend the colours! Add more water to the dry parts of the leaf until the whole leaf is covered, but not drenched.
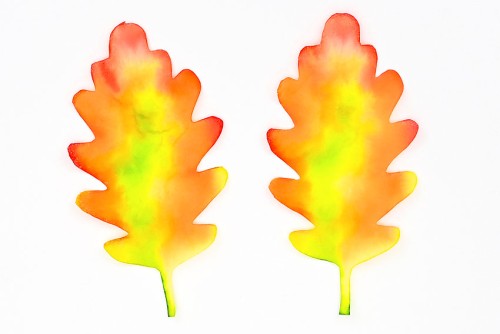
- Keep the leaves in a pile and allow them to dry. Do not use a paper towel to pat them dry - this will remove some of the colour.(For tips on drying the leaves quickly, see below.)
- Once they're dry, separate the two leaves. Your coffee filter leaves are complete!
Video
Notes
Looking for more coffee filter crafts? Here's a few of our favourites:
Coffee Filter Turkey Craft
How to Make Coffee Filter Spiderwebs
Coffee Filter Monsters