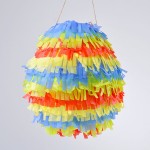
How to Make a Pinata with a Balloon
It's so easy to make a balloon pinata! Paper mache a balloon and create a fun and colourful DIY pinata!
Yield: 1 paper mache pinata
Cost: $5
Equipment
- Craft knife (or regular knife)
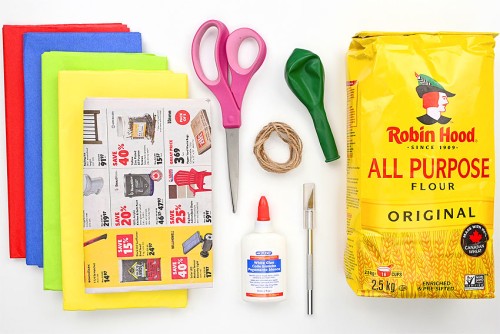
Materials
- 1 cup Flour
- 1.5 cups Water
- 12 inch Balloon
- Newspaper
- Tissue paper (at least 4 colours)
- Twine
- Wrapped candy (or toys)
Instructions
Step 1: Find what you need
- Gather your supplies and materials.
Step 2: Prepare the newsprint and make the glue
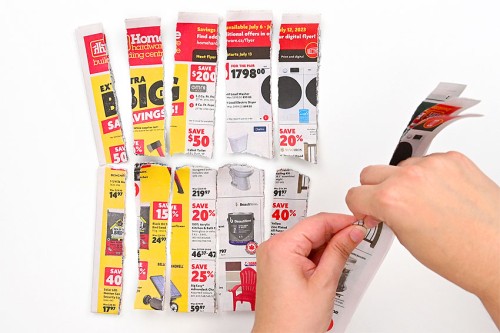
- Rip strips of newspaper into pieces that are about 1 inch wide and between 4 to 6 inches long.
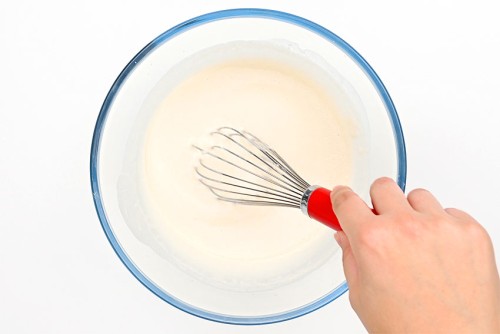
- Add the flour and water to a large mixing bowl.(We prefer glass or metal bowls, because the flour glue sticks to plastic more easily.)
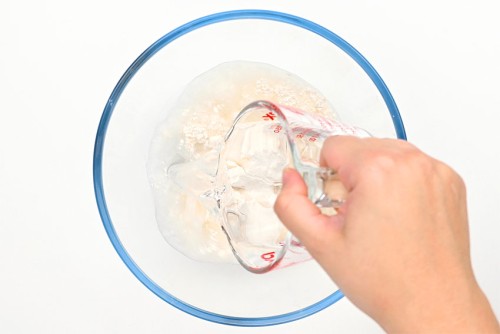
- Mix well with a whisk until there are no clumps remaining.
Step 3: Apply the paper mache to the balloon
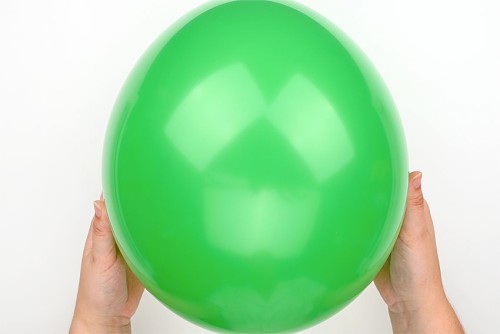
- Blow up your balloon to the size you'd like your pinata to be and make a knot in the balloon neck.Place your balloon in a bowl to keep it steady.
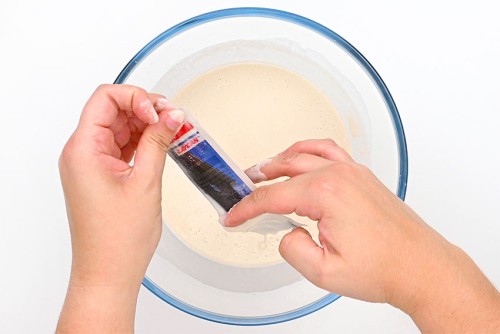
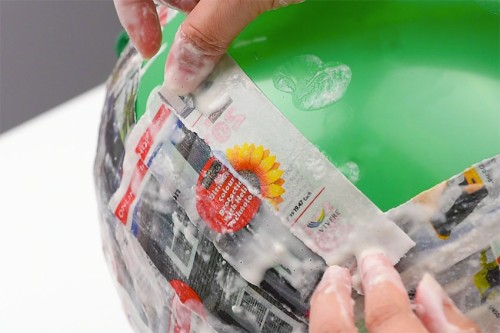
- Dip a newspaper strip into the paper mache mixture, saturating it completely. Slide the paper through your fingers to wipe off the excess paste.
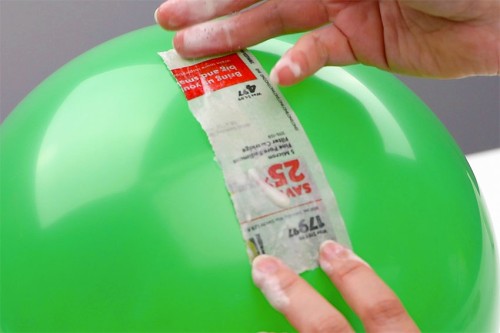
- Place the paper strip on the balloon, smoothing it down with your fingers.
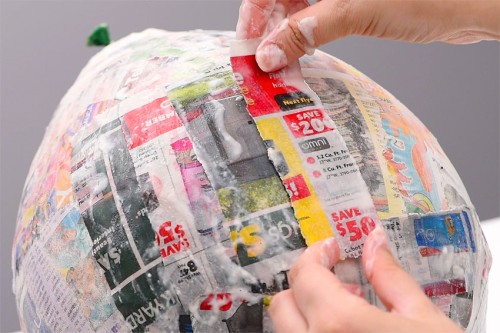
- Continue adding strips of newspaper, with paper mache paste on them, to the balloon.Add the strips in different directions, overlapping them as you make your way around the balloon.
- Continue until the balloon is completely covered and allow to dry. It may take 6 to 12 hours to dry depending on how much paste you added to your paper strips.
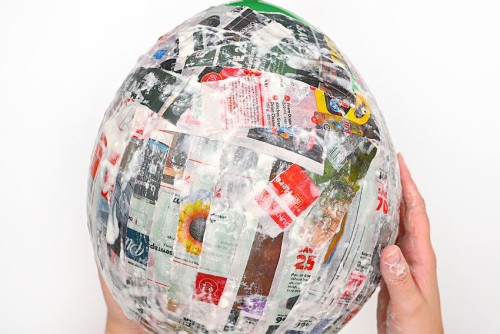
- Add a second layer of paper mache to the balloon. Allow to dry again.Then repeat for a third layer, again allowing it to dry.
Step 4: Prepare to decorate the pinata
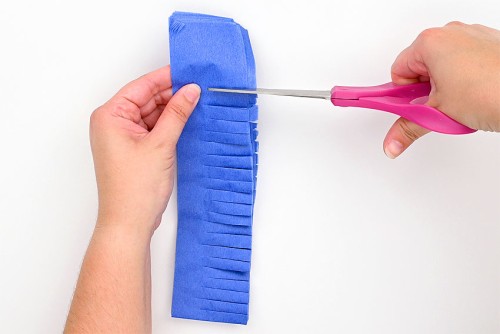
- While the last layer of paper mache is drying you can prepare your tissue paper frills to decorate the pinata.Unfold the tissue paper so that it's still folded in half and cut a 2-1/2 inch wide strip, starting from the folded edge.
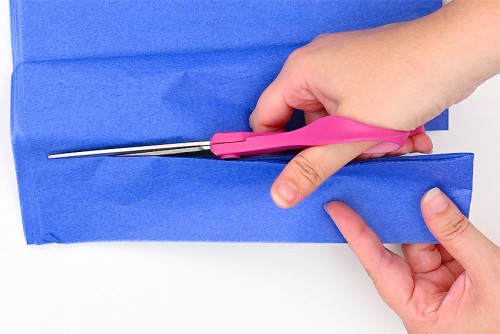
- Cut a fringe along one edge of the tissue paper strips, leaving about 1 inch uncut.We made our cuts every 1/4 inch or so, but you can make them thinner or thicker, depending on how you want your pinata to look. Repeat for other colours of tissue paper. We used blue, green, red, and yellow.
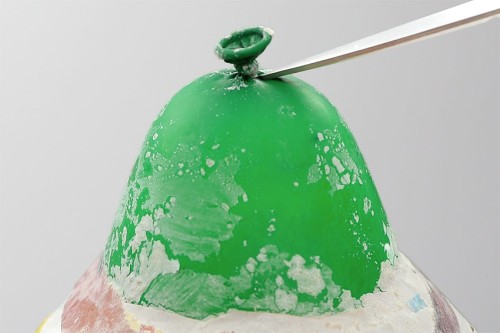
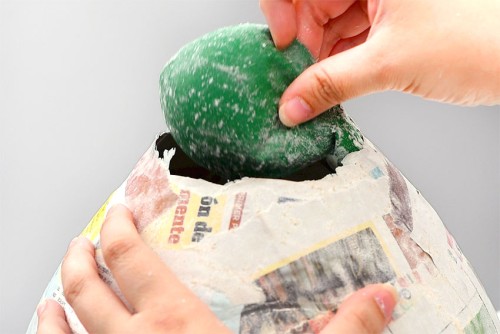
- Once the paper mache is dry you can cut a tiny snip near the knot of the balloon to deflate it.
- Remove the balloon from the pinata.
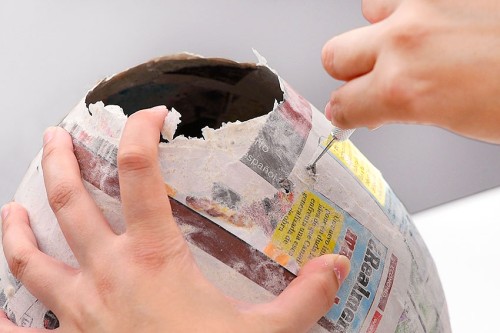
- Use a craft knife (or a knife tip, or scissors) to create a small hole about 1 inch from the top of the pinata. Then make a second hole about 3/4 inch away from the first one.
- Cut between 5 to 6 feet of twine (or another strong string) and slide the twine in one hole and back out the other. Secure the twine by tying it in a knot.
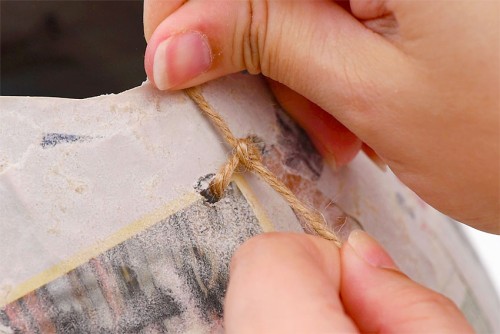
- Repeat on the other side, creating a hanger for the pinata.
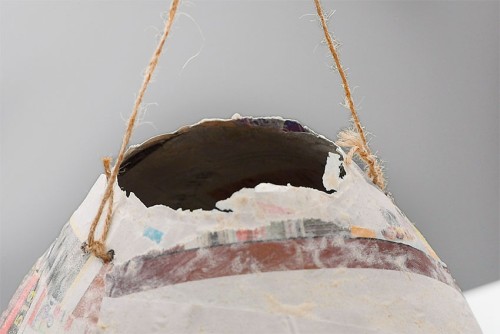
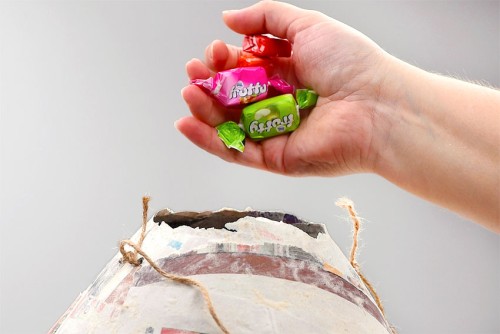
- Add candy (or whatever else you'd like to add) to the pinata now, or wait until you've added most of the tissue paper frills.We prefer adding candy at this point. It gives the pinata a bit of weight, so it stays in place as you decorate it.(And this way there's no chance of forgetting to fill the pinata before closing it off!)
Step 5: Decorate the pinata
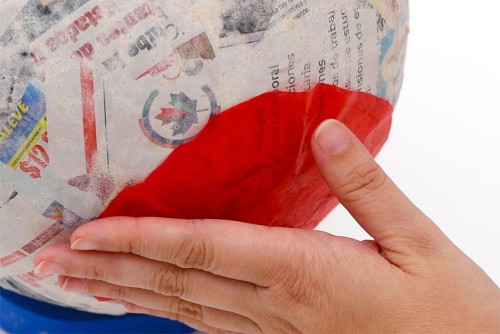
- Cut a circular piece of tissue paper that will fit on the bottom of your pinata and add lines of glue to it. The candy opening will be at the top of the pinata, so the bottom is the end without the hole.
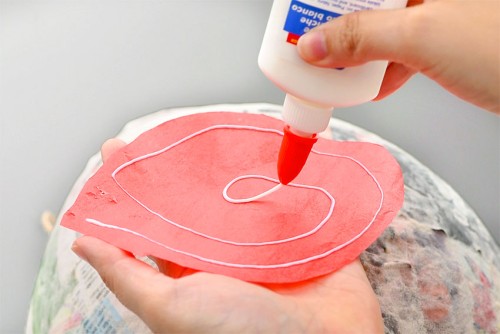
- Attach the circle to the bottom of the pinata, smoothing it into place.
- Add a line of glue around the edge of the tissue paper circle you just added.
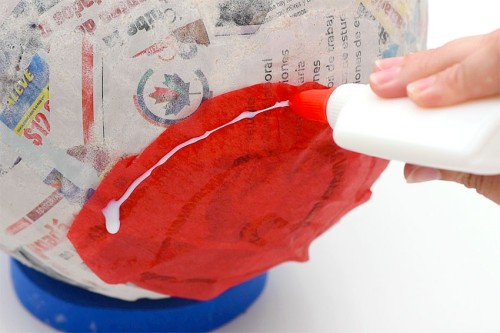
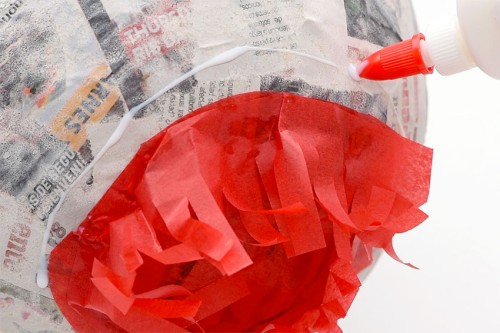
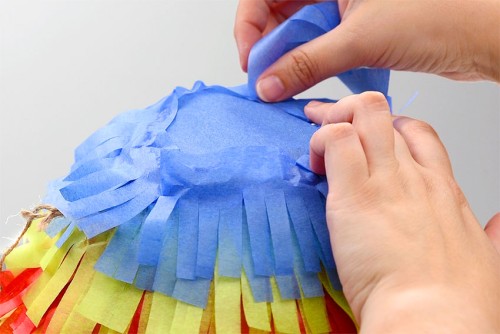
- Attach a fringe of the same colour onto the glue and begin wrapping it around the pinata.
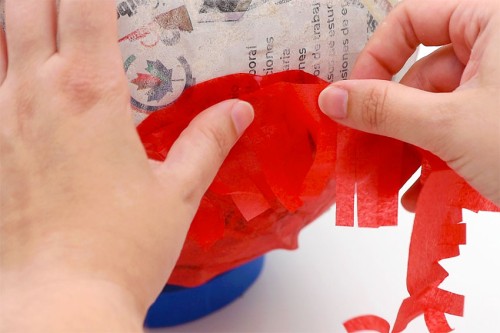
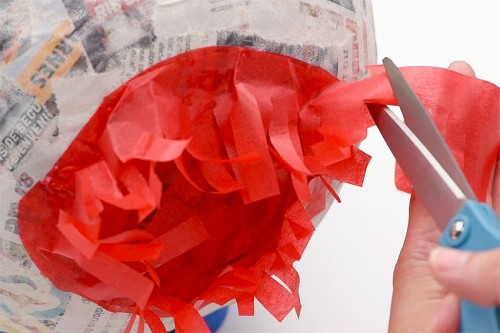
- Continue wrapping the fringe around and connecting it with glue. Once you've gone all the way around, cut off any extra tissue paper.
- Add a line of glue about 1/2 to 3/4 inch above the last frill layer.
- Add a 2nd layer of fringe in the same colour.
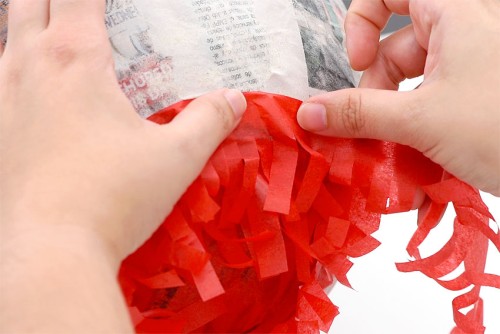
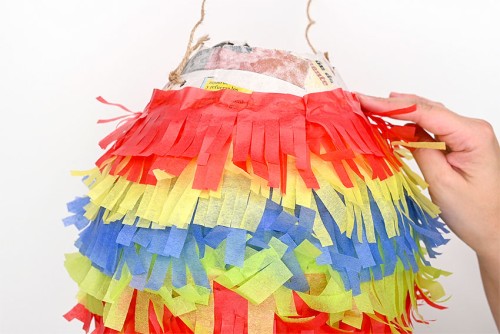
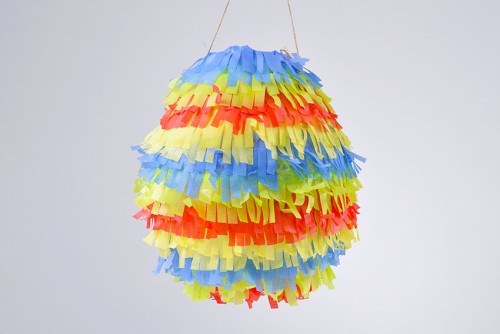
- Choose a new colour of fringe and wrap two layers around the pinata. Then continue the process, creating a pattern of different colours as you work your way up the pinata.Stop once you reach just below the twine hanger.
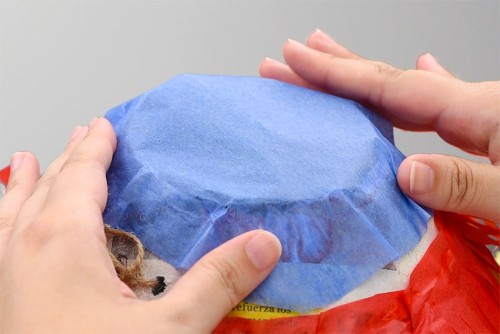
- Figure out what colour you'll be ending your pinata with. Cut out another circle of tissue paper in that colour to cover the top hole.Make sure you've added your candy and then add glue around the top opening of the pinata. Press the tissue paper circle into place.
- Continue your fringe pattern of 2 layers of each colour, and finish by adding frills that match the top of the pinata.Allow the glue to dry.
- Your pinata with a balloon is complete!
Video
Notes
Looking for more DIY party ideas? Here's a few of our favourites:
Balloon Garland
DIY Banner (Free Printables!)
Rainbow Birthday Party Ideas