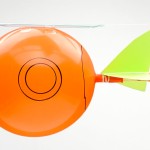
How to Make a Balloon Rocket
It's SO FUN to make a balloon rocket! This simple science experiment is such an easy hands-on STEM project for kids of all ages.
Yield: 1 balloon rocket
Cost: $1
Materials
- Balloon
- Smoothie straw (Wide opening)
- Plastic straw (Regular opening)
- Rubber band
- Tissue paper (red and orange)
- Colored cardstock
- Tape
- Black marker (optional)
- Fishing line
Instructions
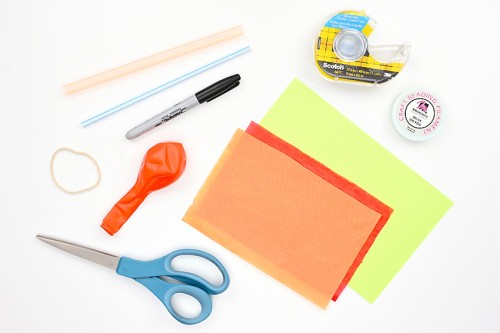
Step 1: Find what you need
- Gather your supplies and materials.
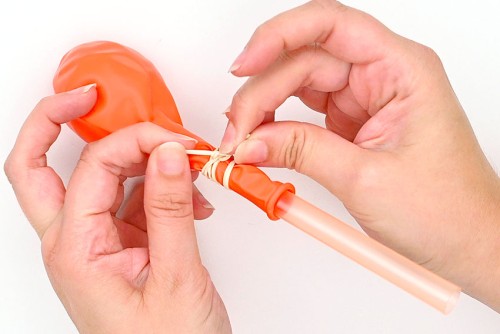
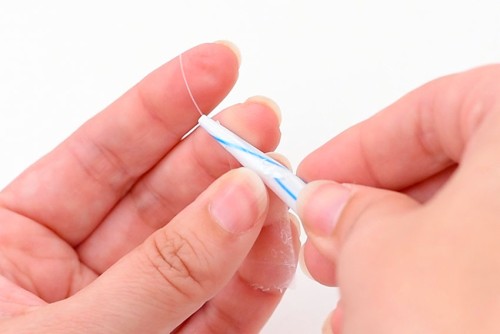
Step 2: Insert a straw in the balloon
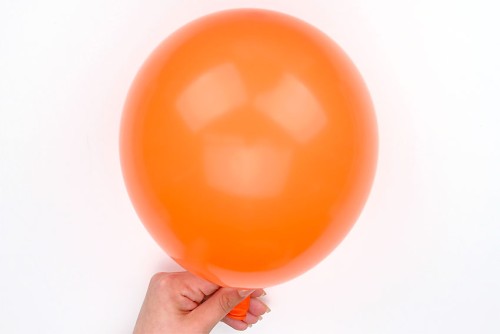
- Blow up a balloon to stretch it out and then let it deflate.
- Insert a smoothie straw through the neck of the balloon. Push it almost all the way to the other end of the balloon.
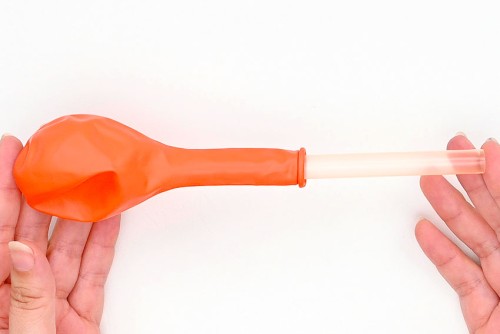
- Wrap a rubber band around the neck of the balloon to keep the straw in place.
Step 3: Add "flames" and fins to the balloon rocket
- Cut pieces of red and orange tissue paper to be about 6 inches long and 2 to 3 inches wide.Then cut strips about 3/8 inch wide down one side, creating a fringe.

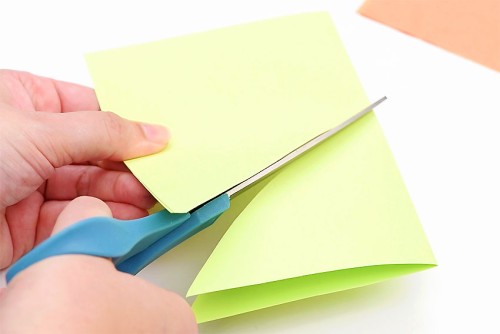
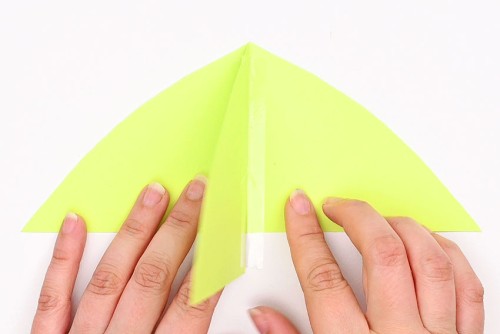
- Cut a rectangle from cardstock about 8.5 inches long and 3.5 inches wide.Fold the paper in half. Cut a slightly curved line, starting from the bottom corner of the open side. End the cut a little over halfway up the folded side. You should have a triangle shape that opens up into a wide triangle.
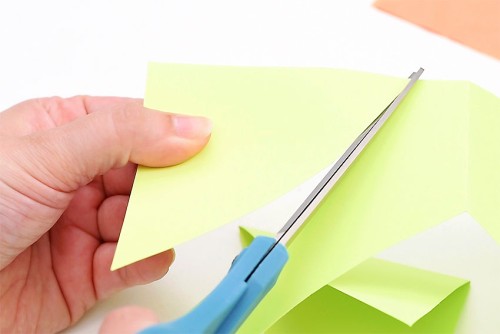
- Open up the remaining scrap of cardstock and cut another triangle shape. This time, a single layer that's the same size as the previous triangle when it's folded in half.
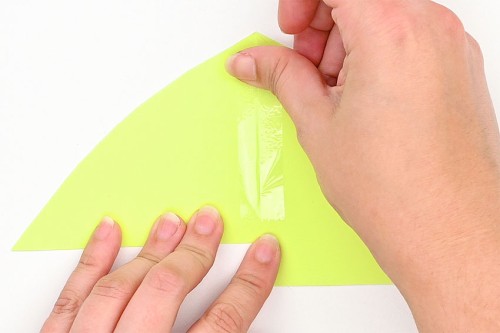
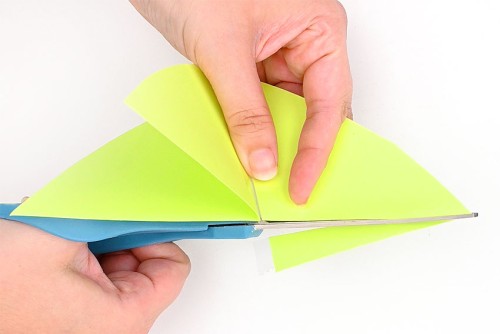
- Open the folded triangle and line up the top points of both cardstock pieces. Make sure the straight edge of the single triangle lines up with the center fold of the other triangle.Tape one side of the triangle in place.
- Then tape the other side of the triangle. You've created 3D fins for the rocket!
- Trim the paper, if needed, so that the bottom lines are even.
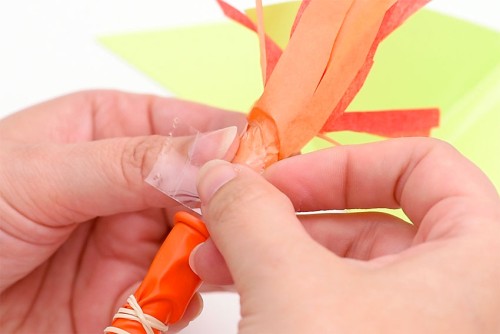
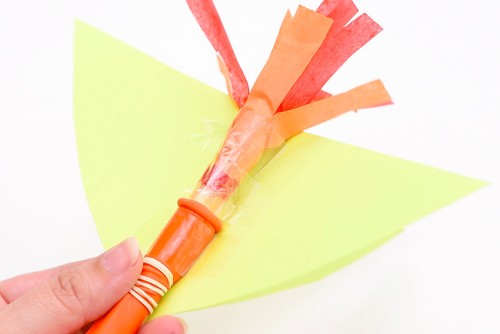
- Wrap the tissue paper flames around the straw and tape them into place. Leave about 1 inch at the end of the straw free so you can still blow into the straw to inflate the balloon.
- Tape the rocket fins so that the top center points towards the top of the balloon. The long edge should be just about even with the end of the straw.Add several pieces of tape across the straw to keep the cardstock in place.
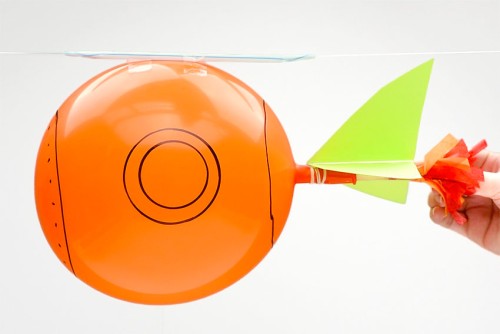
Step 4: Decorate the balloon (optional)
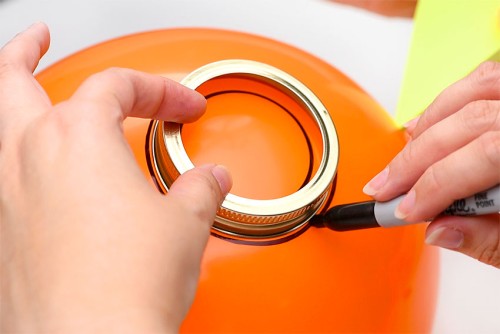
- Find a circular object (like a bowl or canning ring) and trace around it with a black marker to make porthole windows on both sides of your rocket.
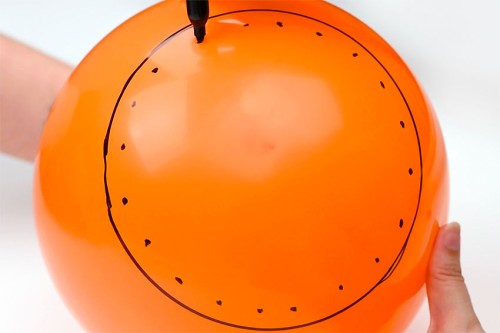
- Then draw a large circle on the front with small "rivet" dots all around the inside. You can also draw a final circle around the bottom of the balloon where the fins and flames are. After drawing on the rocket you can let your balloon rocket deflate, but be careful where you set it - the marker tends to smudge easily!
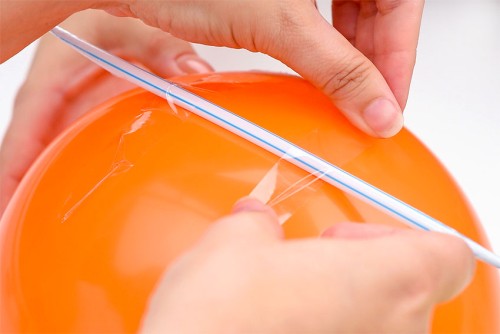
Step 5: Attach the balloon rocket to a string
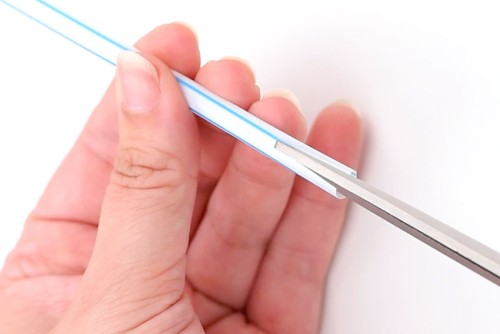
- Cut a 1 inch slit in both ends of the thinner straw.
- Slide fishing line through the straw.
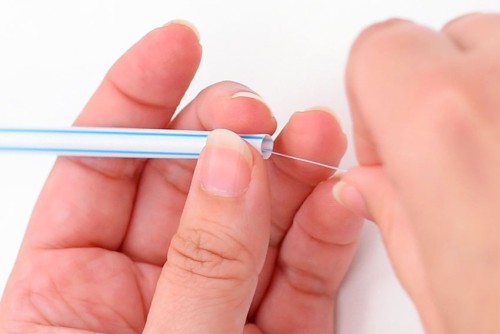
- Twist the straw ends around each other to make the straw thinner at the end. Tape it together. Repeat on the other side.This makes the rocket move more smoothly across the line.
- Tie fishing line to two items at least 10 feet apart and at a similar height. Chairs, table legs, and doorknobs work well.Blow through the end of the smoothie straw to inflate the balloon. Carefully hold your thumb over the end so it doesn't deflate. Then have a friend tape the fishing line straw to the top of the balloon rocket.
- Bring the balloon to one side of the fishing line. When you're ready, take your thumb off the straw and watch the balloon rocket go flying!Your balloon rocket is complete!
Video
Notes
Looking for more fun STEM ideas? Here's a few of our favourites:
Balloon Car
Paper Airplane Launcher
Popsicle Stick Catapult