How to Make Painted Salt Sculptures
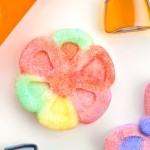
These painted salt sculptures are so cool! Make a salt structure and then drop colour on it, watching it spread like magic. It's so fun!
Yield: 9 salt structures
Cost: $1
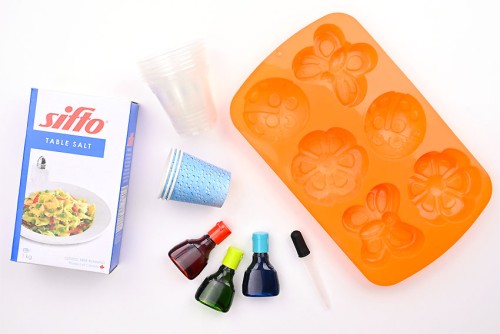
Equipment
- Dixie cups (optional)
- Disposable plastic cup(s) (or small bowls)
Materials
- 3 cups Salt
- 3 Tablespoons Water
- Food colouring (diluted in water)
Instructions
Step 1: Find what you need
- Gather your supplies and materials.
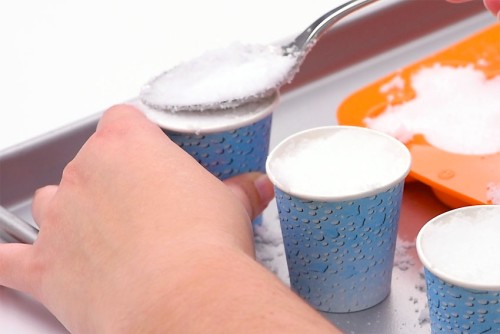
Step 2: Make the salt sculptures
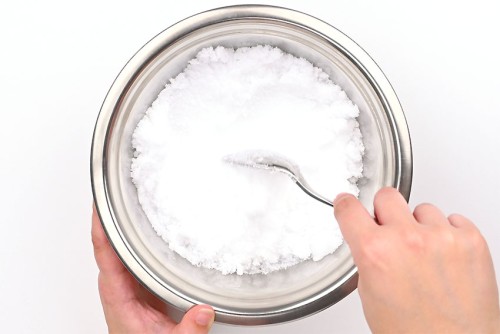
- Combine the salt and water in a mixing bowl.

- Stir well, with a spoon, until the mixture is wet and crumbly. Make sure that there aren't any dry spots.
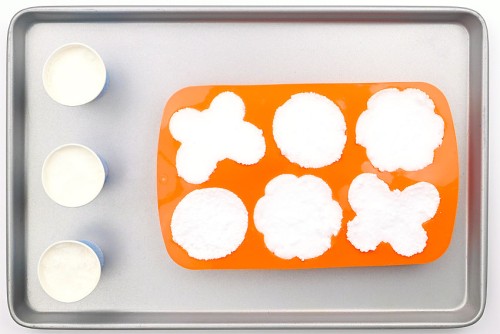
- Fill the silicone molds with the salt mixture and pack it down. Fill the molds tightly, like you would a sand castle.
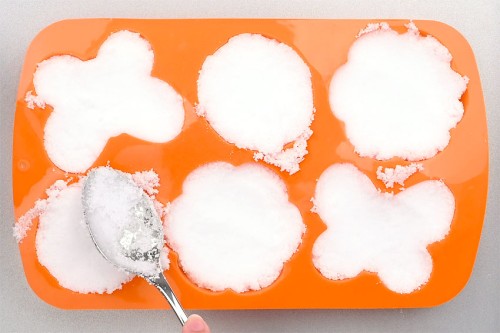
- You can also fill Dixie cups to make little sand castle structures.
- Allow the salt sculptures to dry overnight.
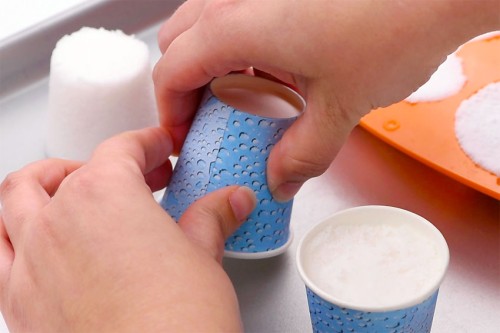
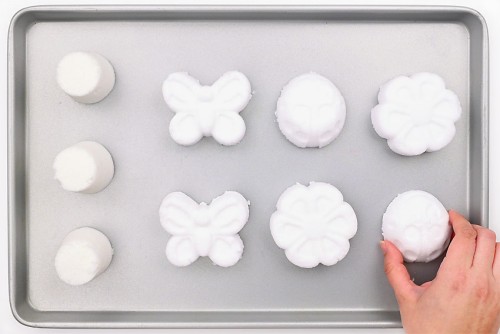
Step 3: Unmold the salt sculptures
- To unmold the Dixie cups, flip them upside-down. The salt sculpture should come out easily, but you can squeeze the sides of the cup gently to help it come out.
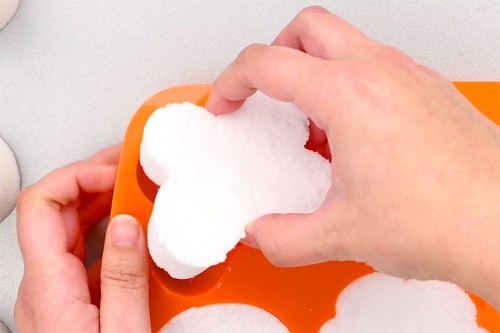
- To remove the salt sculptures from the silicone molds, carefully push up from the bottom of the mold and gently pull the salt sculpture out of the mold.
- Set the unmolded salt sculptures onto a baking tray or other flat surface that can handle food colouring.
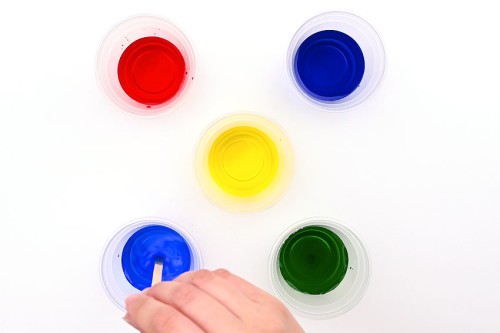
Step 4: Mix up the food colouring
- Add about 1/4 cup of water to small bowl or cup. Prepare 1 bowl for each colour you'd like to paint with (eg. 5 bowls for 5 colours).Then add 5 - 10 drops of food colouring to each bowl.

- Stir the food colouring and water until mixed.
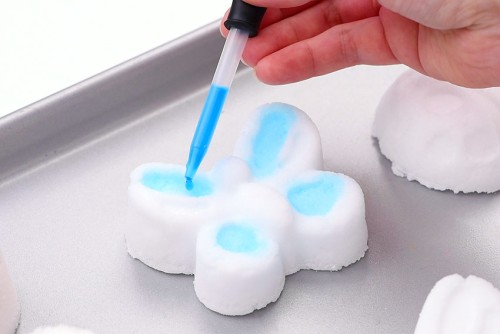
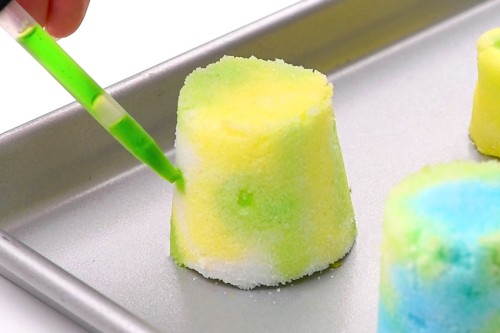
Step 5: Have fun painting your salt sculptures
- Use an eyedropper to squeeze drops of "paint" onto your salt sculpture. Then watch the color spread across the salt.
- Add a second, and even a third, colour to your salt sculpture. Silicone molds with ridges allow for some colour separation, but generally the colours will start to blend where they meet.
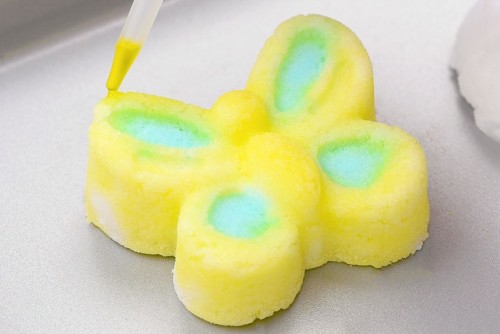
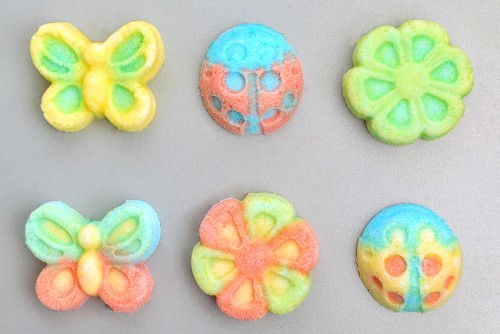
- Continue adding colour to your salt sculptures. Experiment with colour mixing and abstract patterns.Allow the salt sculptures another 12 hours to dry before handling them.
- Your painted salt sculptures are complete!
Video
Notes
Looking for more fun projects using salt? Here's a few of our favourites:
How to Make Salt Crystals
Salt Painted Halloween Craft
Salt Dough Ornaments