
How to Make a Paper Airplane Launcher - Cardstock and Elastic
It's so fun and easy to make a paper airplane launcher! Use cardstock and an elastic to make this simple STEM toy and watch your paper plane soar!
Yield: 1 paper airplane launchers
Cost: $1
Materials
Instructions
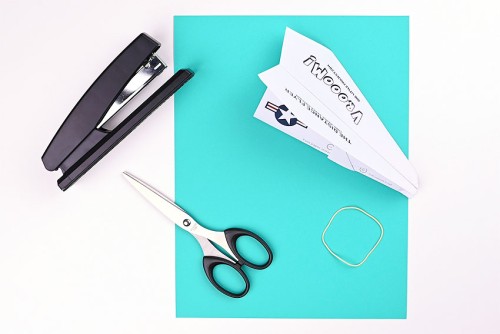
Step 1: Find what you need
- Gather your supplies and materials.
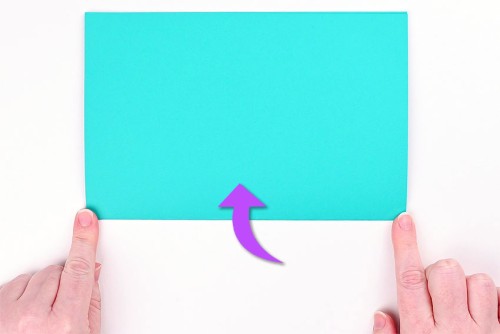
Step 2: Fold the cardstock
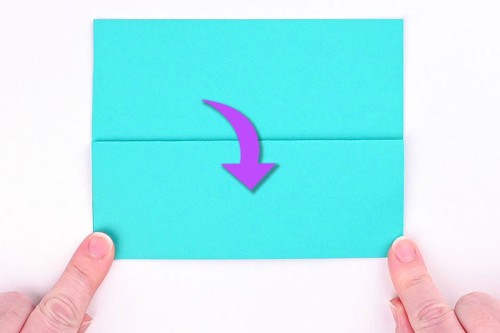
- Fold a piece of cardstock in half.
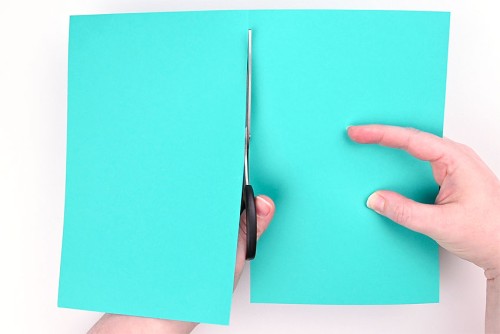
- Cut on the fold line and discard one half.
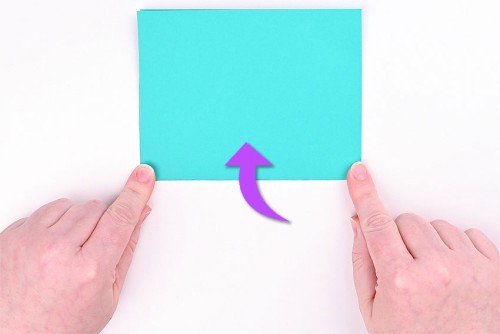
- Fold the half piece of paper in half.
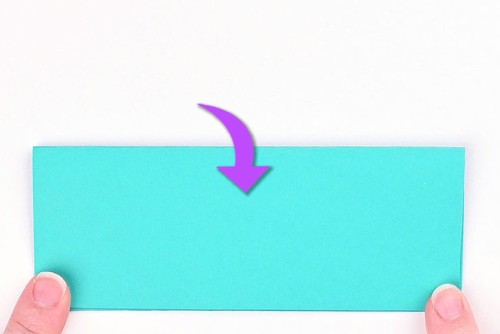
- Fold the top edge down to line up with the bottom fold.
- Flip over and repeat, folding the other top edge down to the bottom fold.
- Fold the top layer of paper up to meet the top edge.
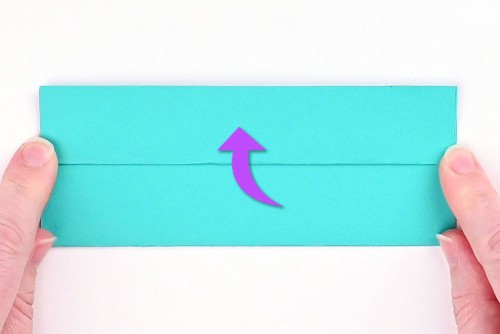
- Flip over and repeat, folding the top layer up to the top edge.
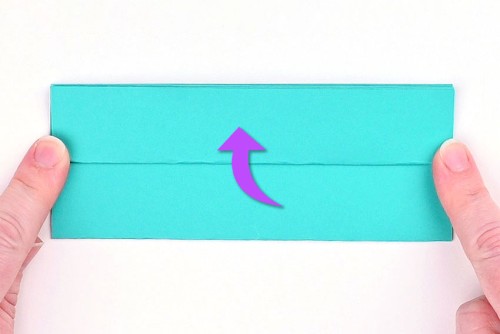
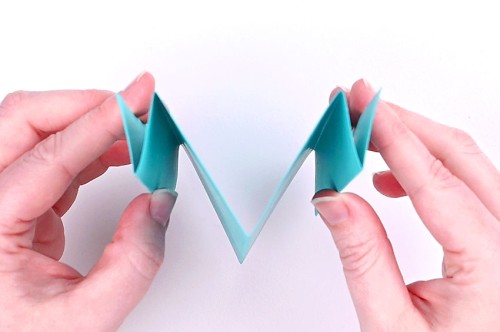
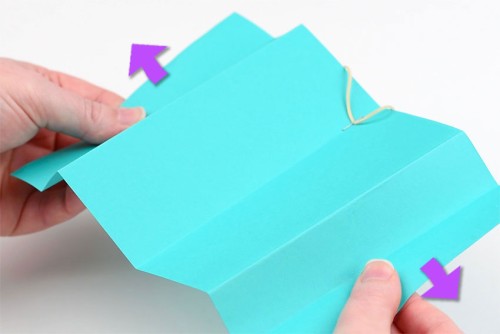
- When you open up the folds the paper should have a big "V" shape in the middle with 2 little "V" shapes beside it like in the photo below.
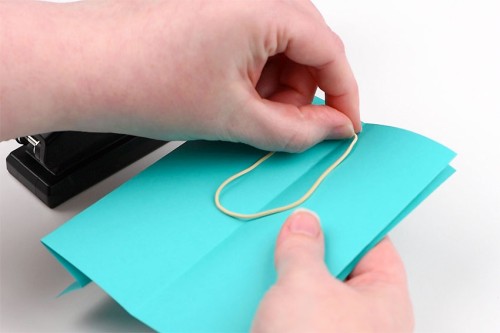
Step 3: Attach the elastic
- Open up the cardstock and plastic a rubber band at the middle fold, close to one edge.
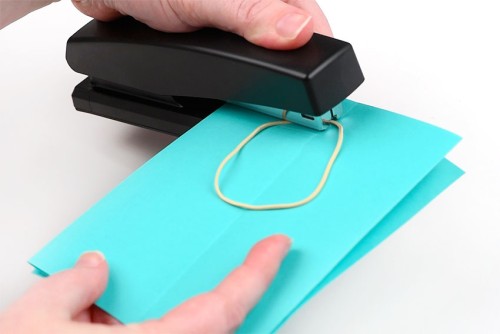
- Staple the elastic in place. Be careful not to accidentally staple through any of the other layers in the folded paper.
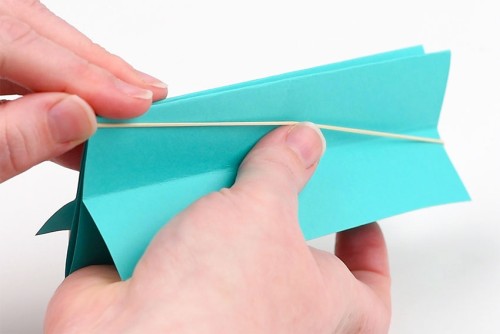
- Close the middle fold, then stretch the rubber band around the outside of the cardstock and onto the back. Make sure the elastic is close to the top at the back.
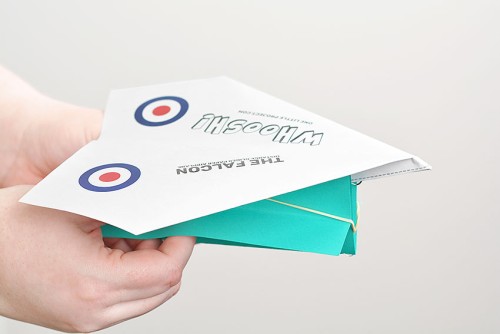
- Once you put the plane inside the launcher you will pull on the side tabs of the launcher. The elastic will fly forward and shoot the paper airplane into the air.
- To use the launcher, place the body of the plane in the center of the cardstock and up against the elastic at the back. Pull the tabs and send your plane flying!Your cardstock launcher is complete!
Video
Notes
Choose a rubber band that's just the right length for the cardstock paper airplane launcher. You need to use an elastic that fits snugly on the cardstock without bending the paper.