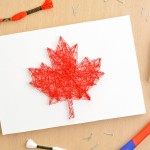
DIY Maple Leaf String Art
Use our free printable template to make this maple leaf string art! It's SO EASY to make, and it's such a fun homemade craft for Canada Day!
Yield: 1 Canada Day string art
Cost: $5
Materials
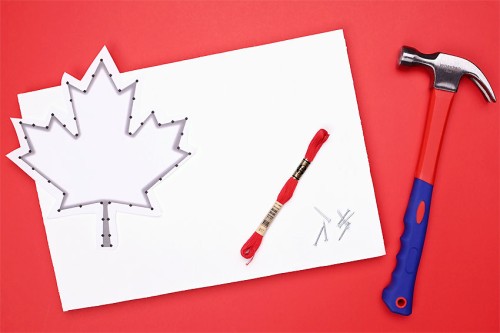
- 3/4 inch thick wood (painted, roughly 12 x 12 inch size)
- Common nails (7/8 inch long)
- Red embroidery floss (3 - 4 skeins)
Instructions
Step 1: Find what you need
- Gather your supplies and materials.
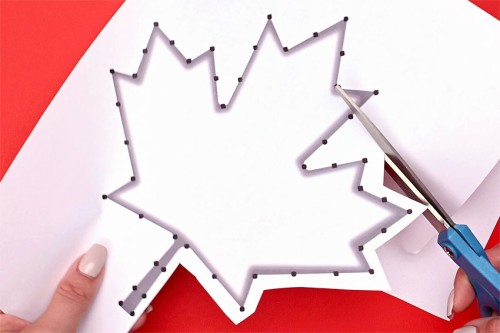
Step 2: Add the template to the wood
- Print off the free maple leaf string art template (the link is in the list of supplies above!) and cut out the shape roughly. Leave about 1/2 inch of paper outside the shape so you have room for the nails.
- Tape the maple leaf to the center of your wood board to keep it in place.You can use plain wood, or paint your wood white like we did.
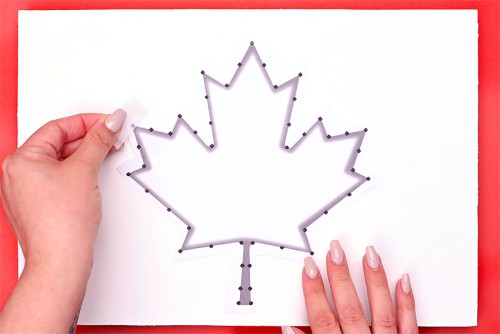
Step 3: Hammer in the nails and remove the template
- Hammer in the nails around the outside of the maple leaf so that they're sticking out about 1/2 inch above the wood.If you're using the template, add the nails on the marked spots. Otherwise, add nails every 1/2 to 3/4 inch, keeping them a fairly even distance apart.
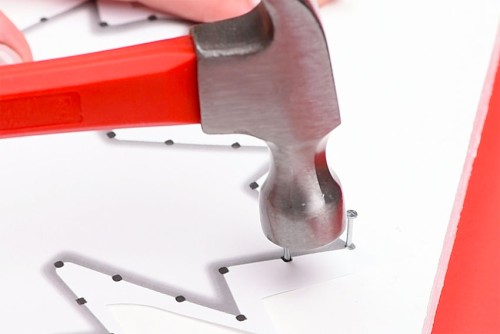
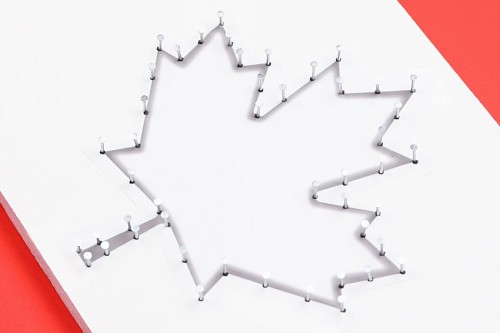
- Continue, adding nails all around the outside of the leaf.Make any final adjustments, checking that the nails are fairly straight and evenly hammered into the wood.
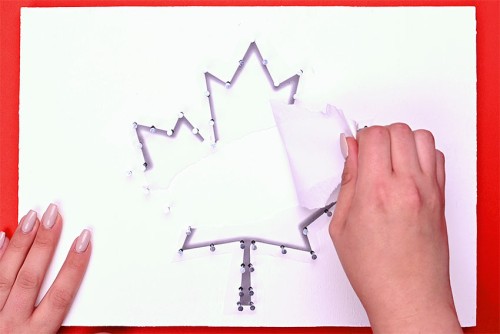
- Rip off the maple leaf template from the board. Try to remove as much of the paper as possible.If you can't get some of the tiny pieces, use tweezers to help pull it out.
Step 4: Add string to the nails
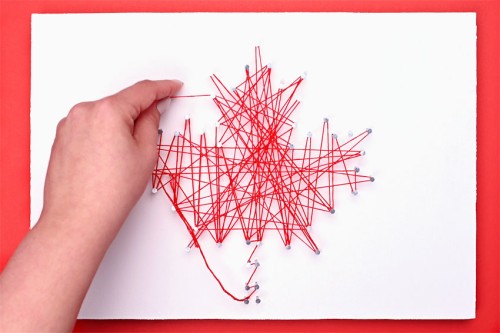
- Start by tying the red embroidery floss to one of the nails in a double knot.Leave 1 to 2 inches of string on the end.

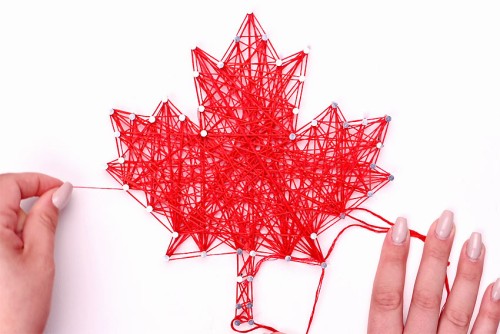
- Begin weaving the string across the leaf, going from nail to nail in a zig zag pattern.
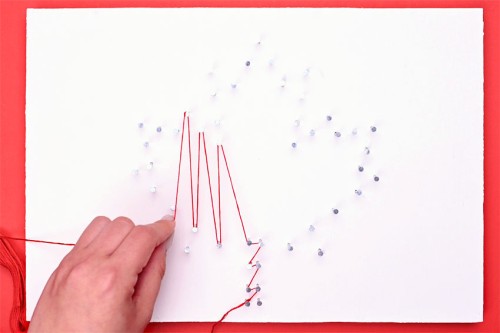
- As you make your way across the leaf, go from side to side at different angles, overlapping the previous threads.
- When needed, tie off the first thread and start a new string on the same nail. Tie it in a double knot and leave a couple inches of extra string at the end, similar to how you started your first string.
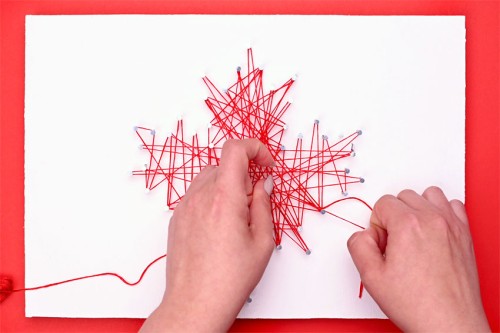
- Continue going back and forth at random angles, making sure to cover all areas of the leaf until you're happy with how it looks. Push the string down on the nails as needed.
Step 5: Outline and finish off the maple leaf string art
- Wrap the string once around the nearest nail, counter-clockwise. Move the string to the next nail in the outline and wrap around it, again counter-clockwise. Work your way around the outline of the leaf wrapping counter-clockwise around each nail so the string makes an outline around the outside of the nails.
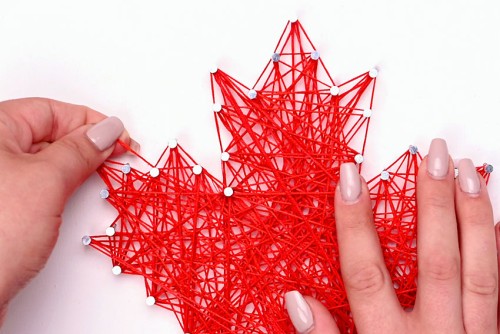
- Once you've made your way around the border once, wrap the string around each nail to make an outline along the inside of the nails. This time, wrap the string clockwise around each nail.
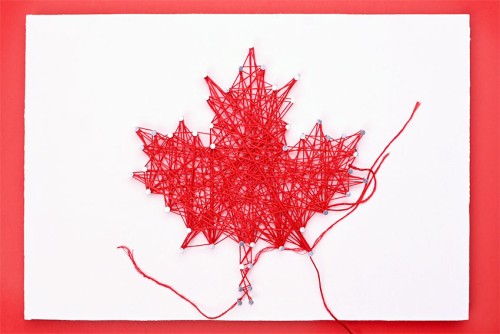
- Finish the border on the same nail that you started with. Tie your string to the first loose string in a double knot.
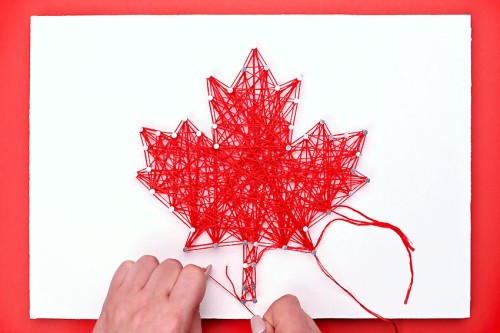
- Tie off the other long strings to each other, and then cut off all the extra thread near the knots.

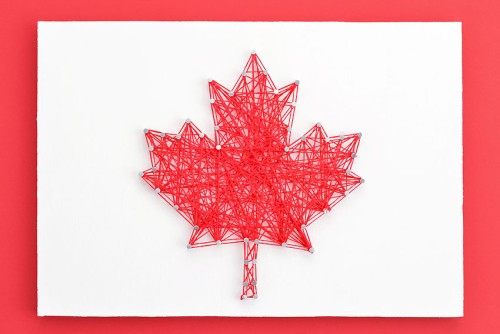
- Your maple leaf string art is complete!
Video
Notes
Looking for more fun string art ideas? Here's a few of our favourites:
Dad String Art
Halloween String Art Cards
Handprint String Art