
How to Paint with Ice Cubes
Ice painting is so much fun! Use coloured ice cubes to make process art in all your favourite colours.
Yield: 1 ice painting
Cost: $1
Equipment
Materials
- 9 Coloured popsicle sticks (or regular popsicle sticks, 1/2 per ice cube)
- Water
- Food colouring
- White cardstock (or watercolour paper)
Instructions
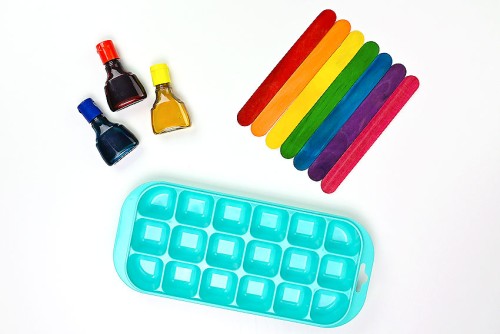
Step 1: Find what you need
- Gather your supplies and materials.
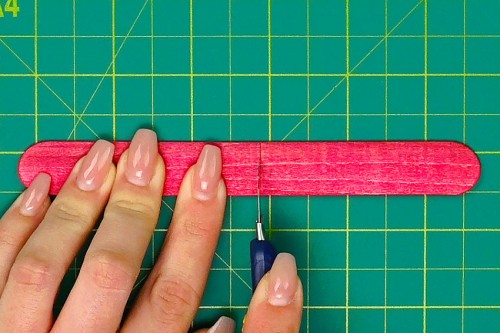
Step 2: Prepare the popsicle sticks
- Place a popsicle stick on the cutting mat and use a craft knife to score down the center of the stick.Sometimes sharp scissors will work, but they might crack the popsicle stick.
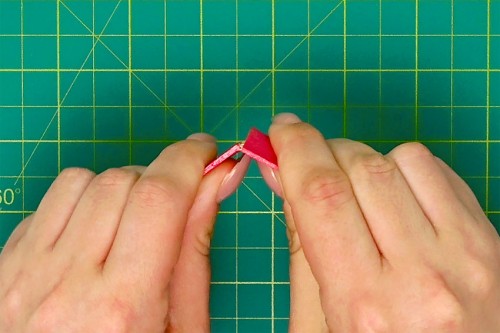
- Use your hands to break the popsicle stick in half.Repeat until you have enough sticks for each section of your ice cube tray.
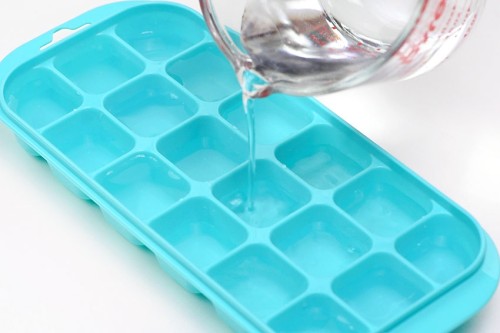
Step 3: Make the ice paints
- Fill the ice cube tray with water, but don't overfill (or the colours will bleed into each other). You can add a bit more water to fill each section later, if needed.
- Add 1 to 3 drops of food colouring to each cube in the tray. You might need more food colouring for larger ice cubes.Scroll down past the tutorial for a list of how many drops we used to make each colour.
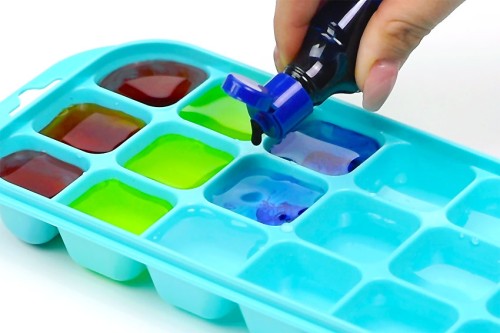
- Continue adding food colouring until each of the cubes in the tray is coloured. Rather than making the same colour several times, try making several versions of it using 1, 2, or 3 drops of colour so you have 3 cubes with different brightnesses.
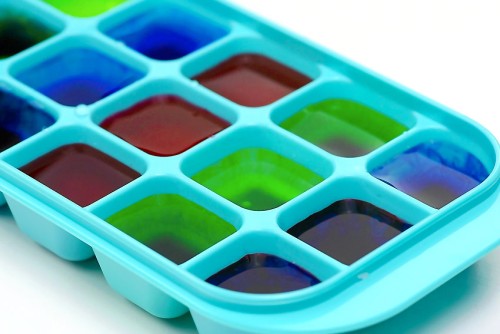
- Stir each section well with a popsicle stick half. If you don't stir well, the food colouring will settle to the bottom.
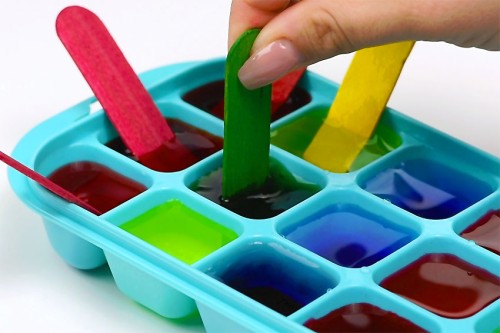
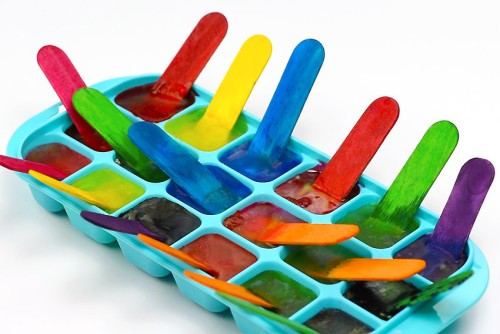
- Lean the popsicle stick against the edge, leaving one in each compartment, as a "paintbrush" handle.
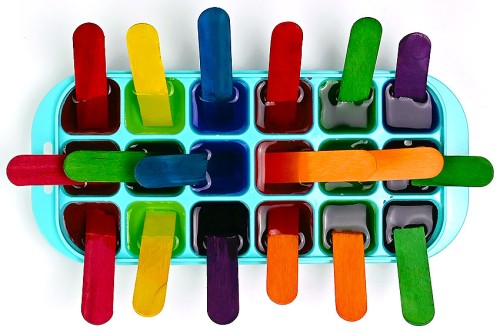
Step 4: Freeze the ice cubes and enjoy painting
- Place the ice cube tray in the freezer for about 5 hours, or until frozen. Remove the tray from the freezer and let the coloured ice cubes sit for a few minutes. (They paint better when they're a little bit melted.)
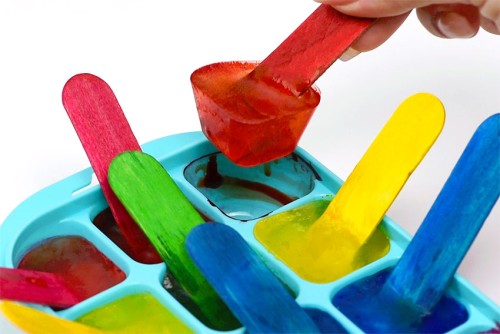
- Choose your first colour and gently lift the popsicle stick to remove the cube from the tray. If they've been sitting for a few minutes, the cubes should remove easily.
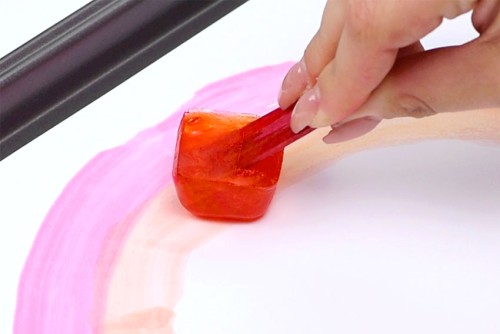
- Use the ice cubes to paint on thick paper. We recommend painting on a baking tray to keep the mess contained.
- Continue using different colours to paint. Place each cube back in the tray when you're not using it.Pop the tray back in the freezer if the cubes melt too much. You can continue to use them over and over!
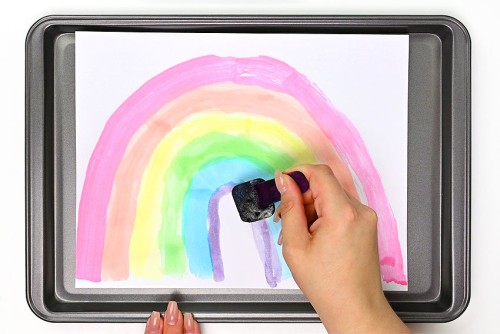
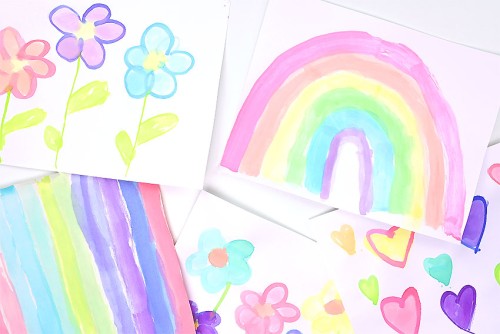
- Your ice painting is complete!
Video
Notes
Looking for more kids painting ideas? Here's a few of our favourites:
Tape Resist Art
Bubble Painting
Q-Tip Flower Painting