How to Make Citronella Candles
Learn how to make citronella candles! Repel mosquitoes with these outdoorsy DIY candles. It's such a fun and easy summer craft project!
Yield: 1 citronella candle
Cost: $5
Equipment
- Smaller saucepan (or melting pot)
- Kitchen scale (with tare option)
Materials
- Small metal bucket
- Wick sticker
- Thick wick (pre-tabbed)
- 15 ounces Soy wax
- 0.9 ounce Citronella essential oil
Instructions
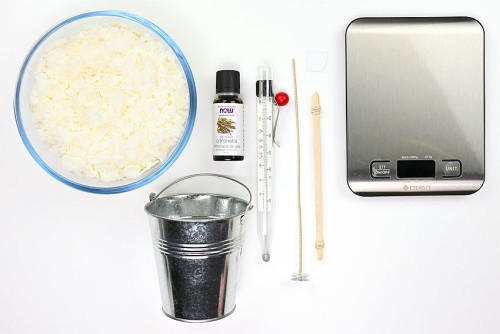
Step 1: Find what you need
- Gather your supplies and materials.
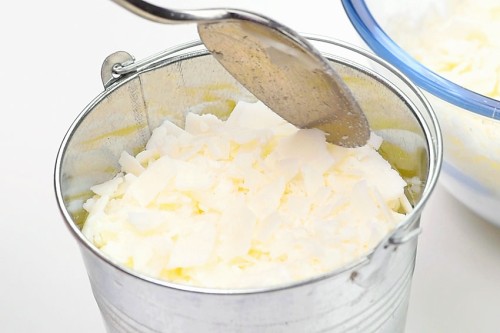
Step 2: Prepare your candle's container
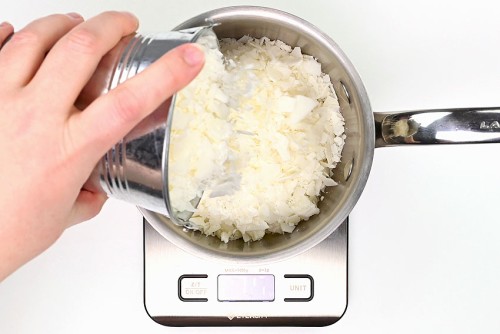
- Fill your candle's container (a small metal bucket, for us) with wax. Fill it up to where you'd like the top of your candle to be.Place your smaller pan on the scale and tare it. Dump the bucket of wax into the pan.
- Fill the bucket with wax a second time, and add this to the pan as well. Make a note of the wax's weight (ours is ~15 ounces).
- Remove the wick sticker from the sheet and place it on the bottom of the tabbed wick.
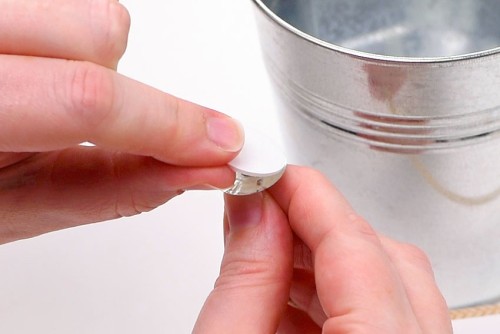
- Remove the other side of paper from the wick sticker and add the wick to the bucket. Make sure the wick is in the center of the container, and press down on the wick tab to secure it.
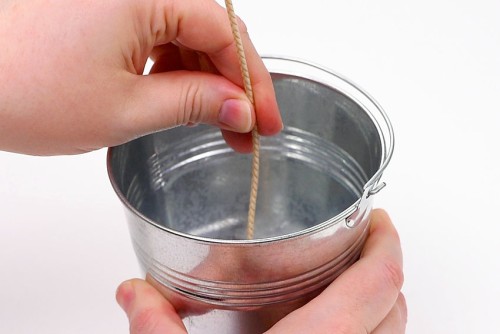
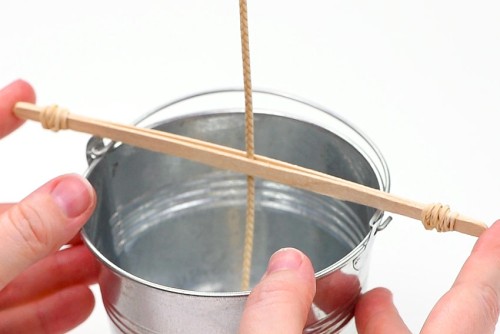
- Attach a wick holder to keep the wick centered and straight in the container.
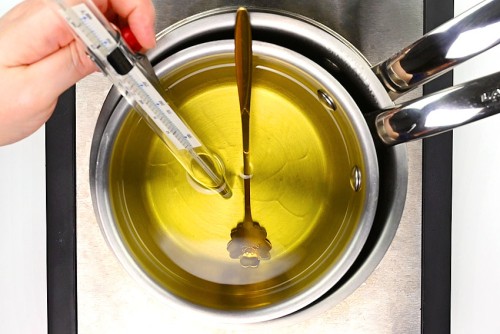
Step 3: Melt the wax and add the citronella oil
- Add an inch of water to a larger saucepan and bring it to a boil on high heat.Reduce the heat to medium (or medium low; whatever is required to maintain a simmer) and place your smaller saucepan into the larger pan.
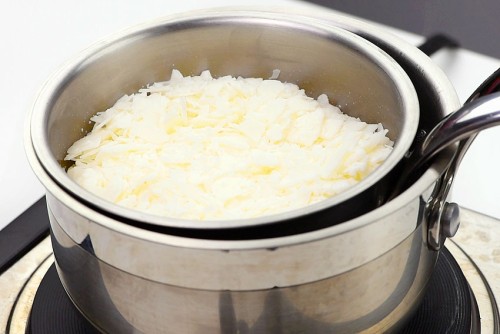
- Heat the wax to 185 degrees Fahrenheit, stirring occasionally.
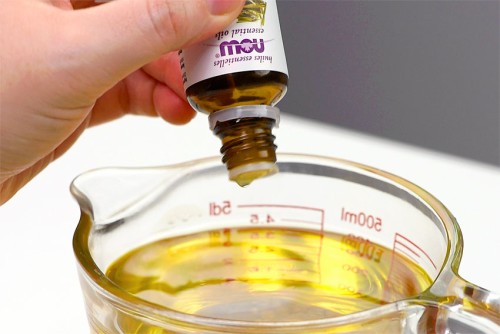
- Remove the wax from heat. Optional: transfer the wax to a measuring cup to make it easier to pour.Place the measuring cup on a scale and tare it. Add in the citronella oil.We're using a fragrance load of 6%, which works out to 0.9 ounces of oil.
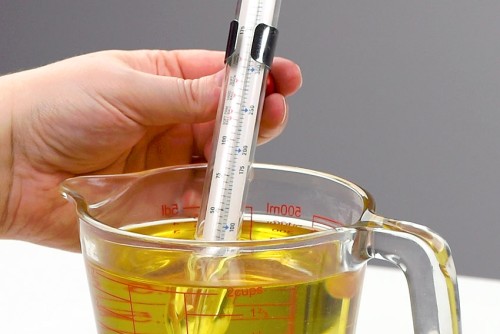
- Stir the wax gently for about 2 minutes after adding the essential oil.Then cool the wax to 140 degrees Fahrenheit.(Each wax may have a different recommend pouring temperature, so be sure to check what will work for your type of wax.)
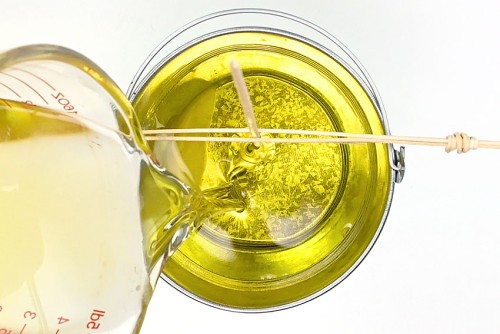
Step 4: Pour the candle and wait for it to harden
- Pour the wax slowly, but steadily, into the prepared container.
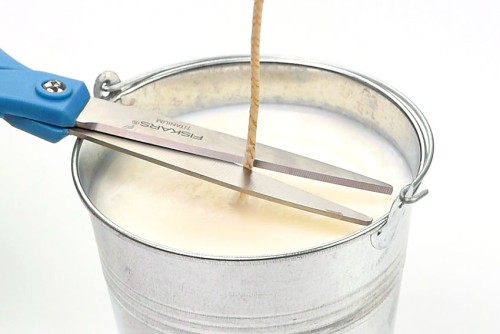
- Wait at least 5 hours for the candle to harden, remove the wick holder, and trim the wick to 1/4 inch.
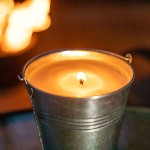
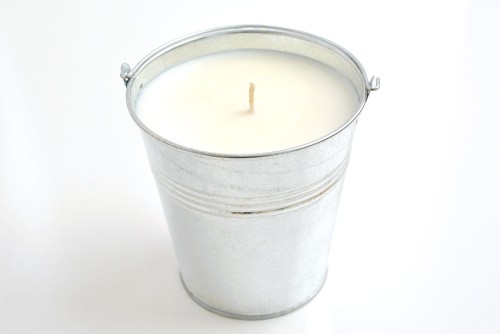
- Your DIY citronella candle is complete!You can light your candle after 24 hours, but ideally you should let the candle "cure" for 1 to 2 weeks before burning.Soy wax continues to harden over time, and waiting to burn your citronella candle will improve the burn and allow the wax and essential oil to bind to one another.
Video
Notes
Looking for more DIY candles? Here's a few of our favourites:
Mason Jar Citronella Candles
Mason Jar Candles
How to Make Wax Melts