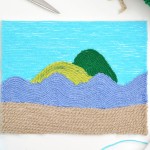
DIY Yarn Art
Make low-mess yarn art using scrap yarn. It's so easy to create beautiful yarn "paintings", and it's such a fun and creative art project!
Yield: 1 yarn painting
Cost: $2
Equipment
- Fabric scissors (recommended, but regular scissors will work)
Materials
- Dollar store canvas (8 x 10 or any size)
- Elmer's Glue-All
- Scrap yarn (various colours and weights)
Instructions
Step 1: Find what you need
- Gather your supplies and materials.

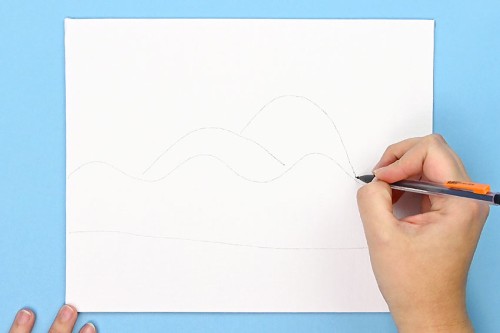
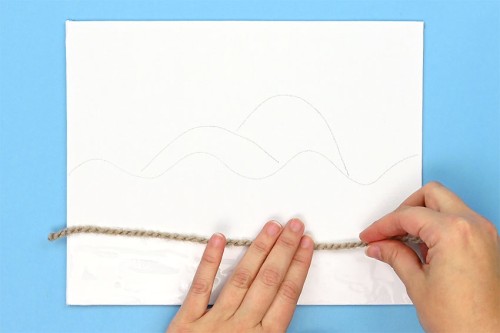
Step 2: Draw your outline
- Draw your design on the canvas in pencil.
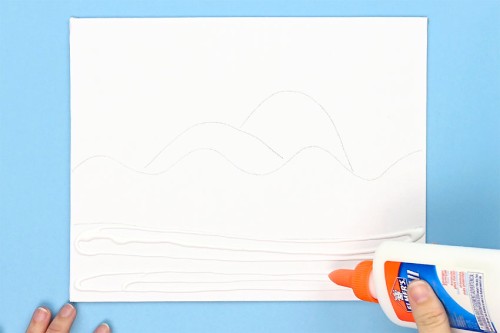
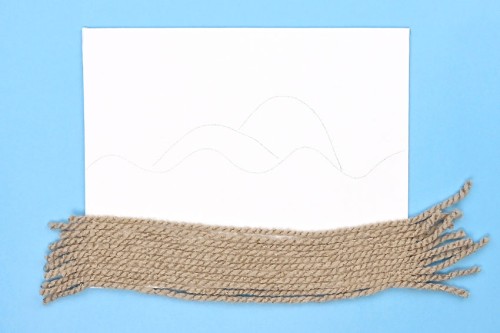
Step 3: Fill the first section with yarn
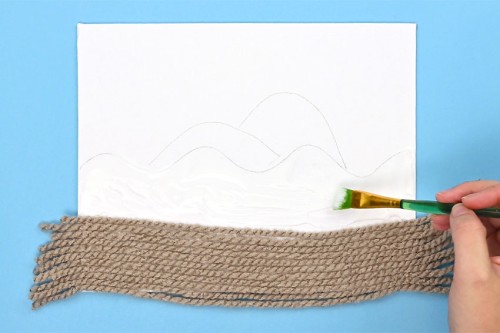
- Choose the section of the drawing you plan to start with. Then add a generous amount of glue to that section of the drawing.
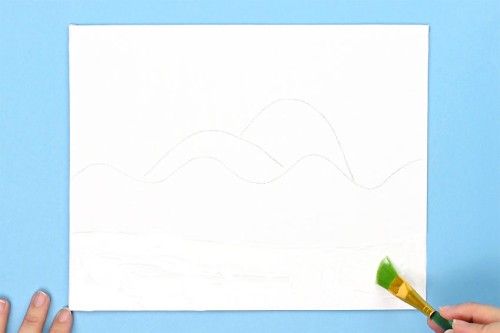
- Use a paintbrush to spread the glue so that it's in an even layer across the entire section. Be sure to get glue along the edges of the canvas.The yarn absorbs the glue, so make sure you have a generous layer of glue over the whole section. If the glue layer is too thin the yarn won't stick.
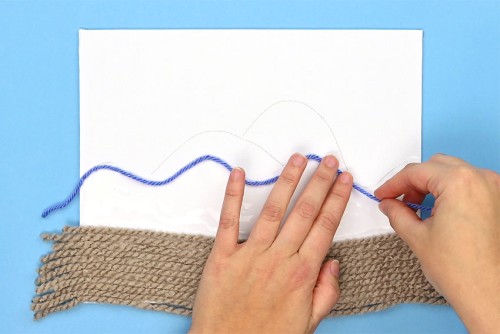
- Add your first piece of yarn to the canvas where your drawn line starts. Leave an inch or two of yarn hanging off the starting edge. Carefully line up the yarn with the line drawn on the canvas. Gently press the yarn into the glue as you work your way across.
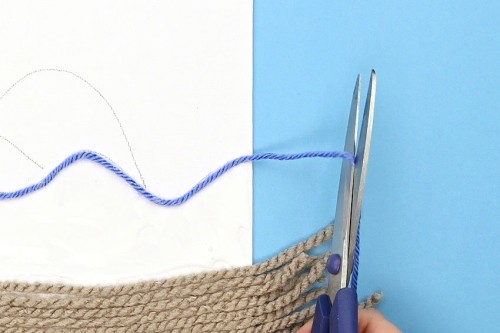
- When you've finished the first line of yarn, cut the yarn about an inch past the edge of the canvas.Gently press the yarn at the both edges of the canvas into the glue to make sure the ends will be fully stuck down.
- Continue adding yarn below the first line of yarn, carefully shaping the yarn to match the contours of the previous piece. Make sure the pieces of yarn are close together without leaving any white space of the canvas showing. It's okay if some yarn hangs off the bottom of the painting - it can be trimmed later.
Step 4: Fill in the rest of the yarn painting
- Add a generous amount of glue to the next section on your canvas and, again, spread it out evenly with a paintbrush, right to the edges of the canvas.
- Again, leave an inch of yarn hanging off the starting edge. Then carefully line up the yarn with the next line drawn on the canvas, gently pressing the yarn into the glue as you work your way across.
- Cut the yarn off an inch past the edge of the canvas. Again, gently press the yarn down at both edges of the canvas to make sure it's stuck in the glue.
- Fill in the rest of the section with yarn. When you're working with curved lines you'll find areas where the yarn doesn't go all the way across the canvas. For these sections, start the yarn at the edge of the empty space (don't leave any extra yarn at the end), then cut it off where the gap ends.
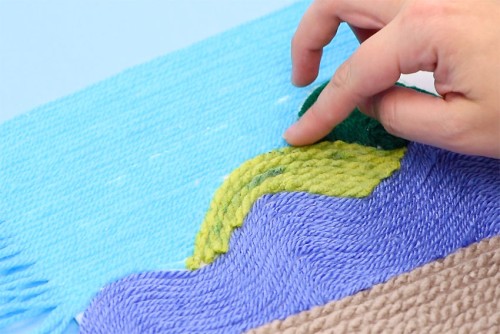
- Fill in the next two smaller sections, working one section at a time. Start at the top and add the yarn to follow the curves, cutting as you go. Continue adding more glue and yarn to fill your canvas.
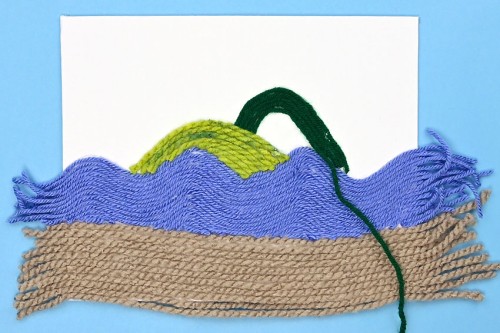
- If you have any small gaps, like the ones between our green hills, cut small pieces of yarn to fill these gaps, rather than cutting them as you go. Once your canvas is completely covered with yarn, allow it to dry for 1 hour (or until the glue is completely dry).
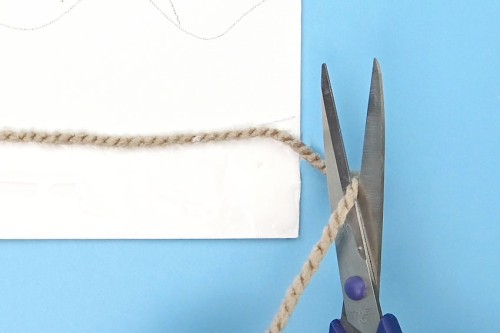
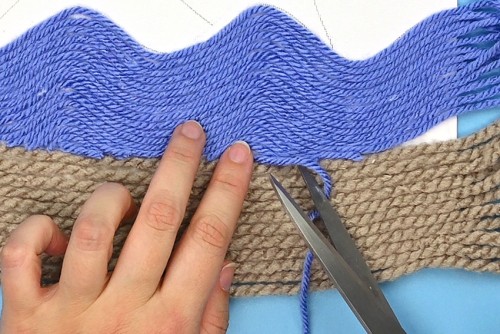
Step 5: Cut off the excess yarn
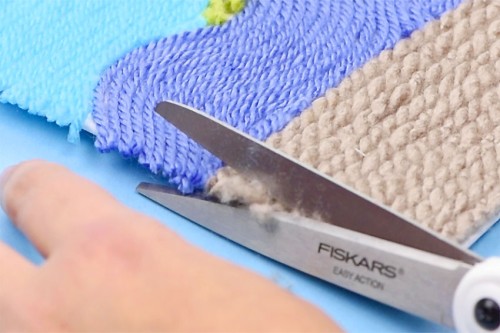
- Using fabric scissors (or other sharp scissors), cut off the loose ends of yarn around the edges of the canvas.
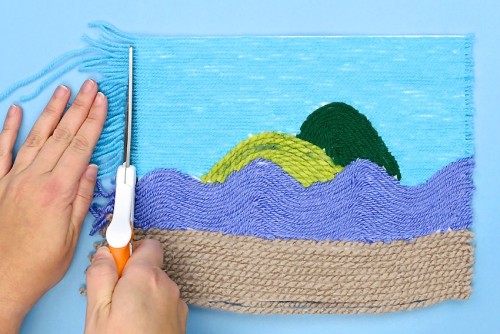
- Cut around the edges one more time to make sure the cuts are even and close to the edges of the canvas.
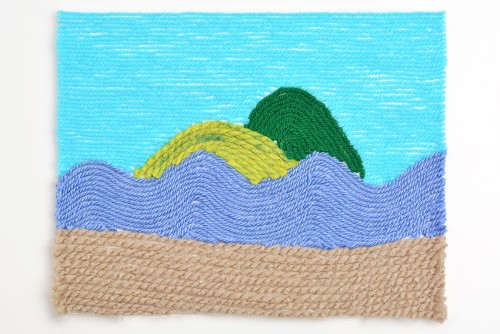
- Your yarn art is complete!
Video
Notes
Looking for more yarn crafts? Here's a few of our favourites:
Yarn Hat Ornaments
Chunky Yarn Pumpkins
Wrapped Yarn Ornaments