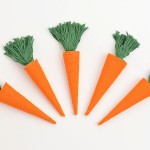
How to Make Yarn Carrots
Use basic supplies to make this adorable carrot craft! These yarn carrots are SO EASY to make, and they're so much fun for spring and Easter.
Yield: 1 yarn wrapped carrots
Cost: $1
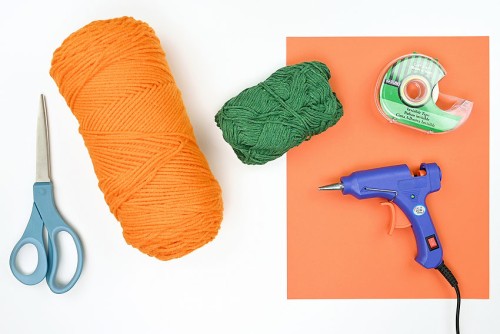
Materials
- Orange cardstock (letter sized; or white)
- Tape
- Orange yarn
- Green yarn
Instructions
Step 1: Find what you need
- Gather your supplies and materials.
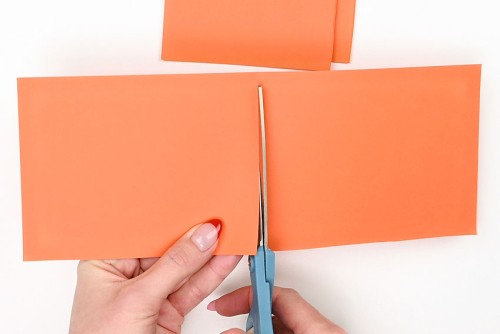
Step 2: Make a cone from cardstock
- Cut a piece of cardstock into 4 equal pieces.You can be approximate with your cuts. Or you can fold the cardstock in half, and then in half again the other way and cut along the fold lines to make sure they're all equal.
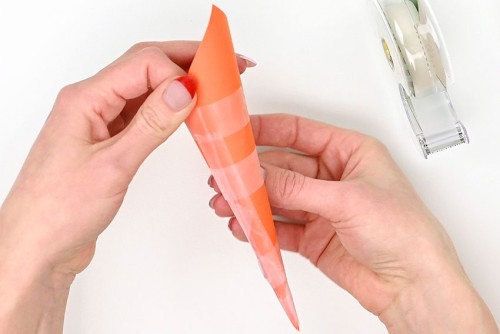
- Roll one piece of cardstock into a cone shape, making sure the point is tight, without a gap.
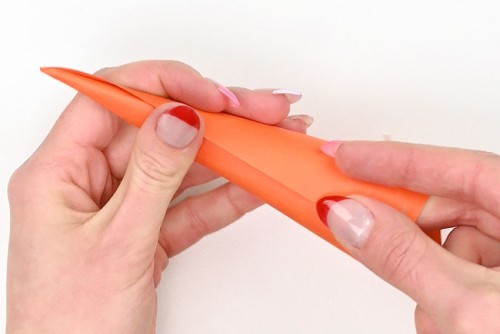
- Secure the cone with tape. Tape vertically along the seam, and then around the cone horizontally so that it won't collapse when you start adding the yarn.
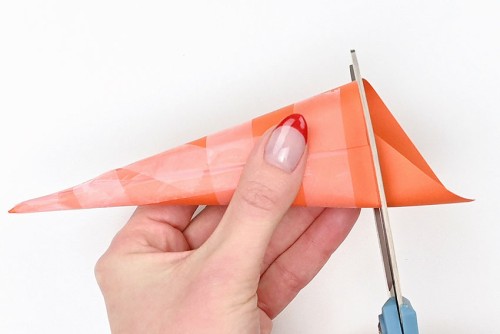
- Cut the extra cardstock off the open end of the cone so that the end is straight.
Step 3: Wrap the cone with yarn
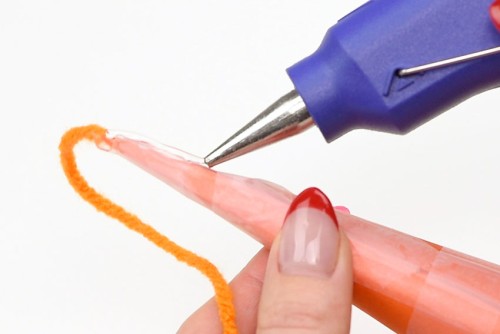
- Add a small dot of hot glue to the very tip of the cone.
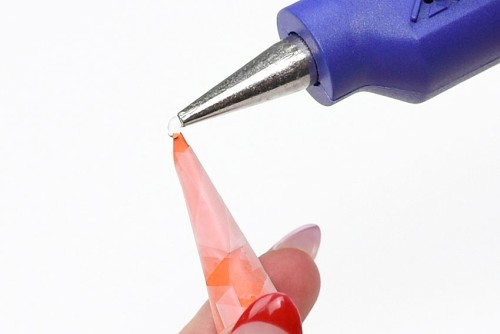
- Attach the end of the orange yarn to the glue, holding it in place until it's dry.
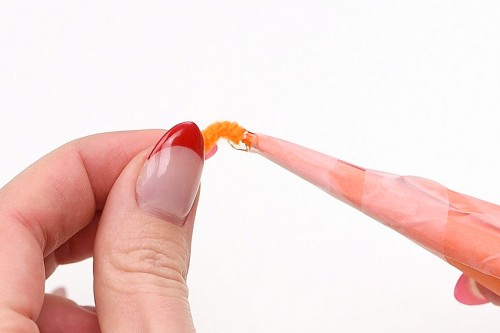
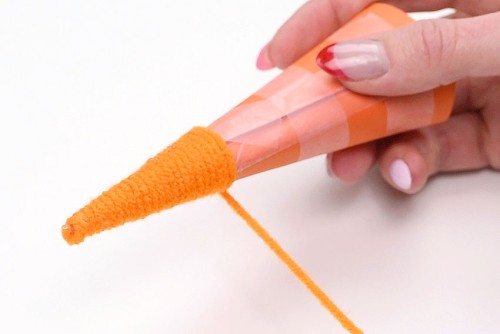
- Add a line of hot glue, about 1 inch long, going up the cone.
- Begin winding the yarn tightly around the cone, adding more lines of hot glue as needed. Continue winding the yarn until the entire cone is covered and you've reached the open end.
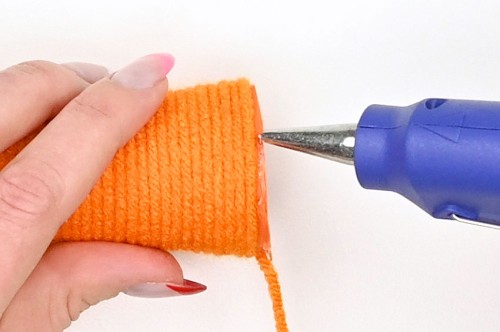
- For the last row of yarn, add hot glue around the end of the paper cone, 1 inch at a time, then carefully wrap the yarn over the glue. Continue adding small lines of glue and wrapping the yarn until the paper cone is completely covered with yarn.
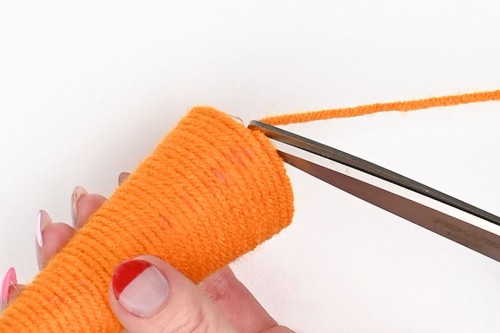
- Cut the yarn off as close to the cone as possible.
Step 4: Make and attach the carrot top
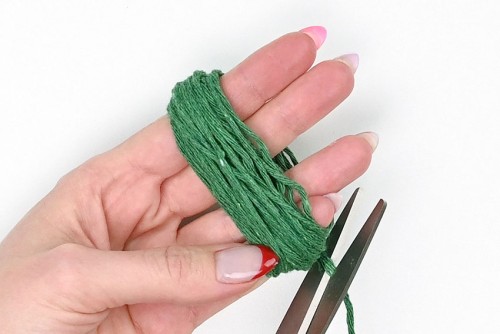
- Wrap the green yarn around four of your fingers about 35 times, then cut the yarn and carefully slide the bundle off your fingers.
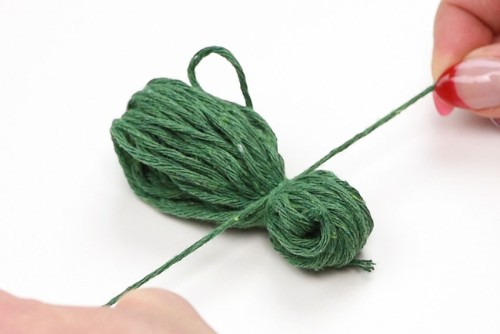
- Cut a piece of green yarn about 7 inches long. Tie this piece in a double knot about 1 inch from one end of the green yarn bundle.
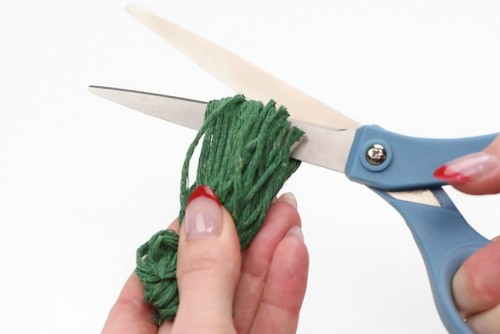
- Cut the loops on the long end to create a tassel.
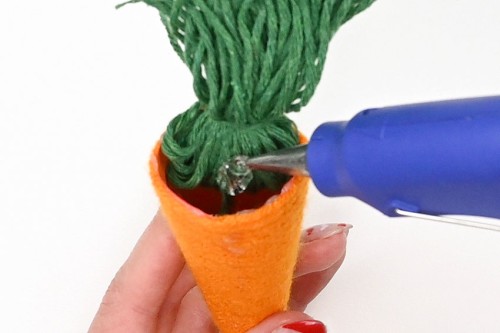
- Add a generous amount of hot glue to one side of the small loops.
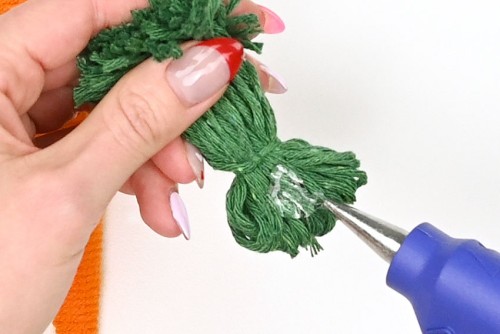
- Attach the green yarn inside of the open carrot top. Hold it in place and wait for the glue to dry.

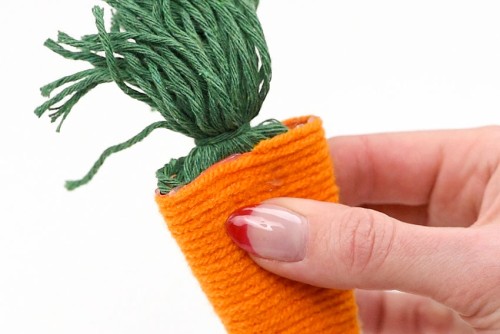
- Apply hot glue to the other side of the green loops.
- Press the carrot together at the top and hold it in place until the hot glue hardens.
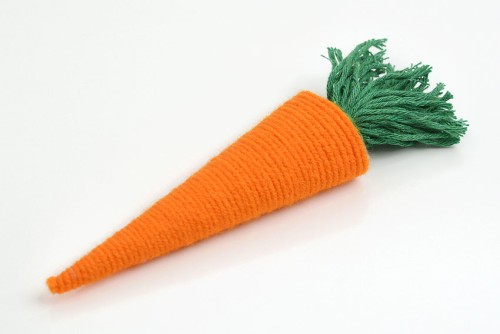
- Optional: Repeat to make three more carrots with the other pieces of cardstock.Your carrot craft is complete!
Video
Notes
Looking for more Easter crafts? Here's a few of our favourites:
Foam Cup Bunnies
Salt Painted Easter Eggs
Paper Napkin Bunny Favors