Fluffy Slime Recipe
This fluffy slime recipe is made without borax, in less than 10 minutes. It's a typical glue slime with a foamy twist!
Yield: 4 cups of foam slime
Cost: $3
Equipment
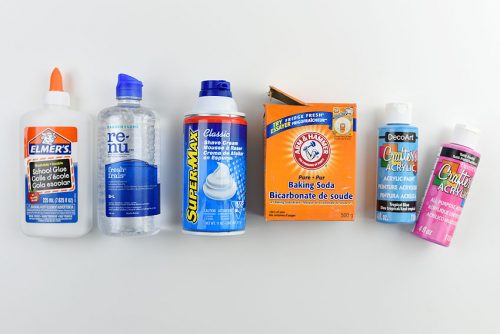
Materials
- 6 ounces Elmer's white school glue (3/4 cup)
- 1/2 teaspoon Baking soda
- 1/4 cup Water
- 1 teaspoon Acrylic paint (approximately)
- 3 cups Shaving cream (the foam type)
- 2 Tablespoons Contact lens solution
Instructions
Step 1: Find what you need
- Gather your fluffy slime ingredients.
Step 2: Mix the first 4 ingredients
- Add the white glue, baking soda, and water to a large mixing bowl. Stir well.
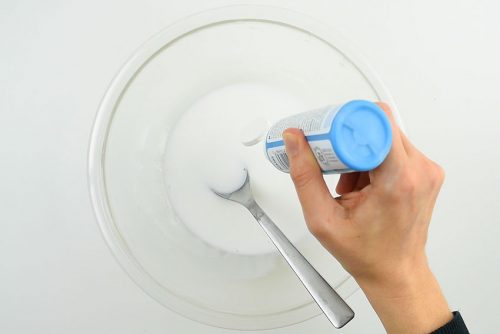
- Add a few small squeezes of acrylic paint – about 1 teaspoon worth. The more you add the darker your slime will be.Keep in mind that when you add the shaving cream, the colour will lighten up quite a bit. So make sure at this point that the colour of your mixture is darker than what you want it to be in the end.
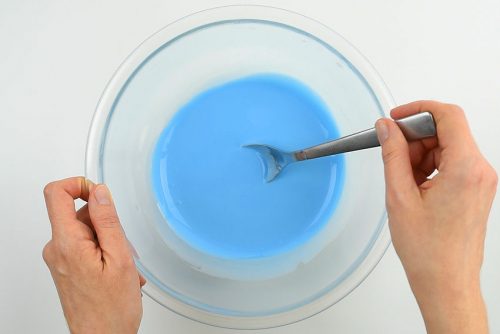
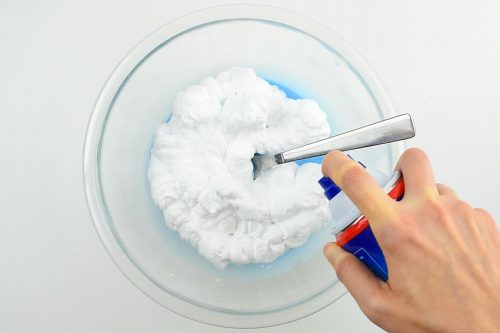
Step 3: Add the shaving cream
- Next you can add the shaving cream. If you want, you can measure it into a measuring cup. Or you can spray it directly into the bowl and estimate the measurement. This recipe is pretty forgiving if you add too much or too little.I used about 3 cups of shaving cream in the fluffy slime you see in this tutorial.
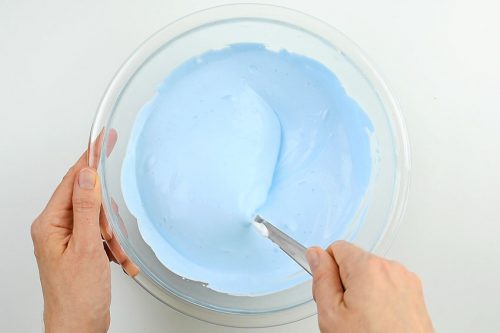
- Stir well until everything is combined. The mixture should be smooth, puffy and the colour should be consistent. It looks a little bit like whipped cream at this point.
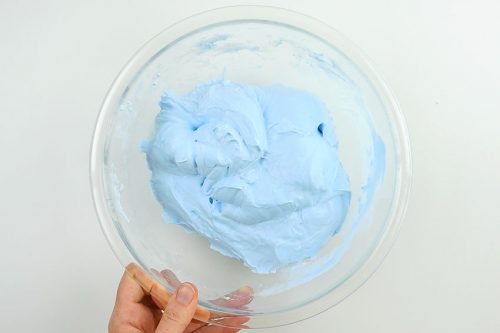
Step 4: Add the contact lens solution
- Now you can add the activator. Pour 2 Tablespoons of contact solution into to the glue mixture, and stir. As you stir, it will start firming up and getting stringy. Keep stirring until it has a good slime consistency and it stops sticking to the side of the bowl.If it gets too hard to mix with a spoon, feel free to use your hands to knead the mixture.If the slime is still sticking to your hands, add a little bit more contact lens solution into the mixture.That’s all there is to it!
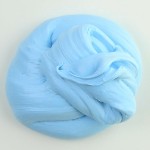
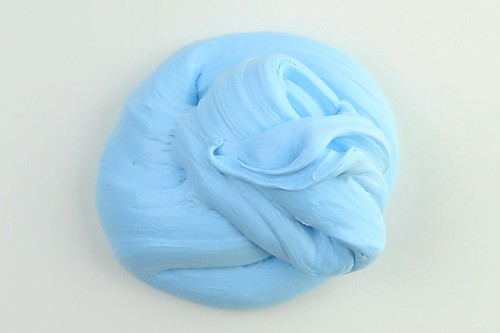
- Your fluffy slime is complete!
Video
Notes
Looking for more slime recipes? Here's a few of our favourites:
Clear Slime
Butter Slime
Cloud Slime
Mermaid Slime