
How to Make Seashell Snowman Ornaments
Transform seashells into an adorable seashell snowman Christmas ornament with a few simple supplies!
Yield: 1 seashell snowman
Cost: $1
Equipment
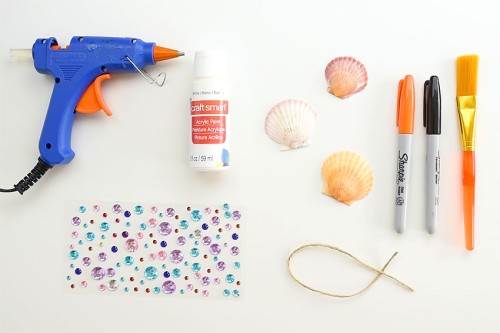
Materials
- 3 Scallop seashells (3 different sizes)
- Acrylic paint (white)
- Black Sharpie marker
- Orange Sharpie marker
- 3 Rhinestone stickers
- Twine
Instructions
Step 1: Find what you need
- Gather your supplies and materials.
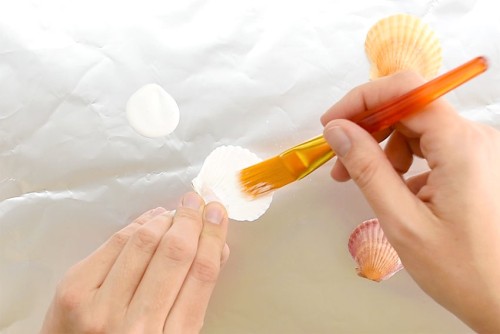
Step 2: Paint the seashells (optional)
- Paint the seashells with white paint. You may need several coats of paint, depending on the paint you use.If your shells are already white, you can skip this step.Allow the seashells to dry.
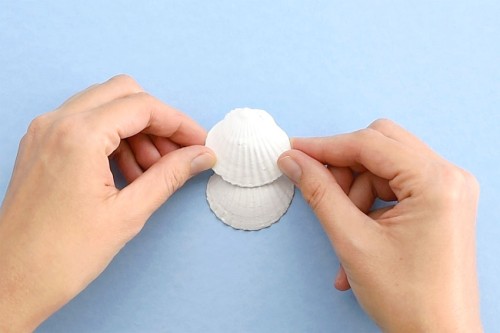
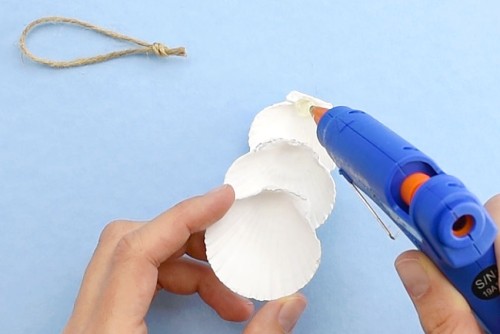
Step 3: Connect the shells
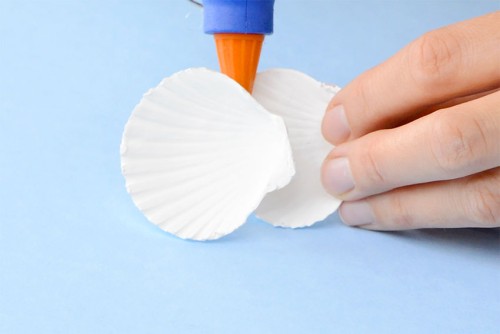
- The largest seashell will be the bottom of the snowman. Place it on your work surface with the flat edge at the top. Add a little bit of hot glue to the back of the medium sized seashell along 3/4 inch of the curved edge.
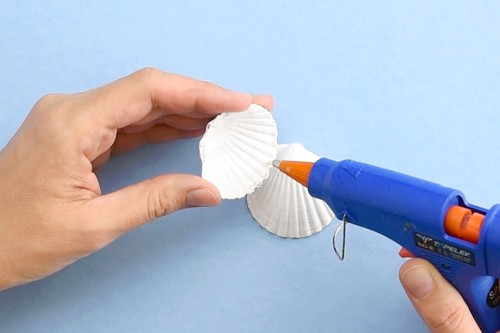
- Press the medium shell onto the large shell about 1/3 down from the top. Keep the flat edge of the medium shell raised off the table by about 1/4 inch. You don't want the second shell to lie completely flat on the table.
- Flip the shells over and add more hot glue behind the medium shell to hold them in place.
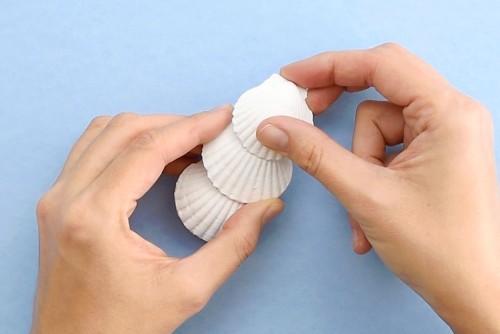
- Add the smallest seashell the same way - again making sure to raise the last seashell so it isn't lying flat on the table.
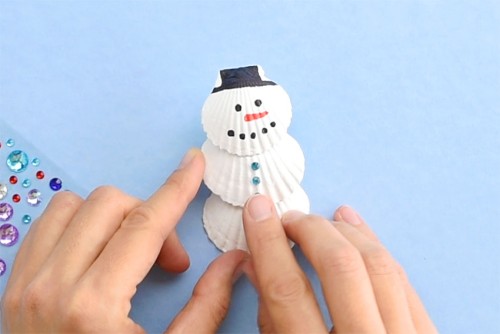
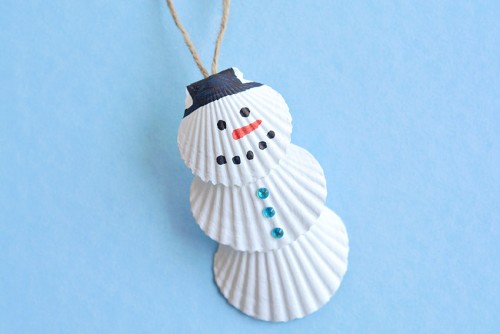
Step 4: Add the hat, face, and buttons
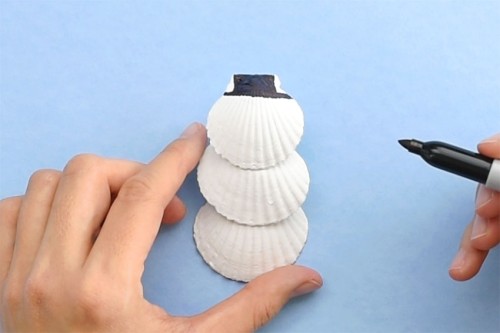
- Draw a top hat for the snowman on the third shell with a black Sharpie marker.
- Draw eyes and a mouth for the snowman using the black Sharpie. Use the orange Sharpie to draw a carrot nose.
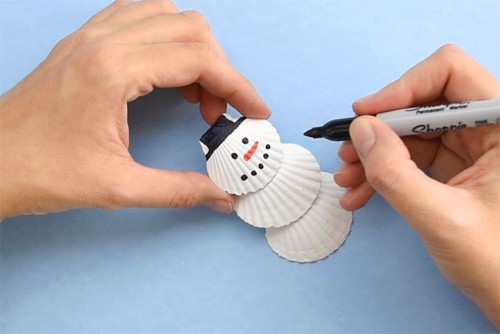
- Press three small sticker rhinestone stickers onto the middle shell as buttons.
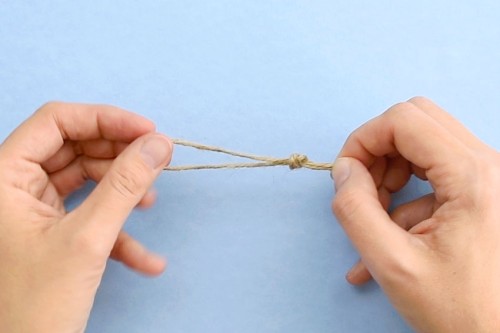
Step 5: Add a twine ornament hanger
- Cut a 6 inch piece of twine and tie it into a loop.
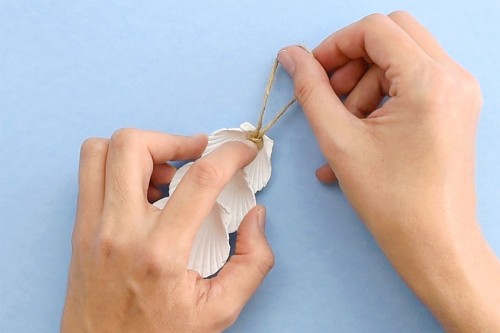
- Add hot glue on the back of the top seashell.
- Press the knotted part of the twine loop into the glue.
- Your seashell snowman ornament is complete!
Video
Notes
Looking for more seashell crafts? Here's a few of our favourites:
Glitter Seashell Ornaments
Rainbow Seashell Painting
Seashell Candles