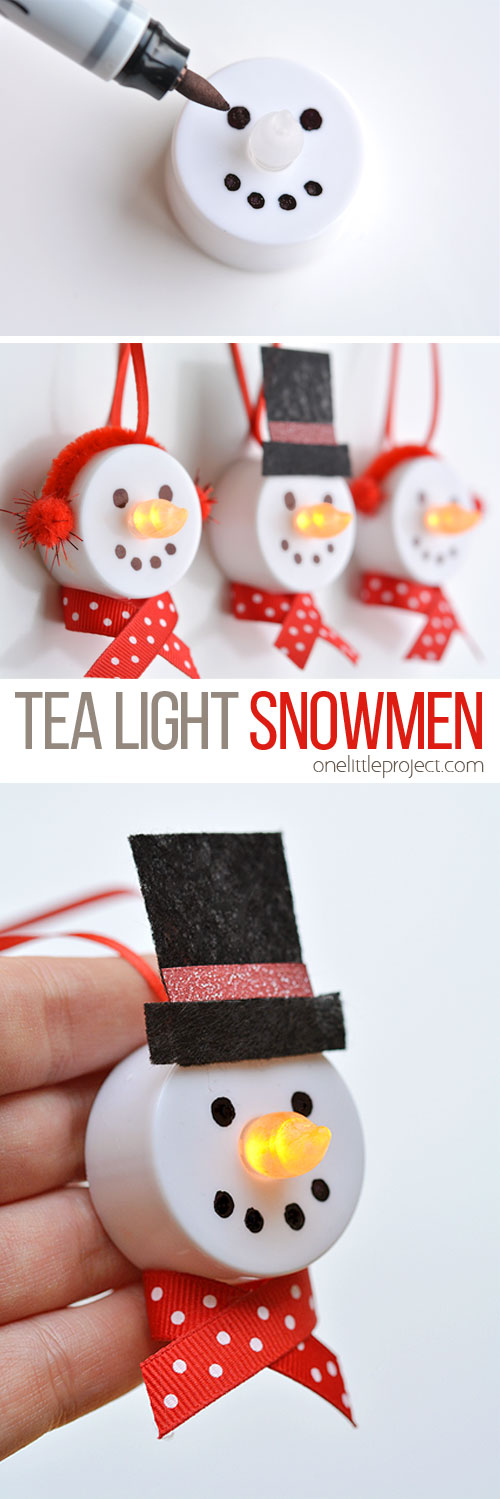
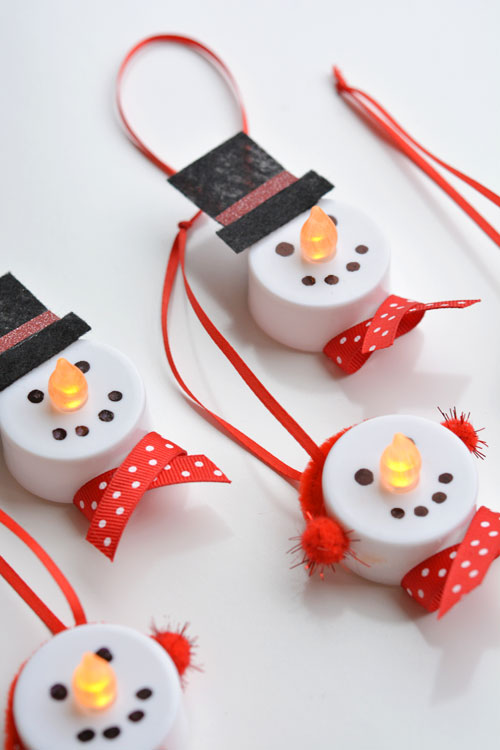
These tea light snowman ornaments are really easy to make and they look ADORABLE! Who would have thought you could make such a cute Christmas ornament just by using dollar store tea lights?! When you turn on the tea light the “flame” becomes the snowman’s carrot nose! Talk about adorable!
My mom never let us burn candles when we were growing up – at least, not unless it was a holiday, and they were sitting on the dining room table fully attended while we were eating our dinner. Then we’d promptly blow out the candles as soon as the holiday dinner was over. I have no idea if that’s normal? But it was definitely normal for us.
Being the paranoid, anti-fire person she is, my mom totally turned me onto battery operated candles. I’ve had a few flameless candles on my mantle for months and they are just so peaceful! And then, I don’t know if you’ve seen them, but you can also get battery operated candles with flames! Or at least faux flames, but they actually look real as long as you’re a few feet away from them. (Like these ones).
I had three of the faux flame candles and four of the flameless candles sitting on my mantle for a few months. I was really enjoying them until my husband pointed out that our mantle looked like a shrine with all of the candles up there. Ha! He pretty much ruined the grouping of them for me, and I had to find some of them other homes. Men!
These dollar store tea lights aren’t going to win any awards by tricking people into thinking they have a real flame, but they are PERFECT for these little snowman ornaments. Did you ever think a fake plastic flame could substitute for a snowman nose? I know I didn’t! But it’s pretty much exactly what a carrot would look like!
Check out our video for how to make Tea Light Snowman Ornaments:
Here’s a few more of my favourite (and the most popular) homemade Christmas ornaments we’ve made:
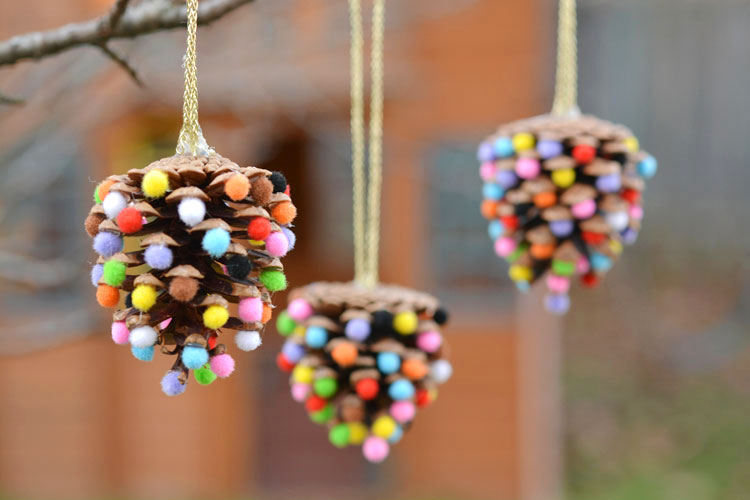
Pom Pom and Pinecone Christmas Ornaments
Cookie Cutter Cinnamon Ornaments
Tea Light Snowman Ornaments
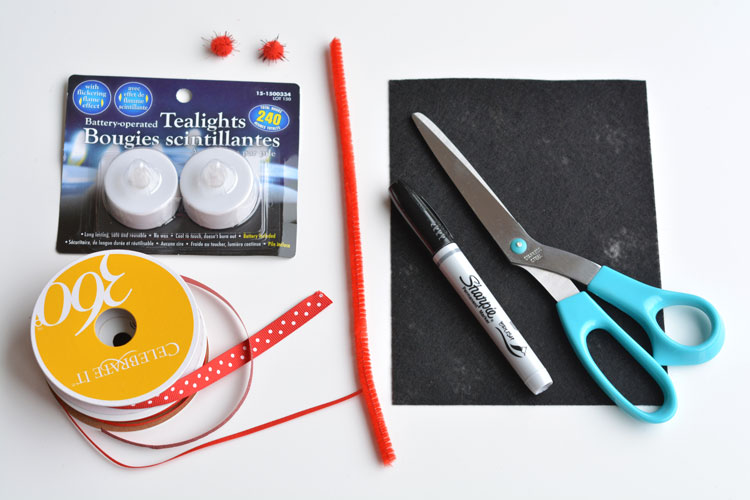
I got most of the materials for this craft from the dollar store. And then the ribbon and Sharpie I got from Michael’s. I found very similar materials on Amazon if you’re having trouble finding anything, you can check out the affiliate links in the list below.
Here’s what you’ll need:
- Battery operated tea lights
- A Black Sharpie
- Red Ribbon (like this and this)
- Red Pipe Cleaners
- Red Pom Poms
- Black Felt
- Orange Sharpie
- Glue Gun
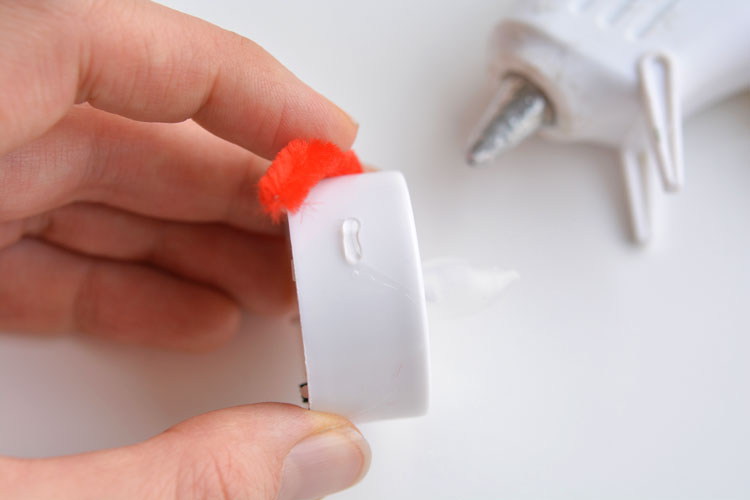
Here’s what my tea lights look like from the side. See how the “flame” kind of curves a bit? You’ll want to position the face, so that the flame is pointing up. It just makes for a better looking carrot nose.

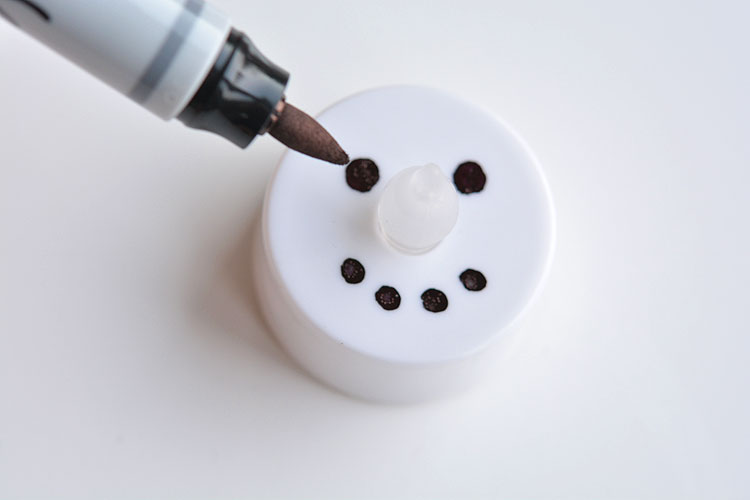
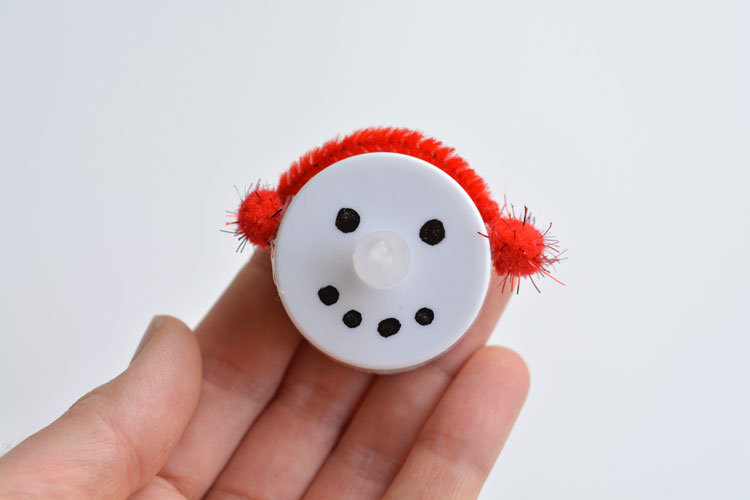
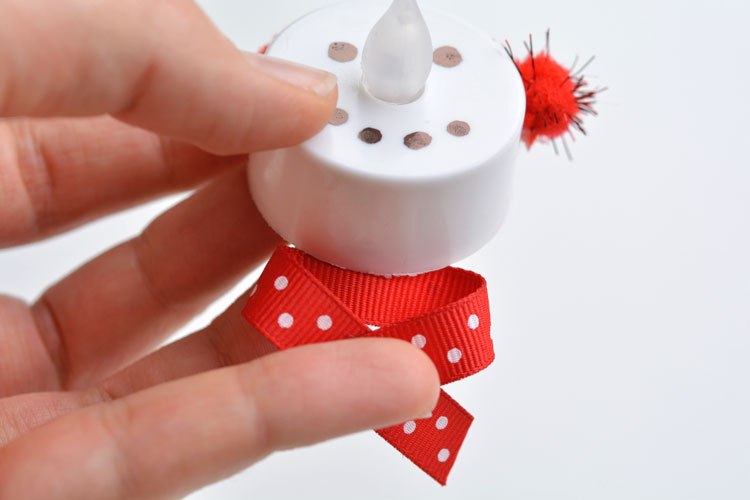
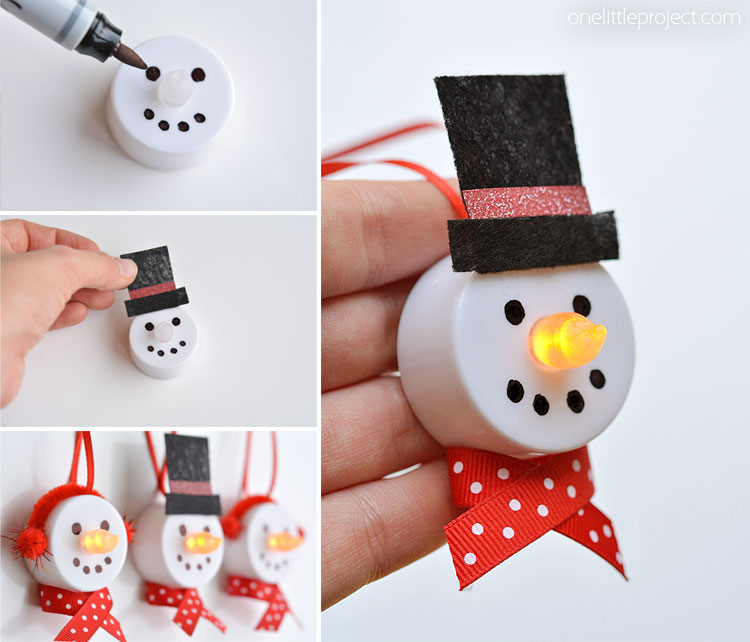
Use the black Sharpie to draw a simple face onto the tea light. You can use googly eyes if you want, but I preferred the look of the black dots.
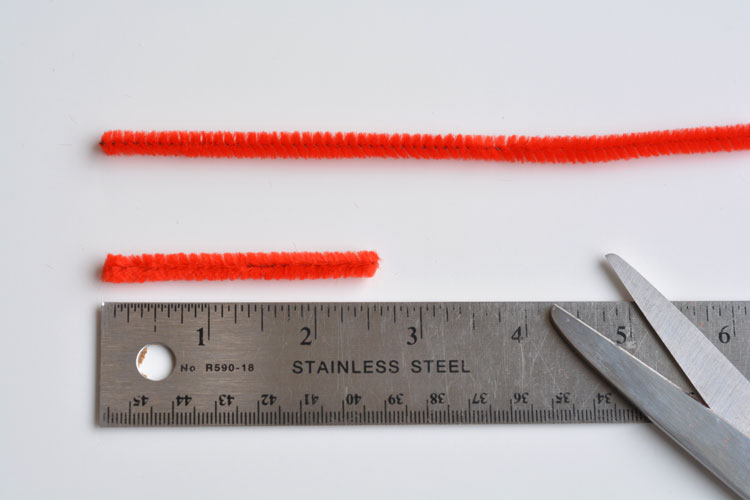
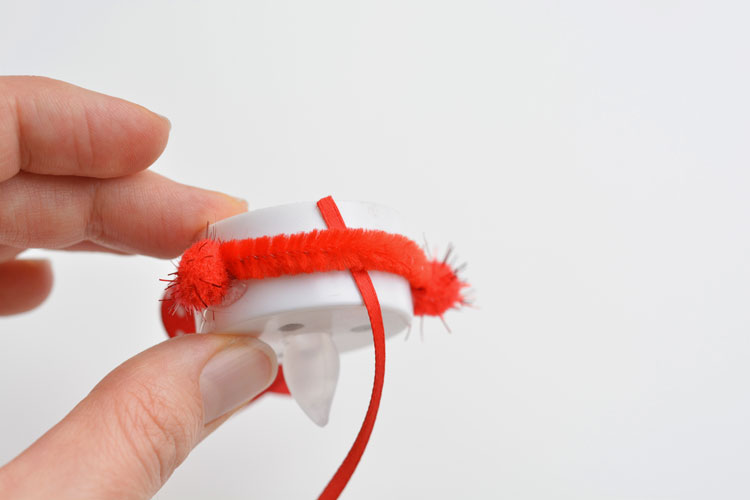
Cut a piece of red pipe cleaner to approximately 2.5″ long.
Curve it around the tea light and then add a small line of hot glue on both ends to hold it in place. Don’t glue it the entire way around because you’ll need to be able to slide the ribbon under the pipe cleaner later.
Add a generous dab of hot glue where the ears would be and add the pom poms. Now your snowman has ear muffs!
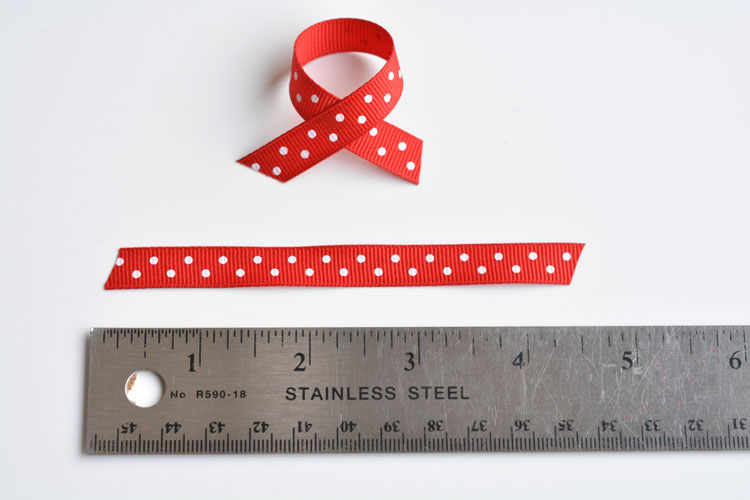
Cut out a piece of ribbon to be approximately 4.5″ long. Then cross it over itself like in the picture below and add a small dab of hot glue to hold it together. I found this was the best way to make the ribbon look like a scarf.
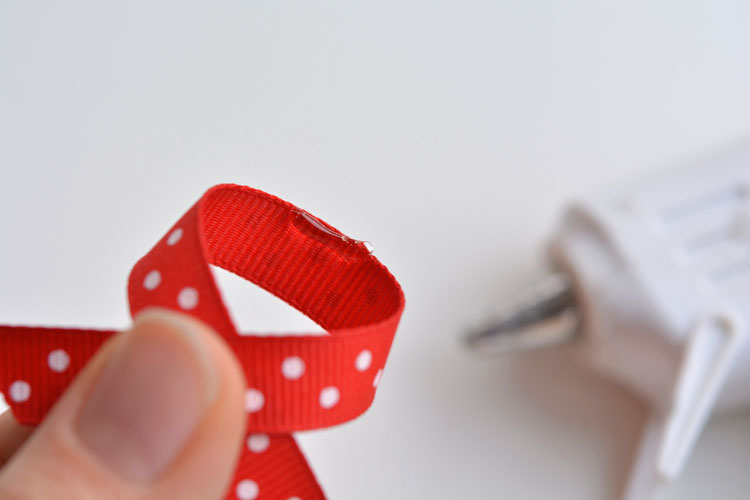
Add a small line of glue to the back of the “scarf” like in the picture below:
And then glue it to the back of the tea light like in this picture:
The scarf should naturally pop back to the position shown below without adding more glue.
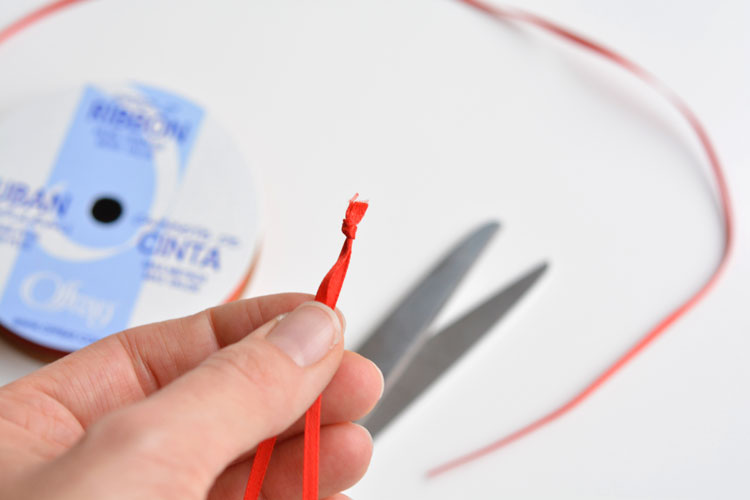
Cut a piece of the thinner red ribbon to be approximately 11″ long and then slide it under the pipe cleaner.
Then tie a tiny knot in the ribbon to keep it together.
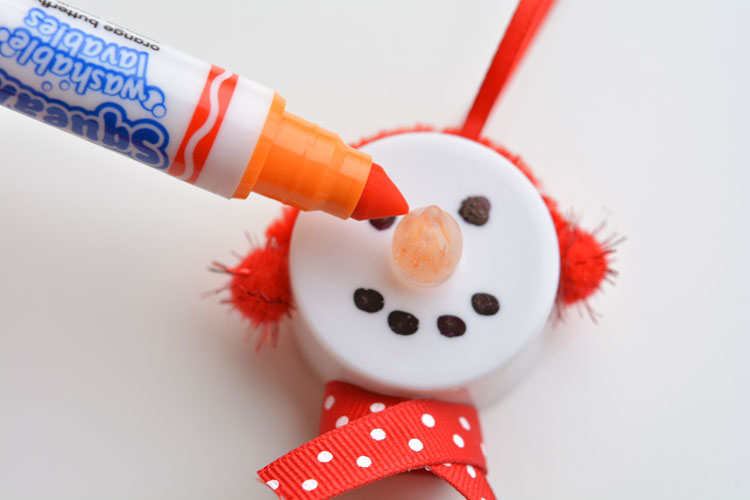
The tea light flame is white when it’s turned off so you’ll probably want to colour it orange with a marker to make it look like a carrot, even when the tea light is turned off.
I definitely recommend using an orange Sharpie for this next part. I didn’t have one, so I had to resort to using one of the kids Crayola markers. It worked for the time being, but it rubs off really easily, so it’s not going to last very long.
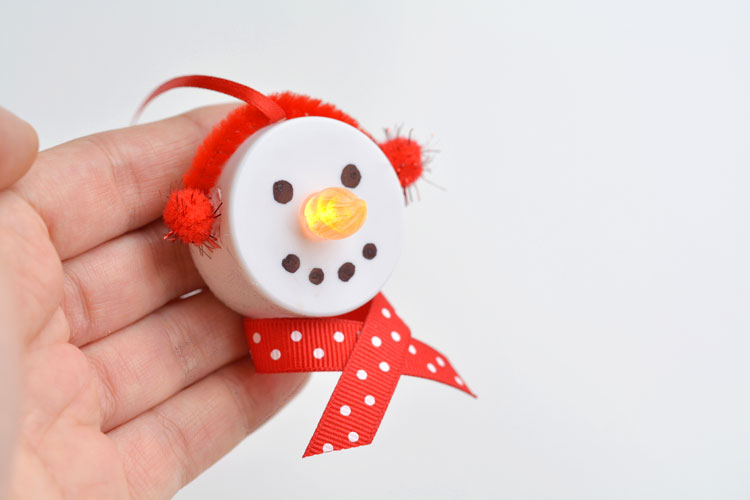
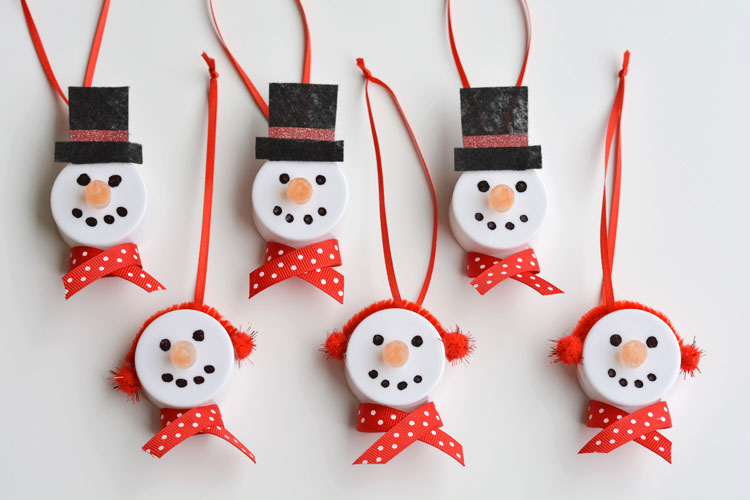
Here’s the finished snowman with the ear muffs. So cute!

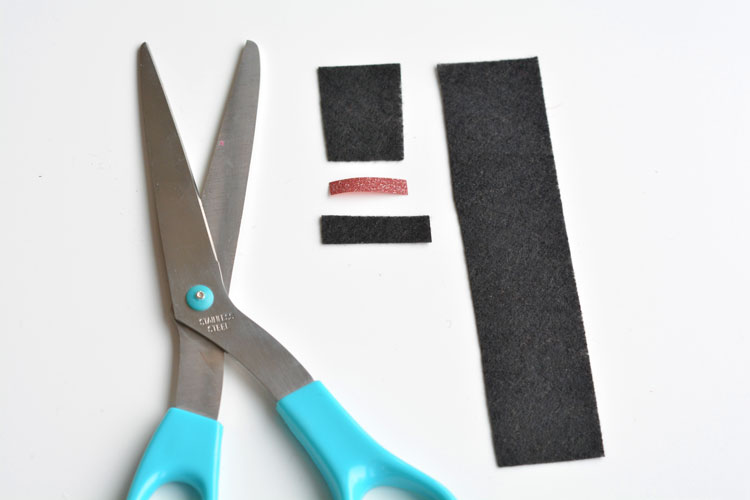
Since a little variety is always fun, I also made a little snowman with a top hat. I cut a strip of black felt to be approximately 1-1/4″ wide. And then I cut pieces like in the photo below. The ribbon is just a scrap of gift wrapping ribbon I had.
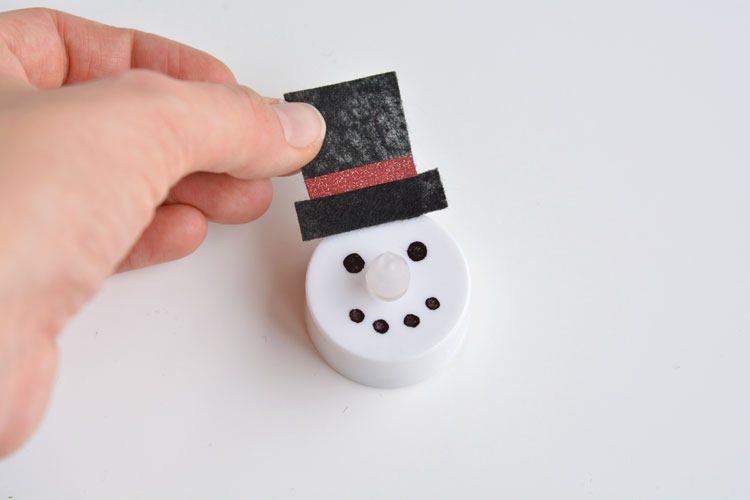
Glue the hat together with some hot glue, so you end up with something like this:
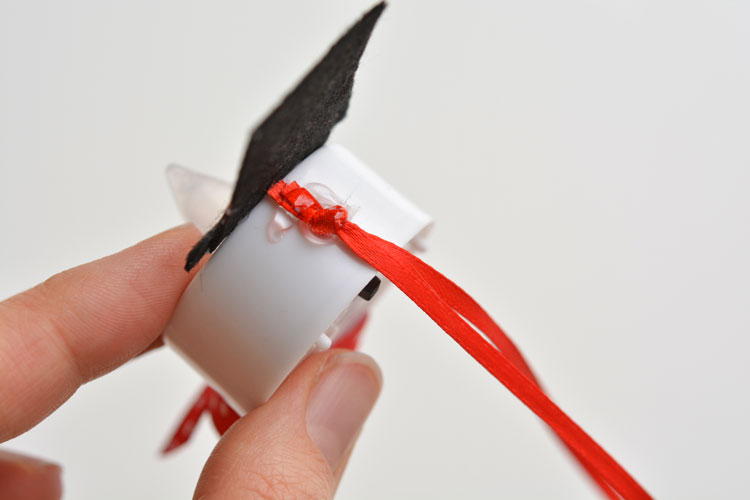
Since there’s no pipe cleaner to hold it in place on this one, you’ll need to glue the ribbon right to the tea light. Add a generous dab of hot glue to the tea light, add the ribbon, and then add another generous dab of hot glue, and it should keep it all in place.
Here’s how the collection looked with the flames turned off. I think the noses would be a much better orange colour if I had used an orange Sharpie instead of a Crayola marker.
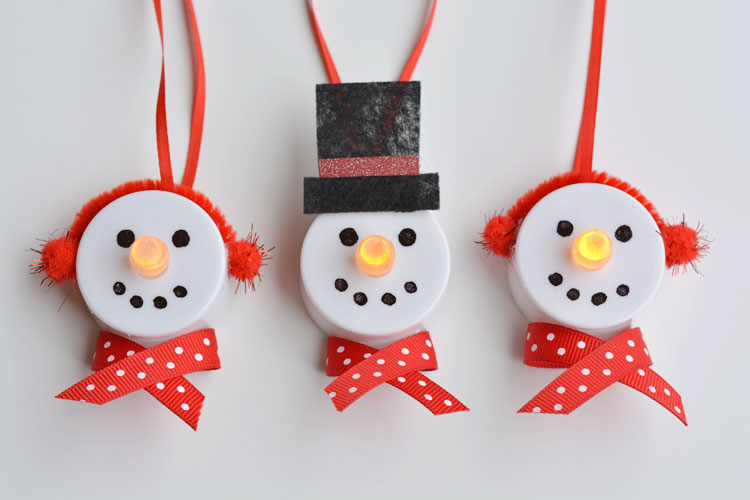
And when you turn them on, they look awesome!
I love how cute the happy family of snowmen look!
Don’t forget to write the year on the back with the Sharpie before you finish!

If you can find little magnets that don’t cover the on/off switch on the back, these would also make adorable fridge magnets!
These tea light snowman ornaments are really easy to make and they look ADORABLE! You can buy most of the materials from the dollar store, so it’s a great inexpensive craft project. Switch up the colours to add even more personality to your snowman family!
Even MORE Christmas keepsake ideas:
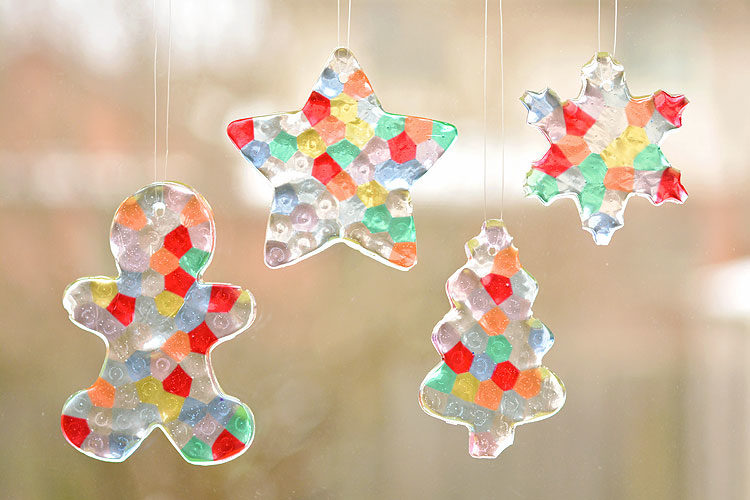
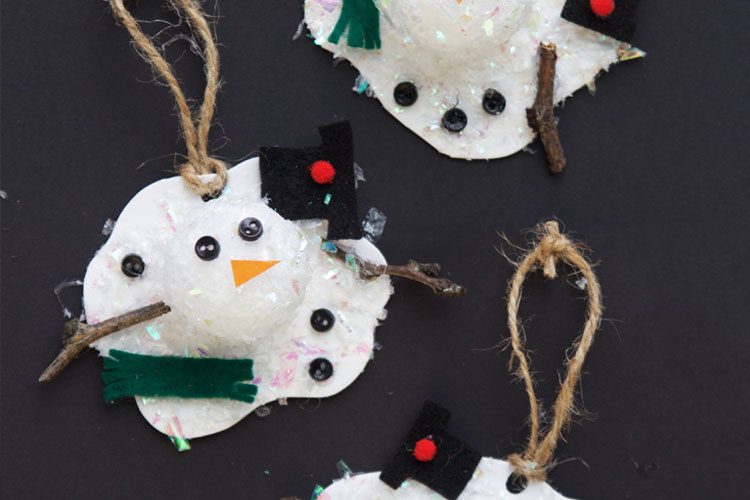
How to Make Melted Bead Ornaments
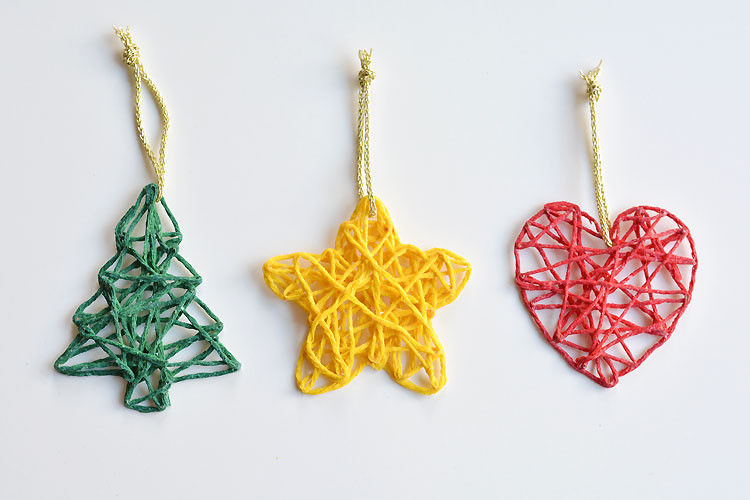
Wrapped Yarn Ornaments Using Cookie Cutters
Pom Pom and Pinecone Christmas Ornaments
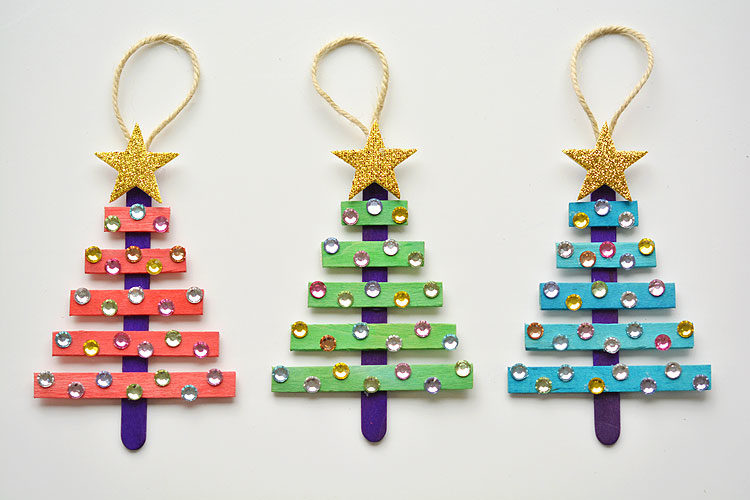
Glittering Popsicle Stick Christmas Trees
Our book Low-Mess Crafts for Kids is loaded with 72 fun and simple craft ideas for kids! The projects are fun, easy and most importantly low-mess, so the clean up is simple!

Where to buy:
You can purchase Low-Mess Crafts for Kids from Amazon, or wherever books are sold:
Amazon | Barnes and Noble | Books- A- Million | Indiebound | Indigo | Amazon Canada


Leave a Reply