
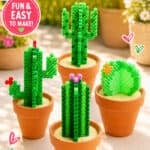
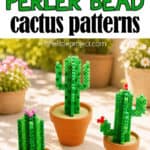
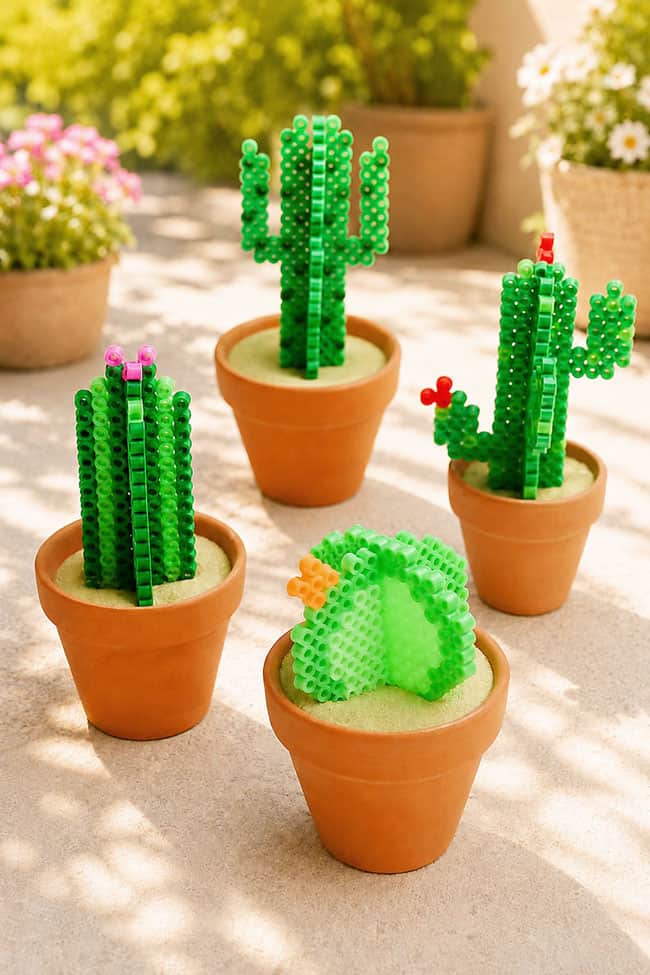
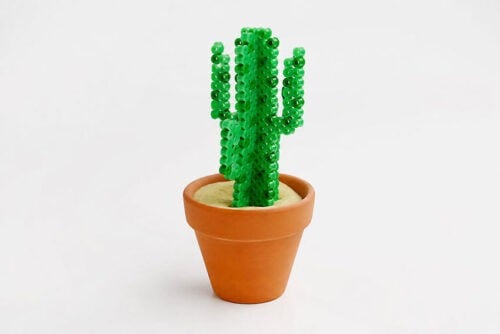
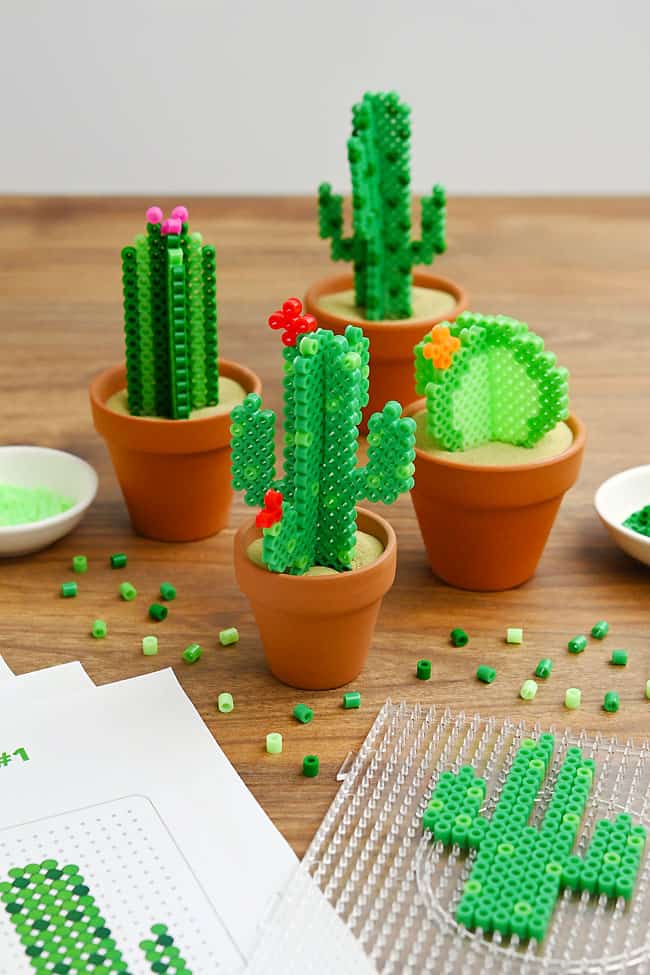
Make a Perler bead cactus and turn simple fuse beads into the cutest little 3D plants! Each cactus has its own fun shape and colourful details, and the tiny clay pots make them look like real miniature houseplants. Display them on a desk, shelf, or windowsill for a cheerful pop of colour — no sunlight or watering required!
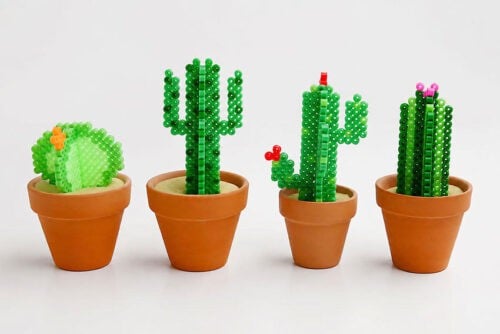
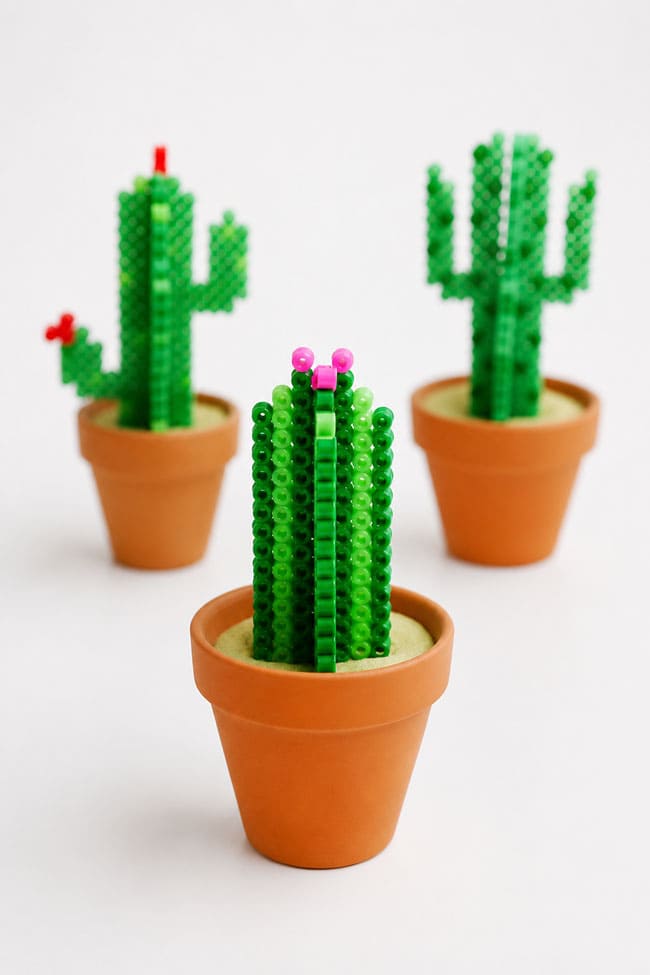
Choose from four different cactus Perler bead designs and use our printable patterns to create your favourites. The fused pieces slot together to form sturdy 3D cacti that stand upright inside the pots, making them just as fun to assemble as they are to display. Follow the step-by-step tutorial below to make a single cactus or plant a whole colourful Perler bead desert garden!
This post contains affiliate links. If you use these links to buy something, we may earn a small commission at no extra cost to you. This helps support our website and allows us to keep creating fun, free content.
How to Make a Perler Bead Cactus
Materials:
Equipment:
See the craft in action:
Instructions:
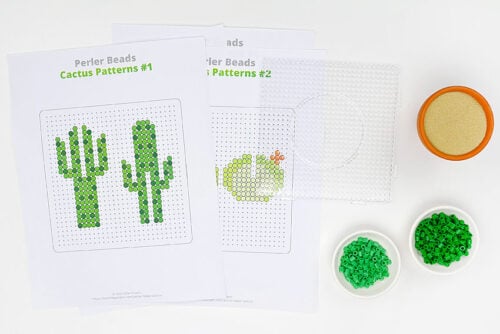
Step 1: Find what you need
- Gather your supplies and materials.

Step 2: Prepare your pegboard and beads
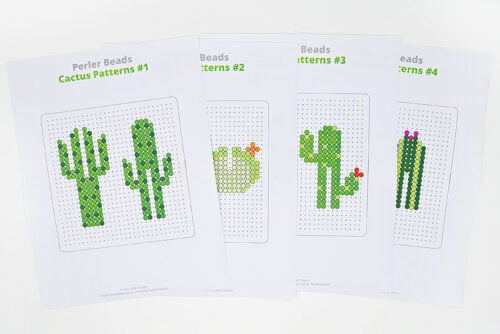
- Print our free Perler bead cactus patterns, or follow along with the template on your device’s screen.Find the link to the patterns in the materials list above with more details found below this tutorial.
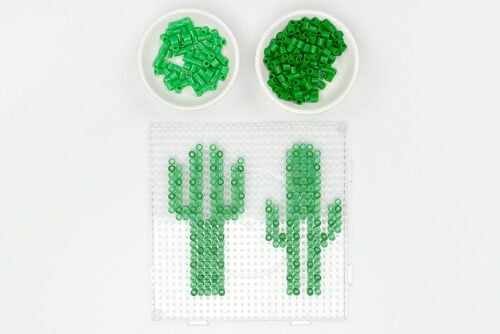
- To make these cactus designs you’ll need a large square pegboard. If you have a clear pegboard you can place it on top of the printed pattern to make it easier to follow along.We also find it helpful to sort the Perler bead colours we need and divide them into small bowls.
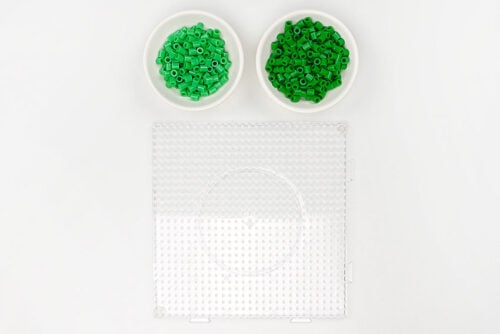
Step 3: Follow the pattern
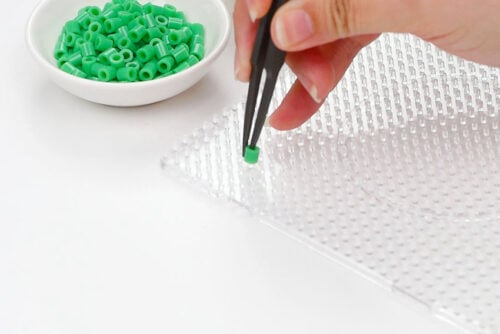
- Begin placing beads according to the pattern.Optional: Use tweezers to place the Perler beads. It makes it easier to add beads to specific pegs.
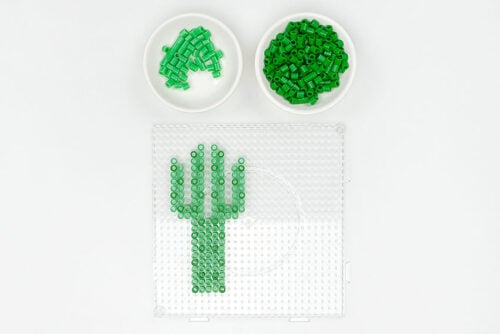
- Continue adding beads according to the pattern. We made the bottom half of the cactus first, but you can add the beads in whatever order makes sense to you.
- Make the second part of the design and compare them to the pattern one last time, to make sure you’ve followed it correctly and are happy with how it looks.
Step 4: Iron the design
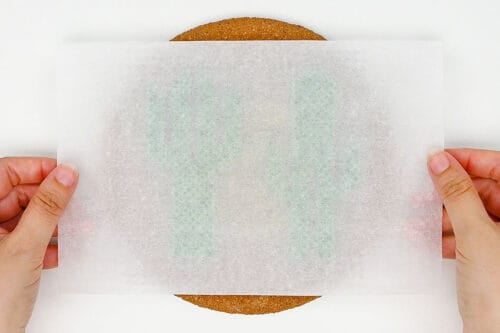
- Place the pegboard on an ironing board or other heat-safe surface. Cover the Perler bead design with a piece of parchment paper.

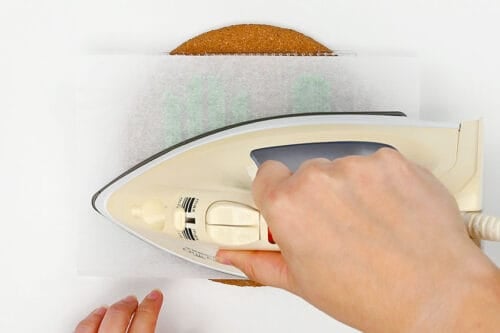
- Heat your iron to medium temperature, no steam. Place the iron on the parchment paper and move it around in circular motions for at least 15 to 20 seconds.
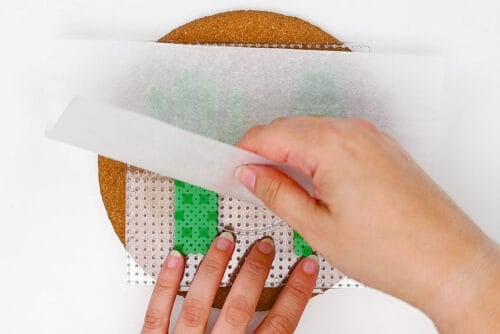
- Check the beads to see if they’re melted together. Continue to iron for another 10 to 20 seconds, if necessary.The beads are melted correctly when the parchment paper sticks to the beads and needs to be peeled away from them.
- Leave your design on the pegboard until it’s cool to the touch. When you remove it, place it under a stack of heavy books to stop it from warping as it cools completely.
Step 5: “Plant” the cactus
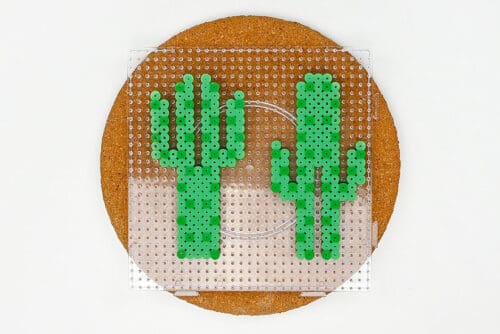
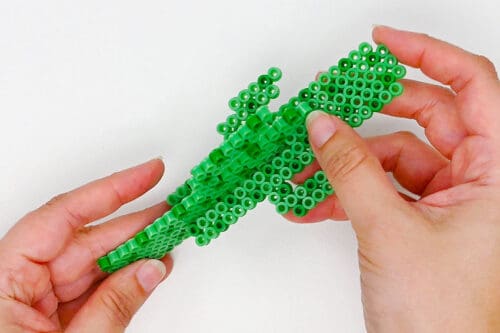
- The cactus piece with the hole in the bottom is the top. Slide it into the slot of the other half to create a 3D cactus!
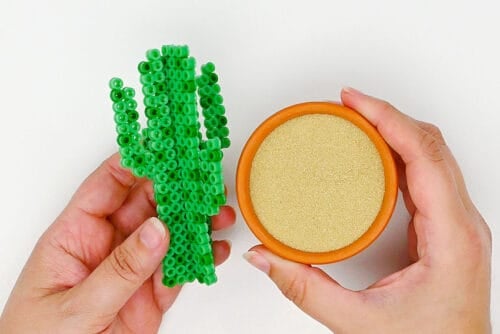
- To “plant” our cactus we filled a small clay pot with sand.Important: Place tape over the hole in the pot so the sand doesn’t run out!
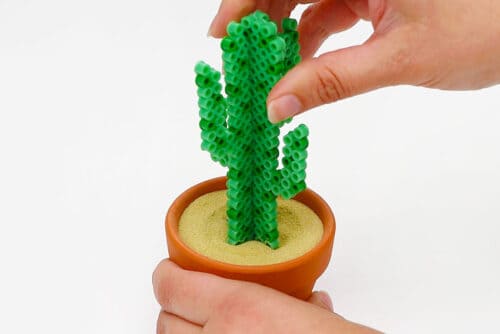
- Wiggle the bottom of the cactus into the sand so it stands up straight. You can also partially fill the pot, place the cactus in, and then add more sand to secure it.
- Your Perler bead cactus is complete!
- Now have fun making all of the cactus designs!
Helpful Tips:
- Place the pattern under a clear pegboard: If you’re using a transparent pegboard, slide the printable template underneath it so you can place the beads directly over the pattern.
- Choose how much you want to melt the beads: Iron the beads lightly if you’d like the individual bead shapes to remain visible, or melt them more completely for a smooth, fused pixel look. You can also iron both sides of each cactus piece to make it stronger and give both sides a similar finish.
Get our free printable Perler bead cactus patterns:
The text link below will take you to our free, printable Perler bead cactus templates! The 4 page PDF file will open in a new window.
Then simply follow along with the pattern on your device’s screen, or print the patterns in colour on 8.5 x 11 (letter size) printer paper.
>> Perler Bead Cactus Patterns <<
Besides sand, what can I add to the pot of my Perler bead cactus?
Small rocks or pebbles are an easy, less-mess alternative to sand. You can also place a piece of Styrofoam or floral foam inside the pot, press the cactus into it, and add glue to hold it securely. Cover the foam with glued-on sand for the same desert look.
Another option is to fill the pot with crumpled paper or aluminum foil and glue the cactus in place. Cover the top with brown pipe cleaners, felt, or crumpled tissue paper to look like soil.
What size pegboard do I need to make a Perler bead cactus?
These cactus Perler bead designs are made on a large square pegboard (5.7 inches square).
What are Perler beads?
Perler beads are small, colourful plastic beads that are arranged on a pegboard to create pictures and patterns. They’re also known as fuse beads or melty beads because the finished design is covered with parchment or ironing paper and heated with an iron, causing the beads to melt and fuse into one solid shape.
They’re a popular craft for kids and adults because they’re easy to use, available in lots of bright colours, and can be turned into all kinds of creative projects. Besides these 3D cactus plants, you can use Perler beads to make animals, decorations, magnets, keychains, ornaments, and more.
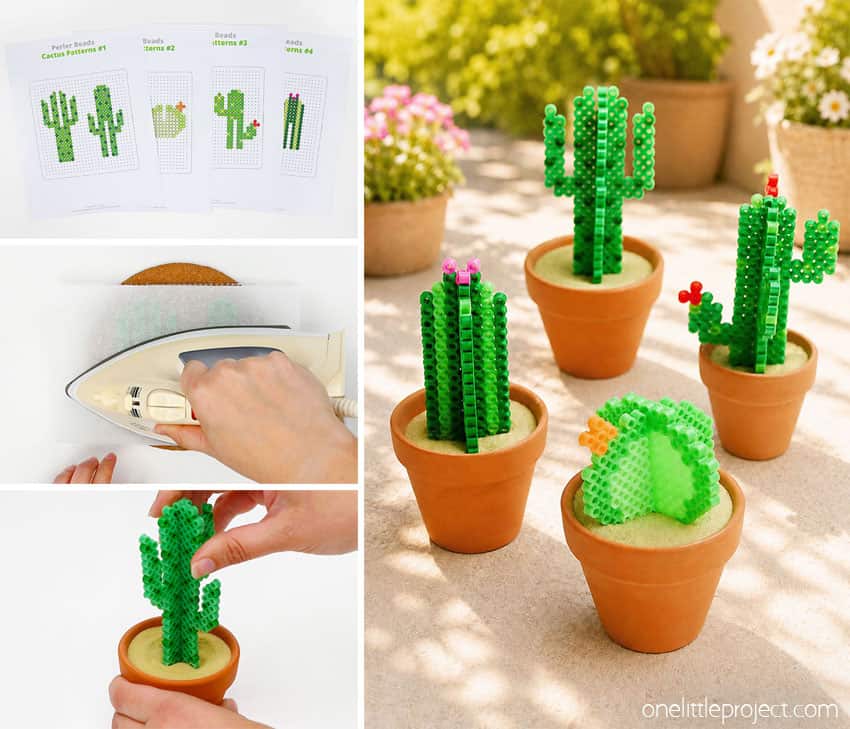
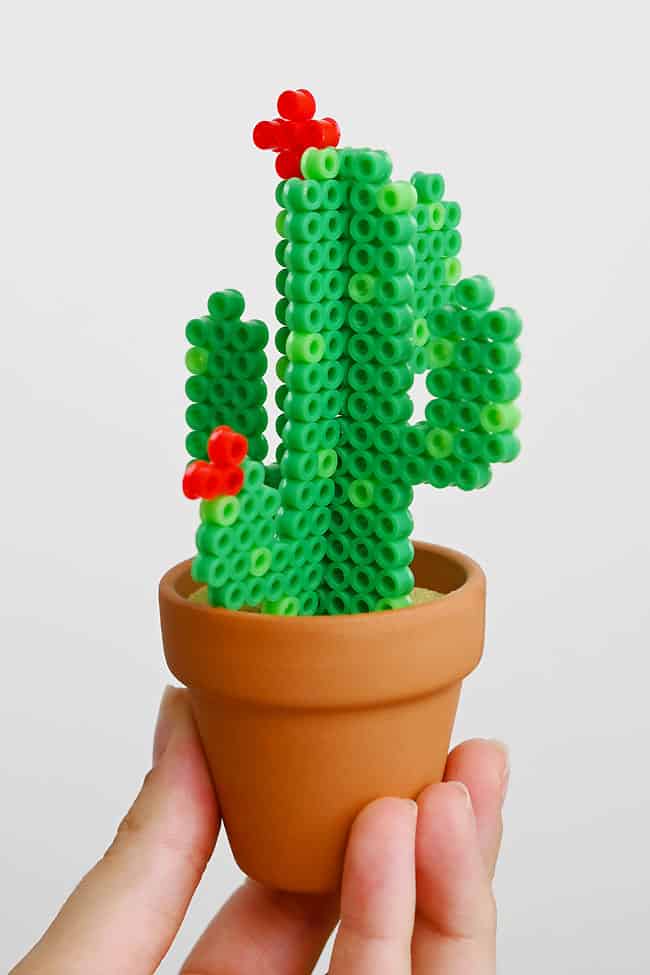
These 3D Perler bead cacti are such a fun way to bring a little desert style to your craft space! Mix and match the different shapes, green shades, and flower colours to give each plant its own personality. Whether you make one tiny potted cactus or a whole collection, they’re cheerful handmade decorations that will stay bright and colourful all year long.
Here’s even more cactus craft ideas:

Now available
Low-Mess Crafts for Kids Book
72 cute and fun crafts that kids and parents alike can enjoy. All with as little mess as possible!
Where to buy:
You can purchase Low-Mess Crafts for Kids from Amazon, or wherever books are sold:
Amazon | Barnes and Noble | Books-A-Million | Indiebound | Amazon Canada








Leave a Reply