Hello! It’s Megan from Homemade Ginger back with another fun tutorial. You can trick yourself into thinking that it’s spring by learning how to make these adorable paper umbrellas. I loved making this project because it was so fun to come up with different color combinations. You could also experiment with making them all sorts of various sizes too!
I don’t know about you, but during this time of year, spring colors spark a breath of fresh air into my life. Don’t tell me that we still have weeks of winter left, I just want to live in my dream world that spring is just around the corner.
When I walked into the craft store the other day, I was struck by displays of colorful flowers, bright patterned craft paper and cheerful organizing bins. I was immediately so happy and motivated to start some new projects! There is nothing better than crafting up some cheer in the spring. Last year I made some watercolor plant markers but I wanted to come up with something fresh for this season. I was inspired to make these adorable hanging paper umbrellas and I love how they turned out!
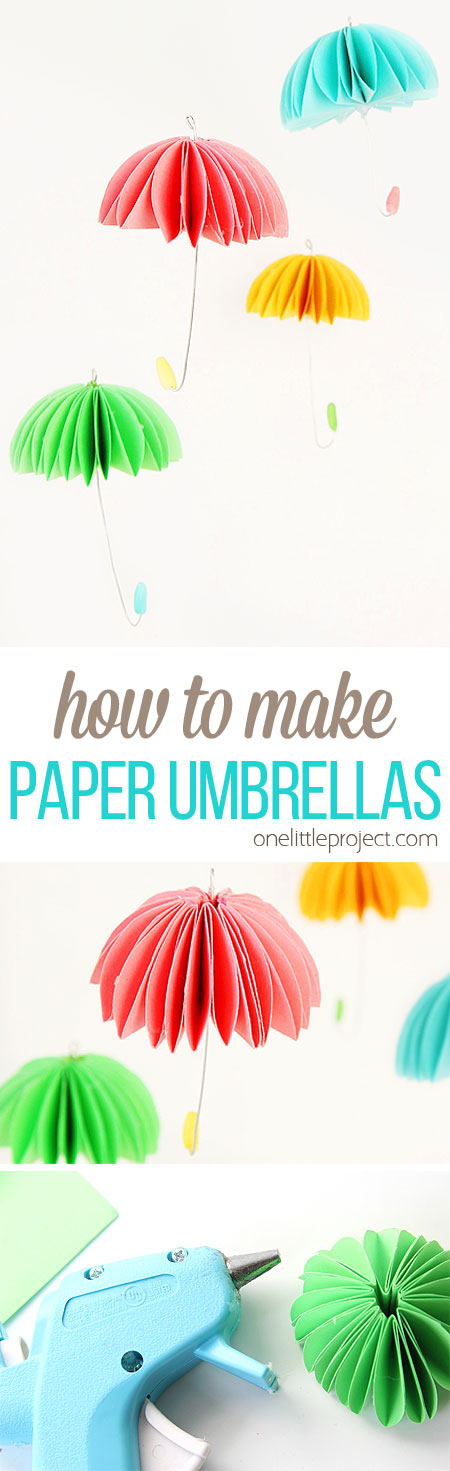
These little paper umbrellas are so versatile. I was inspired by these umbrellas and quickly realized that they could be used in so many different ways. You could hang them in a nursery for a unique mobile or make some larger ones for a baby shower. Hang some from your mantel for a pop of spring decor or even add them to a wreath!
How To Make Paper Umbrellas
The full printable directions are at the end of this post, but here is what you will need:
- Craft Paper
- Air Dry Clay
- Floral or Jewelry Wire
- Needle Nose Pliers
- Acrylic Paint
- Scissors
- Double Sided Tape
- Hot Glue Gun
- Round can or lid
- Clear Thread
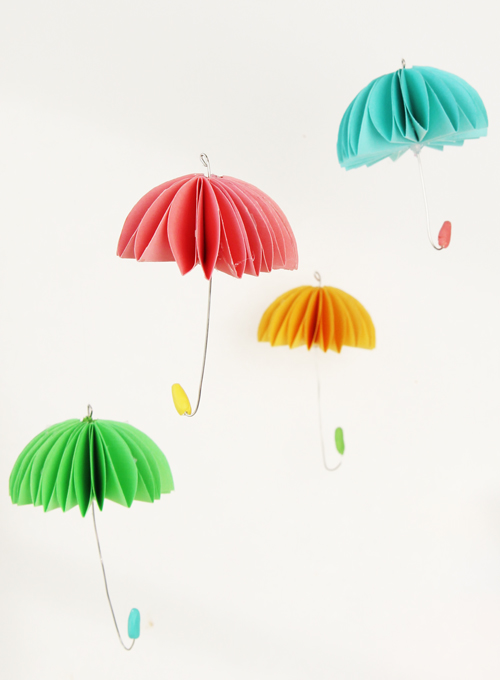
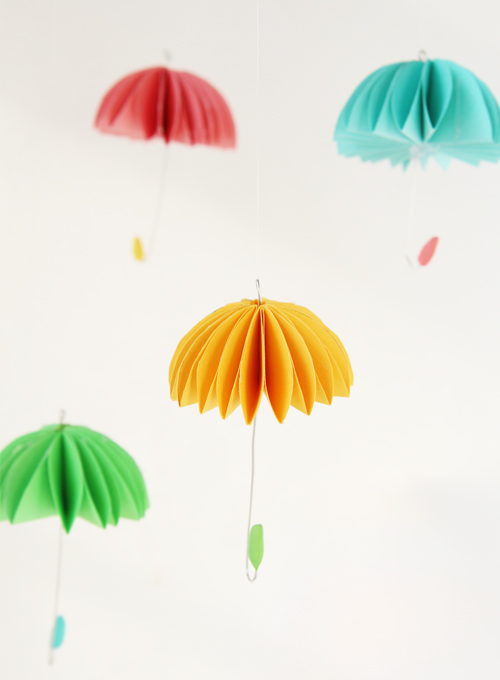
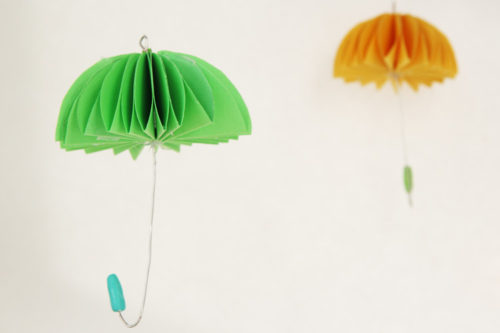
These pretty paper umbrellas can be made in a variety of sizes and colours!
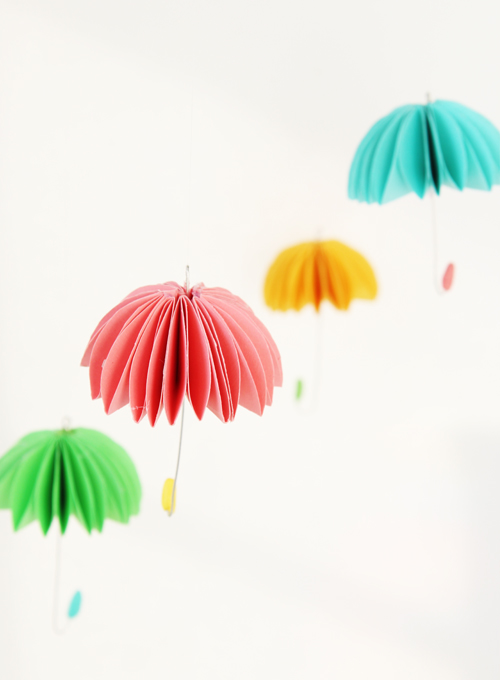
Aren’t they so cute? Hang them anywhere!
How to Make Paper Umbrellas
Materials:
- 2 pieces craft paper (any colour)
- 1 piece floral or jewelry wire
- Air dry clay
- 1 tube acrylic paint (any colour)
- 1 round can or lid (any size)
- double sided tape
- 1 spool clear thread
Equipment:
Instructions:
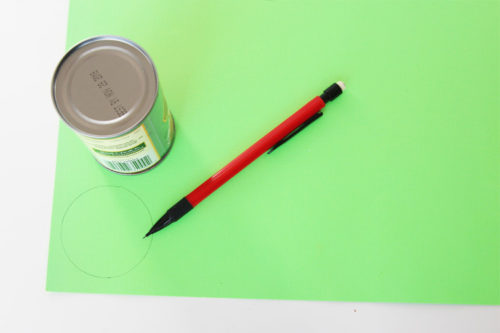
- Trace around a lid or can onto a piece of craft paper. Trace 10 circles then cut them out. The size of the lid/can will determine the size of the umbrella.

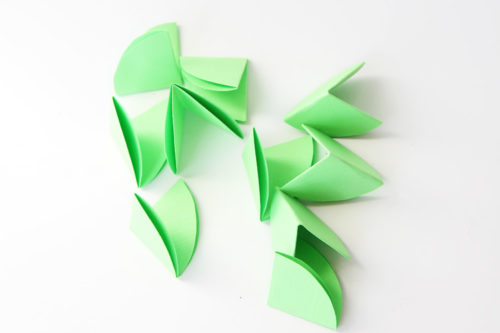
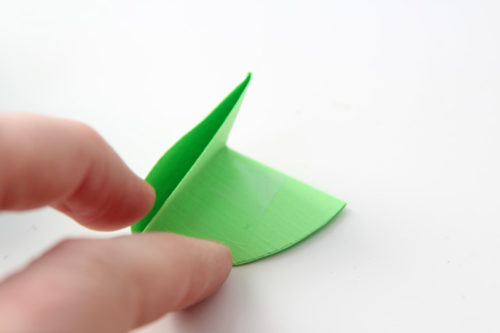
- Fold a circle in half and then in half again so it looks like a triangle. Repeat this step with the remaining 9 circles.
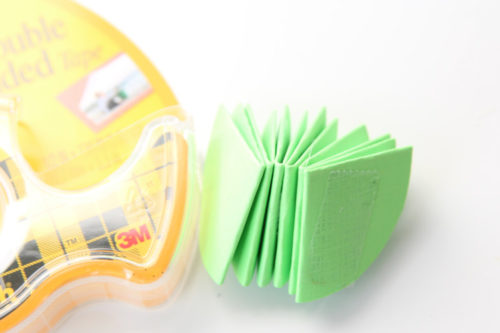
- Place a piece of double sided tape in the center fold of each of the triangles.
- Tape the triangles together, making sure to line up the folded edges. It should resemble an accordion.
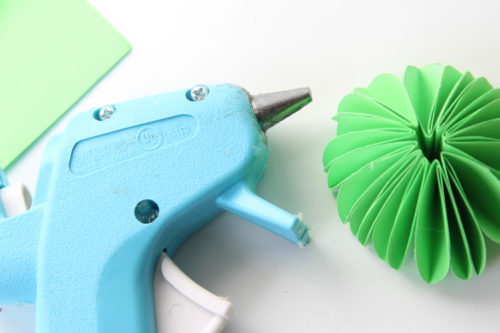
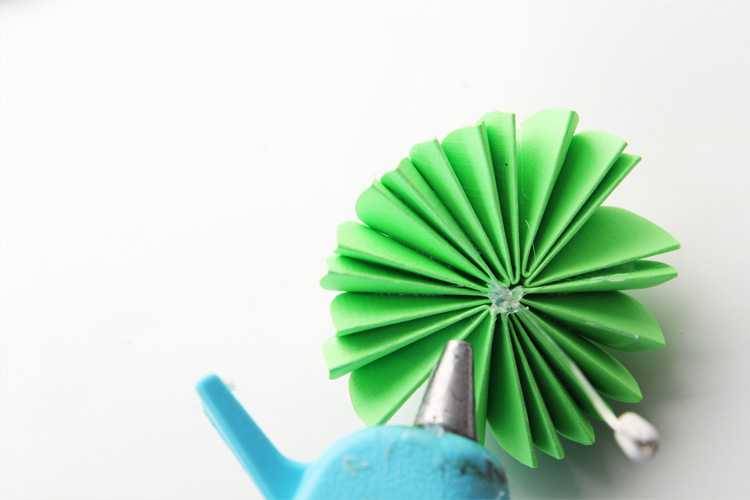
- Form a circle. Using a glue gun, glue the two ends together to complete the umbrella top.
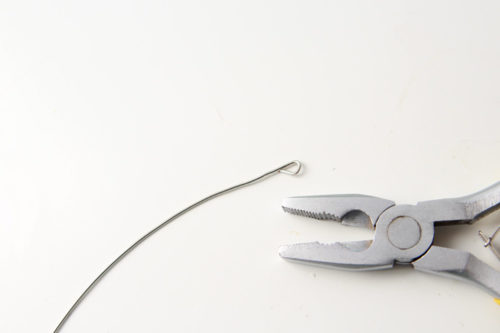
- Cut a 4 inch piece of wire and form a small loop on the top of one of the ends so you can hang them later on.
- Fold up the bottom of the wire to form an umbrella handle.
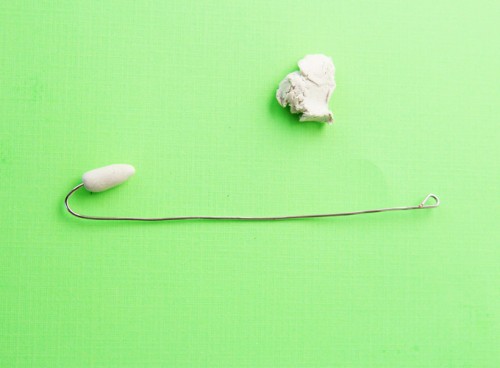
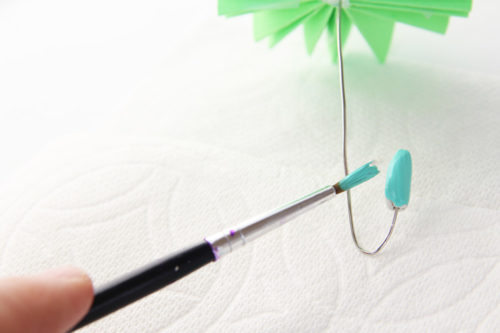
- Make a small oval out of the air dry clay and push it onto the handle of the wire.

- Push the wire into the center of the umbrella and secure with glue on the bottom.
- Paint the air dry clay with acrylic paint. Let dry.
- Attach the clear thread or fishing line to the top loop and hang!


Have fun making this cheerful project to jazz up your home for spring!
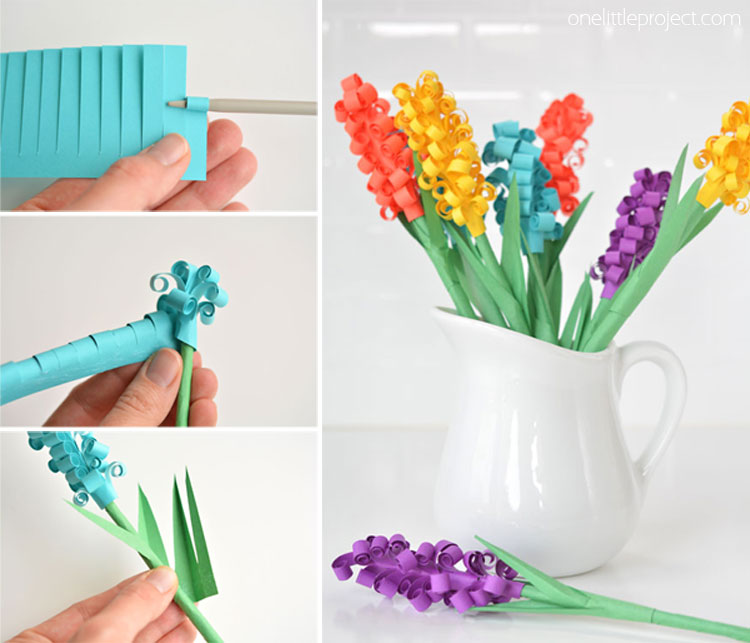
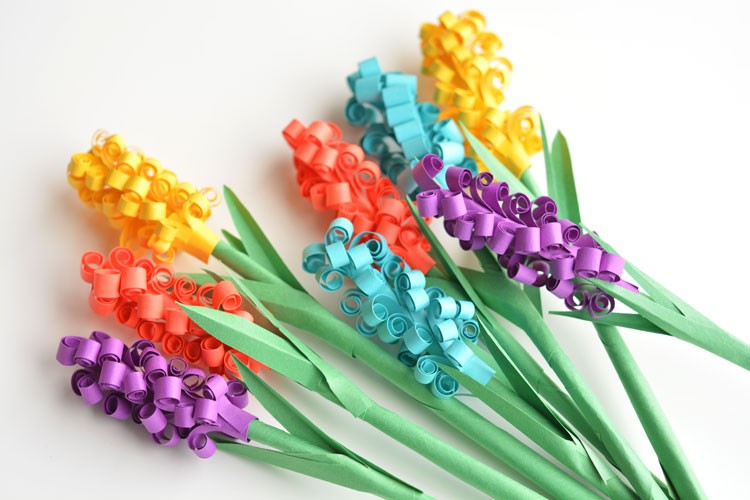
If you’re looking for more fun and easy paper projects, check out our paper hyacinths tutorial. These look so pretty and definitely add some spring cheer into the house!


Leave a Reply