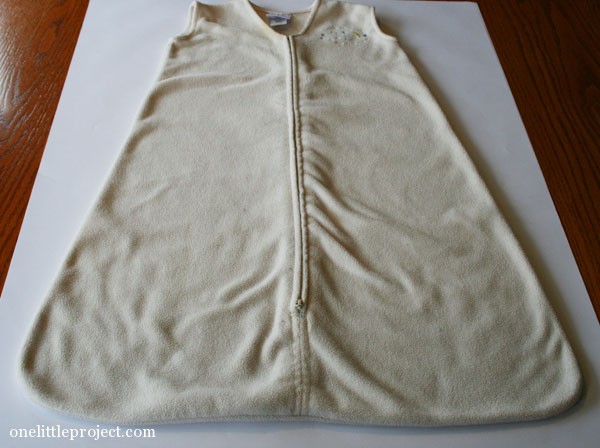
One of the baby items we have ended up relying on the most with Kate (our second daughter) is her sleep sack. It gets chilly here at night and it’s such a great way to keep her warm. When I turned it inside out to look at it, it didn’t look that difficult to make my own sleep sack for her, so I decided I was going to try it. After all, I’m pretty sure we paid close to $30 for hers!

This afternoon after Kate’s nap, I went into her room and the zipper on her sleep sack was wide open. I know I’m tired from waking up with her a couple times a night, but did I really forget to zip it up? It’s making me a little crazy wondering. I’m going to chalk it up to her sleep sack being so well used that the zipper must be getting close to breaking and it surely must have split open while she slept. So, that’s just another reason this is perfect timing for a make your own sleep sack tutorial!

Make Your Own Sleep Sack Tutorial
Since we already have a sleep sack, I used the one we have as a basic pattern for the new one.
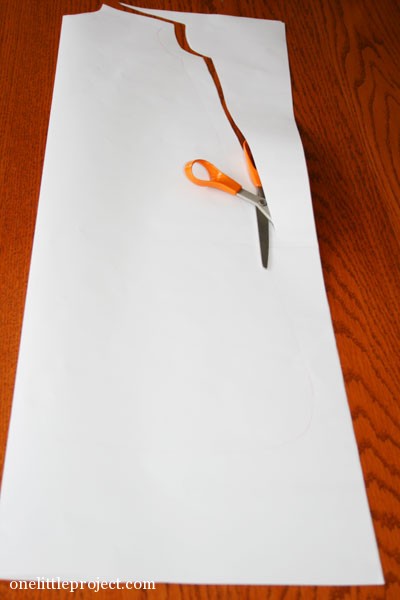
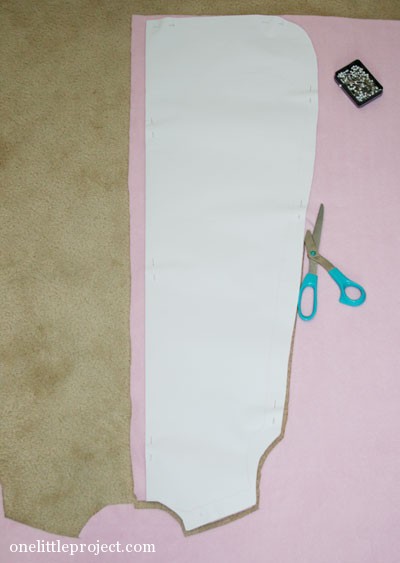
Trace around the entire sleep sack. I traced it onto a 24″x36″ piece of plotter paper, but kraft paper would work too.

VERY IMPORTANT: When you cut out the pattern from an existing sleep sack, make sure you leave about 3/4″ on all sides for the seam. Otherwise you’ll end up with a sleep sack that would have fit your baby 3 months ago. Since Kate has been in her sleep sack for months and it’s a 6-12 month size, I made her new one even wider and about 3″ longer so it will fit her for a lot longer.
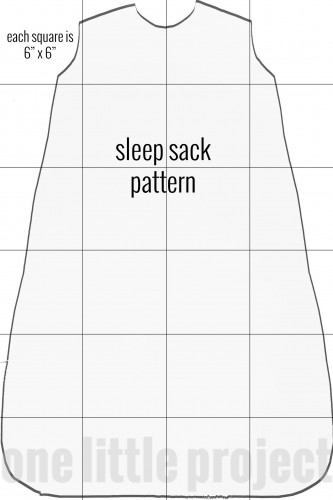
Pattern:
Here is the pattern I came up with – I think it would qualify as 12-18 month size:
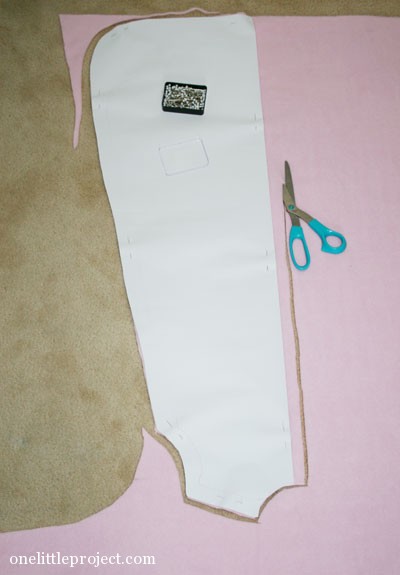
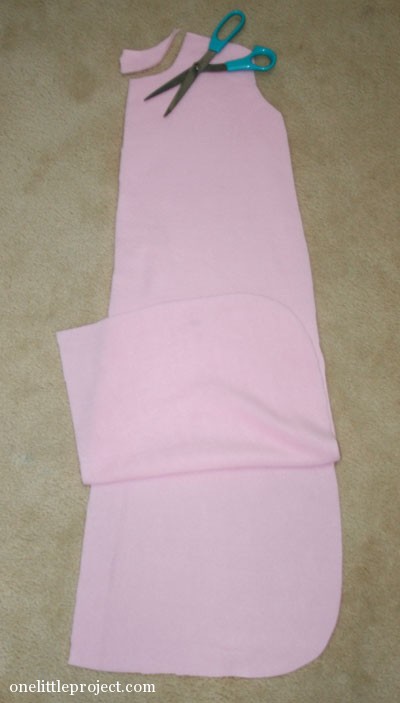
Pin the paper pattern piece to the fabric and cut it out – this makes the piece for the back. I used polar fleece since it needs to be warm.

Fold the paper pattern piece in half and pin it to the fabric and cut out one of the front pieces. Make sure you add an extra 3/4″ to the centre of the piece for seams. You can see in my photo below where you need it. I was just economizing on paper and didn’t want to cut out another pattern piece.
Flip over the paper pattern piece and cut the other side of the front, again making sure you leave 3/4″ extra for the seam at the middle.
At this point I realized that I needed to make the neck on the two front pieces a little bigger. I based my pattern on the back of the the sleep sack which has a narrower neck, so it was just a small adjustment after I cut out the pieces of fabric.
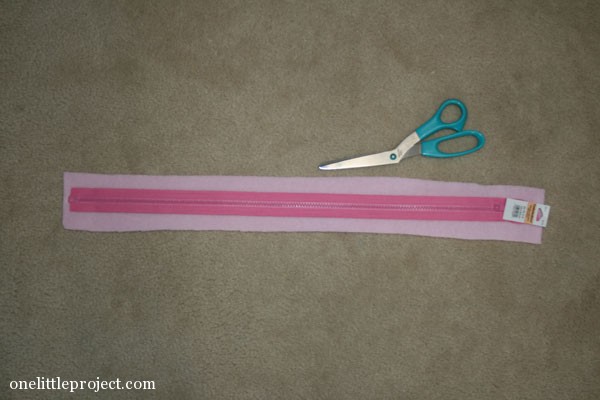
I used a 22″ zipper and needed a piece of fabric to cover it on the inside (this will make sense later). So cut out a piece of fabric a little longer than your zipper and about 3.5″ wide.
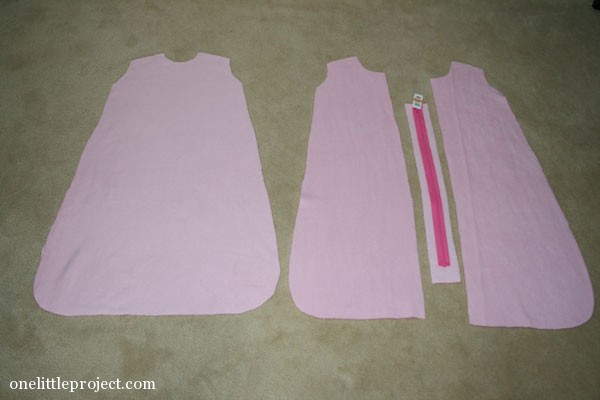
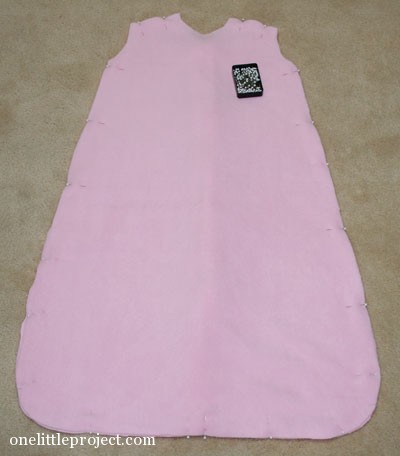
So this is what you should have for fabric pieces – one back, two fronts, and one backing panel for the zipper.
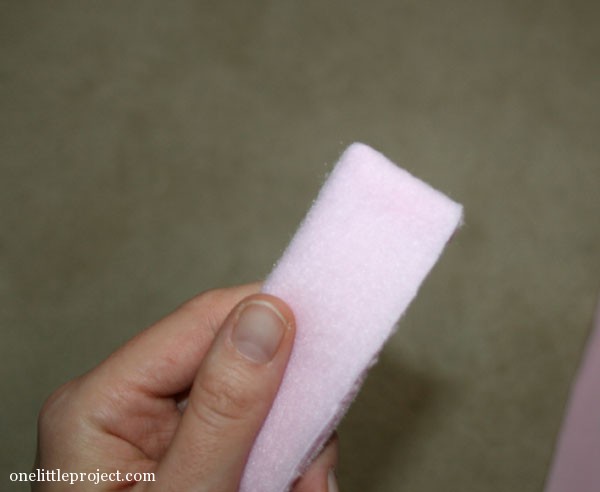
Fold the zipper backing panel strip in half the long way and sew the two short ends. When you flip it right side out, it will look like this:
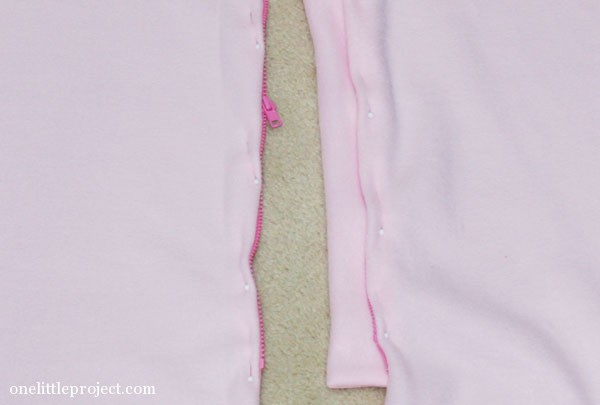
Open the zippers completely and pin them to the front pieces (right side out). The zippers should open from the bottom and should completely disconnect at the top so you can eventually open it up to get your baby in from the top.
If you are good at sewing you’ll probably have a better way of doing these next few steps. I’m pretty sure this is the first time I have ever sewn a zipper, so I was trying to figure it out as I went. I even looked in the sewing machine manual, but it didn’t make sense at all. So this approach is kind of a fly by the seat of my pants method. But it did all work out in the end.
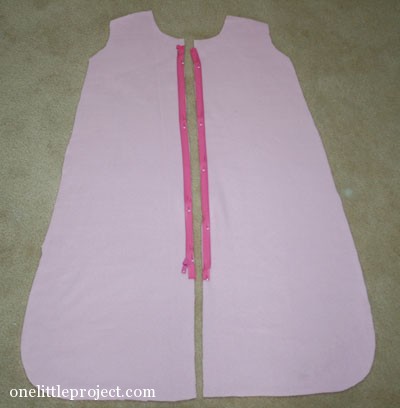
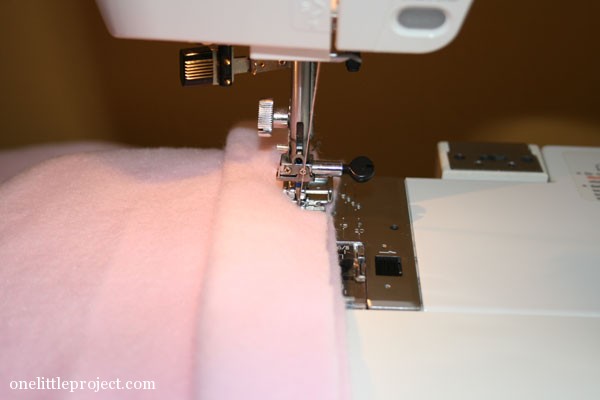
Sew the zipper to the fabric.

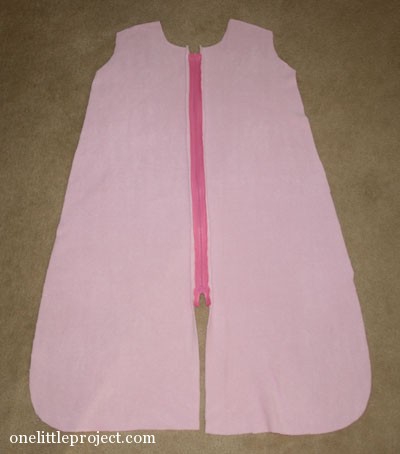
So when you zip it up, the front will look like this:
Now, remember that zipper covering strip we sewed at the beginning of the tutorial? On the wrong side of the fabric, pin it to one of the front pieces so it covers the zipper.
And sew it in place:
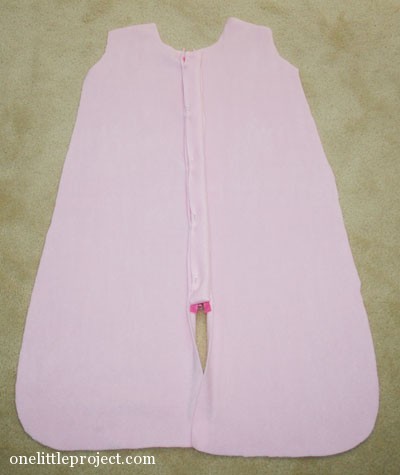
So now you’ll have a zipper that closes like this, with a fabric panel behind it to protect your little one from those rough zipper edges.

Then fold over about 1/8″ over top off the zipper and pin it in place.
So when you sew it, it will look something like this: (I’m definitely not an expert at sewing on zippers here, but I did my best.)

Pin the bottom part of the front and sew it together, leaving a 3/4″ seam so everything lines up with where your zippers were sewn.
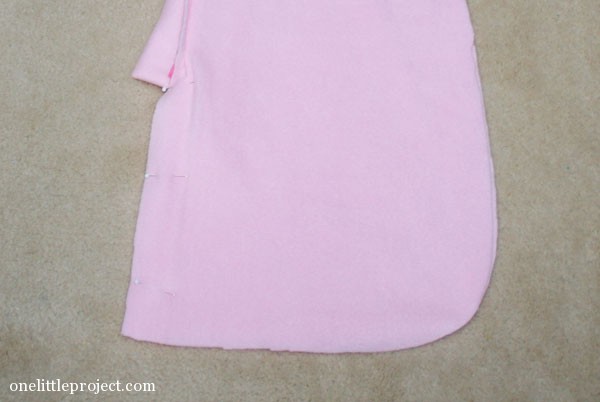
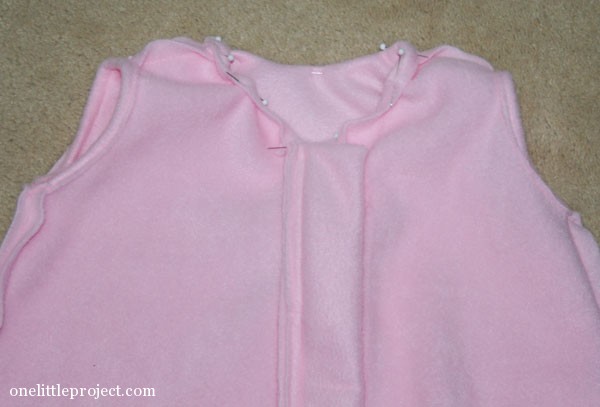
So finally, you will have your front piece together. It’s all easy from here!
Pin the front to the back with the right sides inside.
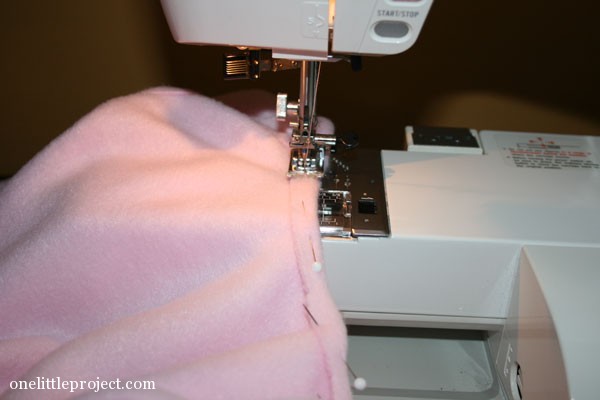
Sew around the entire perimeter, leaving the arm holes and neck open.
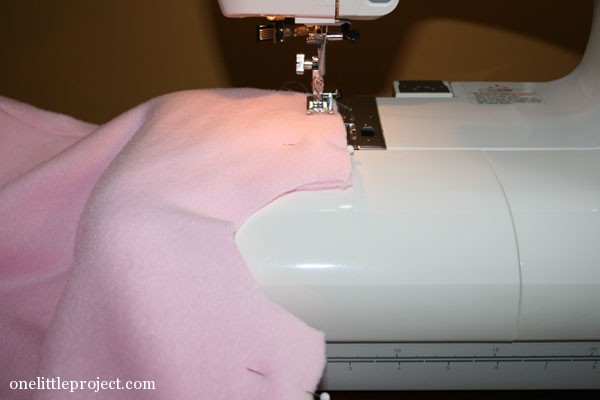
At this point, it’s really starting to come together. All that’s left is hemming the neck and the arm holes.

Pin the hem around the arm holes and sew them. I only had about 1/4″ for a hem there.

Pin around the neck hem and sew it, again, about 1/4″ for the hem.
This is where my little distraction woke up from her nap. There’s no room for a play pen in the sewing room so I improvised…

Last bit of sewing!
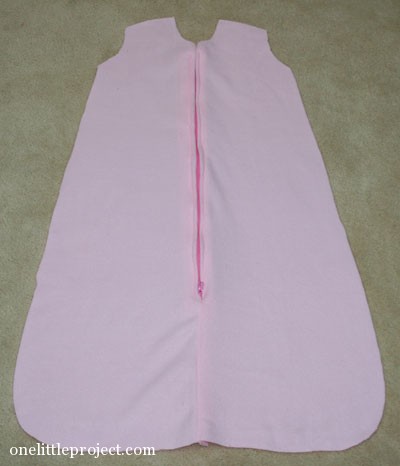
And voila! The sleep sack is complete!


I’m not an expert at sewing, but I think it turned out really well!

Kate was inspecting the zipper in this shot. The whole thing is very soft and cozy.

“Mommy, take the pictures you need, but whatever you do, don’t take away my candle.”

This is a project that definitely would have gone faster if I had a pattern or instructions. I had to use the seam ripper a couple times while I was trying to wrap my head around how to sew the zipper on. I think it took about 3 hours for me to complete, all during nap times, but if I had these instructions it would have been much faster!
It took about 1 meter of fabric, one zipper, and some matching thread, all on sale, for a total of about $8. And now I have a super cute second sleep sack for my super cute little munchkin.


Leave a Reply