As promised here is the step by step tutorial for how to make tissue paper pom poms, also known as tissue paper balls, or tissue paper poofs. These are surprisingly quick to put together and add an easy burst of colour to any room or party! Check out all of our tissue paper crafts here.

You can get tissue paper at the dollar store, 20 pieces for $1. So that’s two tissue paper pom poms per pack making each one only $0.50.

How to Make Tissue Paper Pom Poms
And now for my very first video tutorial ever: (I still have to master my video editing skills, so go easy on me…)
Count out a pile of 10 sheets of tissue paper and lay them flat:

Fold the end in about 1″ to 1.5″ and fold it accordion style (fold, flip over, fold, flip over, repeat): 
Continue to fold it accordion style:
Until you have folded the whole thing: 
It doesn’t need to be perfect. The tissue paper is pretty forgiving: 
Fold it in half to find the center: 
Wrap a wire around the middle (I used dollar store jewellery wire): 
And secure it to hold everything in place (Note: This would be a good time to attach thread or fishing line if you plan to hang it): 
Round the edges of both ends. The shallower the cut, the shallower the “petals” of the tissue paper pom pom will be: 
So now you should have something that looks like this: 
Take one piece of tissue paper: 
And pull it away from the rest of them: 
Continue pulling apart the layers of tissue paper: 
The layers will start to look like this: 
Once you finish one half, pull apart all the layers of the second half: 
Fluff up all the layers until you get it into a good ball shape: 
Then hang it from the ceiling with some fishing line and you are good to go!
How to hang tissue paper pom poms?
There are basically three methods to hang tissue paper pom poms (If I’ve missed any please leave your suggestions in the comments!):
- Tape the string to the ceiling or tape them directly to the ceiling – This will only work if it’s not stucco. I don’t recommend hanging them above a baby’s crib with tape since they could easily fall, but tape would work very well for party decorations.
- Screw a small hook into the ceiling. Unfortunately this damages the ceiling surface, but at least you’ll know it’s going to stay put.
- Use Command adhesive hooks like these
or or these
on the ceiling. Again, this isn’t going to work on a stucco ceiling, but it comes off without a mess so it’s definitely the way to go if you have a smooth ceiling!

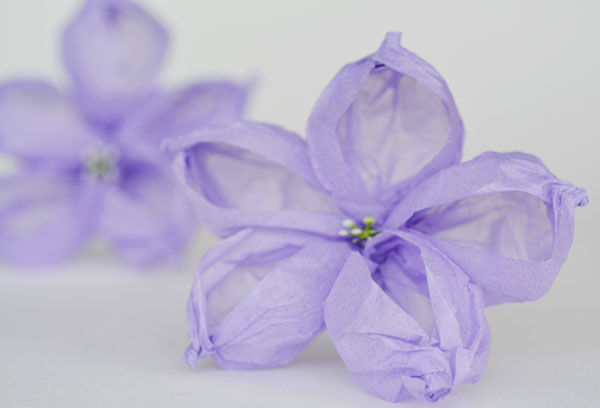
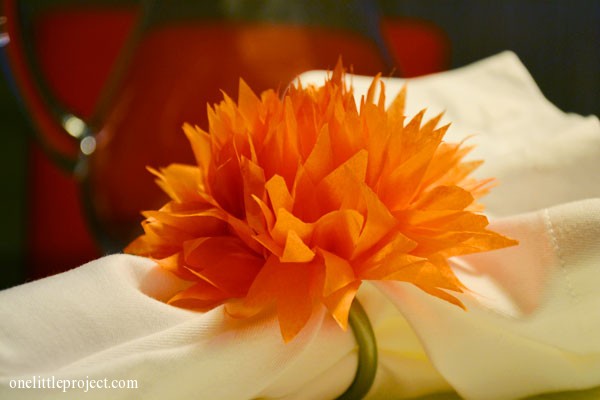
You might also enjoy our other tissue paper flower tutorials:
- How to make a tissue paper flower for a napkin ring
- How to make tissue paper flowers that look like balloon flowers


Leave a Reply