FINALLY I have a working sewing machine again! It has been 6 weeks since my Janome 9000 (permanently) broke down. But I am now back up and running with a Bernina Artista 200 (thanks mom!). Fantastic sewing machine – but a bit of a learning curve to get it up and running since it’s another crazy computerized one.
This mattress project has been on my to-do list for weeks! And it was a simple project to tackle on a sewing machine that I’m not familiar with – so it felt great to finally get it finished!

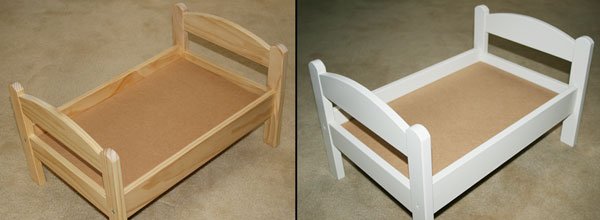
How to make a mattress for an IKEA doll’s bed
I used 1″ urethane foam that I bought on sale for about $5 for the mattress:

The pieces weren’t the right size at all but it was really easy to cut into shape. Just use scissors to cut out two pieces that add up to 12″ x 19″:

Cut out a piece of fabric that wraps around all sides of the foam leaving about an inch extra on all sides. (I didn’t bother measuring mine before I cut it – just use the same approach you’d use if you were wrapping a present). I believe my piece of fabric ended up being around 22″ x 26″:

Fold the piece of fabric in half with the right side on the inside. Pin if you want, but I was lazy and didn’t bother:

Sew together two of the edges, leaving one end open:

So when you turn it back right side out you’ll have something that resembles a pillow case:

Now you need to get the foam inside of it. To make it easier, turn it back inside out, put your fingers in the two corners and pinch the corresponding two corners of the foam:

And then pull the cover over top of the foam. I definitely recommend starting with the larger piece of foam:

And then the small piece of foam will just slide in really easily:

Fold in the edges of the end of the cover:

And pin it closed leaving as little space between the pins and foam as possible:

The end will look something like this:

Then sew a straight stitch across the entire open edge of the cover (without hitting the foam inside) removing pins as you go:

So the finished edge will look like this. Don’t worry too much about this seam if you can’t quite maneuver it to be perfect – it’s not easy sewing so close to the foam! Once the mattress is tucked into the bed, this seam won’t be visible at all:

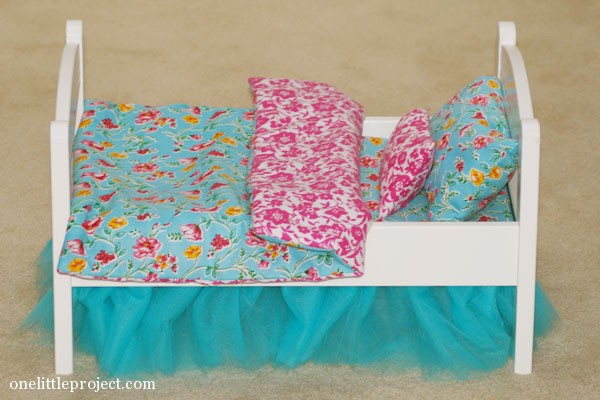
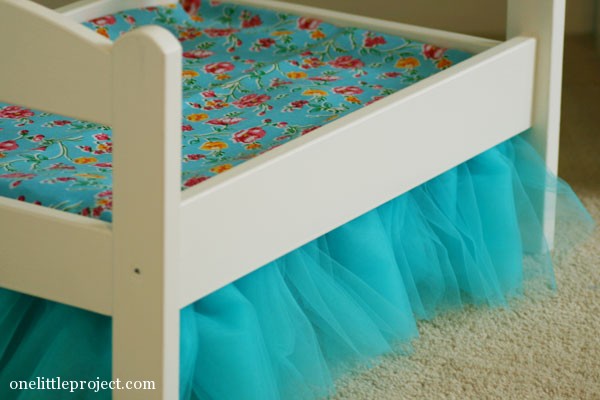
Slide the mattress into the doll’s bed. Mine fit perfectly which is always a huge relief!

I considered making a fancy shmancy reversible mattress cover with tons of seams that flawlessly fit the foam, but I decided it just wasn’t worth the effort.

This one works perfectly and is super easy to make! It will be plenty comfortable for the dolls and teddy bears that will be sleeping in it. I still hope to make another pillow or two, but I feel relieved to finally have this mattress project off my plate!
You can check out all the other bed linen tutorials for this IKEA doll’s bed here.


Leave a Reply