Do you give Christmas gifts to your kids teachers? Or your coworkers for that matter? At the office I work at, a few people give small token gifts to everyone at Christmas time. On Christmas Eve, we normally work a half day, and it’s always so fun coming in and finding a small treat or two on my desk. Things like mini Toblerone bars, small boxes of chocolate, or even mini chocolate bars (hmmm… chocolate, I’m noticing a theme, now that I think about it!).
I’ll be honest, I’m a terrible gift giver! It’s not because I don’t want to give presents, it’s just that I forget to be organized and end up giving a gift card to the teachers and nothing to my coworkers. Although, I do like getting chocolate from them…
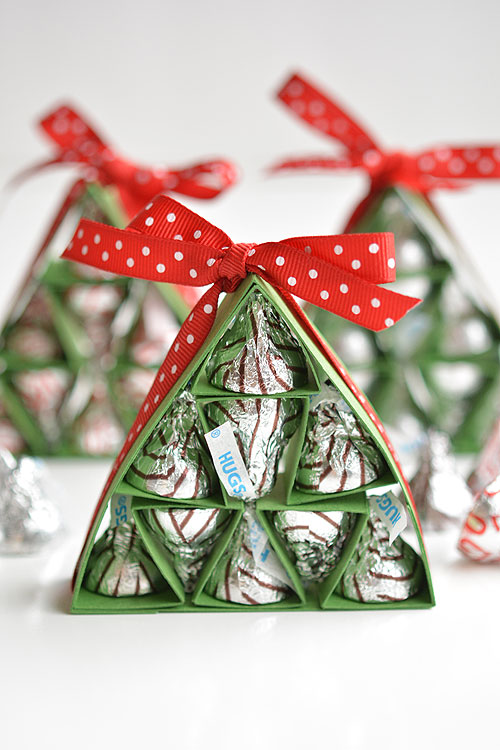
When my kids are older, I’m definitely going to be more organized! (That’s my story, and I’m sticking to it.) It’s little ideas like these that are so special! Wouldn’t you love to receive one of these little Christmas trees, all wrapped up in clear cellophane with a nice ribbon and an understated gift tag? I know I would!

They are really easy to make! You’ll need to give yourself a fair bit of time if you want to make a lot of them, but you can definitely make 4 or 5 in less than an hour.
How to Make Hershey’s Kisses Christmas Trees:
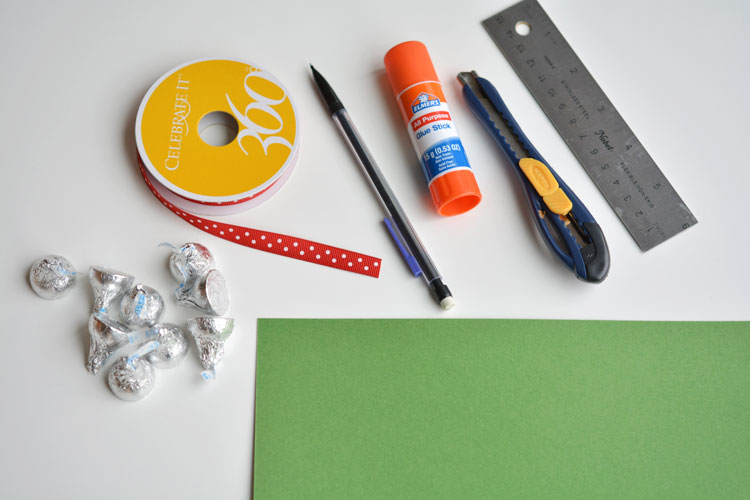
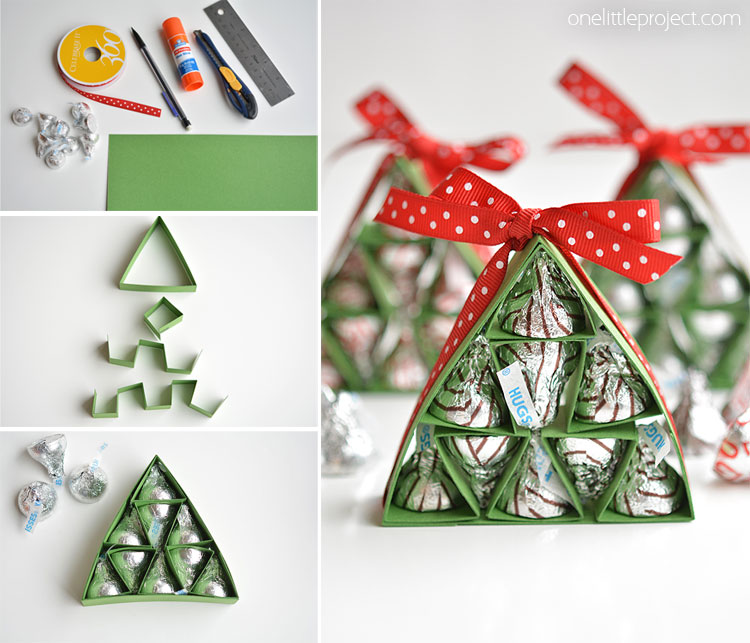
Here’s what you’ll need:
- Heavy Green Card Stock (mine was 11.5″ long and I got it from Michael’s)
- Glue Stick or White Glue
- Ruler and Pencil
- Exacto Knife or Scissors
- Red Ribbon
- Hershey’s Kisses, Candy Cane Kisses, or Hugs (9 per tree)
All the credit for this idea goes to QBee’s Quest. As far as I can tell, she came up with this brilliant idea! I found her tutorial a little confusing though, and some of her dimensions just didn’t work for me. Do Hershey’s kisses come in different sizes!? I have no idea!? So if yours aren’t fitting in your tree with the dimensions I’ve given you here, make sure you try the dimensions in her tutorial instead.
The card stock I used was fairly heavy. Remember, the paper needs to hold up 9 Hershey’s kisses, so it’s got to be sturdy. If you have options at the craft store, definitely choose the heavier one.
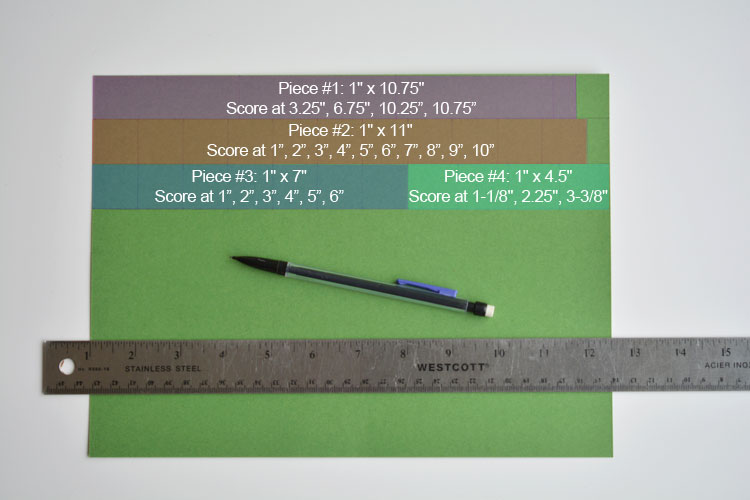
You’ll need to cut out 4 pieces of card stock as follows:
Piece #1 = 1″ x 10.75″
Score at 3.25″, 6.75″, 10.25″, 10.75″
Piece #2 = 1″ x 11″
Score at 1″, 2″, 3″, 4″, 5″, 6″, 7″, 8″, 9″, 10″
Piece #3 = 1″ x 7″
Score at 1″, 2″, 3″, 4″, 5″, 6″
Piece #4 = 1″ x 4.5″
Score at 1-1/8″, 2.25″, 3-3/8″
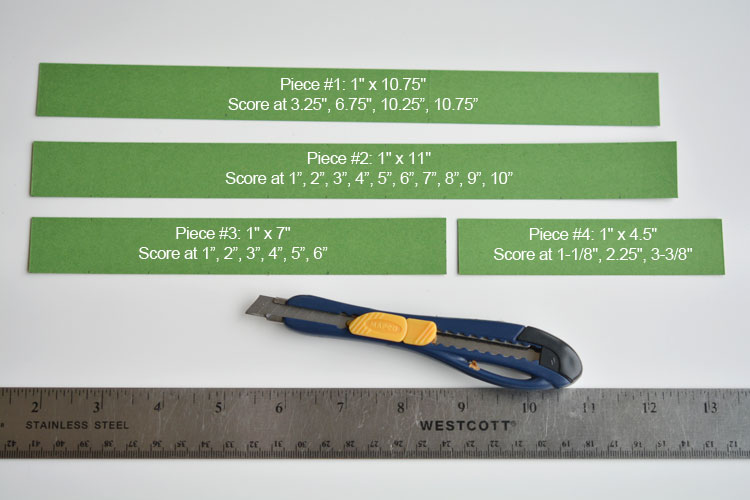
I love using my exacto knife with a metal ruler to get the cleanest cuts, but you can use a paper cutter, or even scissors if you have a steady hand. Just a quick note – my exacto knife is specifically for crafts. It’s not a large utility knife. I’m pretty sure I’d need some bandaids if I tried using a utility knife!
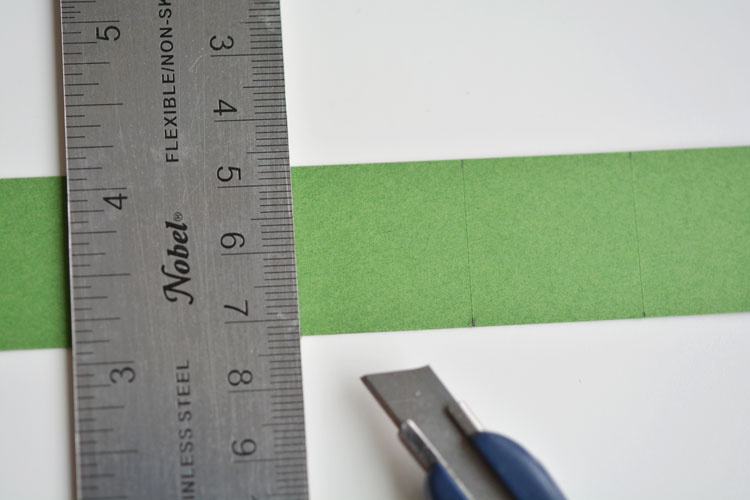
For anyone reading this who doesn’t know, scoring the paper means you have to scratch it without cutting all the way through. The idea is to make an indent on one side of the paper so that it folds cleanly, exactly where you want it to. Again, I used my exacto knife for this, but if you’re using scissors, you can use the tip of the scissors against the edge of a ruler on the paper to get the same effect.
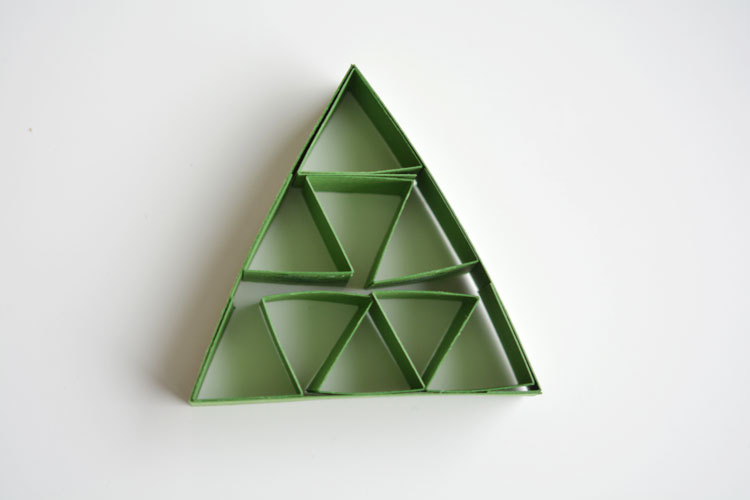
Once you’ve cut out all the pieces of paper and have scored them all, take Piece #1, fold it into a triangle and then add some glue to the end tab.
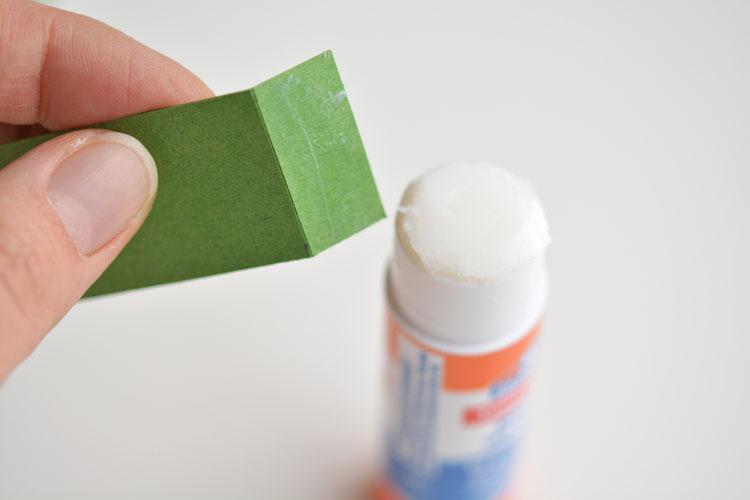
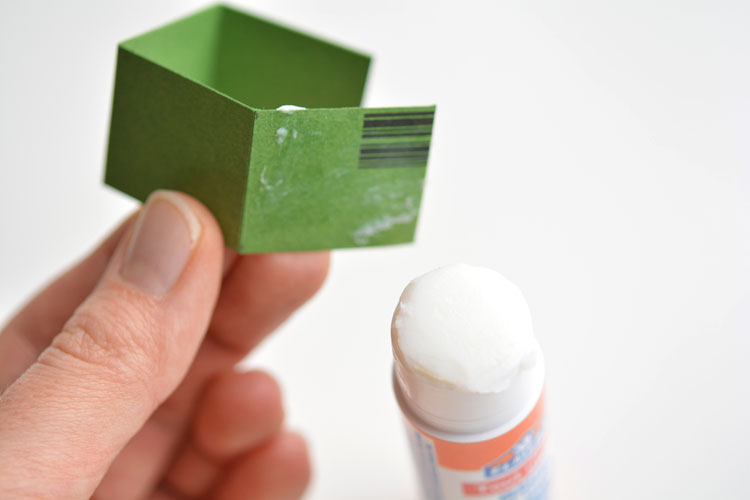
Then glue piece #1 closed in a triangle shape like below. The glued tab should be on the bottom of your Christmas tree (otherwise it won’t be symmetrical).
Fold all the other pieces like in the photo below.

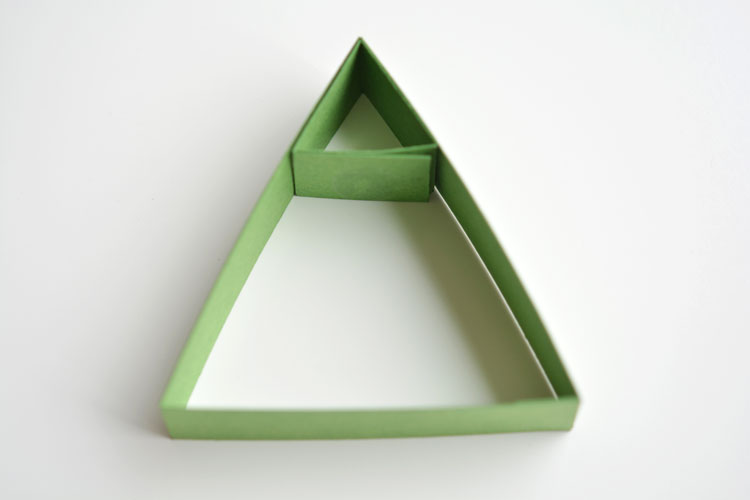
Take Piece #4 (that’s the shortest piece) and glue it shut with the glue stick.
So Piece #4 is placed into the top of the tree (Piece #1) and glued in place.
Add some glue to the two outer edges of Piece #3 and then put it in place like this:
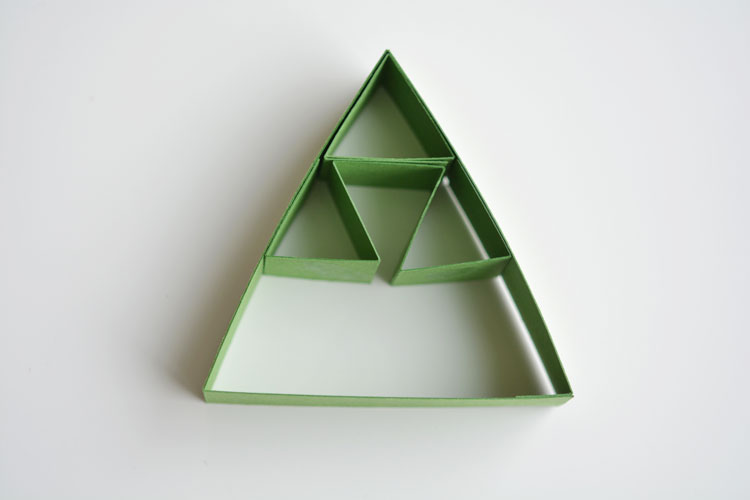
Then add some glue to the outer edges of Piece #2, fold it into the right shape and put it in place. Your shell is done!
Pop a Hershey’s kiss into each of the little openings in the tree.
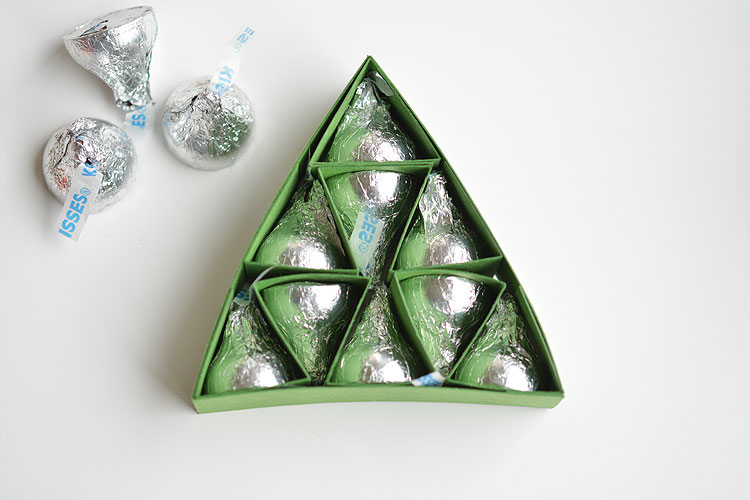
Then cut a piece of ribbon, about 22″ long (you can trim it after) and tie a bow around the tree.

Like I said above, my dimensions for this tree are different from the dimensions over at Qbee’s Quest. Maybe Hershey’s kisses in Canada are bigger? I had to make my Piece #1 (the triangle shell) larger because the chocolates weren’t fitting in it. So if all your kisses are falling out, check out her tutorial and make your outer frame according to the dimensions over here.
Or, you could add a small piece of double sided tape to the bottom of the kisses to keep them in place. That would work too.

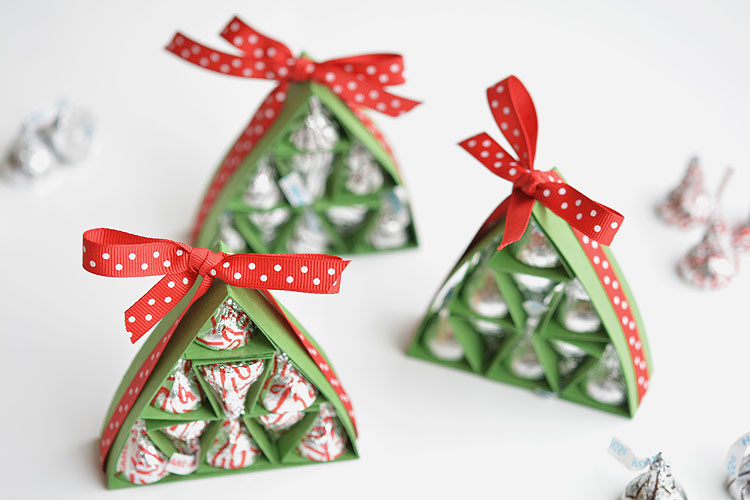
Or wrap it tightly in cellophane to keep it all together. Don’t they make an adorable looking gift?!
If you want the tree to have a “trunk”, find a small, wrapped, rectangular chocolate piece and hot glue it to the bottom of the tree as the trunk. Don’t use too much hot glue though. You definitely don’t want to melt the chocolate!
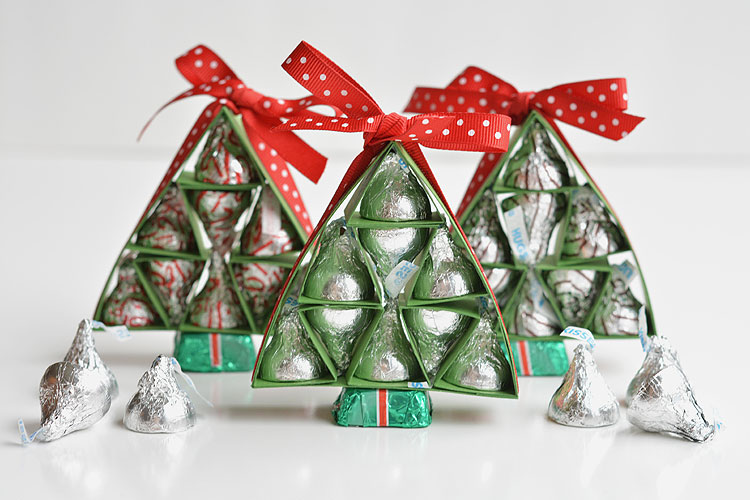
I personally preferred it without the tree trunk. I just love how simple these are, but they look so fun!
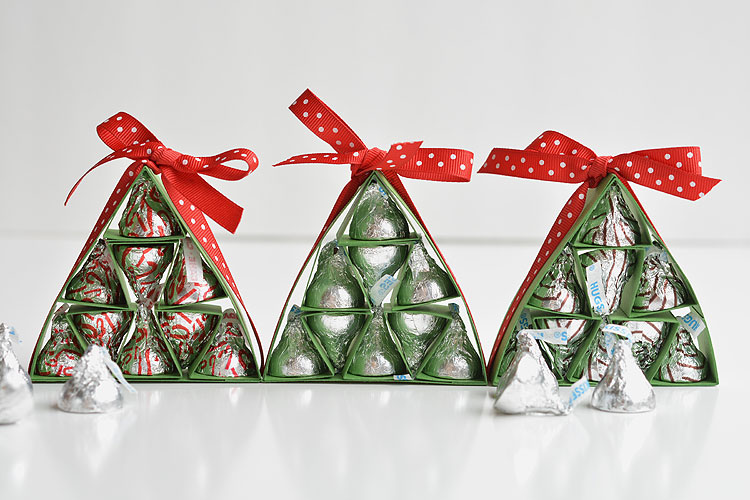
The brown striped ones are Hershey’s hugs:
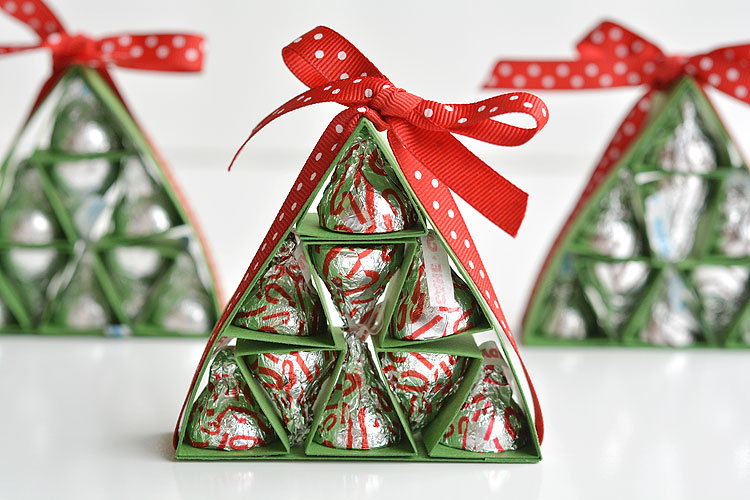
And these red ones are candy cane kisses – which I’ve never had before now, but they are definitely my new favourite! Plus, the red looks really cute in the little trees.
These are really easy to make! It takes a bit of time to measure, cut and score all the paper, but once you get that part over with, it’s smooth sailing!
These Hershey’s Kisses Christmas Trees are SO ADORABLE and they’re really easy to make! They’d make wonderful little Christmas gifts! It’s a perfect (and cheaper…) alternative to giving a box of chocolates, and it’s made with love hugs and kisses!
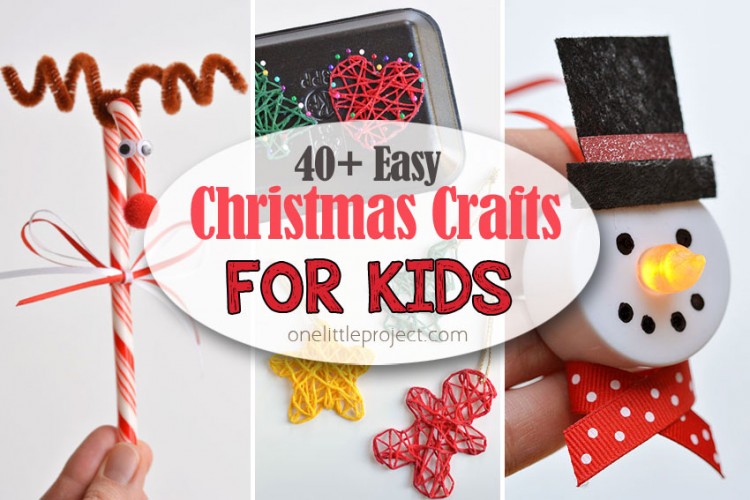
Wait! Before you go, check out our other popular Christmas posts and pin them to your Christmas Pinterest boards for later!
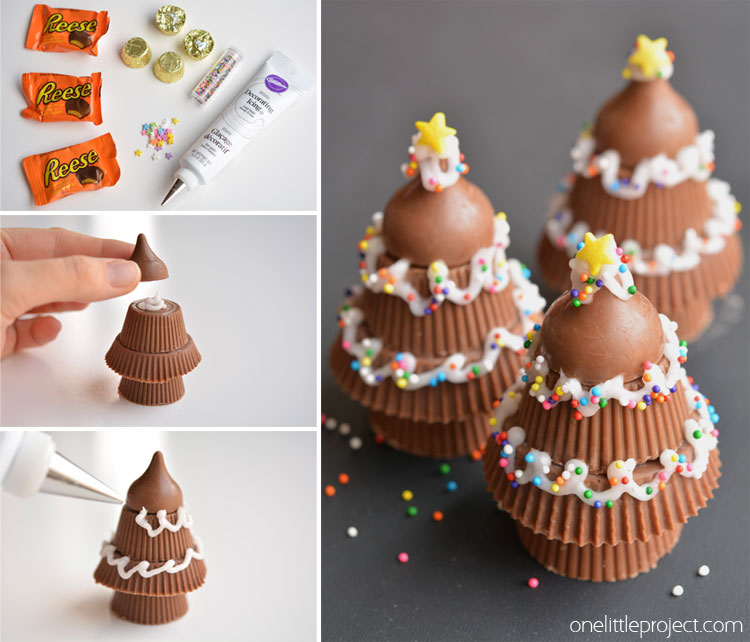
Peanut Butter Cup Christmas Trees:


Leave a Reply