My 3 year old LOVED this activity! Baking cotton balls sounds like a lot of fun, right? They must come out really cool! Like maybe all spongy? That’s what I was hoping, but nope. You pretty much get a cotton ball that is covered in a hard shell. Not all that fun to an adult, but apparently pretty awesome to a preschooler. Now, give your toddler an adult hammer to smash them with, and watch them smile!
Leah absolutely loved every step of this activity. It was an easy enough project that she could actually do each step nearly by herself.
I got the idea from Play Create Explore.
How to make baked cotton balls:
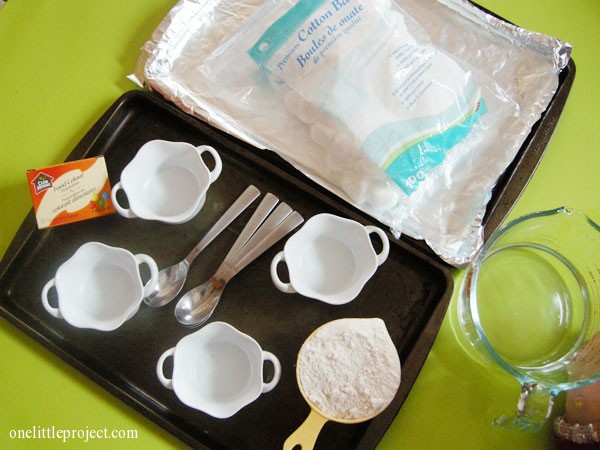
Materials and ingredients:
- 1 cup flour
- 1 cup water
- food colouring
- cotton balls
- little bowls and spoons
- aluminum foil lined baking sheet
Mix together the 1 cup of water and the 1 cup of flour, dip the cotton balls into the mixture, and bake at 300F for 45 minutes. Wait until they cool, and then smash them!
Since I love photos, here’s how it all went down:
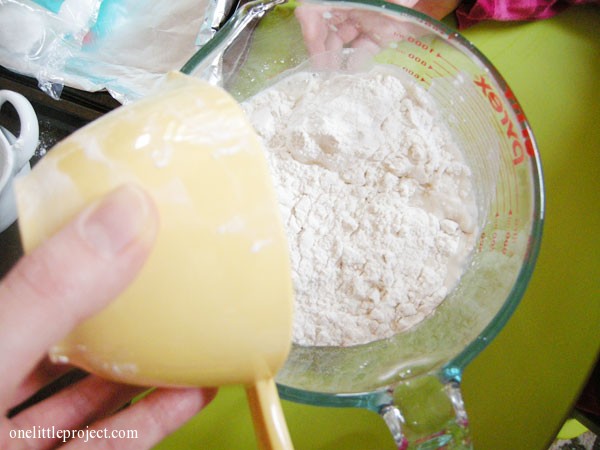
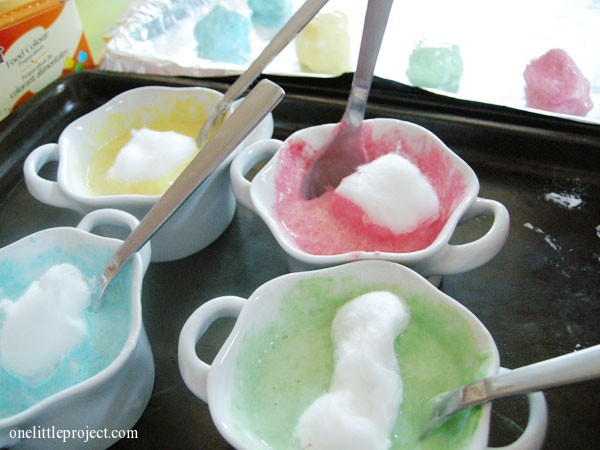
Spoon the mixture into little bowls:
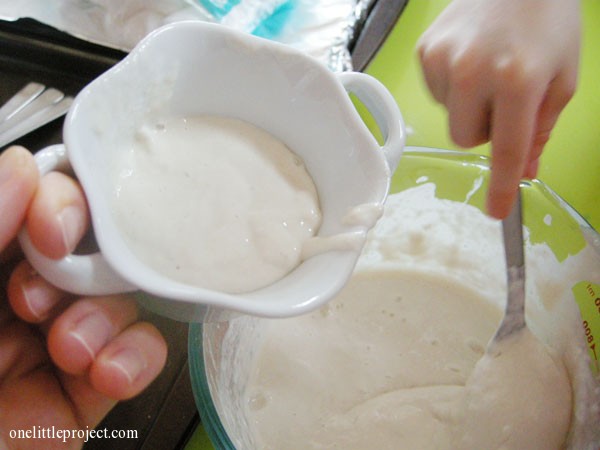
Add 5 to 8 drops of food colouring into each bowl: 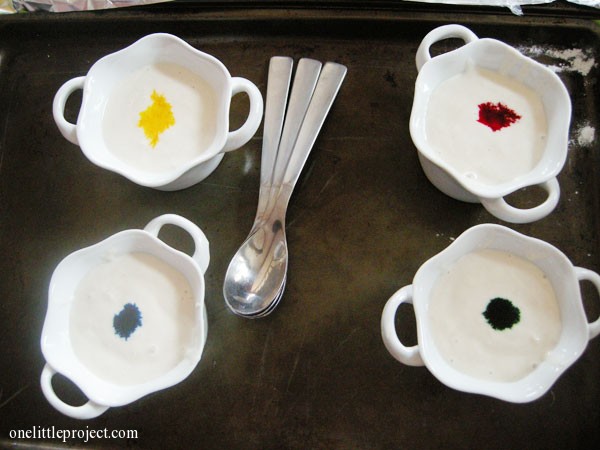
Stir and mix well:
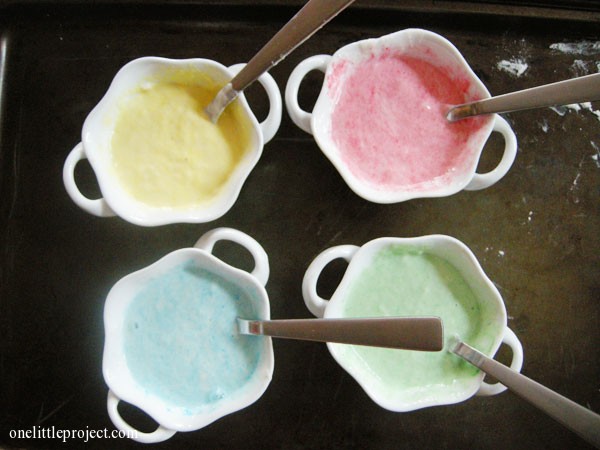
Add a cotton ball into each bowl:
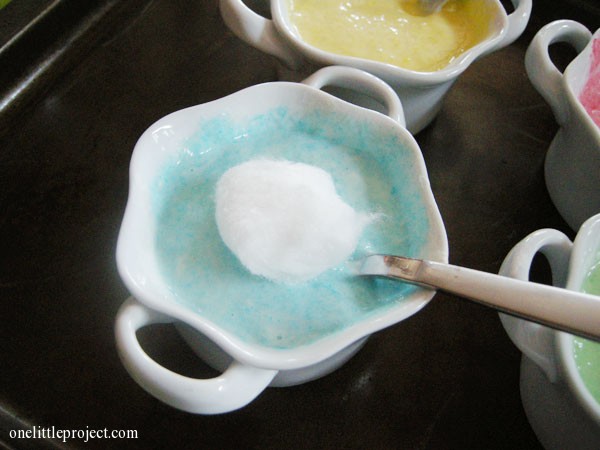
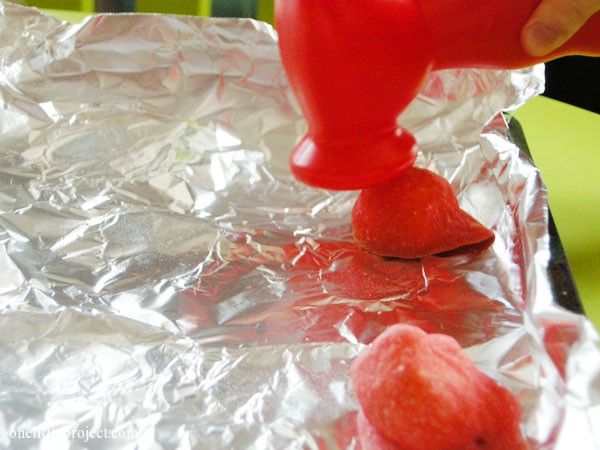
Cover it with the water/flour mixture:

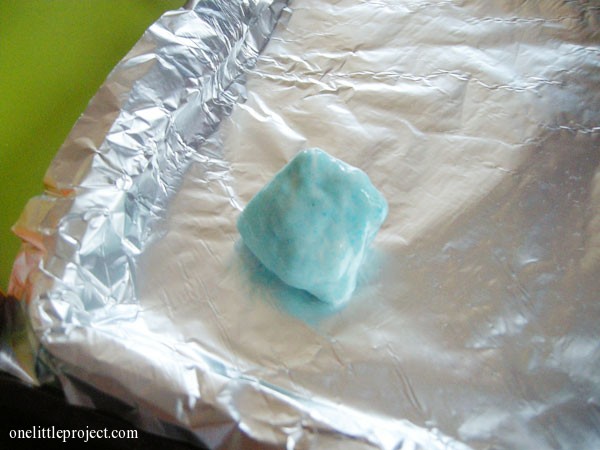
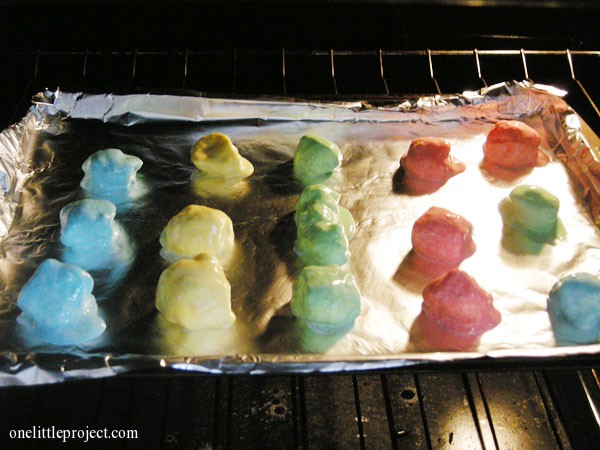
Place it on the aluminum foil lined baking sheet:
Repeat until you have done as many as you want to make:
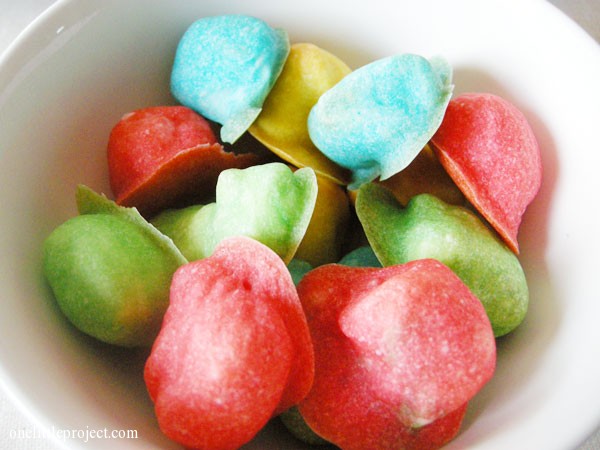
We made 15 baked cotton balls:

Bake them in the oven at 300F for 45 minutes:
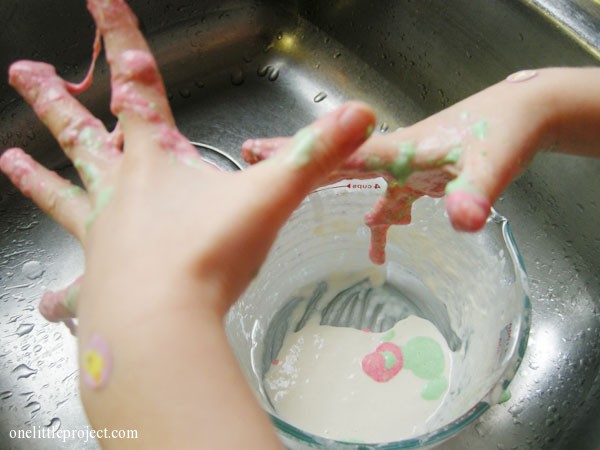
I’m pretty sure this was Leah’s favourite part. She LOVED playing with the leftover “slime” in the sink. She was all smiles for this and would have stayed at the sink for hours if I had let her!
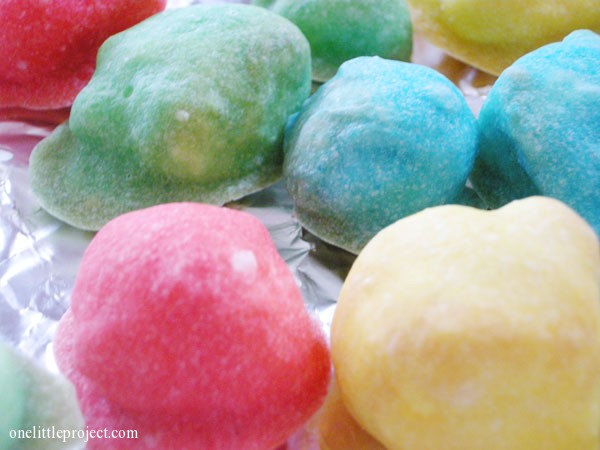
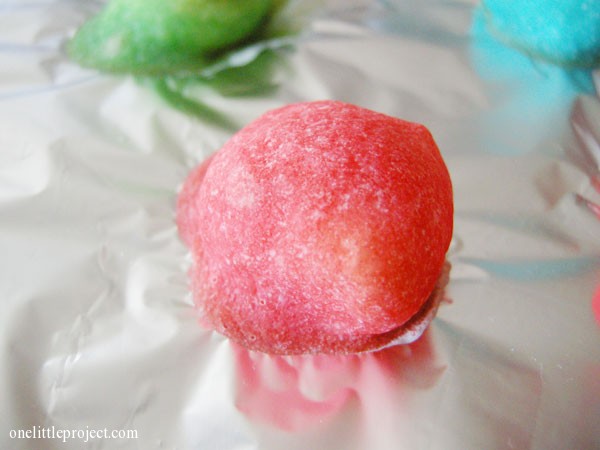
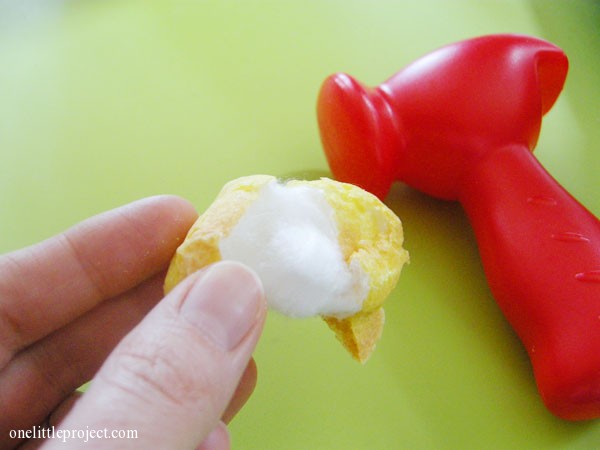
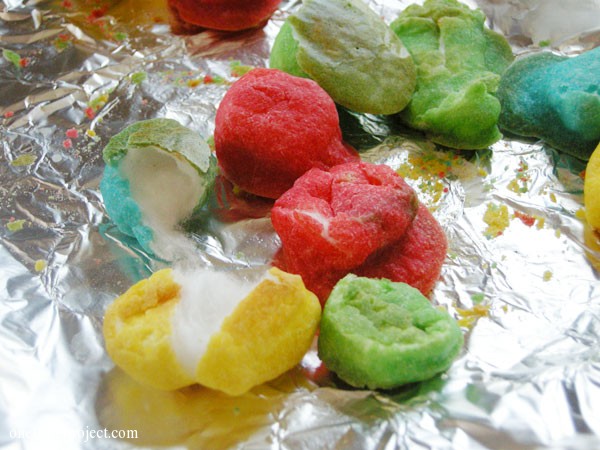
When the cotton balls come out of the oven, they’ll look like this:
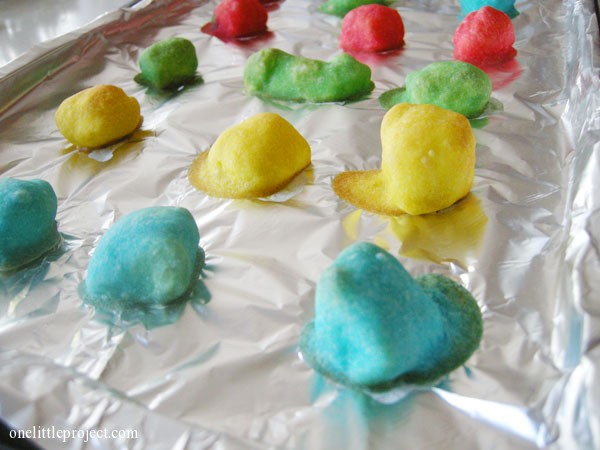
They kind of look like candy coated marshmallows:
If you don’t like the flattened edges they break off pretty easily, but we were just doing this for the sensory fun of it anyway, so they didn’t bother us:
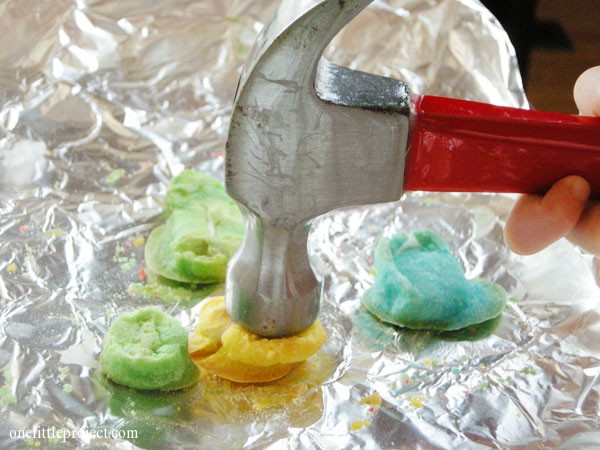
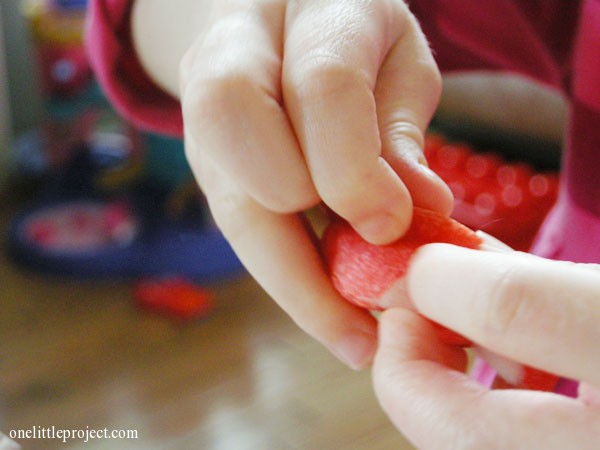
Now onto the real fun! For those of you questioning why I’d give my toddler an adult hammer, we did actually try to smash them with a toy hammer first, but the outer coating was too thick:
So we had to switch to a real hammer. Leah would never get to play with a real hammer otherwise, so she thought this was pretty special! When I gave her the real hammer she told me the plastic hammer was mine to play with. lol
To an adult, these really aren’t all that fun. It’s literally a cotton ball with a hard coating on it. But to my toddler it was the best activity ever. It was an amazing sensory exploration to her, and she loved every step of it!
I thought maybe when you baked it the cotton ball would get spongy or do something cool, but nope, it was still the same texture as a cotton ball, it just had a hard shell on it:
When we were done, we had a cookie sheet full of smashed up hard shelled cotton balls:
Here’s what my 3 year old got to do today (that she normally isn’t allowed to do) that made this activity special for her:
- She got to mix the ingredients together and stir everything up
- She got to spoon the mixture into bowls
- She got to add the cotton balls to the mixture and stir them up
- She got to play with the leftover “slime”
- She got to make a big mess and it was okay
- She got to play with an adult hammer
- And the end product was all sensory and apparently pretty cool to a 3 year old
As an adult, I was a little disappointed how “boring” the baked cotton balls turned out. But through the eyes of my preschooler it was the most fantastic thing!
I really think it’s a perfect activity for 2 to 5 year olds, especially if you let them be involved with all the steps. I definitely recommend giving it a try! You may not see the appeal as an adult, but they will love it!


Leave a Reply