So, ignoring the fact that my cupboards need a little TLC, let’s talk about babyproofing. A few weeks ago I posted a list of 10 often missed babyproofing tasks. Today we are going to go through how to install safety latches on cupboards – an important babyproofing task, but one that I have never done before.
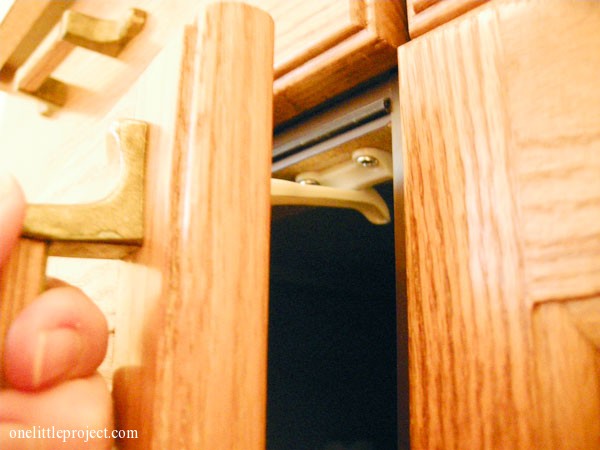
In our old house, our master bathroom had a single sink with two cupboards underneath it. We just used a hook lock that connected the two handles together and it worked wonderfully. Now that our master bathroom has two sinks and a gazillion cupboards below, one single hook lock is not cutting it and I am getting REALLY tired of putting everything back in the cupboard (and I mean everything) each time we are in the bathroom.
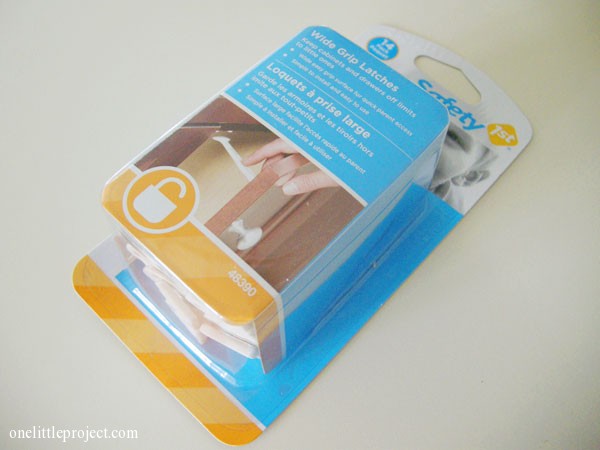
I went to Walmart yesterday and bought these Safety 1st Wide Grip Latches for the cupboards – 14 latches for about $8. You’ll have to be really gung ho about babyproofing to use up all 14 of these guys. I prefer to stick to the essentials and install them as I need them:
Here’s a photo of what the parts look like – latches, catches, screws, and the yellow stuff is double sided adhesive.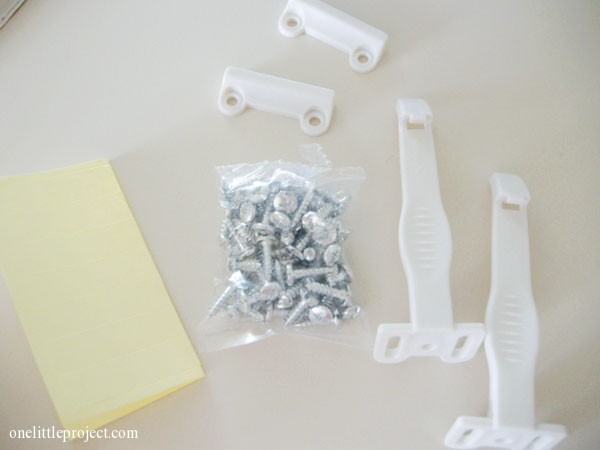
The double sided adhesive is actually really convenient for positioning everything. 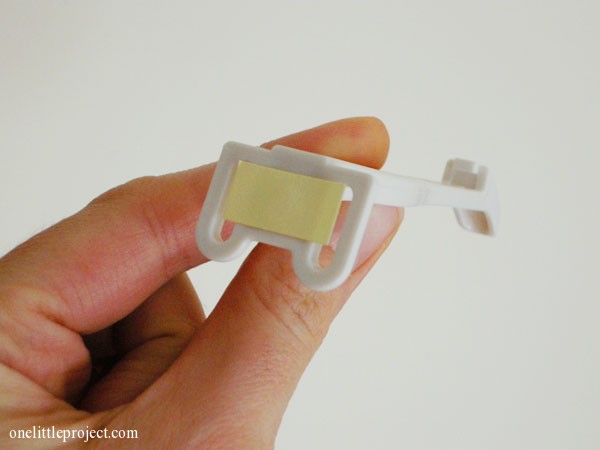
You put it on both the catch and the latch to hold them in place before screwing them in. 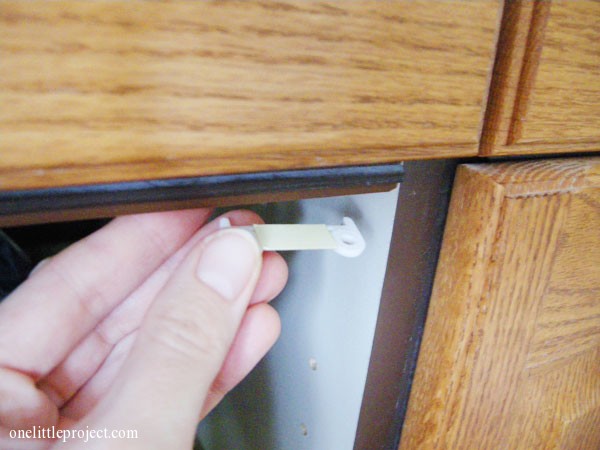
Position the latch so that it lines up with the catch: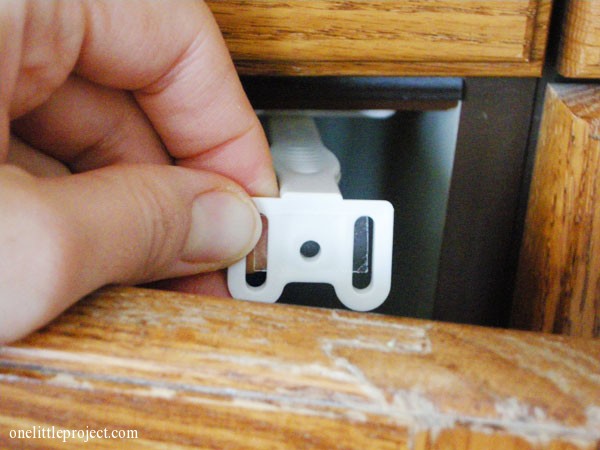
And just stick it on the door where it needs to be: 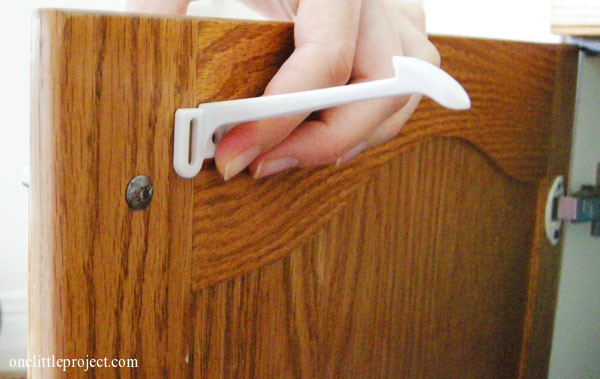
The instructions suggested hammering a small nail to make starter holes for the screws. Which would have been a great idea, except 1) it’s really hard to hammer a cupboard door, even when you brace it and 2) the latch fell off because it was only held in place with double sided tape. I also hammered my finger twice (yes, twice), but I’m thinking that was more user error. 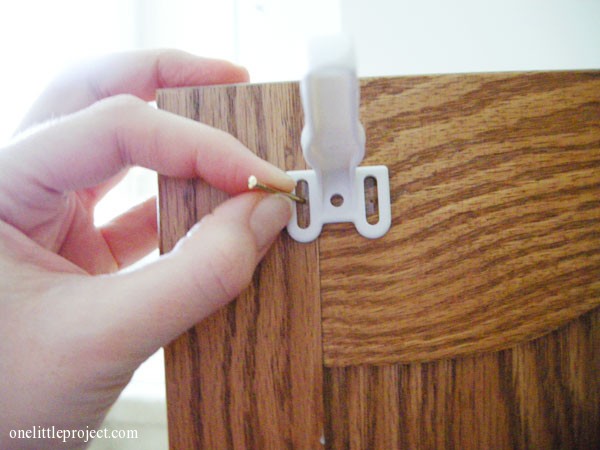
I’m thinking using a drill would have been easier? But I just used a screw driver like they suggested. It was hard work and I made a few dings in the door, but luckily it was just the back of the door: 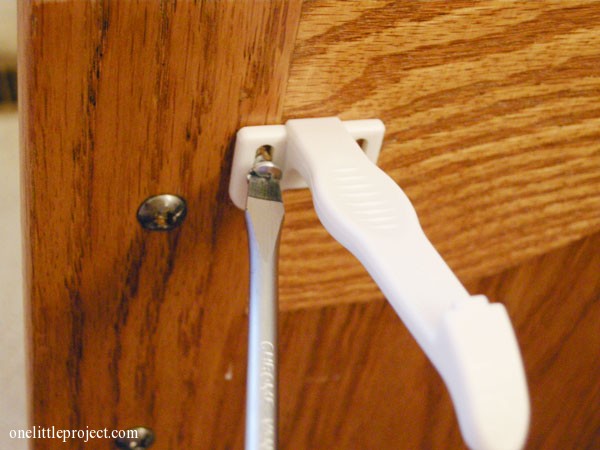
The double sided adhesive didn’t hold up well when I was screwing the catch on either. And that is a really awkward angle to screw. At this point I stabbed myself with the screw driver. It’s not that this was a difficult job, it was just really awkward. 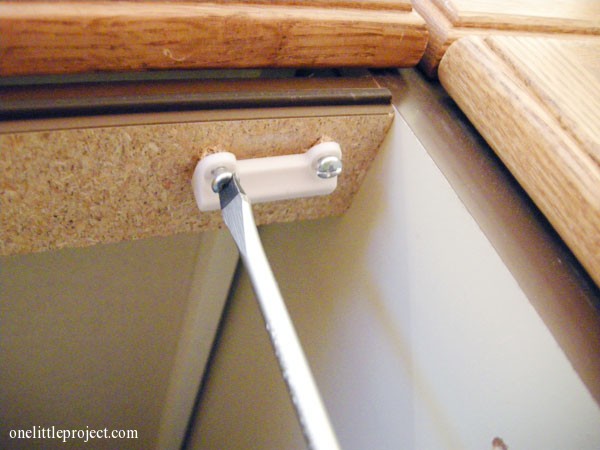
Are you wondering what the middle hole is for and why I used the two side holes instead? I needed to adjust my latch up and down, so unless you are amazingly accurate, I recommend using the side holes and ignoring the middle hole: 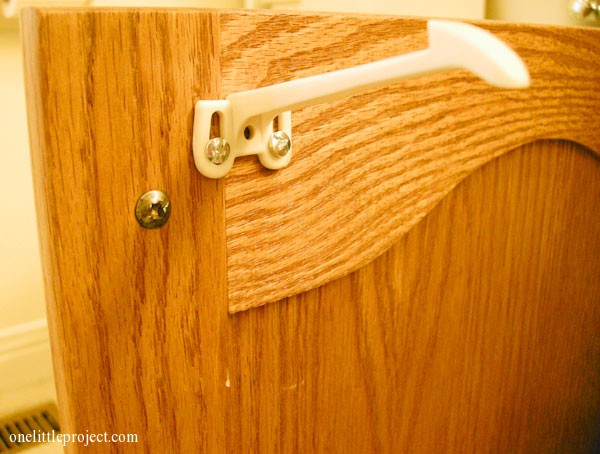
And there you go, it should line up: 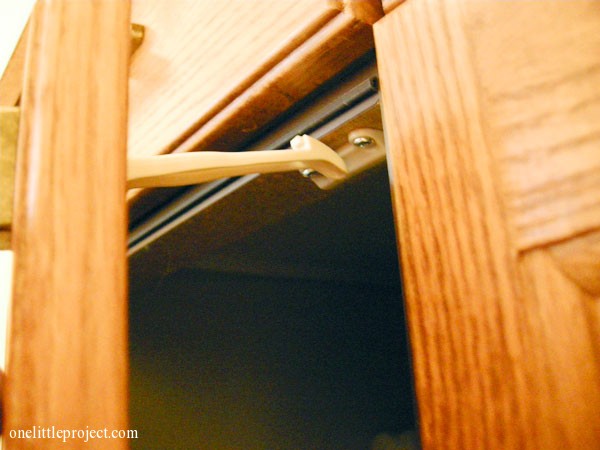
And babyproof by clicking in place so little hands can only open the cupboard by about 1-1/2″. Kind of annoying for adults (who am I kidding, it’s actually really annoying for adults!), but at least I won’t have to keep restocking the cupboards every time my little rascal is in there!
I’m not overly pleased that the cupboards now have permanent screw holes in them – It’s not like they will need to be babyproofed forever – but that was really the only option for this end cupboard, and at least I can rest assured that my 10 month old won’t get in there anymore!


Leave a Reply