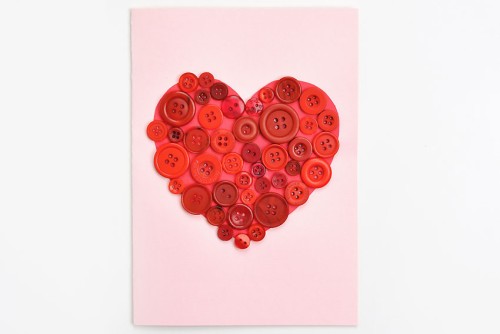
These button art heart cards are SO FUN to make! Send love to your Valentine with this DIY button art card. It’s such an easy Valentine’s Day craft for both kids and adults.
Use one of our free heart outlines, and buttons in pretty colours to make this creative art project. These cute button mosaics are so much fun to puzzle together, and they also make great cards for Mother’s Day, weddings, birthdays, and more!

This post contains affiliate links. If you use these links to buy something we may earn a small commission which helps us run this website.
DIY Button Art Heart Card
Materials:
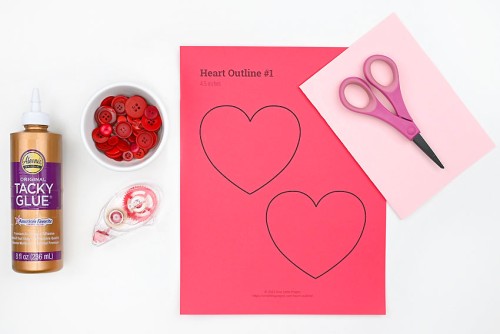
- FREE Printable Heart Template (printed on coloured cardstock)
- Cardstock (colour of choice; cut to 7 x 10 inches, folded in half)
- Printer paper (cut to 6-1/2 by 9-1/2 inches, or 1/2 inch smaller than card dimensions)
- Glue tape
- Tacky glue
- Buttons (to match cardstock heart)
Equipment:
Watch the step-by-step video tutorial:
Instructions:
Step 1: Find what you need
- Gather your supplies and materials.

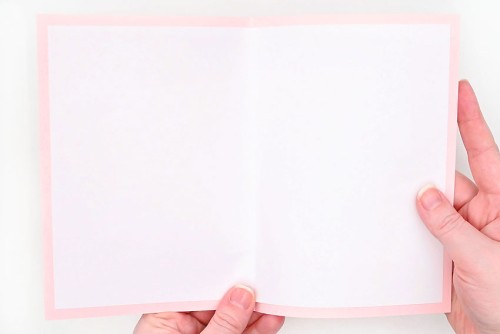
Step 2: Add a heart shape to the card front
- To start, buy a blank card or make one of your own.We cut a piece of light pink cardstock to 7 x 10 inches and folded it in half. Then we added an insert of printer paper that was 6-1/2 by 9-1/2 inches (1/2 inch smaller than the card).
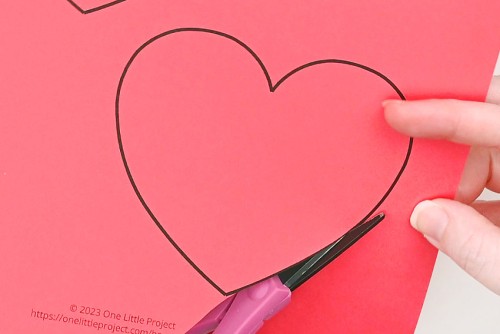
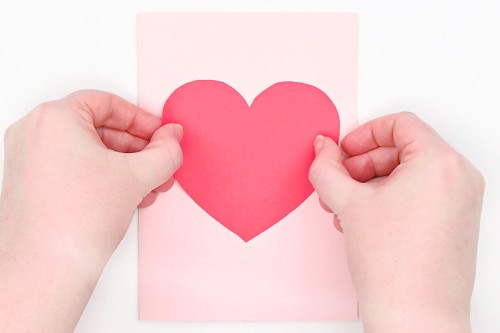
- Print one of our free heart outlines on coloured cardstock and cut out the shape.You can also print on regular paper and then trace the heart onto cardstock.
- Add glue tape to the back of the heart (the side with the black outline).
- Place the cardstock heart on the front center of the card

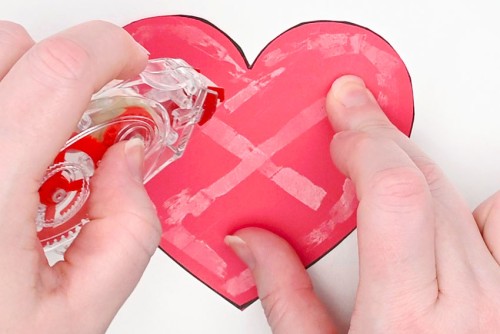
Step 3: Glue buttons to the card
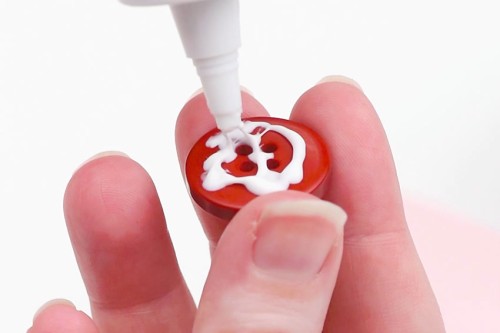
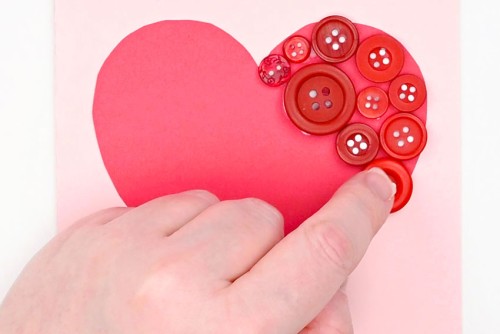
- Choose a button to add to the card and add tacky glue to the back of it.
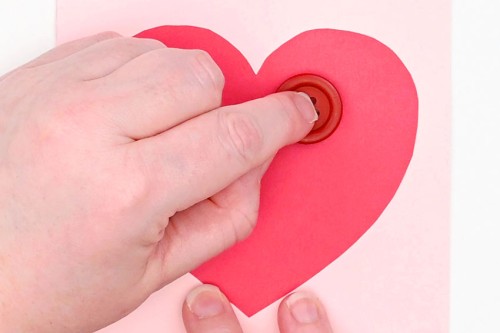
- Place the button onto the card.We placed this button a bit away from the edge, knowing we had smaller buttons to fill in the space. You may want to plan which buttons you’re using before gluing them into place.
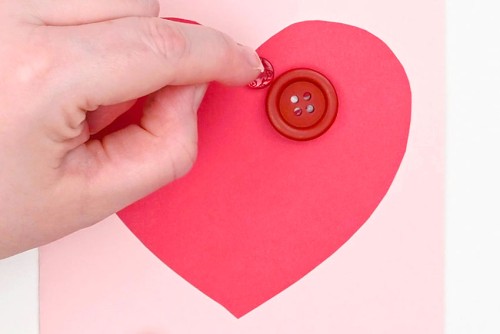
- Add a second button onto the card. Small buttons work well near the “V” dip of the heart.
- Continue placing buttons as close together as possible.It’s okay if there’s a bit of a gap between buttons, or if they go over the edge of the heart a bit.
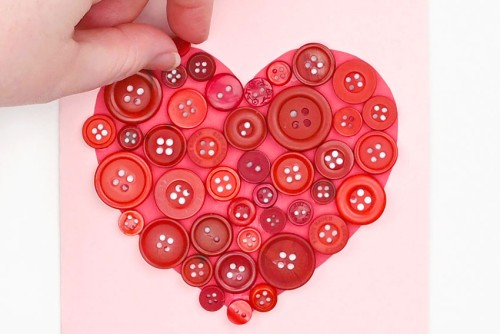
- Continue adding buttons with tacky glue until the heart is full.
- Allow the glue to dry. This can take several hours.
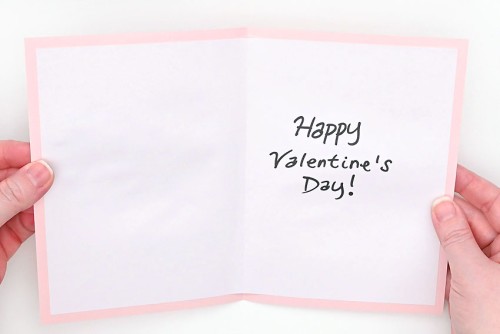
Step 4: Write inside the card
- Write your Valentine’s Day message inside the card.You can write a basic greeting, like we did here, or add something like “My heart is yours, Valentine!”.
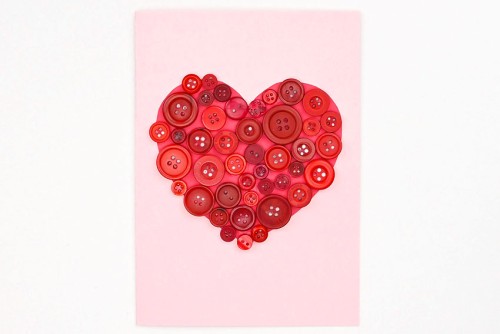
- Your Valentine’s day button art card is complete!
Helpful Tips:
- Test different sizes of buttons in the space before gluing them down.
- Try to use a variety of sizes of buttons on each card. Different textures of buttons beside each other also makes the button art look interesting.

Free printable templates for button art heart cards:
Click the link below to find 8 different styles of heart templates in a variety of sizes. We used medium heart outline #1 to make our Valentine’s Day button art cards! The templates are free to download and print.
>>> Heart Outline <<<
Where can I buy buttons to make button art?
We bought a pack of red, pink, and white buttons on Amazon, but you can also find variety packs of buttons at Walmart or Michaels. Thrift stores are another good place to check.
If you have a leftover button stash from sewing projects, this is your time to shine! Dig through and find buttons in the right sizes and colours. If you can’t find enough buttons of 1 colour, you can definitely make a button art card with multiple colours.

What type of glue is best for button art?
We highly recommend tacky glue for this art project! It dries quickly, keeping the buttons in place where you put them. It also offers a really strong hold after the glue dries.
You can use regular white school glue, but it takes longer to dry and it’s easier to move the buttons out of place by accident. It also doesn’t stick quite as strongly as tacky glue.
Hot glue will also work, and offers just as strong a hold, but it’s more difficult to place hot glue on the tiny buttons without burning yourself. Plus the glue can show through the buttons if you add too much, compared to the tacky glue, which dries flat and clear.

Can I trace the heart onto the card instead of adding extra cardstock?
We do recommend adding the cardstock heart to the front of the card. It provides an extra layer to prevent the card from becoming warped with the moisture of the glue.
We also like having a matching background for the buttons so the heart looks more cohesive, without any gaps in the background.

This whimsical Valentine’s Day art project is so much fun and SO EASY to make! Create your heart button art on a DIY Valentine’s Day card like we did, or add it to a canvas or picture frame. Either way, the result will be beautiful!

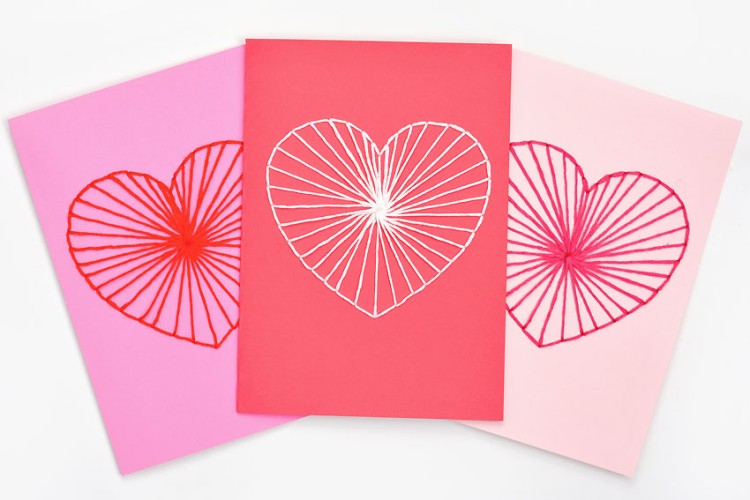
Here’s even more Valentine’s Day craft ideas:


Our book Low-Mess Crafts for Kids is loaded with 72 fun and simple craft ideas for kids! The projects are fun, easy and most importantly low-mess, so the clean up is simple!

Where to buy:
You can purchase Low-Mess Crafts for Kids from Amazon, or wherever books are sold:
Amazon | Barnes and Noble | Books-A-Million | Indiebound | Amazon Canada


Leave a Reply