These paper bracelets are SO CUTE! Did you know you can transform a simple piece of paper into DIY jewelry in 15 minutes or less?!
Practice your paper folding and use basic origami skills to make some wearable art! It’s such a fun craft, perfect for birthday parties, sleepovers, or summer camp. Plus, you can paint your own colourful paper! (More details on that below!)

This post contains affiliate links. If you use these links to buy something we may earn a small commission which helps us run this website.
How to Make Paper Bracelets
Materials:
- 2 pieces Colored printer paper (or origami paper)
Watch the step-by-step video tutorial:
Instructions:
Step 1: Find what you need
- Gather your supplies and materials.


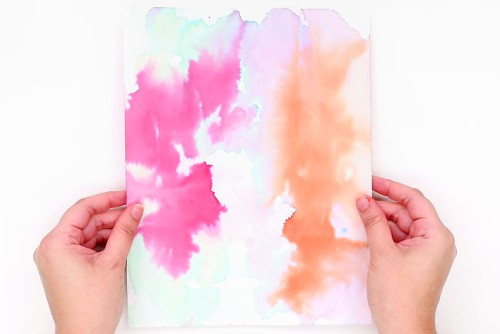
Step 2: Create your own colourful paper (optional)
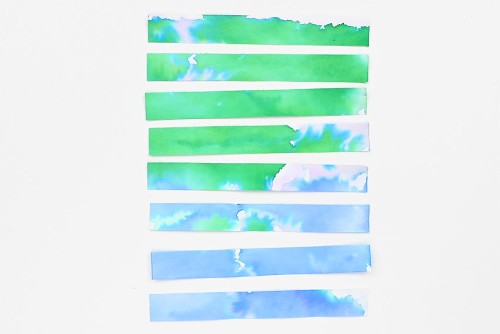
- We painted regular white printer paper with liquid watercolor paint to make beautifully coloured paper.More details on how to paint the paper are below this tutorial!
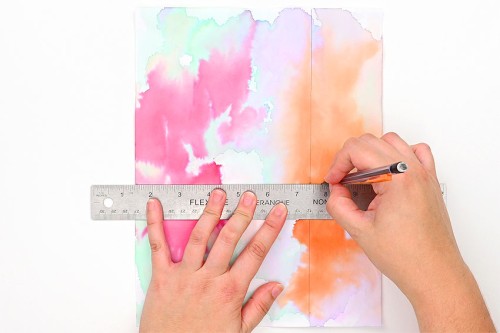
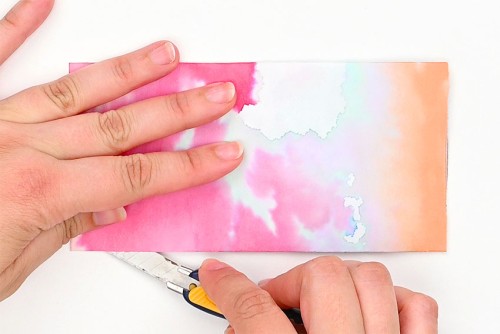
Step 3: Cut the paper into strips.
- Draw a 6 inch square on your paper.

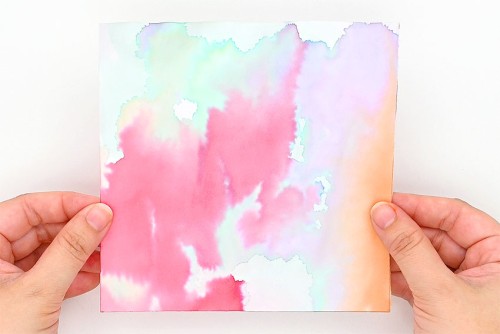
- Cut out the square.
- Fold the square in half from bottom to top.
- Cut the paper in half on the fold line.
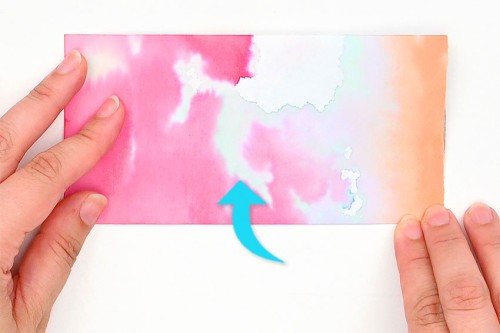
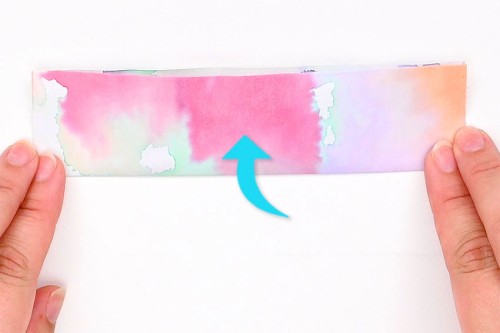
- Fold one of the smaller pieces in half from bottom to top.
- Cut the piece in half again, on the fold line.
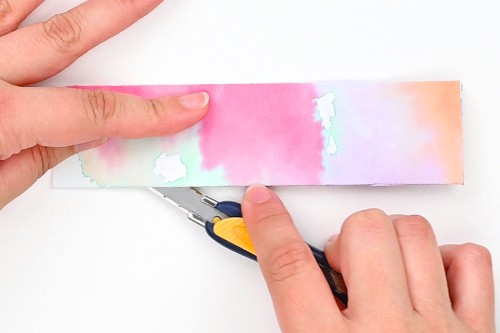
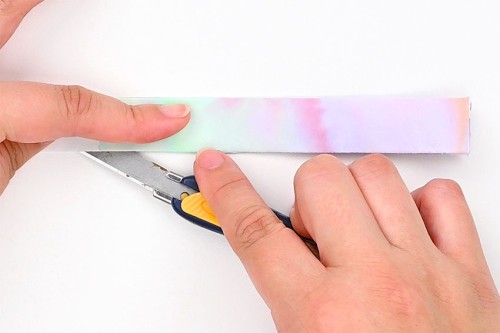
- Fold one of these piece in half again and cut.
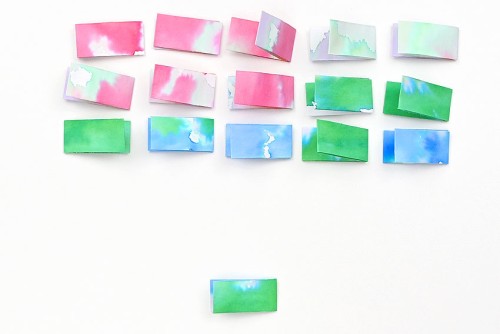
- Repeat with the other pieces of paper to end up with 8 rectangles that are 6 inches by 3/4 inches.
- Repeat all of Step 3 with a second piece of paper.You should have 16 strips of paper total.

Step 4: Fold the paper strips
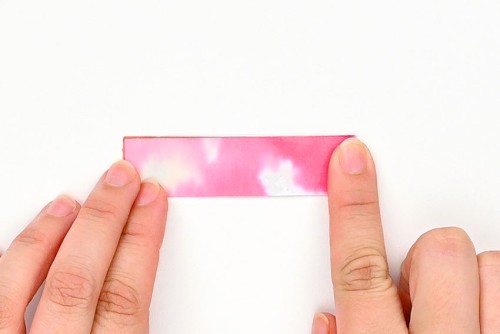
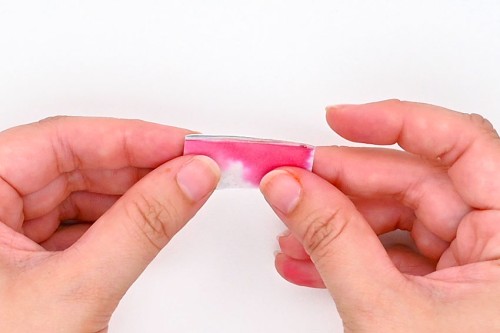
- Fold one of the strips of paper in half from right to left.
- Open the paper up again and fold the right edge in towards the center fold.Don’t bring the edge right to the center – leave about 1/16 inch of space between the end and the middle fold.
- Repeat, folding in the left edge, again leaving 1/16 inch of space between the end and the middle fold.
- Fold the paper in half one last time on the center fold.
- Repeat Step 4 with the remaining 15 pieces of paper.
Step 5: Combine the paper strips into a bracelet
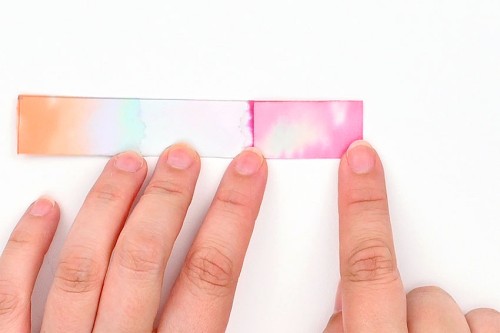
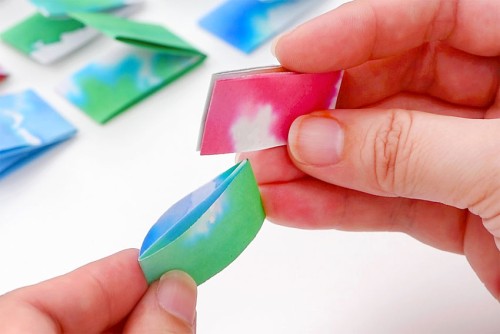
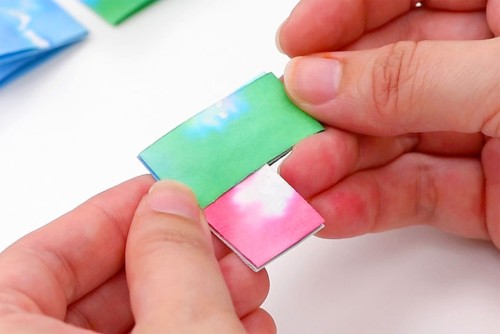
- Hold the open side of one piece of folded paper in your left hand. Hold the folded side of another piece of paper in your right.
- Slide the open side of the right paper in through the center of the left paper, on either side of its center folds.
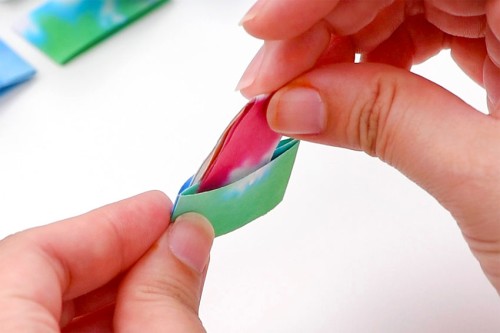
- Push the paper through, pulling it down all the way so half of it sticks out the bottom. Push it all the way to the left side.If you’ve done this correctly, one folded piece should catch on the other folded piece. If it slips right through, try again.
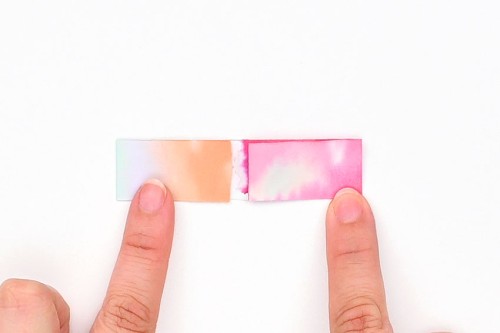
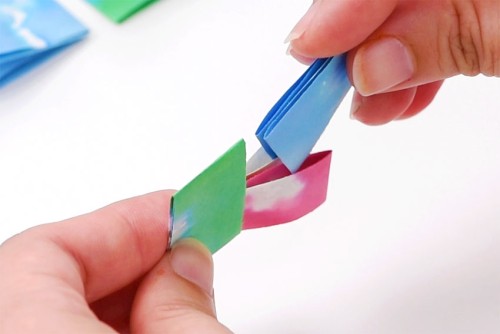
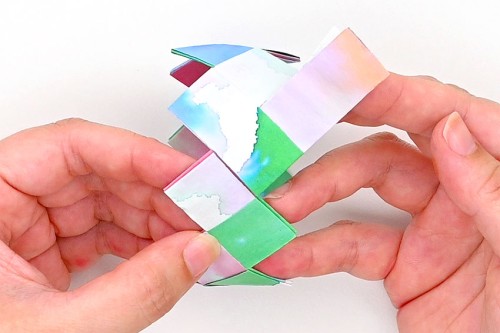
- Turn the papers counterclockwise. Insert the ends of another piece of paper through the center of the paper you just added. (The blue piece gets inserted into the pink piece in our case.)
- Pull the paper all the way through until it catches.
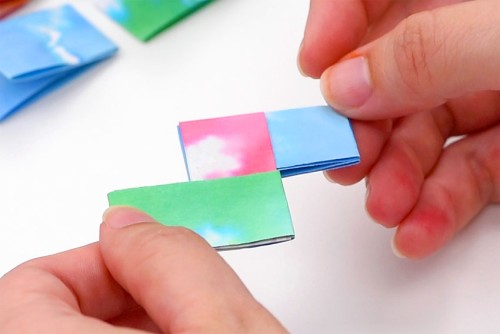
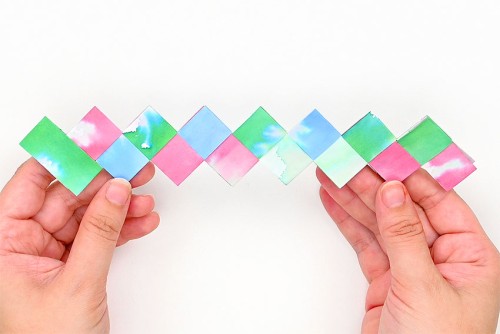
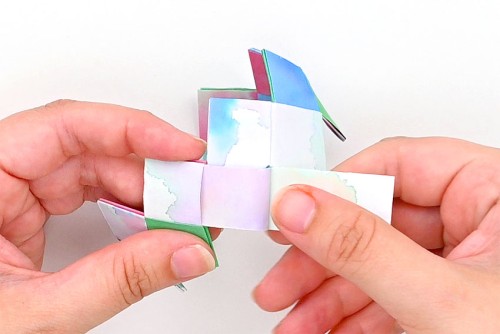
- Insert the next paper (green in our case) up through the last paper (blue). This will create a zigzag pattern.
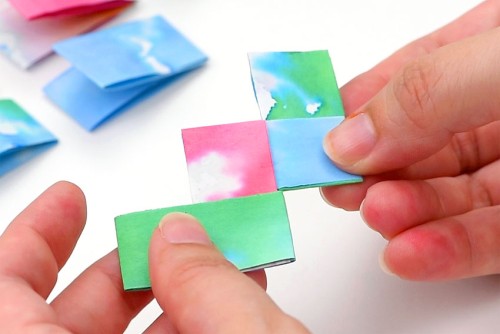
- Continue adding the pieces, alternating coming in from the top or bottom. Do this until you have 1 loose piece of paper left.
Step 6: Connect the bracelet
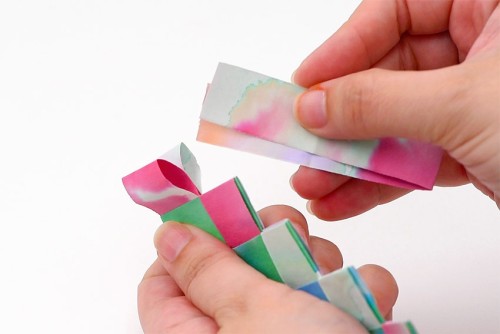
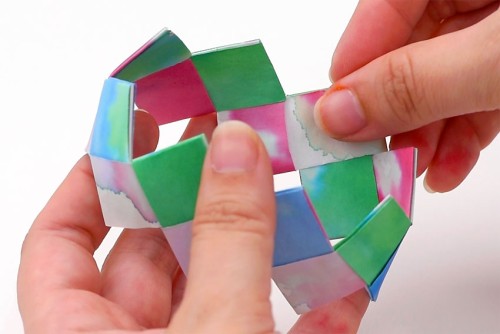
- Unfold the last piece of paper completely and refold it in half.Push open the last holes on the bracelet to make larger loops.
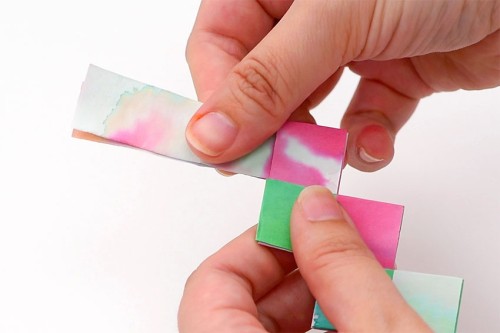
- Slide the last paper through the holes, continuing the zigzag pattern. This paper will have a longer edge that sticks out.
- Push open the loop from the paper at the other end of the bracelet. Slide the 2 long ends of the opposite end through the middle loop.
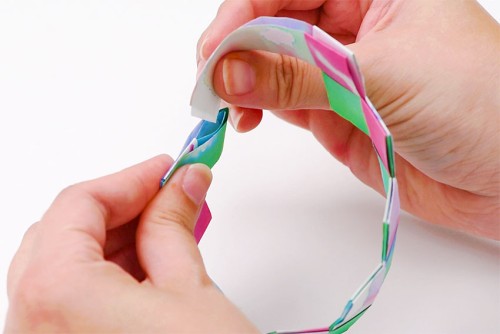
- Pull the long ends all the way through to connect the paper into a bracelet shape.
- Fold back the top layer of the long paper and slide it through the pocket of the paper beside it.
- Repeat for the other long edge, tucking it inside the bracelet.
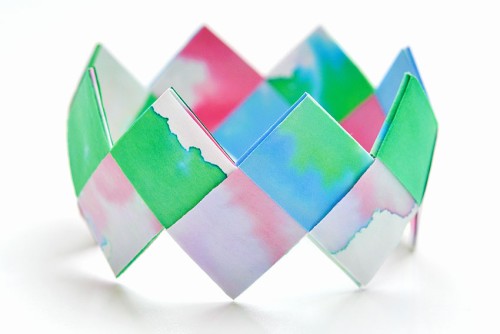
- Your paper bracelet is complete!
Helpful Tips:
- Use origami paper to make your paper bracelets! The standard size is 6 inches square, making it the perfect size to start with.
- If you have trouble pushing or pulling the paper through without wrinkling the paper, use tweezers to help pull the paper through.
- Use this same technique to make a paper crown! Simply cut more pieces of paper and keep adding them until it fits on your head.

What paper is best for making these paper bracelets?
We used regular printer paper that we coloured with liquid watercolor paint. You could also use origami paper or coloured printer paper.
Basically you just need to use paper that is thin enough to fold easily. Try using wrapping paper, magazine pages, sheet music, or even old road maps!
What size wrist do these paper bracelets fit?
The tutorial above will make a bracelet that fits a wrist up to 7 inches in size. If your wrist is smaller than this, add fewer pieces of paper. If your wrist is larger than this, cut and add more pieces of paper.
Wrap the bracelet around your wrist before finishing it to make sure it fits. Be sure to give yourself some wiggle room to get the bracelet over your hand!

Do I have to use 6 inch square pieces of paper?
Technically no, but we found that using 6 inch squares of paper worked well to make a bracelet the size we wanted. It also allowed us to use two different squares that were painted with different colours so our bracelet could be more colourful.
You can definitely cut individual strips of paper instead of starting with a square and folding and cutting as we showed in the tutorial. You need strips of paper that are 6 inches long by 3/4 inch wide. It’s even easier to cut the strips if you have a paper cutter!

How can I make watercolor painted paper for my bracelets?
Place a piece of printer paper on a baking sheet or a plastic tablecloth. You’ll need a surface that can get water and paint on it.
Use a paintbrush to spread water across the entire sheet of paper. Dilute 2 – 5 drops of liquid watercolor paint in a bit of water and paint a base layer of colour on the paper.
Then add a few drops of undiluted watercolour paint onto the paper. Lift the paper or pick up the tray and move it back and forth. This will spread the bright colour around.
If your tray has extra water on it, you can use a paper towel to soak up the extra water — but don’t touch the paint on the paper! Allow the saturated paper to dry overnight.

It’s so much fun to make these paper bracelets! Create one for yourself, or make a friendship bracelet for your BFF in their favourite colours.

Here’s even more DIY jewelry ideas:


How to Make a Paracord Bracelet

Our book Low-Mess Crafts for Kids is loaded with 72 fun and simple craft ideas for kids! The projects are fun, easy and most importantly low-mess, so the clean up is simple!

Where to buy:
You can purchase Low-Mess Crafts for Kids from Amazon, or wherever books are sold:
Amazon | Barnes and Noble | Books-A-Million | Indiebound | Amazon Canada


Leave a Reply