
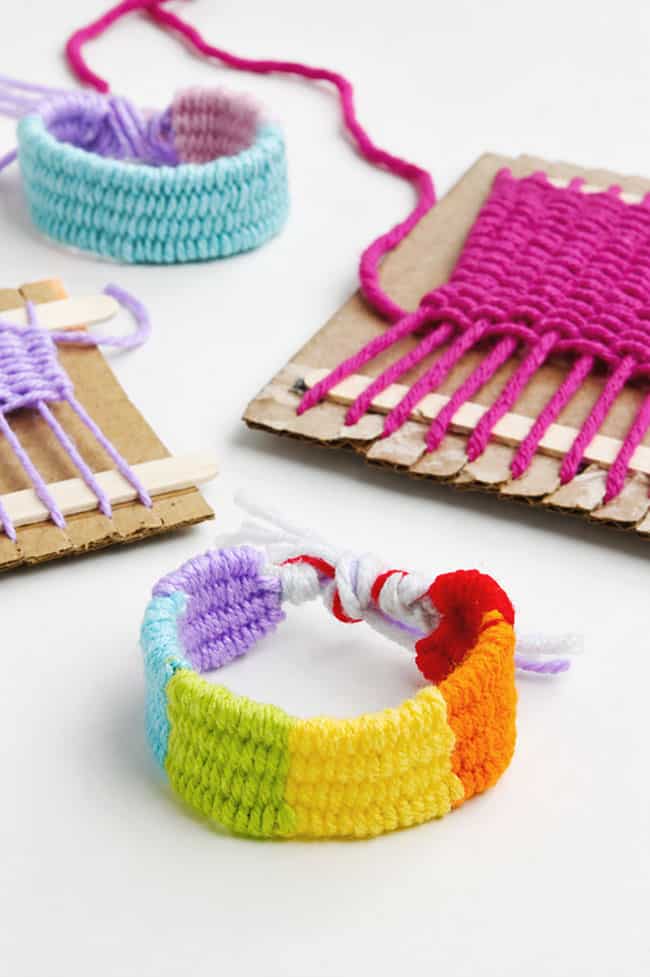
Making a cardboard weaving loom is such a fun and easy way to try weaving at home! With just a piece of cardboard, some yarn, and a few simple supplies, you can create a small loom that’s perfect for kids, beginners, or anyone looking for a relaxing craft project.
In this tutorial, we’re using the cardboard loom to make a colourful woven bracelet, but the same basic technique can be used to create all kinds of small projects! Try making a woven bookmark, coaster, wall hanging, or even a tiny piece of fabric for another craft. It’s a great way to experiment with different yarn colours and textures while learning the basics of weaving.
This post contains affiliate links. If you use these links to buy something, we may earn a small commission at no extra cost to you. This helps support our website and allows us to keep creating fun, free content.
How to Make a Cardboard Weaving Loom
Materials:
- Cardboard
- Popsicle sticks (or mini popsicle sticks)
- Glue tape
- Worsted weight yarn (multiple colours)
Equipment:
See the craft in action:
Instructions:
Step 1: Find what you need
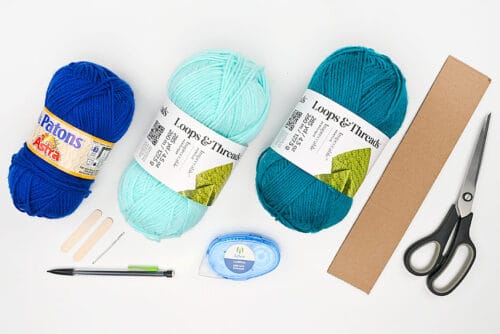
- Gather your supplies and materials.

Step 2: Create the cardboard loom
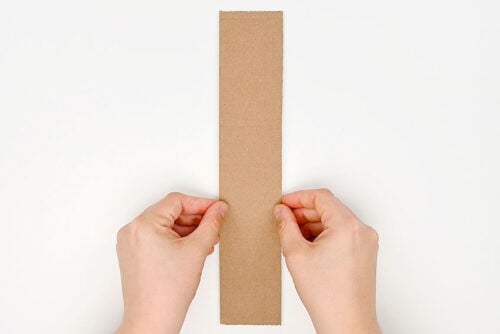
- Begin by cutting a piece of cardboard in the shape of whatever you want to make and just a bit bigger.For example, cut a 5 by 5 inch square to make a 4 by 4 coaster. Or cut a larger rectangle to make a little wall hanging.To make a bracelet cut a piece of cardboard 8 inches long and 2 inches wide.
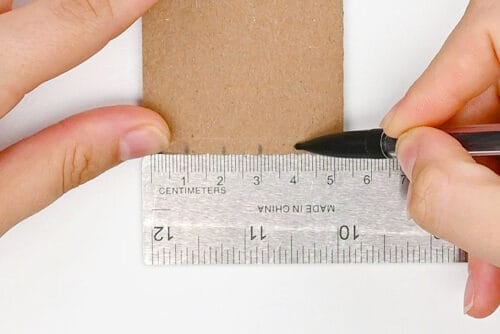
- Draw marks on the cardboard, measuring them 1 cm apart.Do this on the top and bottom of the cardboard. (The short edges, for us.)
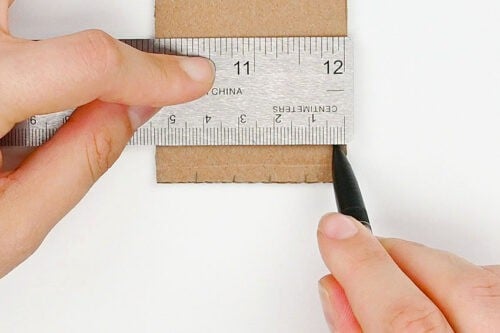
- Then draw horizontal lines at the top and bottom of the cardboard, placing them about 1 cm in from each short edge.

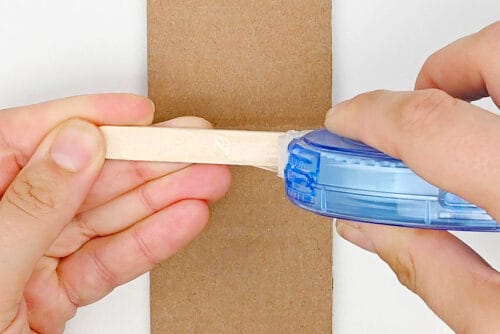
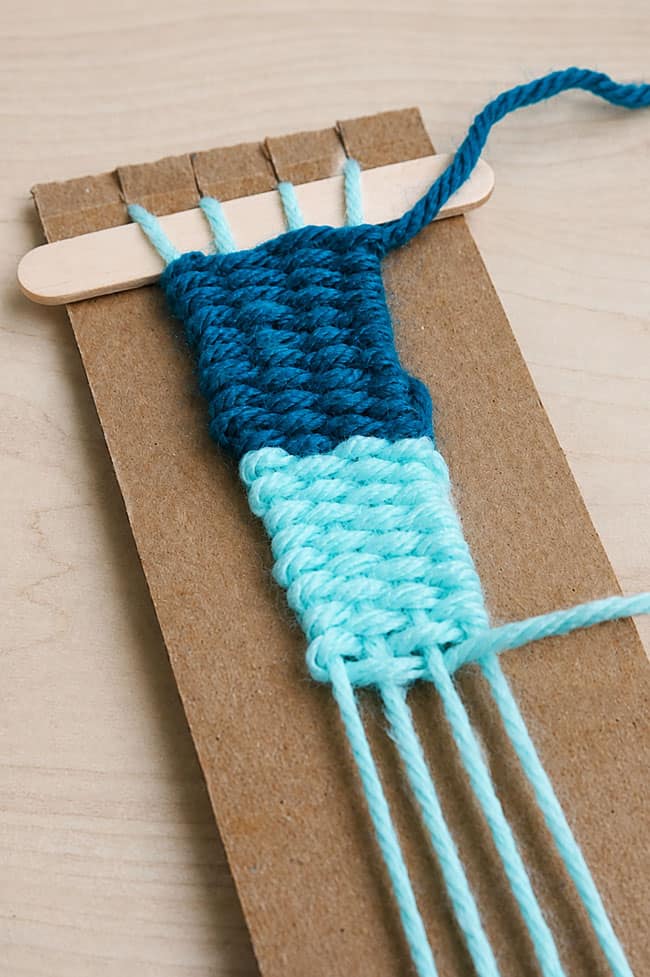
- Add glue tape (or tacky glue) to a popsicle stick.We’re using mini popsicle sticks (2-1/2 inches long) for this loom, but you can use full size ones on larger pieces of cardboard.
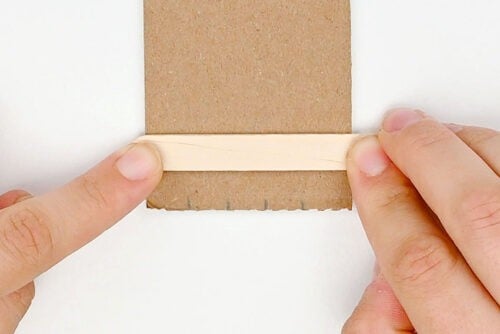
- Attach the popsicle stick along one of the horizontal lines. This will act as a spacer between the yarn and cardboard, making it easier to weave through.Repeat, gluing another popsicle stick on the opposite end of the cardboard.
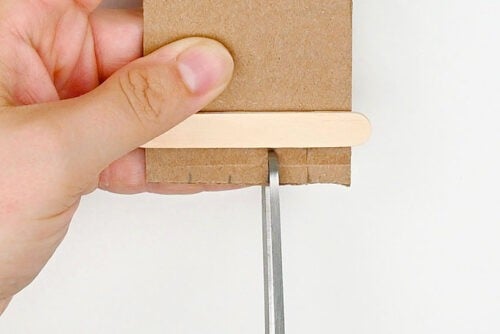
- Cut notches into the cardboard where you made the marks earlier, cutting all the way up to the popsicle stick.Again, repeat on the opposite end.
Step 3: Add the yarn base
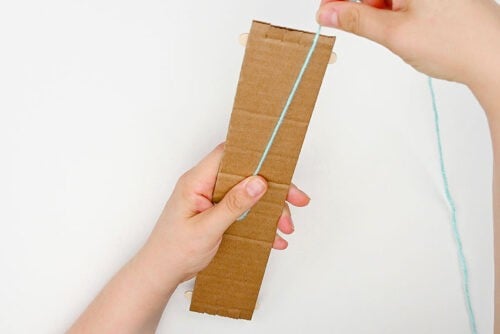
- Begin adding yarn by holding it at the back of the loom and inserting it into one of the notches on the end.The one you add it to doesn’t matter, so long as it’s one of the outside notches.
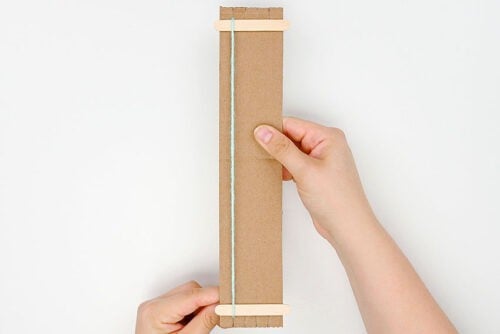
- Flip the loom over and bring the yarn down along the front. Connect the yarn into the notch directly below where it was first added.
- Repeat this process, wrapping the yarn around until it’s connected in each notch.Cut the yarn at the back, leaving a tail of about 4 inches.
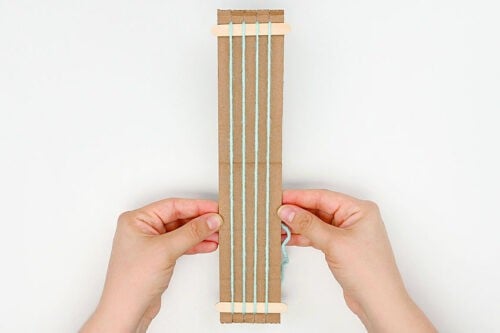
Step 4: Weave the first yarn
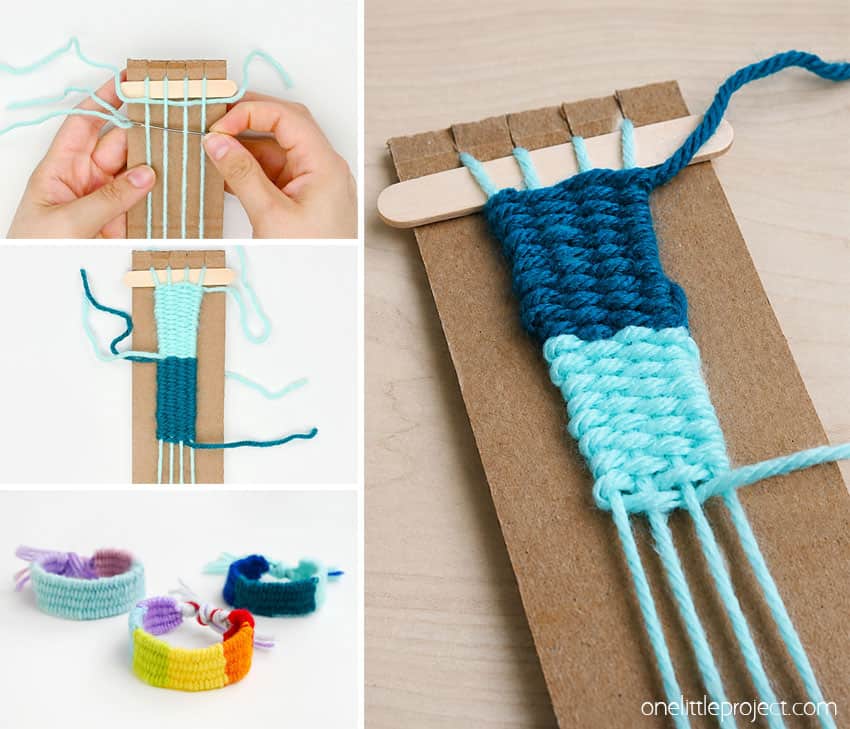
- To begin weaving, cut a long piece of yarn and thread it on a yarn needle.The exact length of the yarn doesn’t matter. You can cut a shorter piece if you only want a few rows of the colour, or go a lot longer if you want to create a larger section.
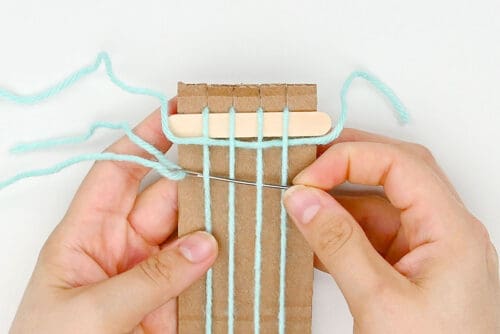
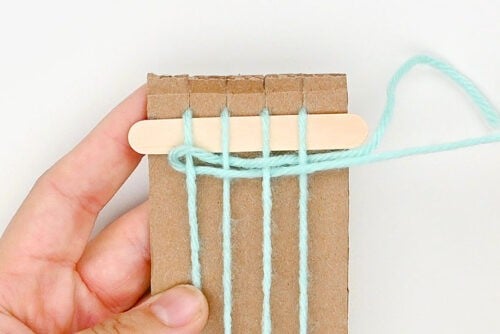
- The whole weaving process is done with an over-under pattern.Begin at the top of the loom, near one of the popsicle sticks. Bring the needle under the first strand (closest to you), over the second, under the third, and over the fourth.
- Pull the yarn through, leaving a tail of about 4 inches long at the right side.(Note: Pull slowly toward the end so you don’t pull the yarn all the way out!)
- Now the needle needs to go back in the opposite direction.Because we ended with the yarn going over the last strand, this time we’re going to go under the first strand.Repeat the pattern, going over the second strand, under the third strand, and over the fourth strand.
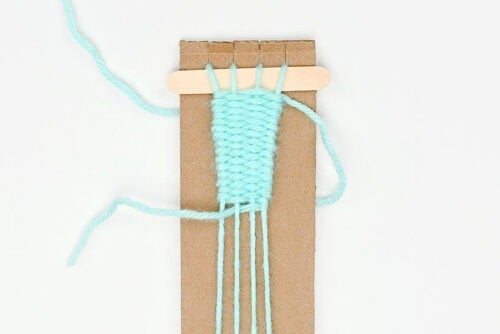
- Pull the yarn through the loom until it touches the left strand. Important: Don’t pull too tight, or the bracelet will become warped.Now push the strand up so it touches the first row.
- Repeat this over-under pattern, going back and forth across the strands until you’re happy with the section you made.Cut the yarn, leaving a tail of about 4 inches.
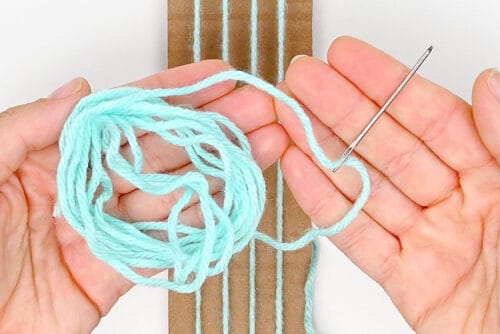
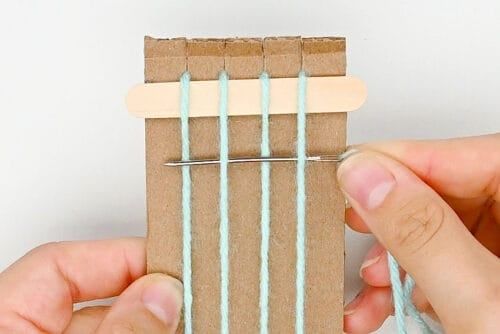
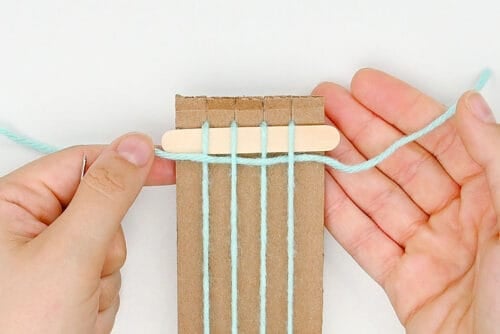
Step 5: Add more colours
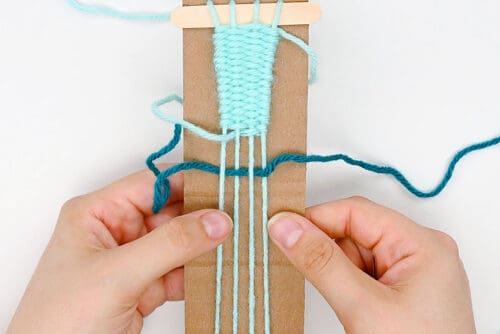
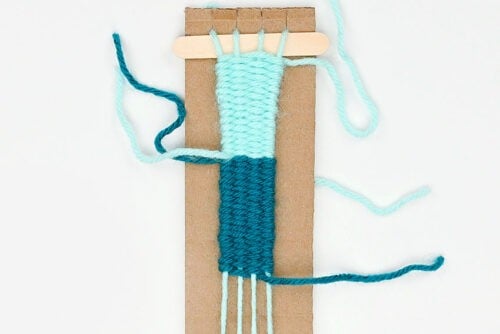
- Start weaving with a new colour of yarn, using the same pattern.Start from the same side where you cut the first strand, acting like it’s a continuation of the first colour.(Eg. The first colour ends on top of the fourth strand, so your new colour will begin under that strand.)Pull the yarn through until there’s about 4 inches left, keeping that as a tail.
- Continue weaving back and forth until you’re happy with the length of that colour section. Cut off the yarn, leaving a 4 inch tail again.
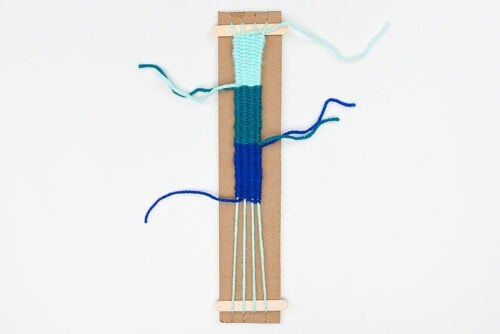
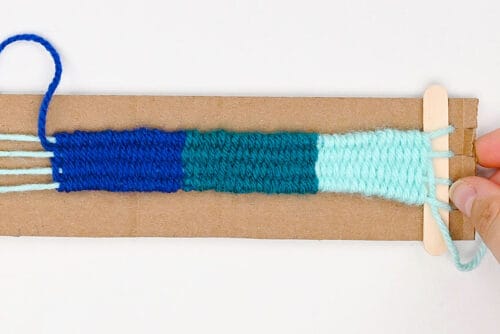
- Repeat with a third colour.You can add as many colours as you’d like, and continue until the bracelet is the length you need. Cut off the yarn, leaving another tail.We made ours 5-1/2 inches long.
Step 6: Remove from the loom
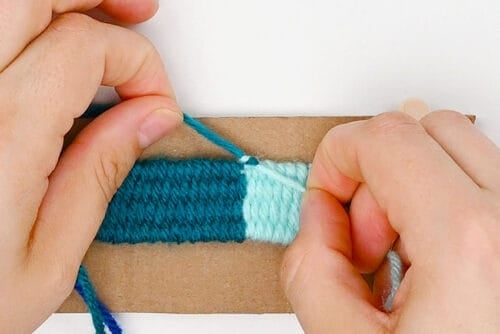
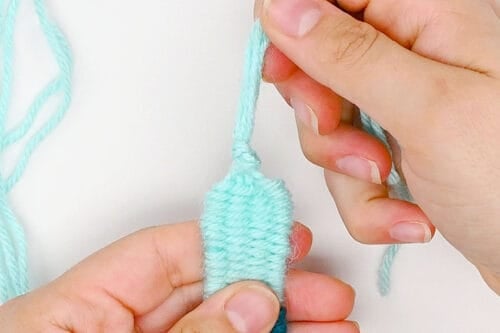
- Tie the tails from the colour changes (the ones next to each other) in a double knot. Don’t pull too much when you make the first knot, or else the bracelet can become puckered.
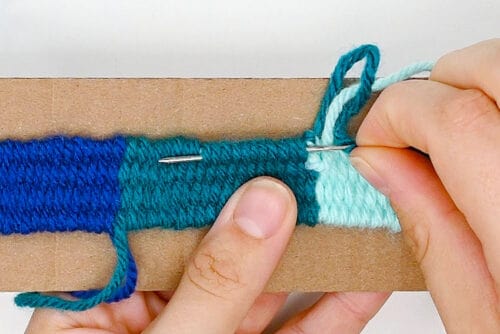
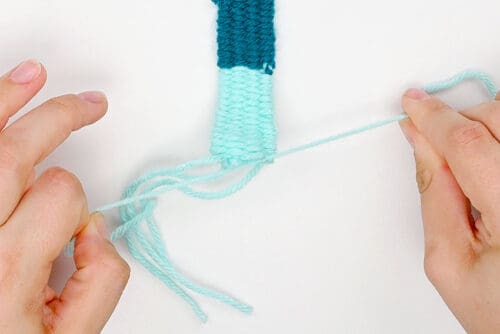
- Thread the tails on your yarn needle and sew them into the bracelet to hide the ends.Once the tails are sewn in, cut off any excess that sticks out.
- Repeat with any other tails from the colour changes.Keep the first and last tails as is.
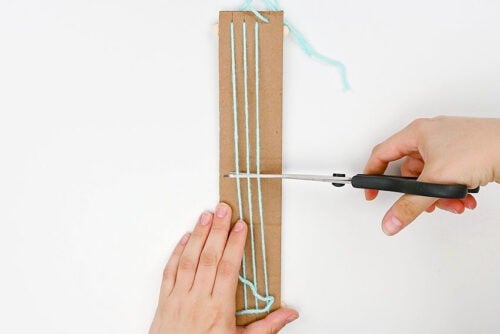
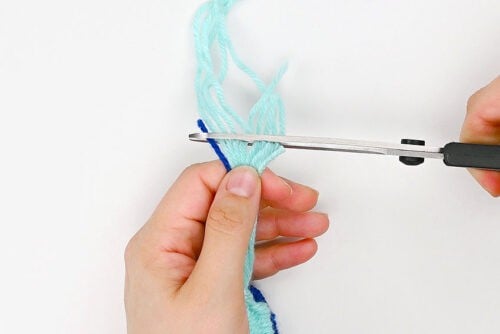
- Flip the loom over and make a horizontal cut along the center of the yarn strands.
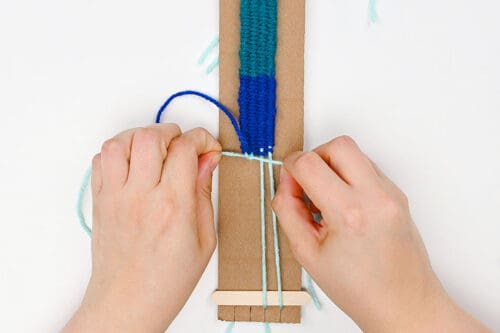
- Remove the first two strands from the notches and tie them in a knot next to the weaving.Again, don’t tie this too tight.
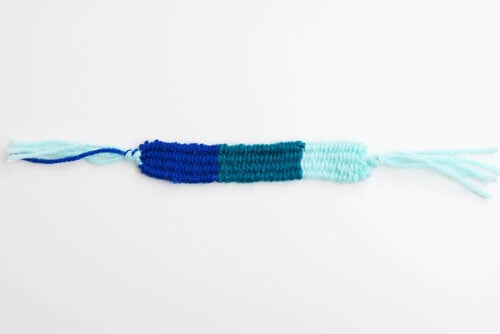
- Repeat with the rest of the strands, removing your bracelet from the loom.
Step 7: Finish off the bracelet
- Tie all the strands on one end into a knot together, making it as close to the weaving as you can.Repeat on the other end.
- Hold the yarn strands together. Trim off the excess yarn about 3 inches away from the weaving.This will even out the ends, leaving enough to tie on the bracelet.
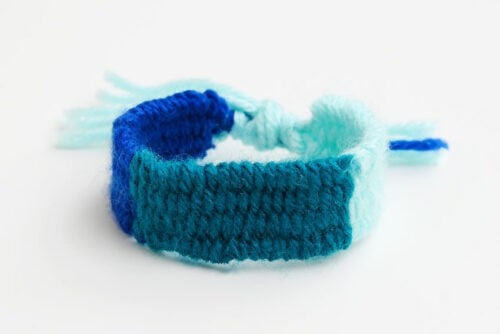
- Your cardboard loom bracelet is complete!
- Simply tie the bracelet around your wrist to wear it, and have fun making more bracelets in different colours!
Helpful Tips:
- Don’t stress about the length of your yarn: It’s easy to add more yarn if you run out, or trim the strand shorter once you’re finished weaving.
- Push each row snugly into place: Use your fingers, a fork, or a wide-tooth comb to gently press the woven rows together as you work. This helps prevent gaps and keeps the weaving looking neat.
Do I have to add popsicle sticks to my cardboard weaving loom?
The popsicle sticks aren’t absolutely necessary, but we do recommend adding them. They lift the yarn up slightly above the cardboard, making it easier to pass the working yarn over and under as you weave. They can also help maintain even tension and prevent the finished weaving from sitting too tightly against the loom.
What projects can I make with a cardboard weaving loom?
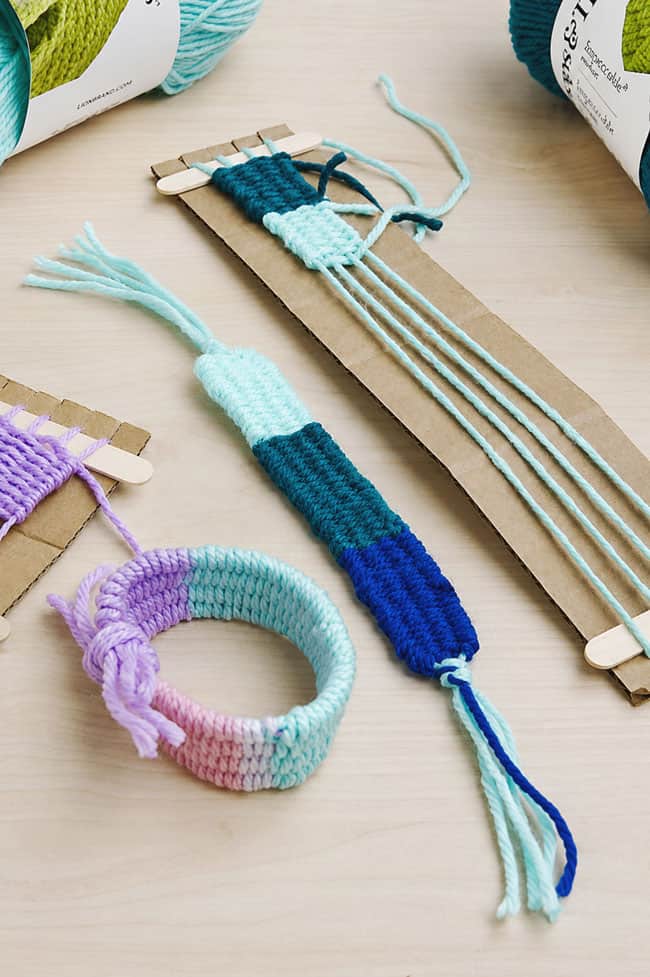
You can use a cardboard loom to make all kinds of small woven projects, including bracelets, bookmarks, coasters, wall hangings, dollhouse rugs, and decorative patches. The finished size will depend on the size of the loom, but it’s really easy to make a wider or longer loom to suit your project.
What kind of yarn is best for cardboard loom weaving?
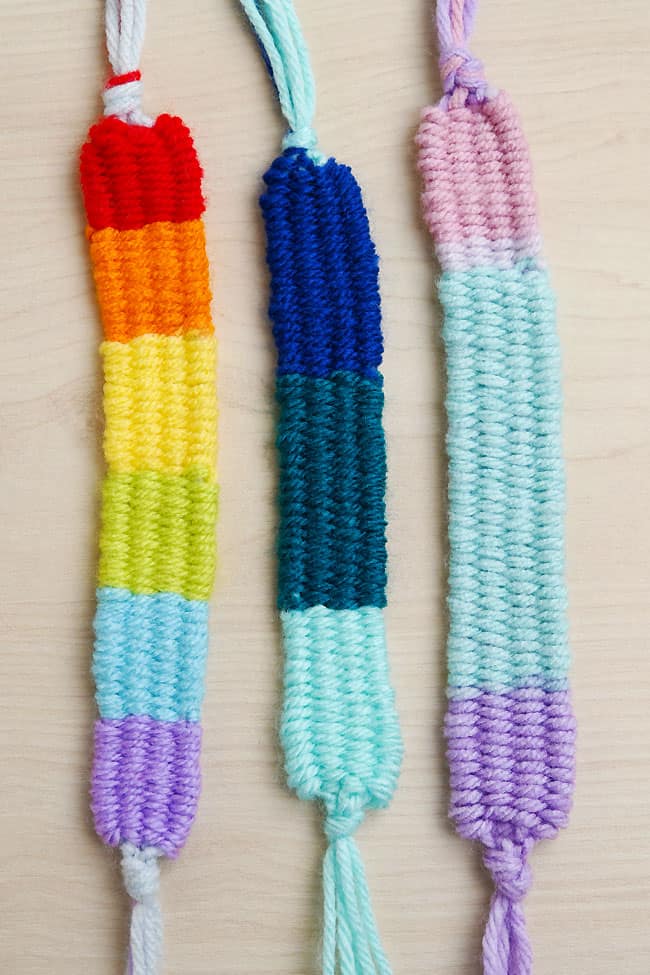
“Regular” yarn (a worsted weight acrylic) is the perfect choice for beginners. It’s easy to handle, inexpensive, and fills in the project quickly.
But you can also use embroidery floss, cotton yarn, ribbon, or thin strips of fabric on your cardboard loom. Avoid yarn that’s extremely fuzzy or textured for your first project, since it can make it harder to see the over-and-under pattern.
Making a cardboard weaving loom is such a simple and creative way to introduce kids to weaving! With just a piece of cardboard, a couple popsicle sticks, and some yarn, you can create a reusable loom for making bracelets, bookmarks, coasters, and other small woven projects.
Experiment with different colours, yarn textures, and weaving patterns to make each project completely unique. Once you get the hang of the basic over-and-under technique, it’s easy to dream up all kinds of colourful cardboard loom weaving ideas!
Here’s even more string craft ideas:


Now available
Low-Mess Crafts for Kids Book
72 cute and fun crafts that kids and parents alike can enjoy. All with as little mess as possible!
Where to buy:
You can purchase Low-Mess Crafts for Kids from Amazon, or wherever books are sold:
Amazon | Barnes and Noble | Books-A-Million | Indiebound | Amazon Canada






Leave a Reply