
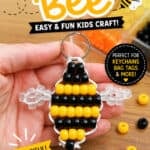

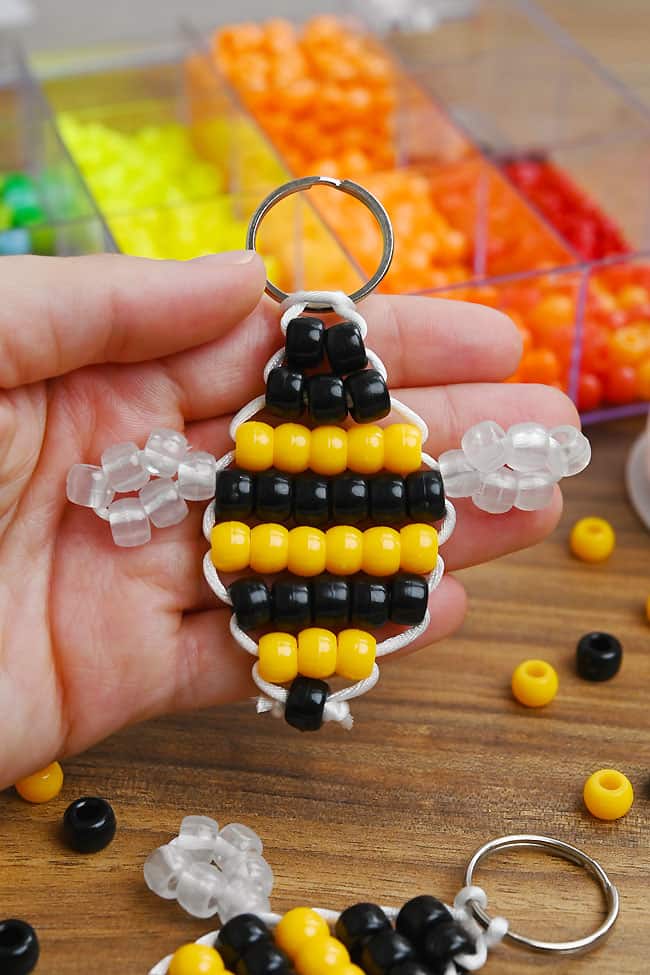
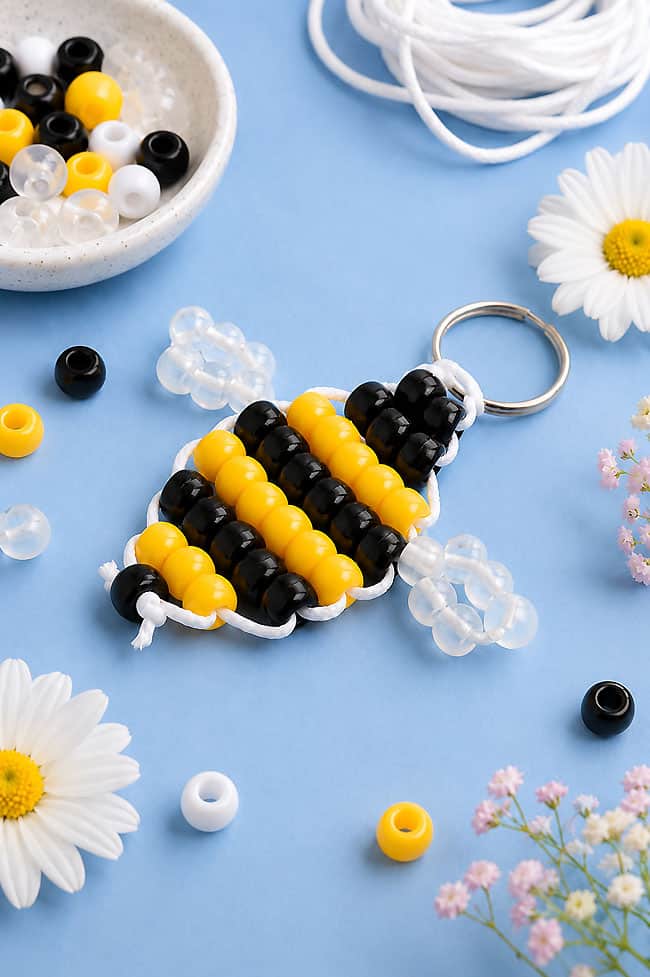
This pony bead bee is a cheerful spring and summer craft that’s easy to make with just a few simple supplies! Kids and beading fans of all ages can have fun weaving the colourful beads into a cute bumblebee shape, and the simple repeating rows make this a satisfying project to practicing basic beading skills.
Follow the step-by-step pattern to make your own beaded bee keychain or backpack charm, or give it to your friends as a handmade gift. It’s a great pony bead craft for kids, tweens, summer camp, or an afternoon craft session, and you can easily change the colours to create a whole swarm of unique little bees!
This post contains affiliate links. If you use these links to buy something, we may earn a small commission at no extra cost to you. This helps support our website and allows us to keep creating fun, free content.
How to Make a Pony Bead Bee
Materials:
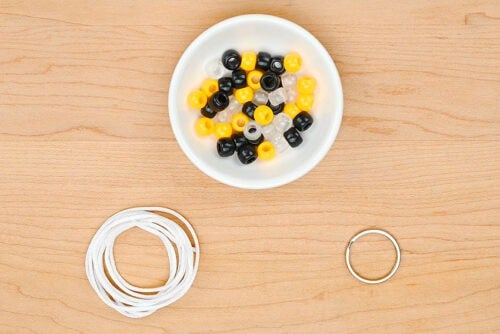
- Rattail cord
- Split ring keyring
- Pony beads (black, yellow, & clear)
Equipment:
See the craft in action:
Instructions:
Step 1: Find what you need
- Gather your supplies and materials.

Step 2: Prepare the cord
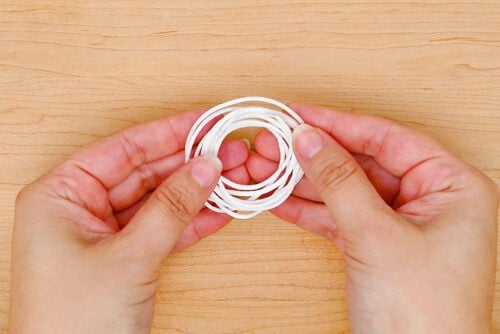
- Cut a 40 inch piece of rattail cord.
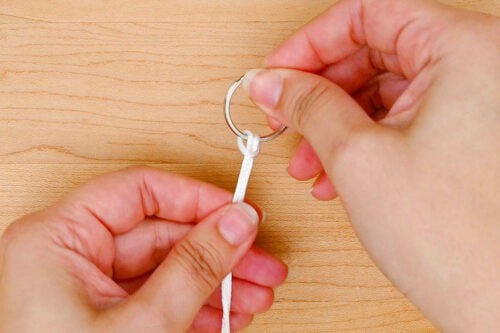
- Fold the cord in half and add it to the split ring keyring using a lark’s head knot.To do this, slide the folded loop through the keyring and then bring it over the ring towards you. Pull the knot tight.

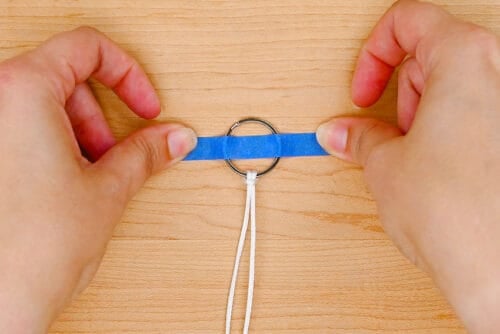
- Attach the keyring to your working surface with a piece of painter’s tape. This will keep it in place as you add the beads.
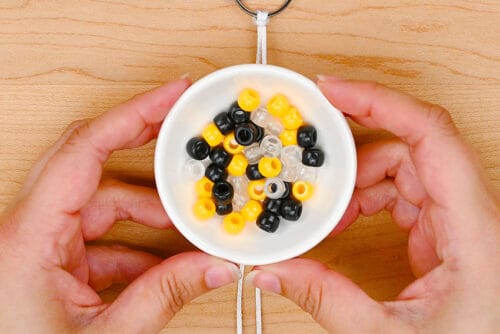
- Then gather the pony beads to make your bee. We’re using black, a soft yellow, and clear beads for the wings.
Step 3: Start making the bee
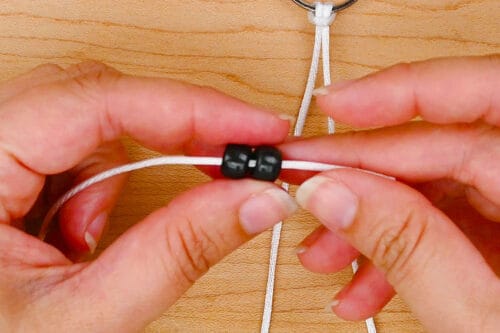
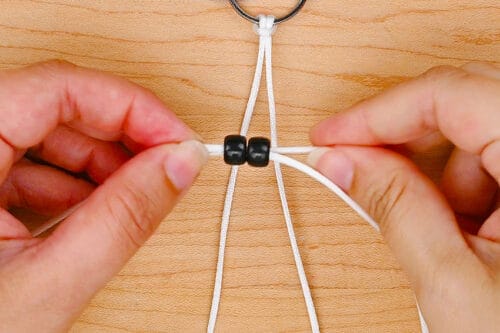
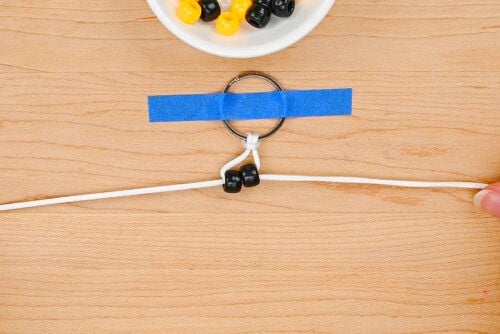
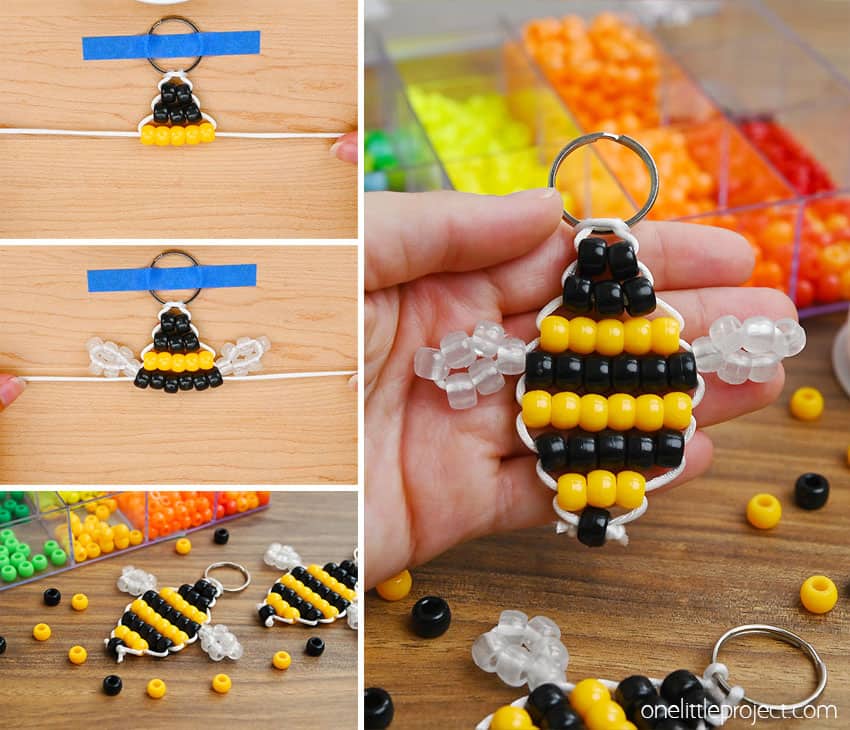
- To make a pony bead keychain we’ll be attaching beads to both cord ends. Add 2 black beads on the left cord to make Row 1.(You can also start with the right cord if it’s more comfortable — the pattern will work either way.)
- Take the end of the right cord and push it through the right side of the beads, so they’re attached to both cord ends.
- Pull the cord ends down and out so the beads go up to the top center, below the keyring.
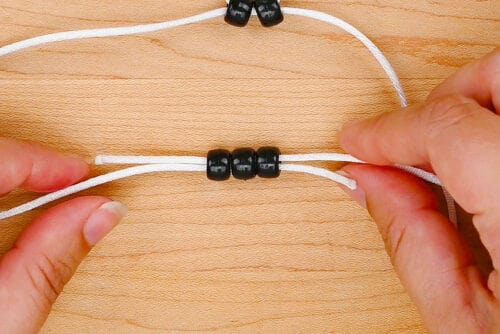
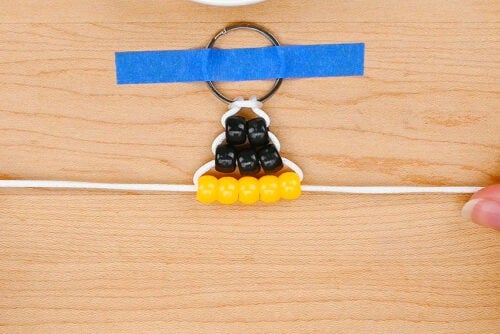
- For Row 2 add 3 black beads to the left cord. Connect the right cord just like you did for row 1.
- Pull the cords so these beads are centered below row 1.Then add 5 yellow beads to make Row 3 in the same way.
Step 4: Add the wings
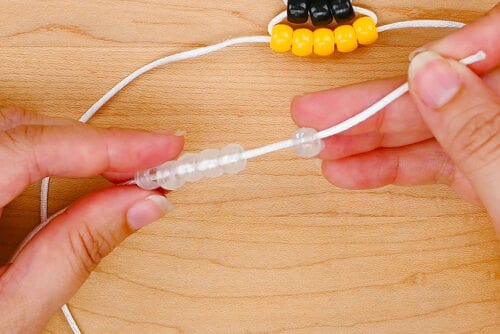
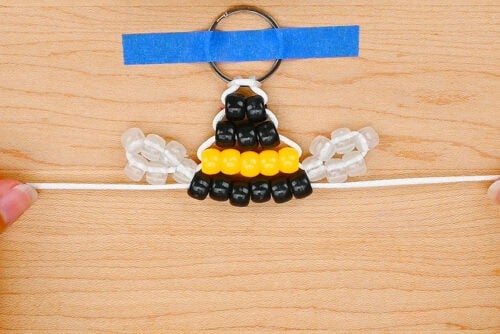
- To make the first wing add 6 clear beads to the left cord.
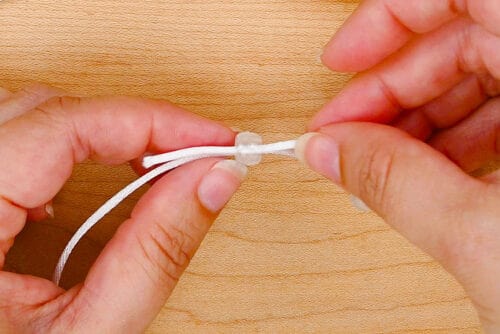
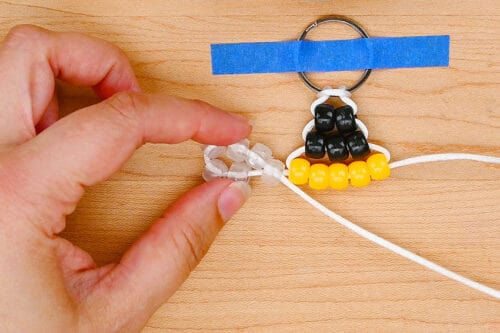
- Take the end of the left cord and put it through the right side of the leftmost bead (the one that would be closest to the body if you let the beads fall down the cord).
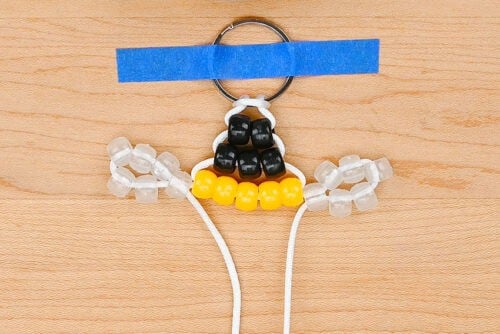
- Pull the cord end until the beads form a rounded wing. You can purposefully shape the beads so there’s 2 each on the top and bottom, and 1 on each side.
- Repeat the last few steps on the right cord to make the 2nd wing.
Step 5: Make the rest of the bee
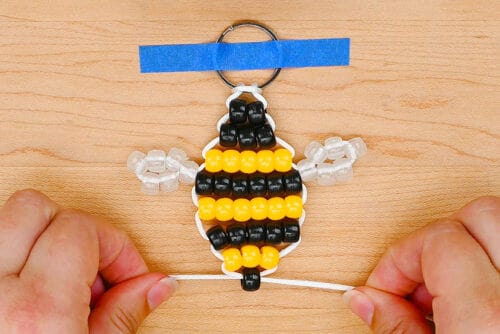
- Add 6 black beads for Row 4, attaching the beads to both cords like you did for the first few rows.
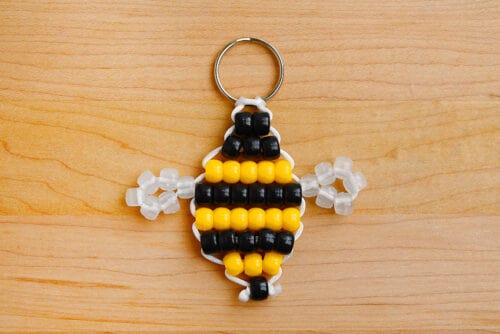
- Follow the same steps to add the rest of the beads:Row 5: 6 yellowRow 6: 5 blackRow 7: 3 yellowRow 8: 1 black
Step 6: Finish off the keychain
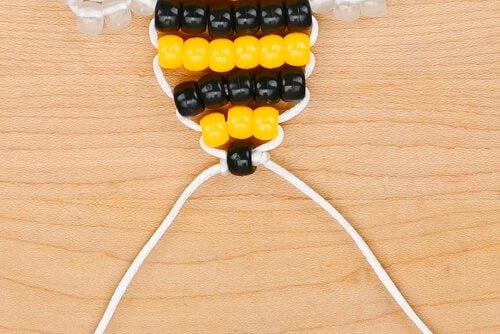
- Make a knot in each cord, tying them as close to the beads as possible.
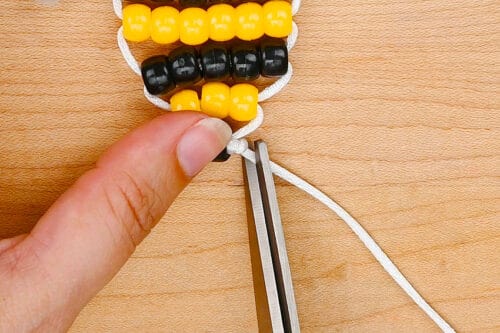
- Then cut off the excess cords close to the knots.Optional: Hold a lit lighter next to the cord ends for a couple seconds. This will melt the end of the cord, stopping it from unraveling.
- Your pony bead bee is complete!
Helpful Tips:
- Only melt synthetic cord ends: Carefully melting the ends can help prevent synthetic cord, such as nylon or rattail, from fraying. Do not use this method with natural fibers like cotton, since they will burn instead of melt.
- Prepare the beads before you begin: Lay out the beads needed for each row in order. This makes it easier to follow the pattern without stopping to count beads as you put the bee together.
What is the pony bead bee pattern?
If you already know how to make pony bead keychains, here’s a simple pattern to follow. We’ve used “B” to represent black, “Y” for yellow, and “C” for the clear beads:
- Row 1: 2B
- Row 2: 3B
- Row 3: 5Y
- Row 3a (wing 1): 6C
- Row 3b (wing 2): 6C
- Row 4: 6B
- Row 5: 6Y
- Row 6: 5B
- Row 7: 3Y
- Row 8: 1B
What type of cord should I use to make my pony bead bee?
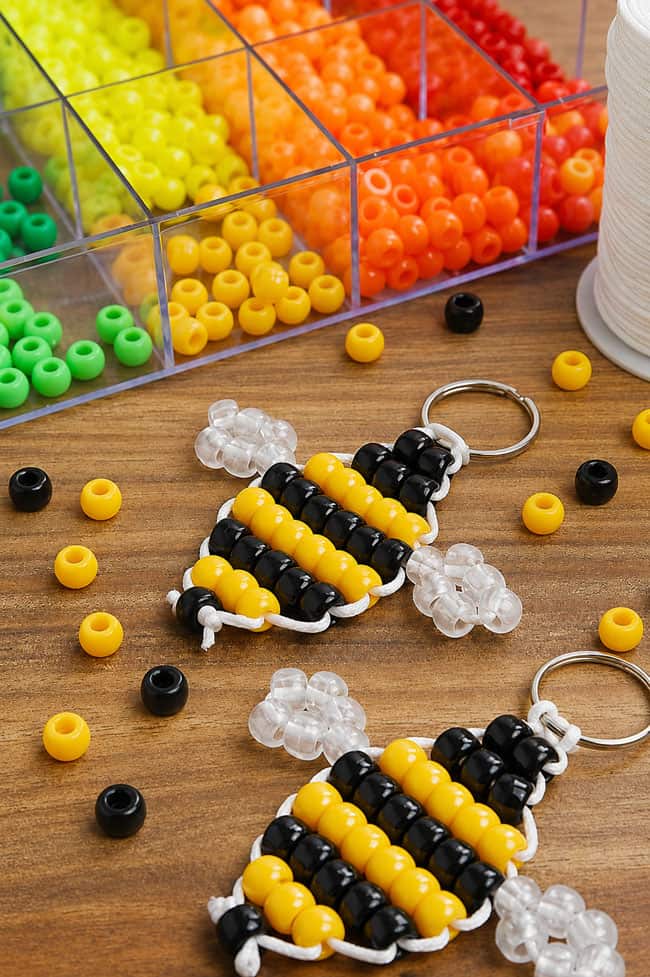
Rattail cord or nylon beading cord works well for this pony bead bee because it’s smooth, flexible, and easy to weave through the beads. You can also use cord sold specifically as pony bead lacing, plastic gimp, or a narrow ribbon that fits easily through the bead holes. Elastic beading cord also works well if you want your pony bead design to keep its shape.
Choose a cord that’s strong enough to hold its shape but still flexible and thin enough to easily pass through each row more than once.
What can I do with my pony bead bee?
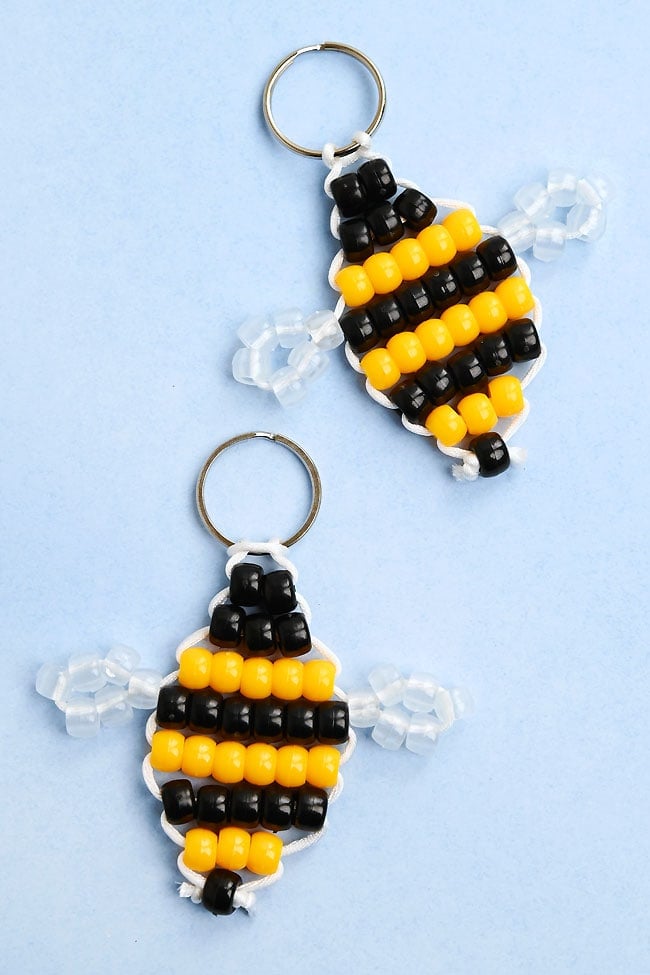
Add a key ring to turn the bee into a keychain, bag charm, or zipper pull. You can also hang it from a loop of cord and use it as a Christmas ornament, suncatcher, or cheerful window decoration.
How many pony beads are needed to make one bee keychain?
Our pony bead bee pattern uses:
- 17 black pony beads
- 14 yellow pony beads
- 12 clear pony beads
That’s 43 pony beads total for one bee.
There’s something extra satisfying about watching a handful of loose beads turn into a recognizable little bee, one row at a time. This is a great project for using up leftover pony beads, practicing even tension, and helping kids build confidence with simple bead weaving.
Once you’ve made one, it’s hard to stop at just a single bee. Try experimenting with different wing colours, using metallic beads, or making a whole set to share with friends!
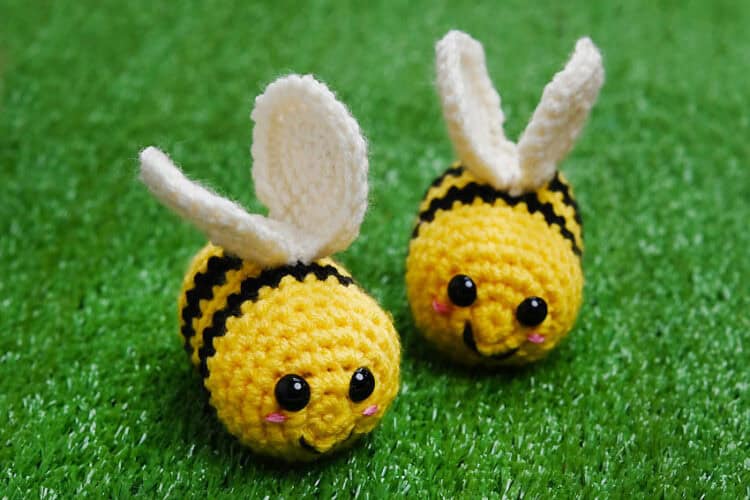
Here’s even more bee craft ideas:


Now available
Low-Mess Crafts for Kids Book
72 cute and fun crafts that kids and parents alike can enjoy. All with as little mess as possible!
Where to buy:
You can purchase Low-Mess Crafts for Kids from Amazon, or wherever books are sold:
Amazon | Barnes and Noble | Books-A-Million | Indiebound | Amazon Canada








Leave a Reply