

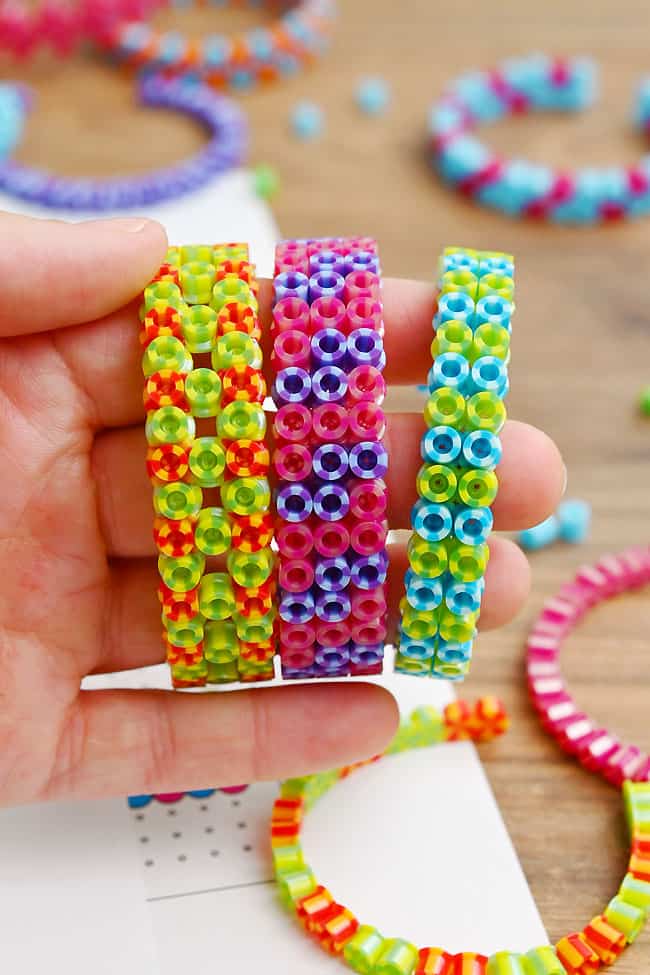
These Perler bead bracelets are such a fun way to turn colourful fuse beads into wearable art! Iron the beads and then bend the warm bead strip to create a cute bracelet shape. It’s an easy way to make your own handmade bangle!
Kids can follow our printable Perler bead bracelet patterns below or create their own designs with bright stripes, colour blocks, rainbow patterns, or random bead combinations. This is a fun craft for summer camp, sleepovers, birthday parties, or any time you want to make a colourful DIY bracelet with simple supplies.
This post contains affiliate links. If you use these links to buy something, we may earn a small commission at no extra cost to you. This helps support our website and allows us to keep creating fun, free content.
How to Make a Perler Bead Bracelet
Materials:
See the craft in action:
Instructions:
Step 1: Find what you need
- Gather your supplies and materials.

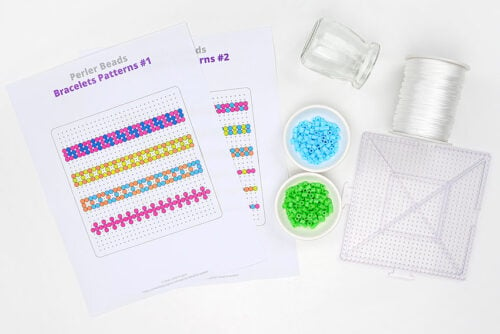
Step 2: Make the bracelet design
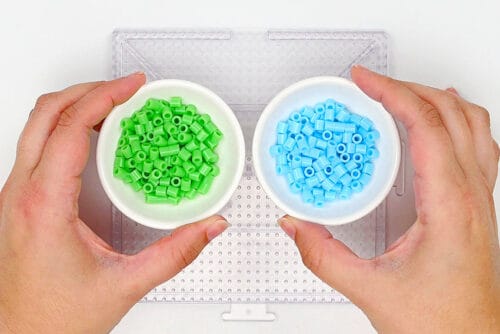
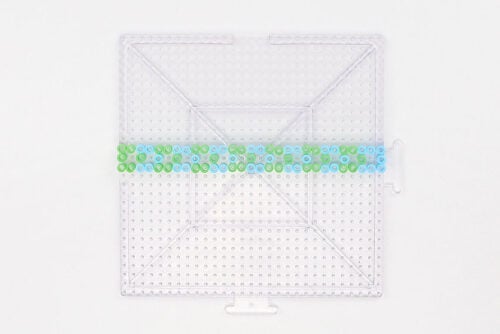
- For each bracelet you’ll need a large square pegboard and 1 to 2 colours of beads.
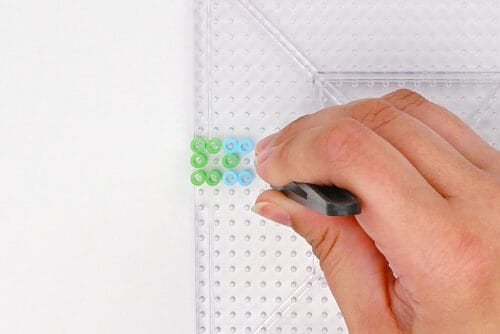
- Begin adding Perler beads according to the pattern. We find it helpful to place the beads with tweezers for extra precision.
- Continue following the pattern until the bracelet is complete. Compare the design to the pattern one last time to make sure it’s correct.
Step 3: Iron and shape the bracelet
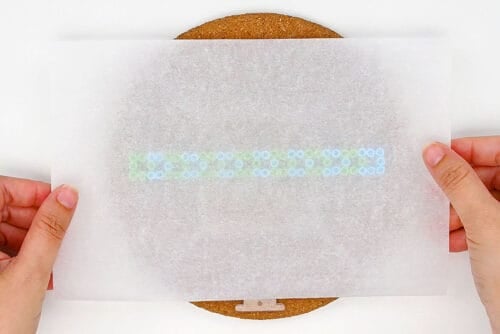
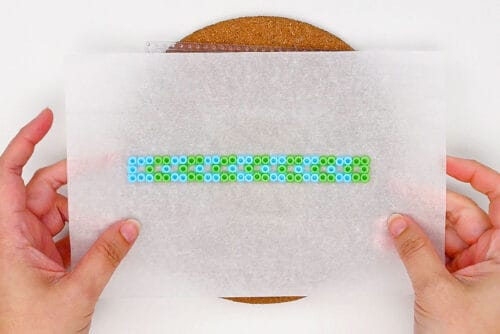
- Move the pegboard to an ironing board or other heat safe surface. Then place a piece of parchment paper on top of the design.
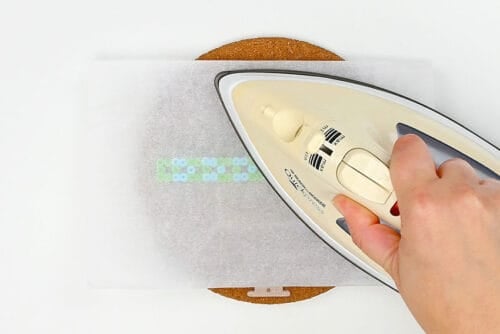
- Heat your iron to medium temperature, no steam. Place the iron on the parchment paper and move it around in circular motions for at least 15 to 20 seconds.
- Once the beads are melted together properly the parchment paper should stick to the beads. Lift the parchment paper and flip it over, removing the bracelet from the pegboard.
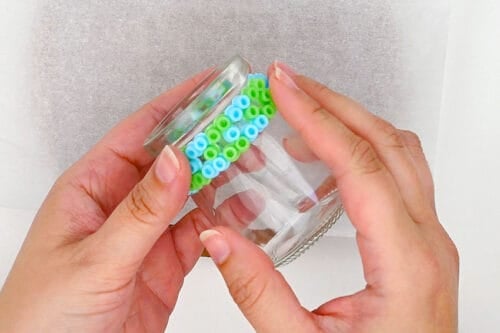
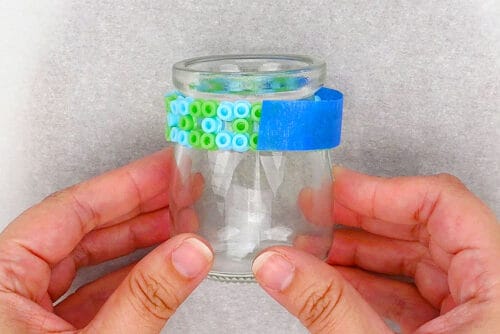
- Pick up the bracelet and immediately wrap it around a small jar or glass.

- You can add painter’s tape at the opening to keep the bracelet together.Allow to cool.
Step 4: Add a bracelet tie (optional)
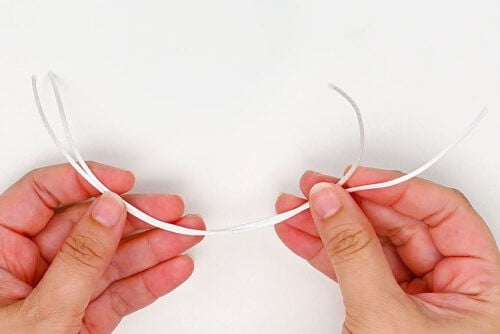
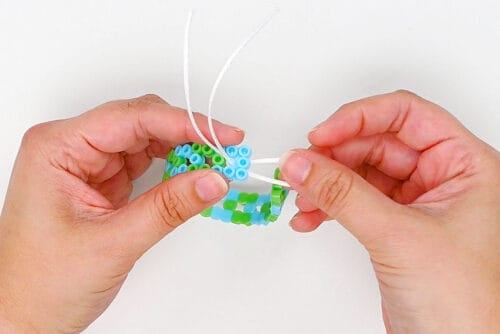
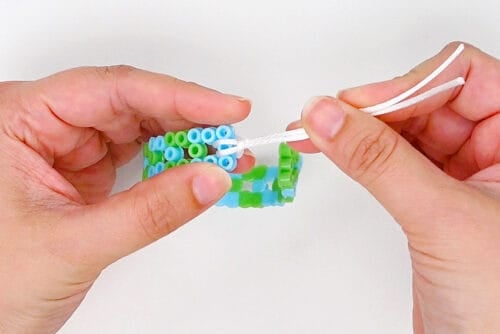
- Cut 2 pieces of rattail cord, each about 8 inches long.
- Fold one of the cords in half and insert the loop down through the space near the end of the bracelet.
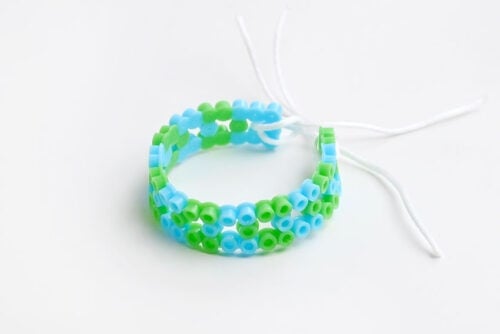
- Put the cord ends through the loop and pull them taut, so the loop is right beside the bracelet. Repeat with the second piece of cord on the other side.
- Your Perler bead bracelet is complete!
Helpful Tips:
- Use a clear pegboard with the template: If you have a clear Perler bead pegboard, place the bracelet template underneath the board so it’s easier to follow the pattern as you add the beads.
- Add holes for the tie cord if needed: If you’ve made a solid bracelet design, you can gently push a nail or needle through the end beads to create holes for the tie cords.
- Have an adult remove the bracelet from the board: The beads will be hot after ironing, so have an adult carefully lift the bracelet from the pegboard and shape it around the glass or jar.
- Reheat the bracelet if needed: If you’re not happy with the shape of your bracelet, you can iron it again to warm the beads and make them malleable. Then reshape the bracelet around your jar, bottle, or glass.
Get our free printable Perler bead bracelet patterns:
Clicking on the text or photos below will take you to our free, printable Perler bead bracelet templates! The PDF files will open in a new window.
Then simply follow along with the pattern on your device’s screen, or print the patterns in colour on 8.5 x 11 (letter size) printer paper.
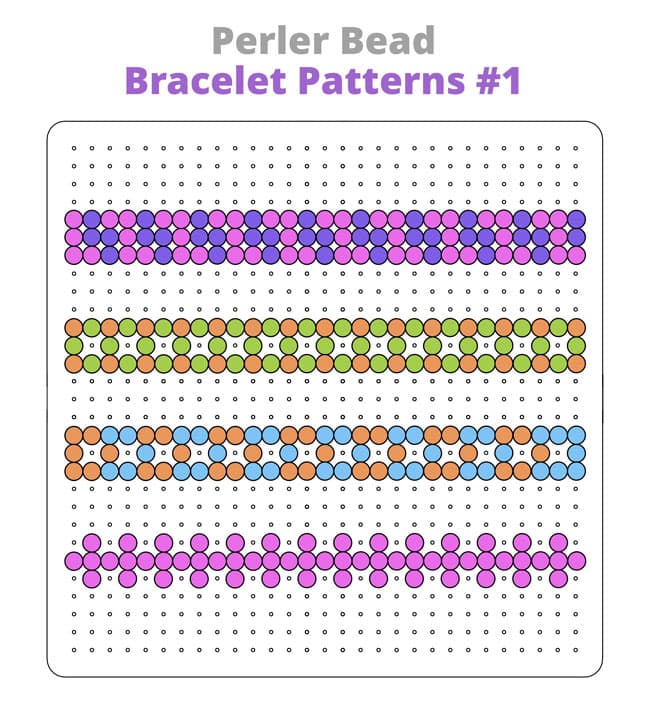
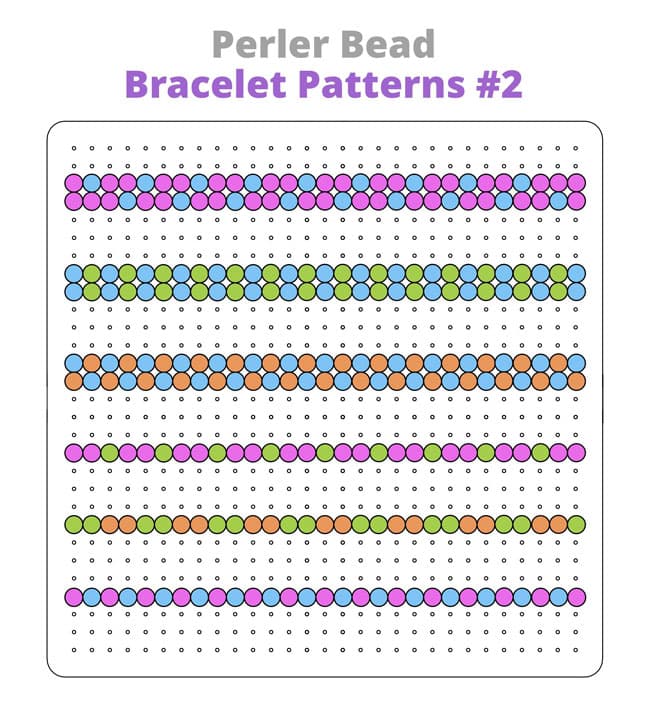
What pegboard do I need to make a Perler bead bracelet?
A large square pegboard works well for making Perler bead bracelets. The bracelets made on this size board are just over 5-1/2 inches long, which works perfectly as an open bangle or tied bracelet for kids and tweens. They may also fit adults with smaller wrists.
If you want to make a larger bangle that can slide over your wrist, use a larger pegboard and extend the pattern. You can also wrap the bracelet around the glass and melt the ends together while it’s still warm to make a larger closed bracelet.
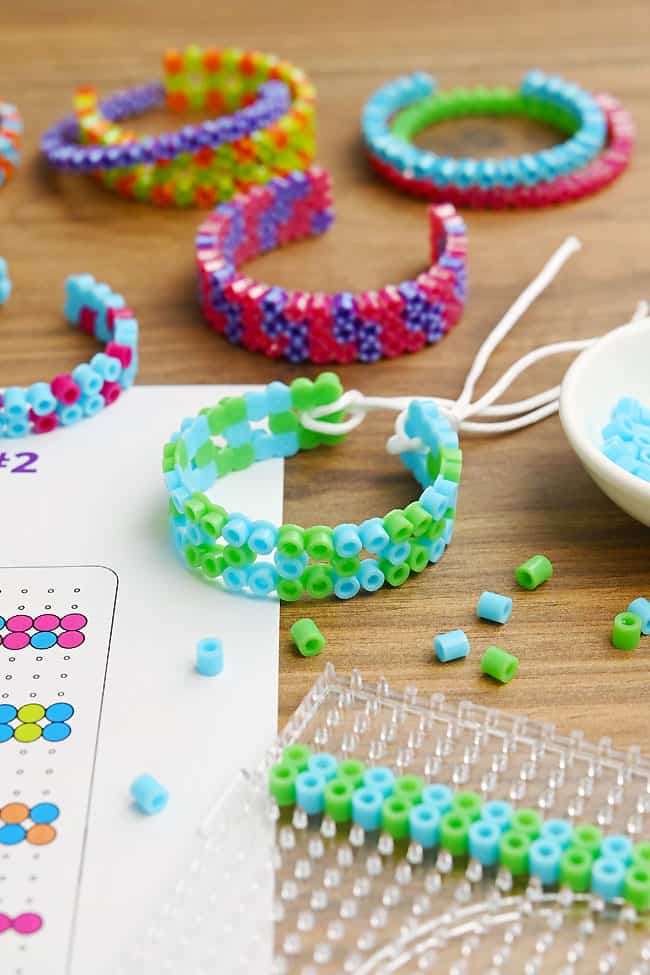
Should I add cord ties to my Perler bead bracelets?
The open bangle bracelets stay on fairly well, even when you move your arm around. They’re easy to slip on and off, and they keep their curved shape once they cool.
But if you want the bracelet to be extra secure, add tie cords to the ends. You can use a matching cord colour to blend in with the bracelet, or keep it neutral with white or black cord.
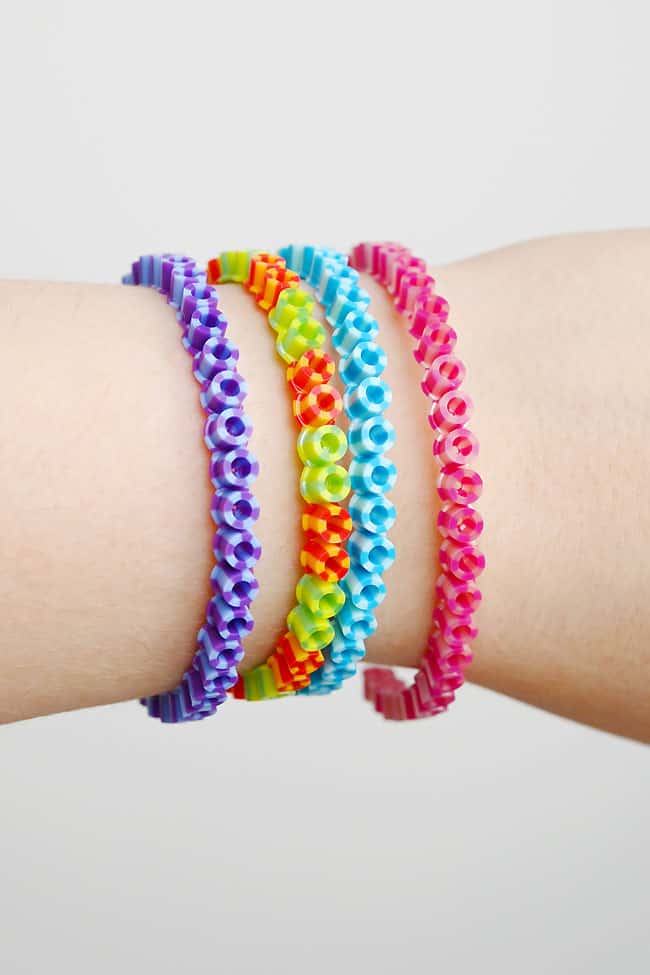
What size jar or glass should I wrap the Perler bracelet around to shape it?
We used a small glass bottle from the dollar store that was about 2 inches across at the top. This gave the Perler bead bracelet a nice curved shape for a kid-sized wrist.
Any narrow jar, bottle, or drinking glass will work. You can also use something like a tomato paste can, as long as it’s the right size for the bracelet shape you want.
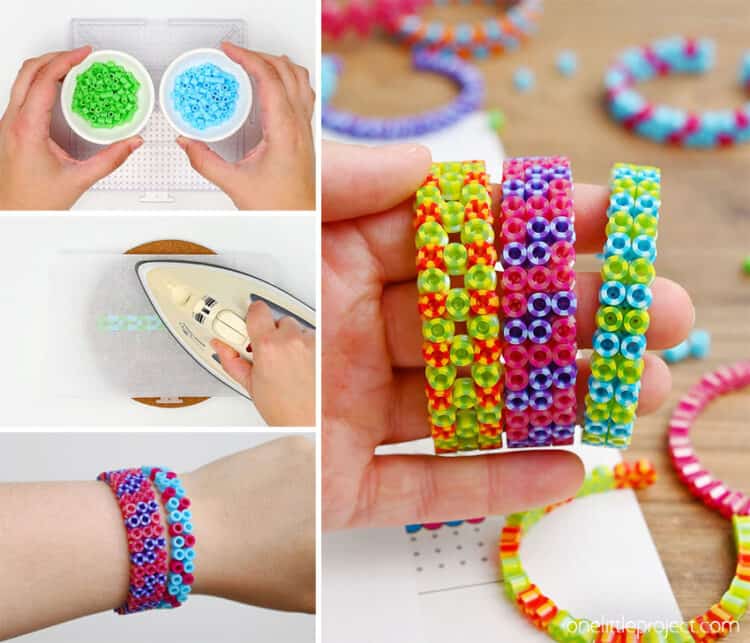
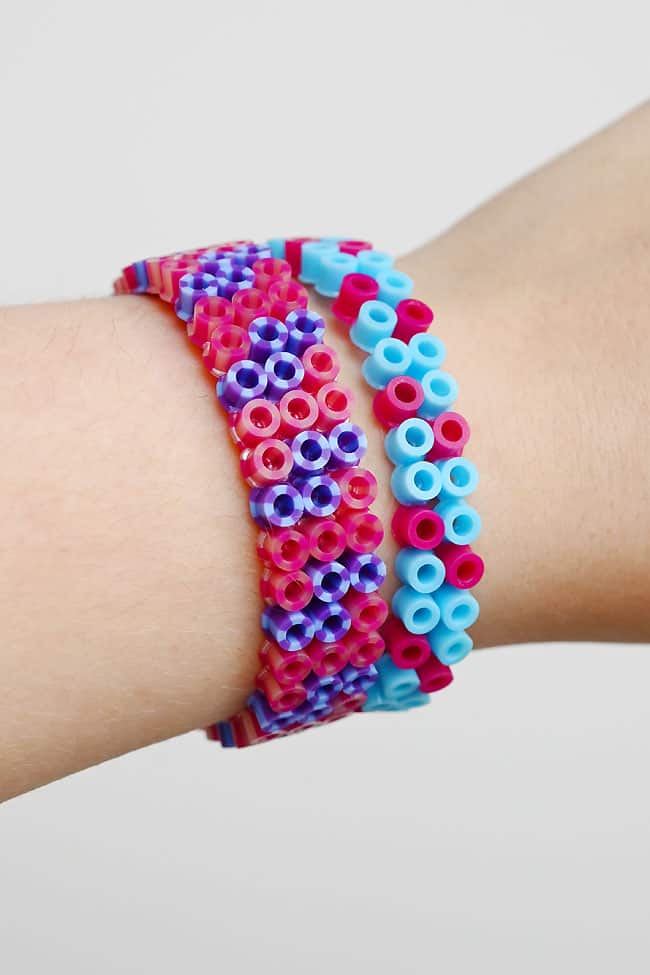
These Perler bead bracelets are such a fun way to make fuse beads wearable! The beads start out flat on the pegboard, then after ironing you can bend them into bright, colourful bracelets for kids to wear.
Try our printable patterns, make your own colour combinations, or experiment with different widths and designs. Whether you leave them as open bangles or add tie cords to the ends, these bracelets are a fun craft for kids, tweens, summer camp, parties, or any colourful craft day.
Here’s even more DIY bracelet ideas:

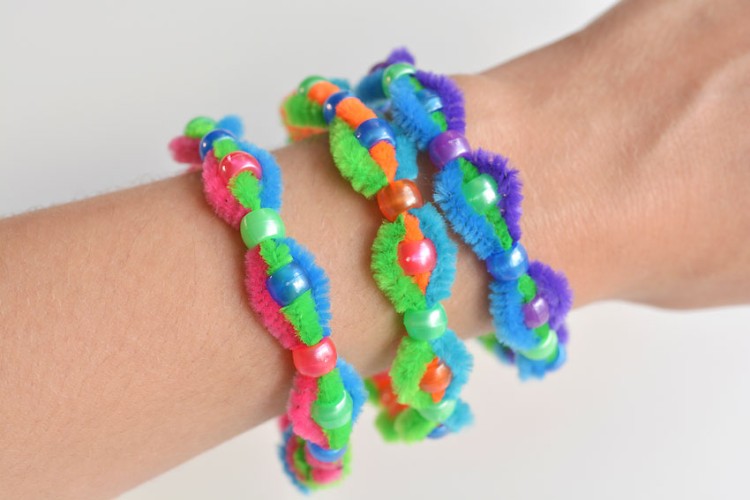
3 Strand Pipe Cleaner Bracelets
Now available
Low-Mess Crafts for Kids Book
72 cute and fun crafts that kids and parents alike can enjoy. All with as little mess as possible!
Where to buy:
You can purchase Low-Mess Crafts for Kids from Amazon, or wherever books are sold:
Amazon | Barnes and Noble | Books-A-Million | Indiebound | Amazon Canada








Leave a Reply