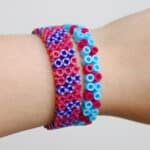
How to Make a Perler Bead Bracelet
Use our printable patterns and this step-by-step tutorial to make your own Perler bead bracelet! This DIY bracelet craft is easy to make, and the end result is so cute!
Yield: 1 Perler bead bracelet
Cost: $1
Materials
Instructions
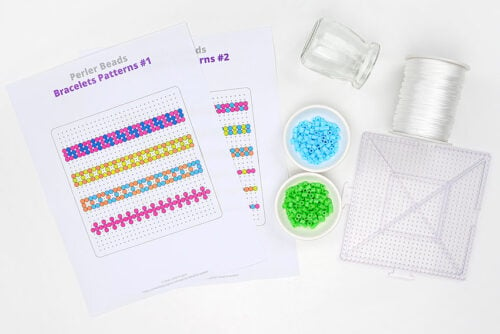
Step 1: Find what you need
- Gather your supplies and materials.
Step 2: Make the bracelet design
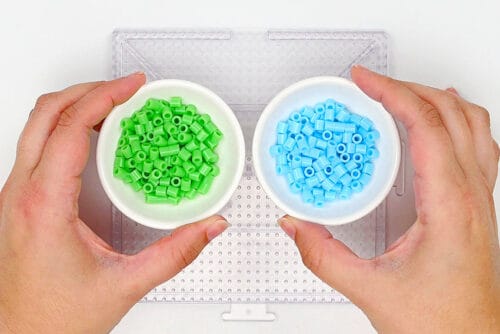
- For each bracelet you'll need a large square pegboard and 1 to 2 colours of beads.
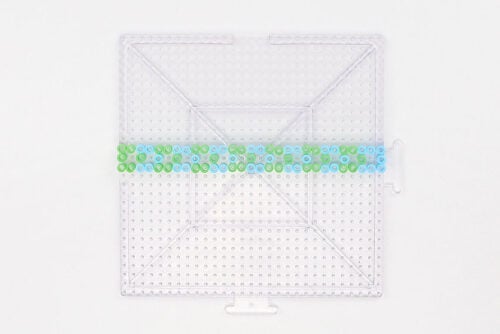
- Begin adding Perler beads according to the pattern. We find it helpful to place the beads with tweezers for extra precision.
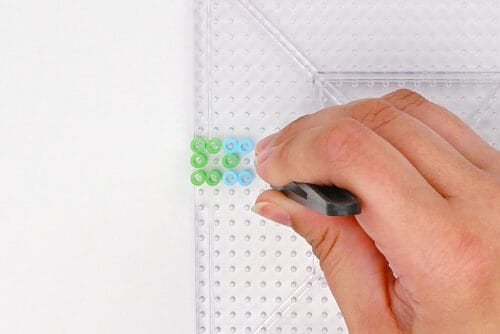
- Continue following the pattern until the bracelet is complete. Compare the design to the pattern one last time to make sure it's correct.
Step 3: Iron and shape the bracelet
- Move the pegboard to an ironing board or other heat safe surface. Then place a piece of parchment paper on top of the design.
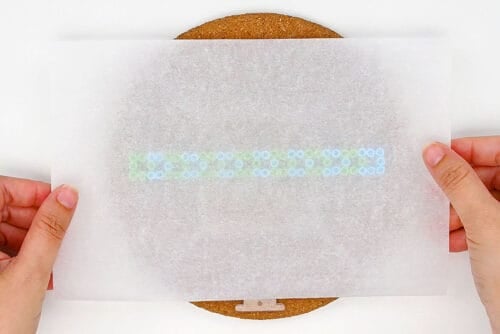
- Heat your iron to medium temperature, no steam. Place the iron on the parchment paper and move it around in circular motions for at least 15 to 20 seconds.
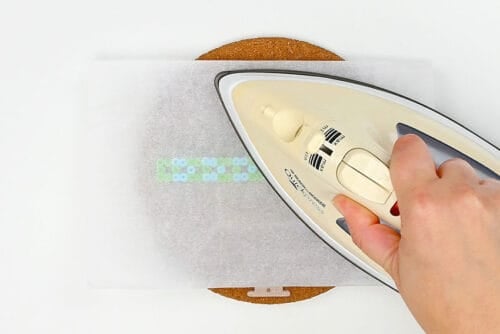
- Once the beads are melted together properly the parchment paper should stick to the beads. Lift the parchment paper and flip it over, removing the bracelet from the pegboard.
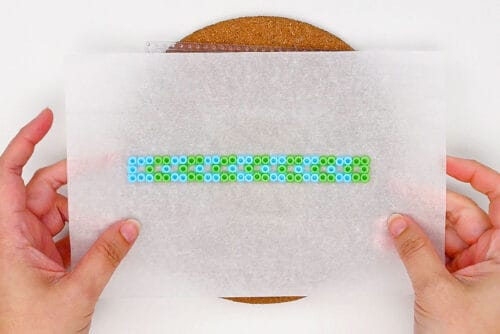
- Pick up the bracelet and immediately wrap it around a small jar or glass.
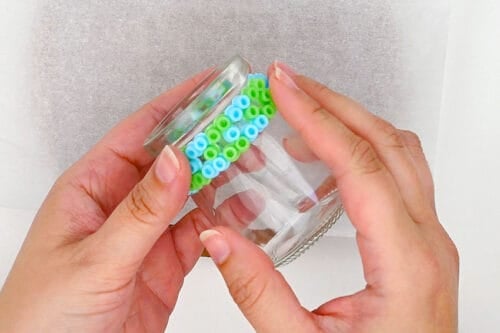
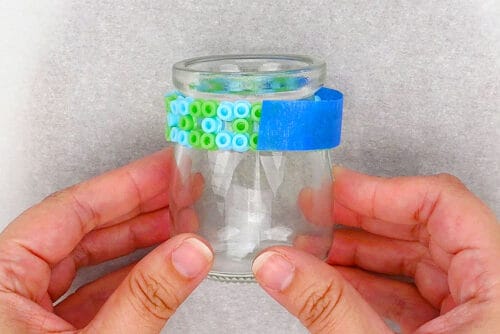
- You can add painter's tape at the opening to keep the bracelet together.Allow to cool.
Step 4: Add a bracelet tie (optional)
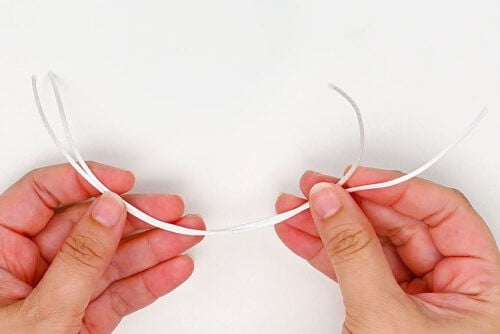
- Cut 2 pieces of rattail cord, each about 8 inches long.
- Fold one of the cords in half and insert the loop down through the space near the end of the bracelet.
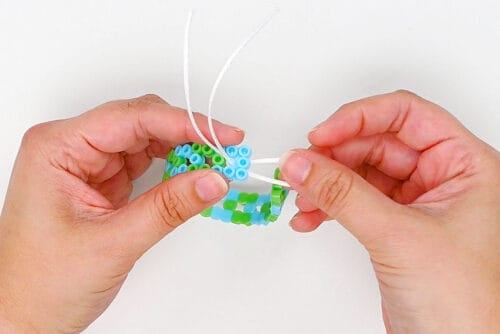
- Put the cord ends through the loop and pull them taut, so the loop is right beside the bracelet. Repeat with the second piece of cord on the other side.
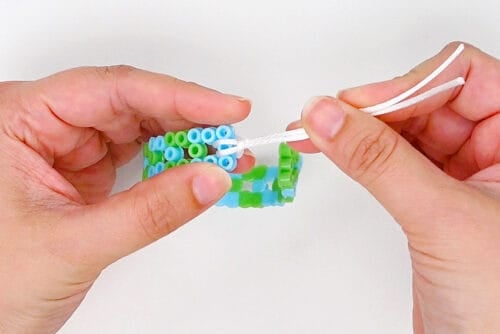
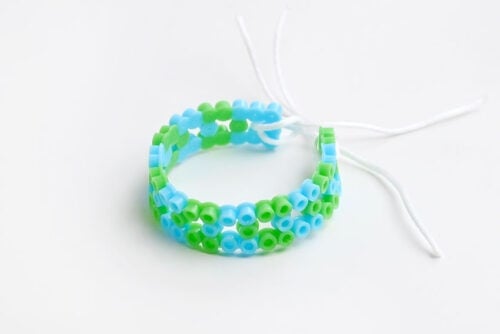
- Your Perler bead bracelet is complete!
Video
Notes
Looking for more fun with Perler beads? Here's a few of our favourites:
Perler Bead Butterfly
DIY Perler Bead Picture Frame
Perler Bead Food