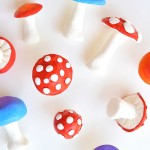
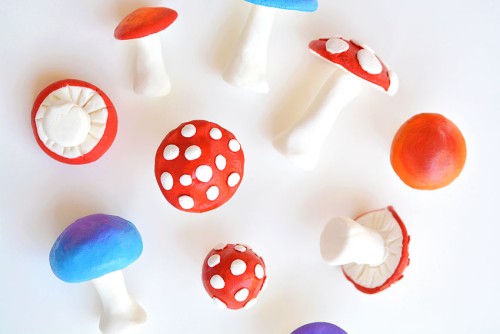
How to Make Clay Mushrooms
These clay mushrooms are super cute and SO EASY to make! Mushroom clay art is the perfect project for beginners to working with clay.
Yield: 1 clay mushroom
Cost: $1
Equipment
Materials
- Air dry clay (link in tips section below)
- acrylic paint
Instructions
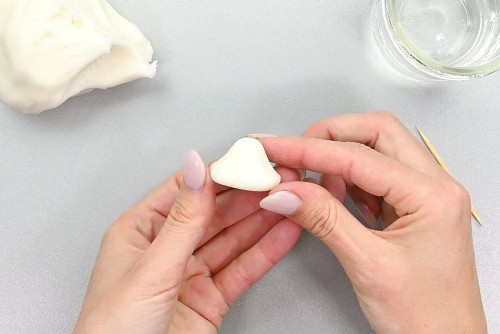
Step 1: Form the mushroom parts
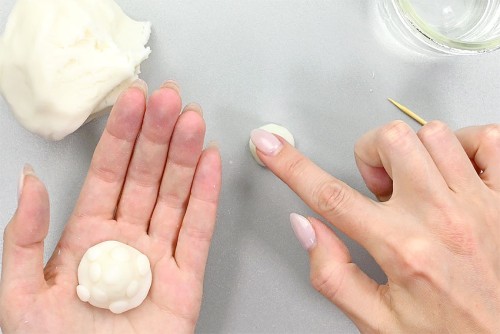
- Roll out a small ball of clay and flatten it on the bottom so it has a 1-1/4 inch diameter.Taper the edges toward the middle to create a domed mushroom cap about 3/4 inch high in the centre.
- Roll out a tiny ball around 1/8 inch in diameter.
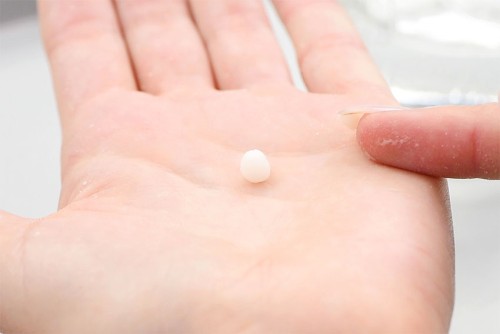
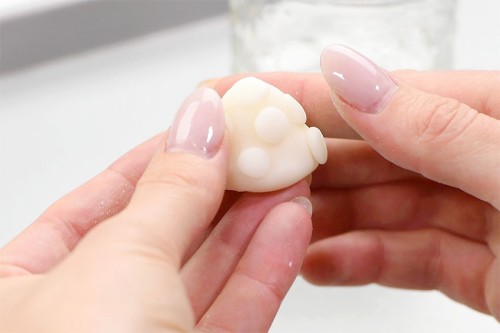
- Press the ball flat onto the mushroom cap (it should be around 1/4 inch in size now). Continue creating spots on the mushroom cap until you have a number you're happy with. We made 8 spots for this mushroom.
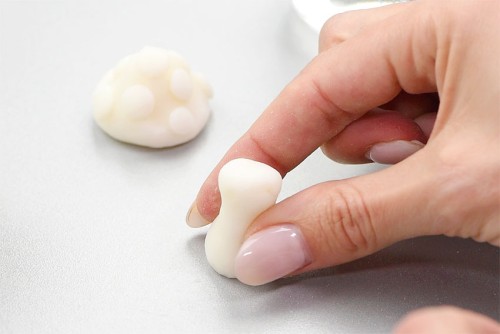
- Create a stem for your mushroom. Roll out a small piece of clay so it's thicker at the bottom. Create a flat bottom for the stem that's 3/4 inch in diameter. The stem should be around 3/4 inch tall and taper up to 1/2 inch diameter (where the stem will attach to the cap).
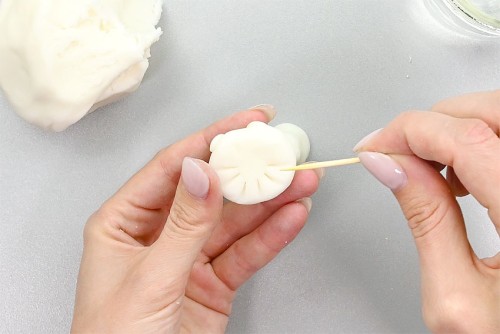
- Using a toothpick, carve lines on the bottom of the mushroom cap from the edge toward the centre, leaving a circle untouched in the centre. The lines should be around 1/4 inch apart, but they don't have to be perfectly even - every mushroom is unique!
Step 2: Connect the mushroom
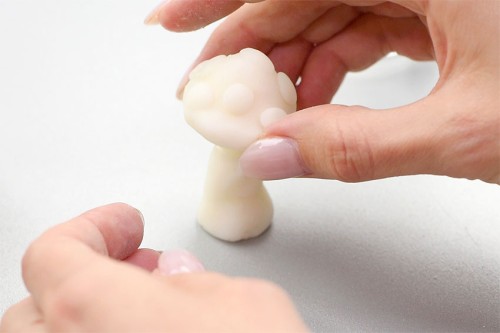
- Add a dab of water on the top of the stem and in the centre of the cap's bottom.
- Centre the cap on the stem, pushing down gently to connect the two pieces.Allow to dry. If using our air dry clay recipe the mushroom will take 2 - 3 days to dry at room temperature. You can also place the mushroom on a parchment lined baking tray and bake it at 200F for around 1 hour. If using store bought clay, follow the directions on the package for drying time.
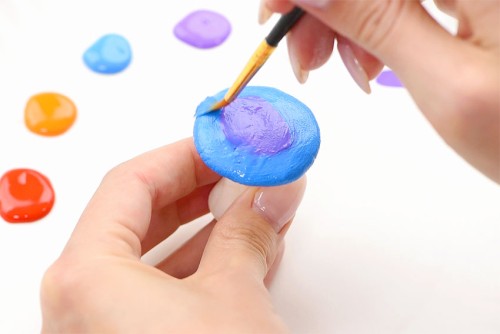
Step 3: Paint the mushroom
- Use red paint (or whatever colour you'd like!) to paint around the spots on the mushroom cap.

- Instead of spots, you can make a flat capped mushroom and use a colour blending technique (see tips section for details).
- Allow paint to dry.Your clay mushroom is complete!
Video
Notes
We made these clay mushrooms using our homemade air dry clay recipe.
Check out our seashell painting post for a tutorial on how to colour blend acrylic paint.