
How to Make Tissue Paper Art
Tissue paper art is such a fun craft for both kids and adults! Use an oil pastel to create a resist art picture in this unique and colourful art project.
Yield: 1 tissue paper painting
Cost: $2
Equipment
- Spray bottle (with water)
Instructions
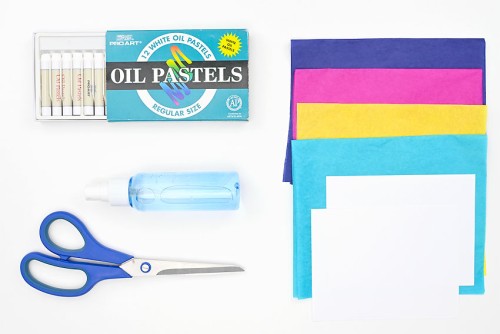
Step 1: Find what you need
- Gather your supplies and materials.
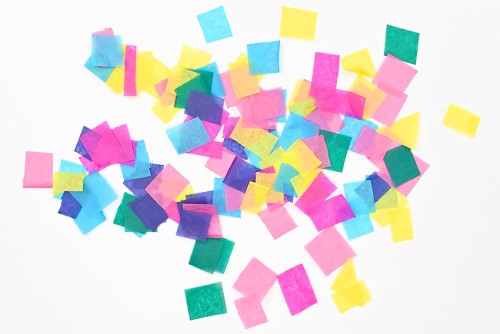
Step 2: Cut the tissue paper
- Cut the bleeding tissue paper into small squares.You can also cut longer strips of tissue paper, depending on what look you're going for.
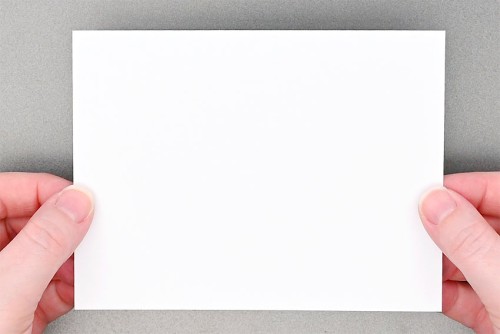
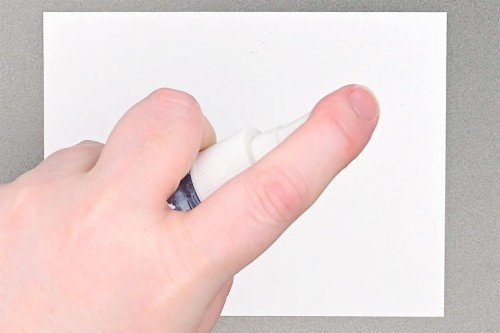
Step 3: Draw your picture
- Set a piece of cardstock on a baking sheet or other protected surface you don't mind getting wet.We cut our 8-1/2 x 11 inch piece of cardstock into 4 pieces, but you can use whatever size you'd like.
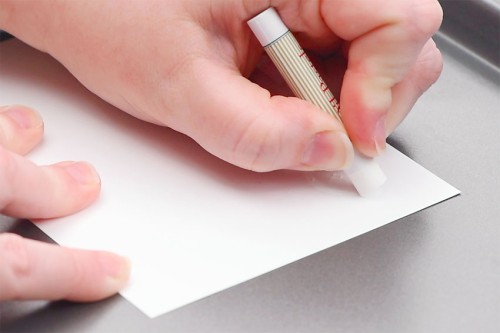
- Use a white oil pastel to draw a design or picture on the cardstock.Whatever you draw will show through the colour later.
Step 4: Add tissue paper and water
- Spray the cardstock with water. You can also use a paintbrush and brush water on.The paper might curl up at first, but it should flatten out by itself.
- Set a piece of tissue paper onto the paper. You can place it wherever you'd like.
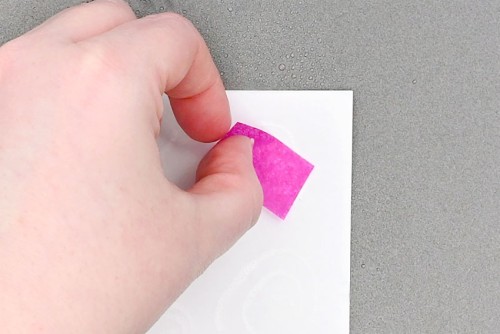
- Spray the tissue paper with more water to help it stick down. You'll also be able to see some of the colour coming off the tissue paper.Make sure each piece of tissue paper is flat against the cardstock, or else you might end up with white spots.
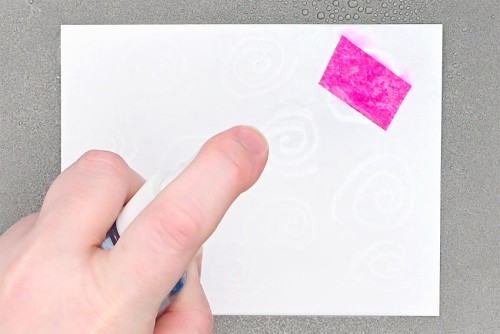
- Repeat, covering the entire paper with tissue paper.You can create a random mosaic look, do stripes with longer pieces of tissue paper, or form an ombre pattern with different shades of the same colour.
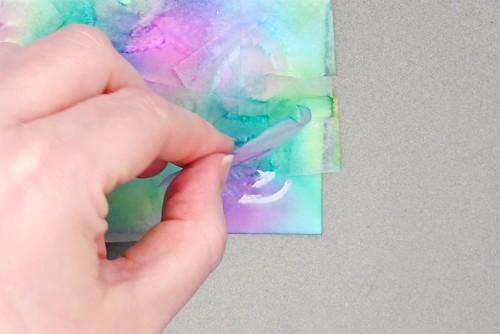
Step 5: Remove the tissue paper
- Allow the tissue paper to sit on the cardstock for at least 10 minutes. For a less messy experience, allow the tissue paper to dry for 1 to 2 hours before removing it from the paper.When dry, the tissue paper will slide right off the paper. If it's still a bit wet you can peel it off.
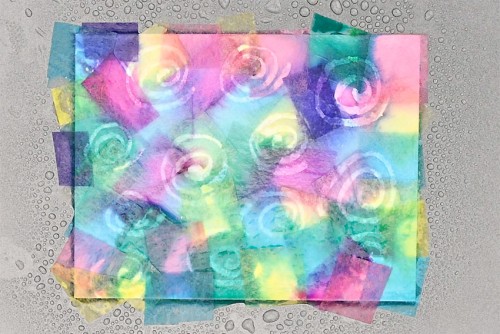
- Allow the cardstock to dry.You can also carefully remove it from the tray and set it on a piece of paper towel to help it dry.
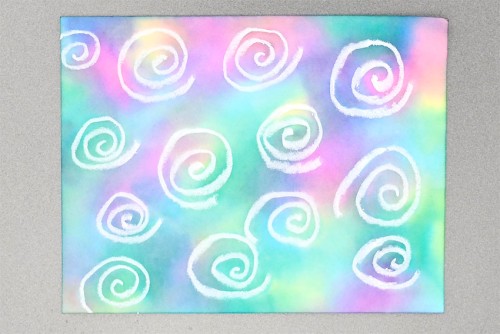
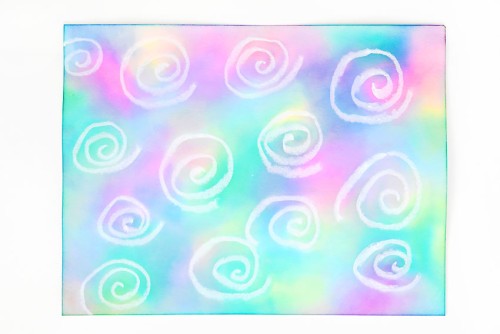
- Your tissue paper art is complete!
Video
Notes
Looking for more fun art projects? Here's a few of our favourites:
Cat Squeegee Painting
Glue Gun Art Flowers
Watercolor Printing Using Markers