
How to Make Pom Pom Easter Eggs
These pom pom Easter eggs are SO EASY to make and they're super cute and soft. A great Easter craft for all ages.
Yield: 1 Easter egg pom pom
Cost: $1
Equipment
Materials
- Worsted weight yarn (pastel colours)
Instructions
Step 1: Find what you need
- Gather your supplies and materials.

Step 2: Wrap the yarn around your hand
- Cut a 10 inch strand of yarn and place it between your middle and ring fingers.
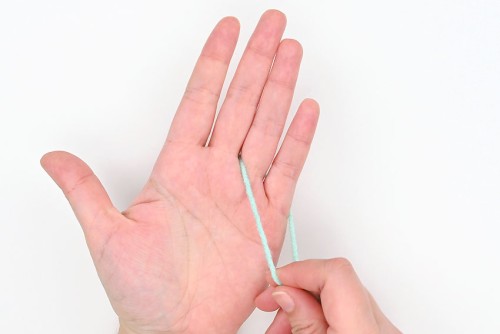
- Pull the yarn from the back of your hand to your palm and hold both ends with your thumb.
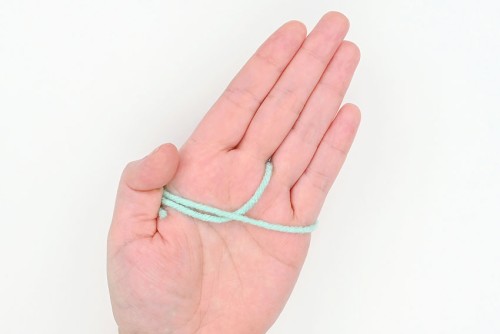
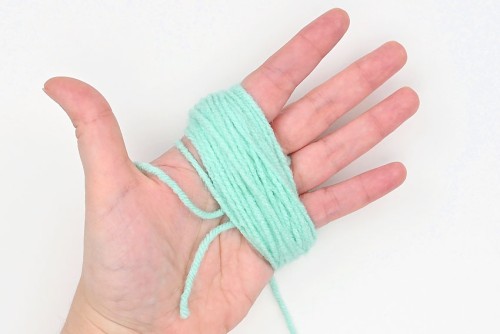
- Wrap the same colour of yarn (colour A) around your hand 50 times. Cut the yarn from the ball (you'll do this after every colour).After you've wrapped the yarn around a few times you don't have to hold the ends with your thumb anymore.
- Choose a second colour of yarn (colour B) to be the egg's stripes. Wrap this colour, beside the first, 25 times. Try not to overlap the colours.
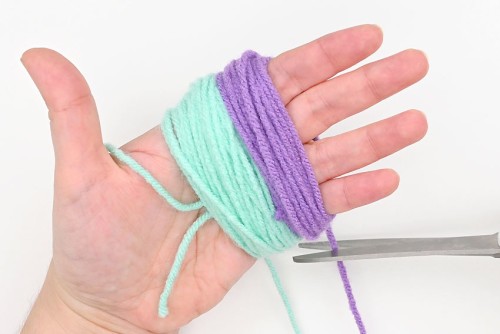
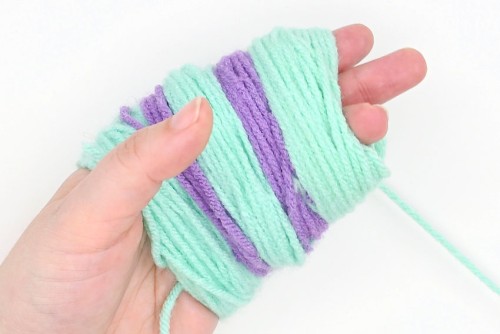
- Wrap colour A another 50 times.At this point you may want to push the yarn further down your hand to make room for more yarn.
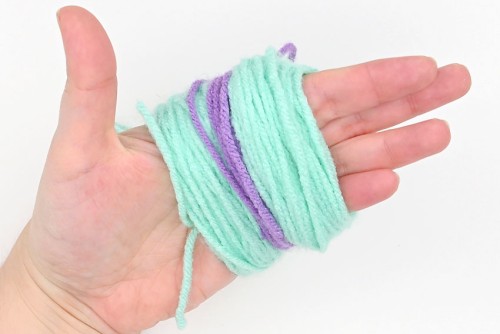
- Wrap colour B 25 more times, and then colour A for a final 50 times. There should be 200 wraps total.
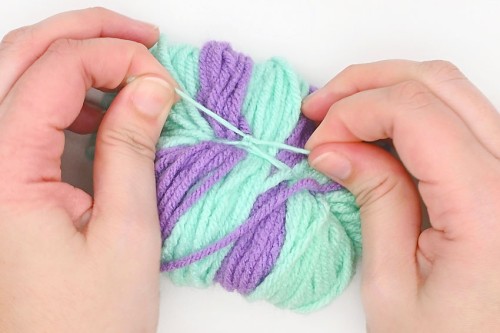
Step 3: Tie the yarn and cut the loops
- Slide one end of the 10 inch strand back to the front of your hand and loosely tie it around the yarn bundle.

- Slide the yarn off your hand carefully and tie the 10 inch strand in a double knot around the center of the bundle.
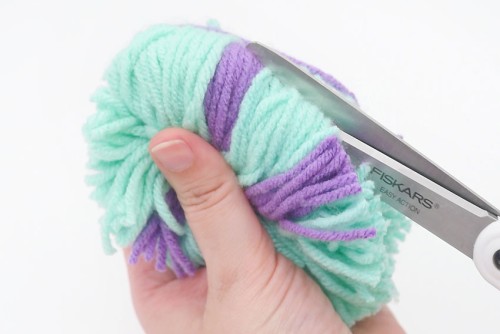
- Cut through the loops with fabric scissors, creating a rough pom pom shape.
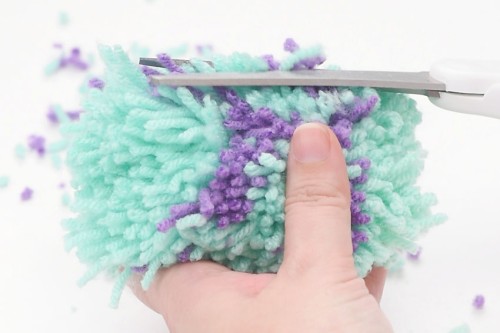
Step 4: Trim the pom pom
- Trim the pom pom to look like a cylinder.
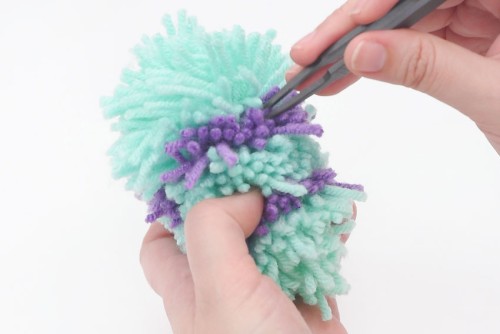
- Use tweezers to separate the yarn colours as best you can, creating the Easter egg's stripes.
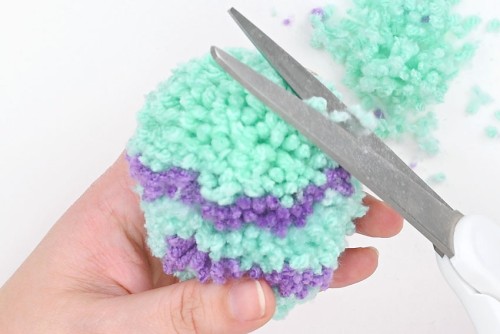
- Trim the center of the egg so that the yarn looks smooth and is equal lengths.

- Trim the top of the egg into a rounded point.

- Cut the bottom of the egg to be more rounded and flat.Make any final cuts and adjustments to even things out.
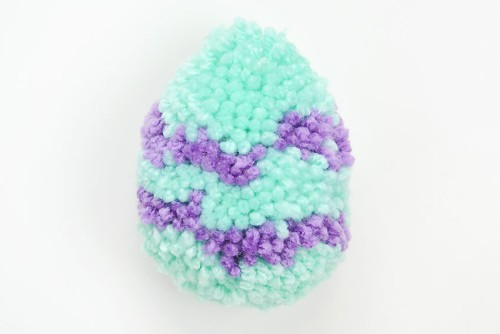
- Your pom pom Easter egg is complete!
Video
Notes
Looking for more Easter pom pom crafts? Here's a few of our favourites:
Pom Pom Chicks
How to Make Pom Pom Sheep
Pom Pom Bunny