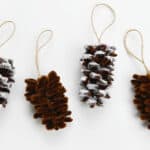
How to Make Pipe Cleaner Pine Cones
Have fun making this super unique pipe cleaner craft that doubles as DIY decor for fall, winter, or Christmas. These pipe cleaner pine cones are really fun to make, and there are so many creative ways to use them!
Yield: 1 pine cone ornament
Cost: $2
Instructions
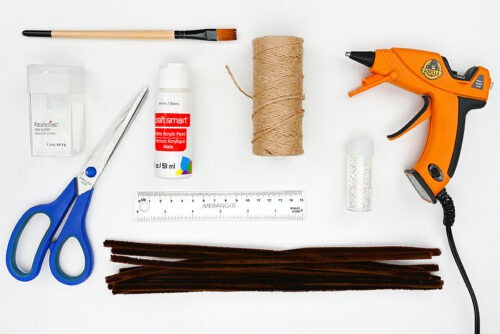
Step 1: Find what you need
- Gather your supplies and materials.
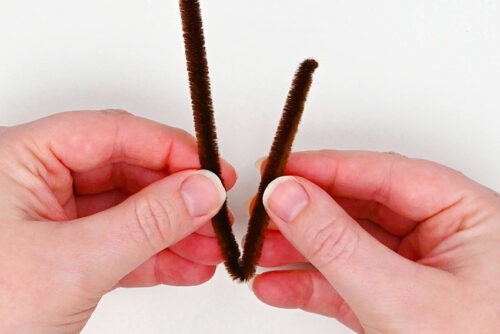
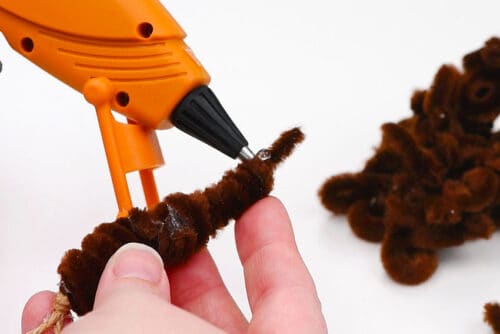
Step 2: Create the pine cone base
- Grab 5 brown pipe cleaners to create your pine cone base.

- Begin by folding 1 pipe cleaner so the short end is as tall as you'd like your pinecone to be.
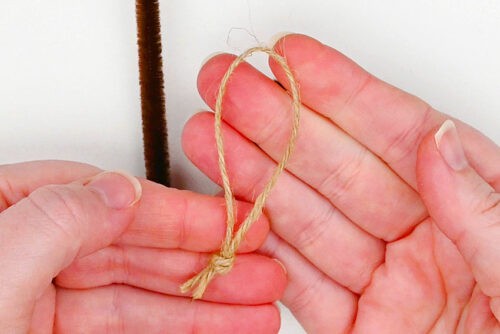
- If you'd like to make your pinecone into an ornament, cut a piece of twine about 8 inches long.
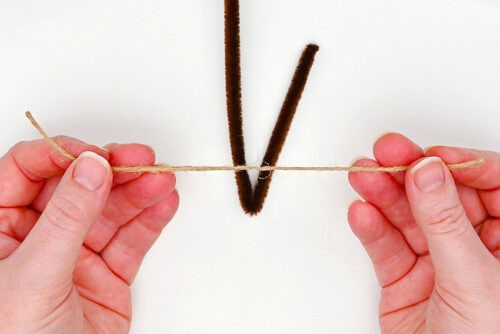
- Tie the twine into an ornament hanger.
- Use hot glue to attach the hanger to the fold of the pipe cleaner.
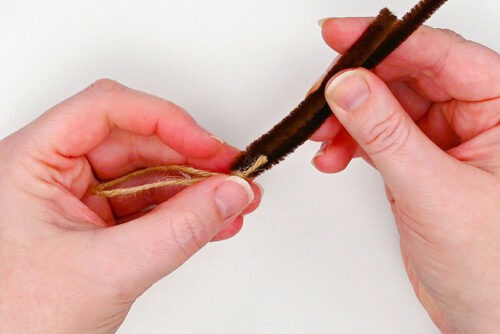
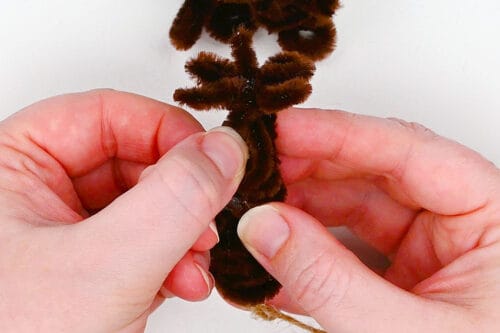
- Begin wrapping the long part of the pipe cleaner around the shorter section, leaving about 1/4 inch unwrapped at the top. Don't wrap too tightly.
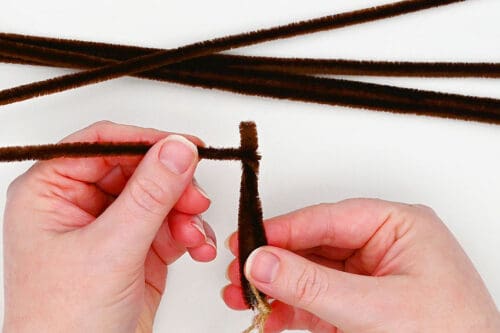
- Continue wrapping and secure the end with a dot of hot glue before connecting a second pipe cleaner.

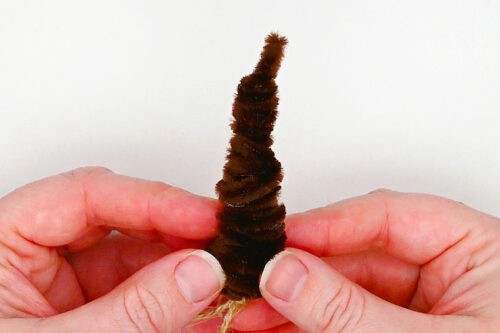
- Wrap this pipe cleaner around and repeat with the rest of the pipe cleaners. Concentrate the wraps at the bottom, so that the base is wider than the top.
Step 3: Make the "petals"
- Cut a 2 inch piece off a 12 inch brown pipe cleaner.
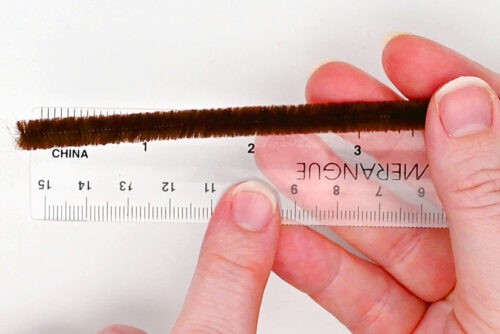
- Then use this piece to cut another section the same size.

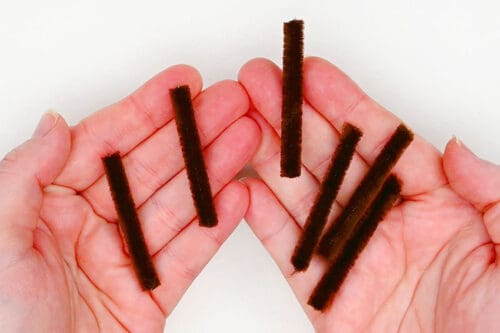
- Repeat until you've cut up the pipe cleaner into 6 sections, each 2 inches long.
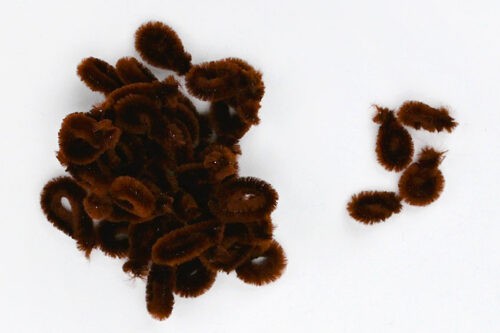
- Pick up one of the 2 inch sections. Fold one edge over the other, keeping the center part rounded.
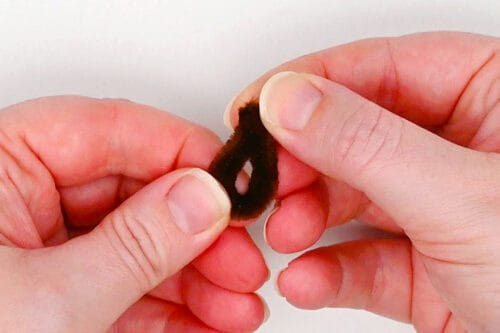
- Twist the ends together a couple times, creating one of the pine cone petals.
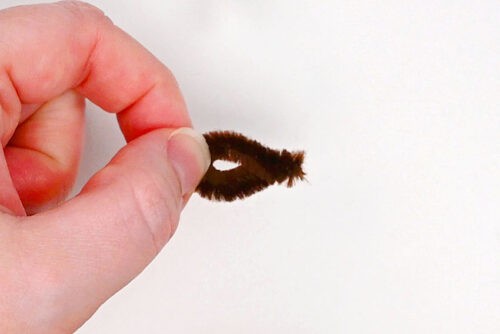
- Repeat with the rest of the pieces, and then make petals from another 7 pipe cleaners.
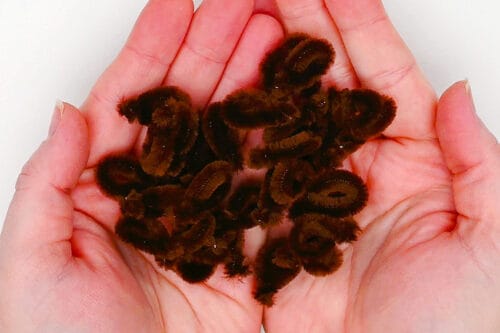
- Then cut 4 shorter pieces (about 1-1/2 inches long) and use the same technique to make petals from these.
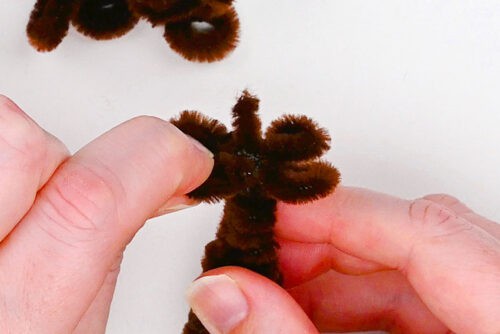
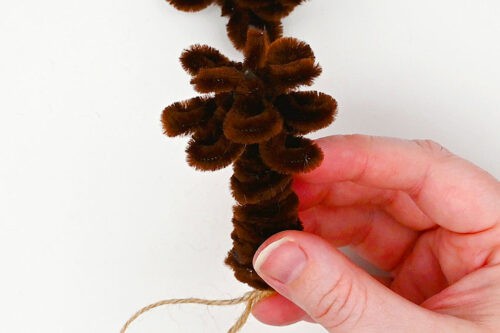
Step 4: Add the petals to the base
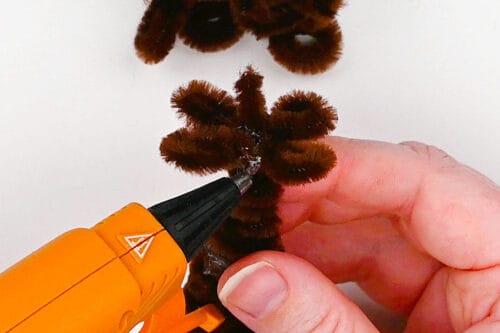
- Add a dot of hot glue to the top of the pine cone, just below the center stem.
- Place one of the smaller petals into the glue, so it's sticking up. Repeat with the other 3 small petals, placing them so they're evenly spaced (at north, east, south, west positions).
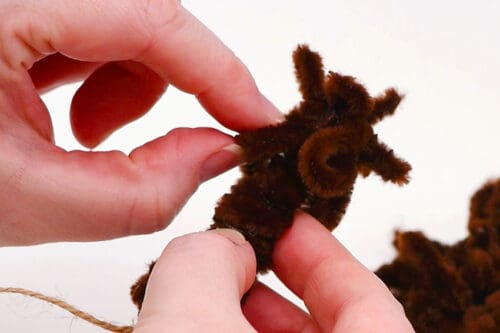
- Now we're going to add the rest of the petals. Begin by adding a dot of glue right between 2 of the first ones.
- Place a petal into the glue with the rounded side down.
- Repeat around, pushing the petals as far up as they'll go, so they're close to the previous row.
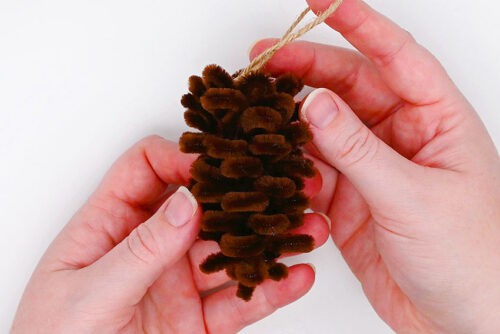
- Starting with the first petal you added in this row, bend the rounded part of the petals up.
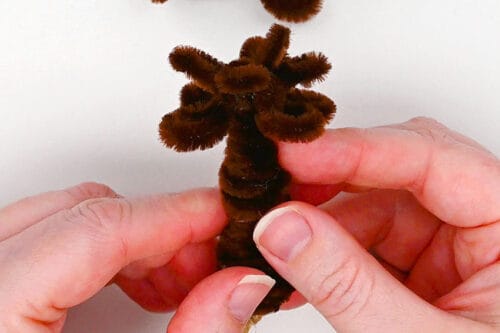
- Now it's all about repetition. Add petals in-between the petals of the last row, again pushing them as far up as you can. Bend the petals up so they're pointing outwards.
- Repeat until you reach the bottom of the pine cone. Shape the petals out until you're happy with the look.
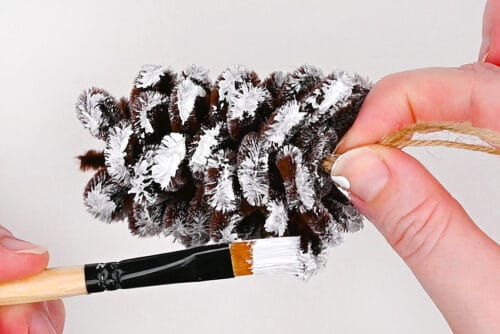
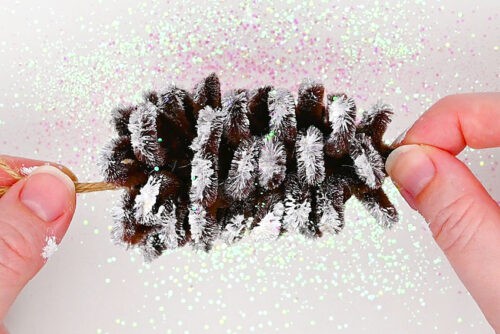
Step 5: "Frost" the pine cone (optional)
- Add white acrylic paint to the edges of the petals.
- Then sprinkle white iridescent glitter on top of the paint. Start with a fine glitter and then add a chunkier one.
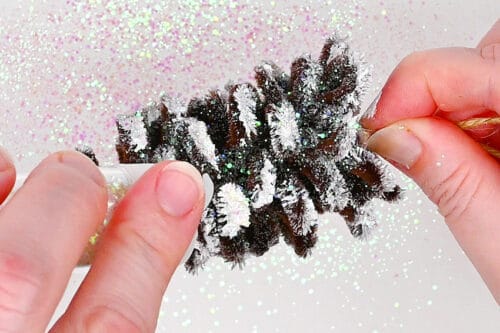
- Shake off the excess glitter and allow to dry.
- Your pipe cleaner pine cone ornament is complete!
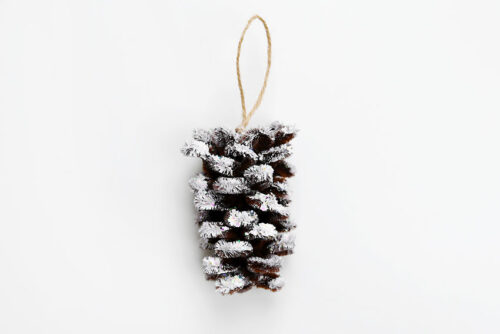
- Have fun making a whole set of DIY ornaments, painting some with "snow" and leaving others natural.Or, keep reading below for how to make different styles of pipe cleaner pine cone decorations!

Notes
Looking for more pipe cleaner crafts? Here's a few of our favourites:
Pipe Cleaner Christmas Tree
Beaded Pipe Cleaner Snowflakes
Pipe Cleaner Poinsettia Ornament