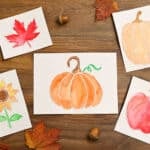
How to Make Fall Glue Gun Art
Use a hot glue gun, watercolour paint, and our free printable templates to make this fall glue gun art. This autumn craft is simple but super satisfying to make. Follow our step-by-step instructions below!
Yield: 1 fall glue gun painting
Cost: $1
Equipment
Materials
- Free Printable Pumpkin Template (more templates linked below)
- Watercolor paper
- Pencil
- Watercolor paints
- Water
Instructions
Step 1: Find what you need
- Gather your supplies and materials.
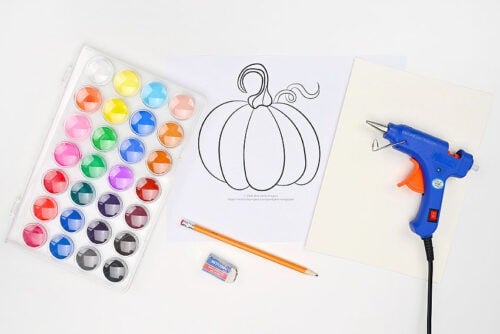
Step 2: Trace the template
- Print one of our free fall templates. There's a link to our pumpkin outlines in the materials list above, with more links and details below the tutorial.
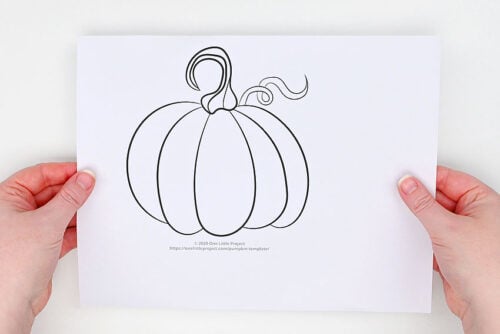
- To make your fall glue gun art you'll want to use watercolour paper. You can fill a whole sheet with smaller pictures or cut a piece to fit 1 outline.
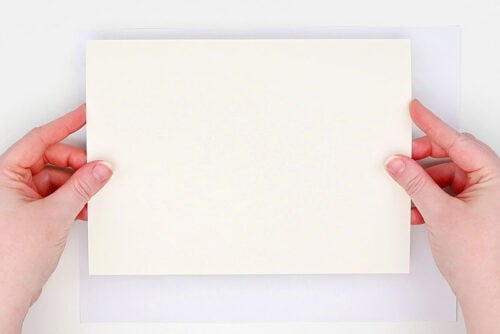
- Next place the template on a well lit window and hold the watercolour paper on top.Trace the shape lightly with a pencil. (You can also use a light board to do your tracing, like you would use for diamond art.)
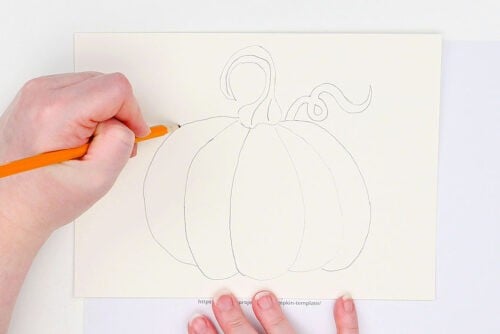
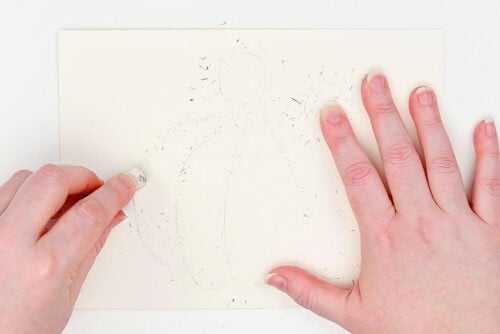
- Now you'll want to partially erase the lines you've made. Don't erase them all the way (you still want to see them), but erase them enough so that they're very light.
Step 3: Make glue outline
- Use a hot glue gun to trace over the lines of the template with hot glue.For the smoothest lines, keep the glue gun going for as long as possible, moving it constantly to follow the shape of the picture.
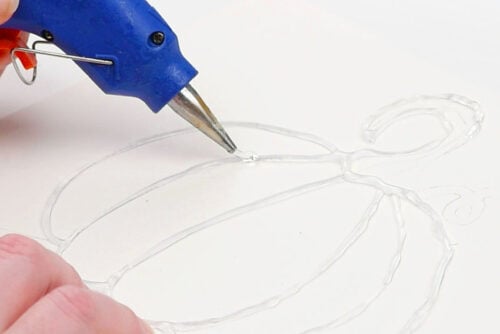
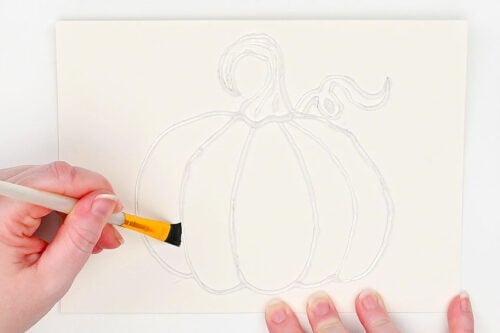
- Optional: Use a dry paintbrush to remove the glue strings.
Step 4: Paint inside the lines
- To add colour to your picture, use watercolour paint. You can use a palette like this, or liquid watercolours.
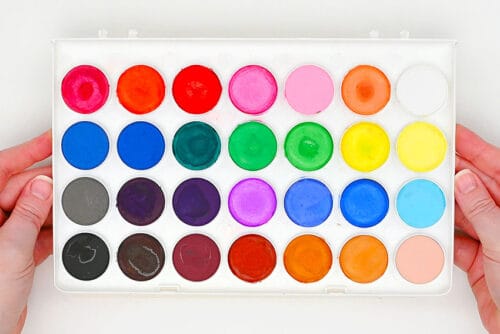
- Begin adding paint to the first section of your paper. The raised glue lines make it easy to keep paint contained to one area.
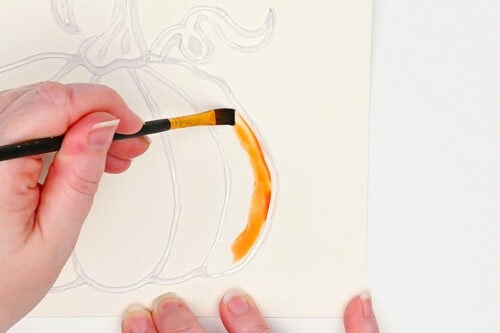
- Dip your brush in water and add drops to the page to spread the paint and create a lighter shade.
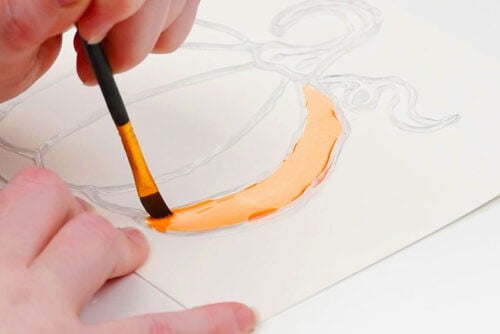
- Continue to fill in your fall shape. Use the tip of the paintbrush to get right up against the glue lines.
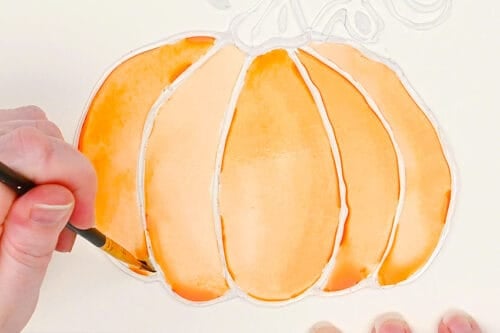
- You can also add a different shade or complementary colour of paint to create shading or blending.
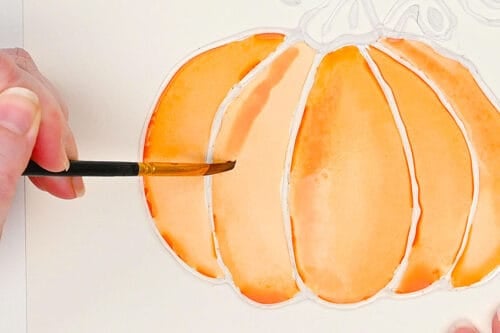
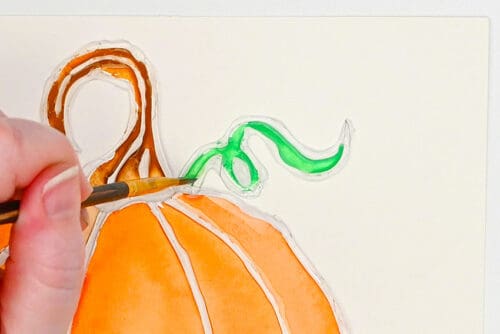
- Continue to add paint, filling in all parts of the picture. We used a couple different shades to get a brown stem and then used green paint on the vines.
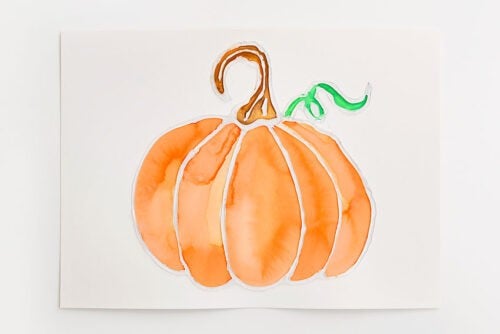
- Your fall glue gun art is complete!
Video
Notes
Looking for more glue gun crafts? Here's a few of our favourites:
Hot Glue Heart Embroidery
Glue Gun Art Flowers
Painted Hot Glue Pumpkin