
How to Make a Twine Bunny
Learn how to make this super cute twine bunny craft! It's a fun Easter craft for both kids and adults and it's SO EASY to make!
Yield: 1 twine bunny
Cost: $2
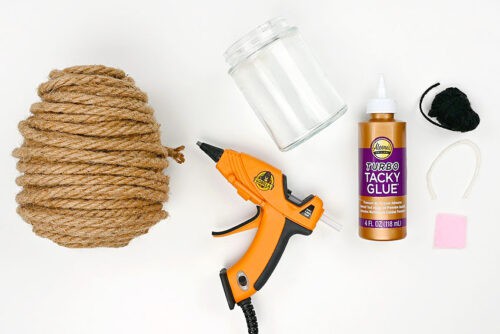
Materials
Instructions
Step 1: Find what you need
- Gather your supplies and materials.
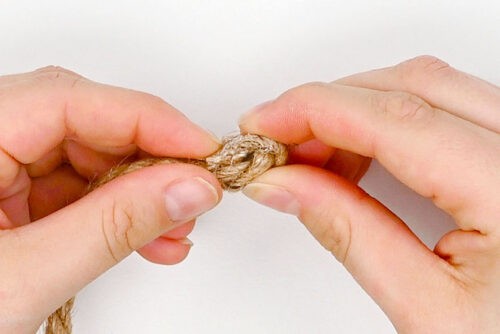
Step 2: Make the base of the bunny
- Add a dot of hot glue to the end of the twine.

- Roll the twine into itself, doubling over the end with the glue.
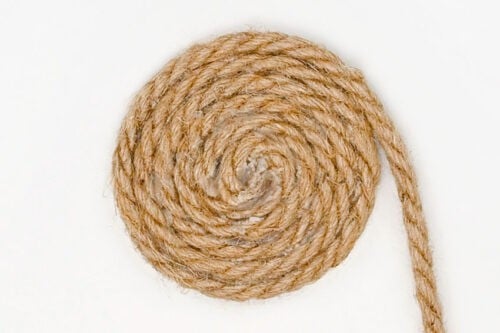
- Add about an inch of hot glue to the twine and roll it into itself again.

- Continue gluing and rolling until you have a spiral that's just bigger than the base of your mason jar.
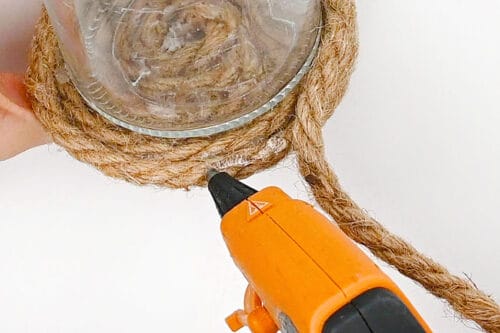
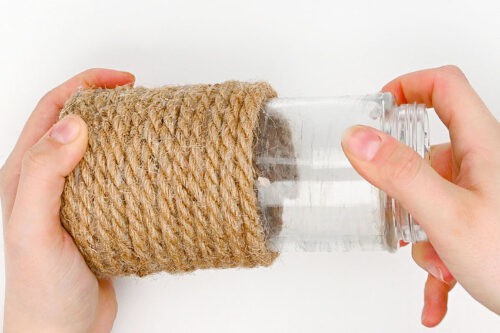
Step 3: Add the walls of the "basket"
- Set the mason jar on top of the twine circle, centering it. Then add glue on top of the outside layer of twine.
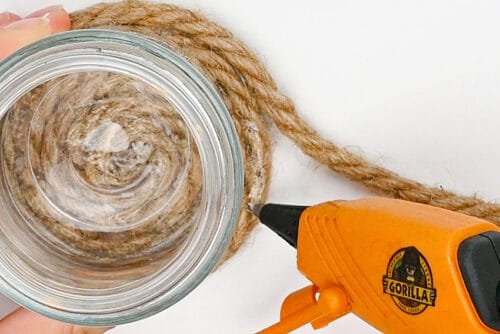
- Add the twine into the glue, using the jar as a guide to keep it straight.You'll wrap the twine around the jar, but not to the jar. The mason jar will be removed later.
- Working in small 2 inch sections, wrap the twine upwards around the jar. Be careful not to get glue on the jar.
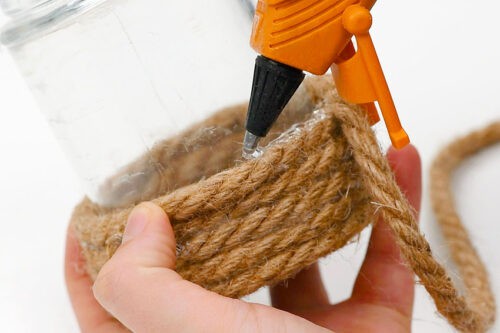
- Continue wrapping up and around the jar until you reach the top. Then cut the twine from the roll.
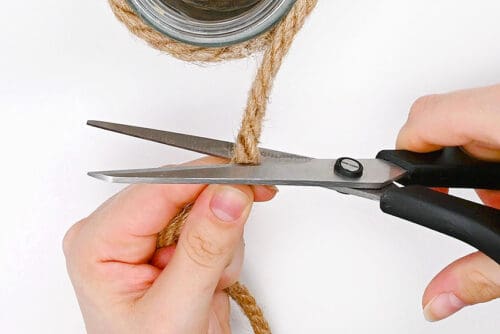
- Add more glue and press the twine end down into it. Hold it in place for a minute so it stays nice and secure.
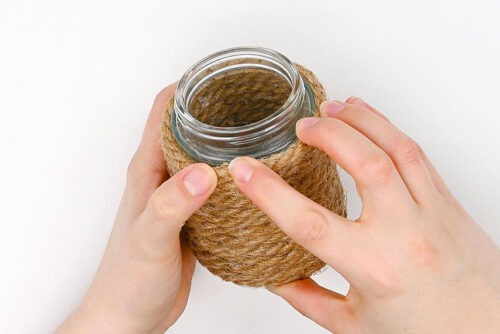
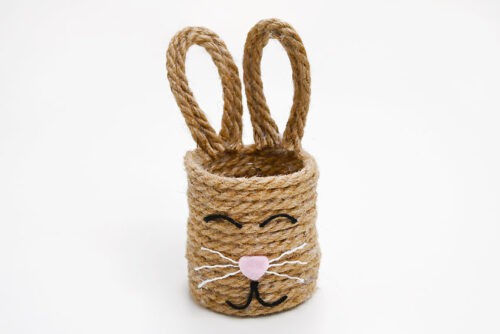
- Now remove the mason jar. You may need to twist it a bit to loosen it.
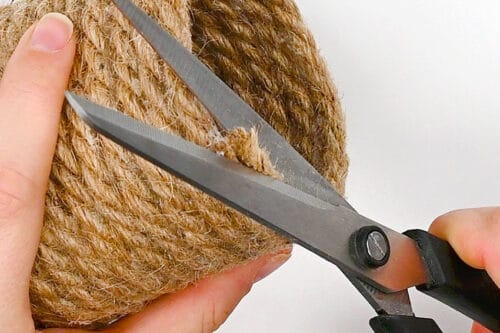
- Then trim down the twine end on an angle to make it blend in more with the top of the pencil holder.
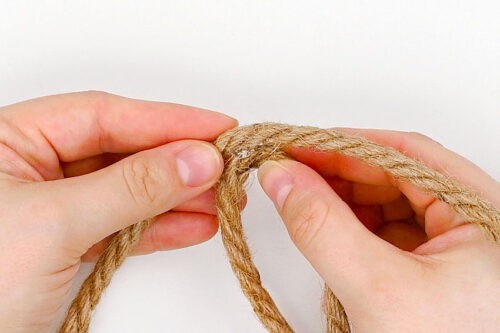
Step 4: Add ears to the bunny
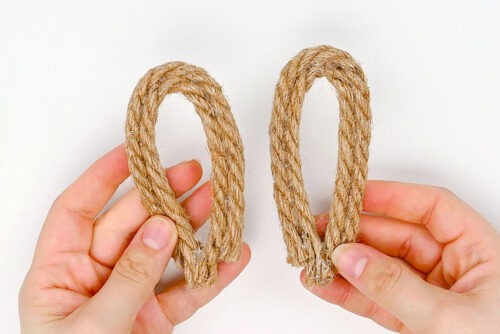
- Cut two pieces of twine about 6 inches long.

- Grab one piece and glue the ends together, creating a loop.

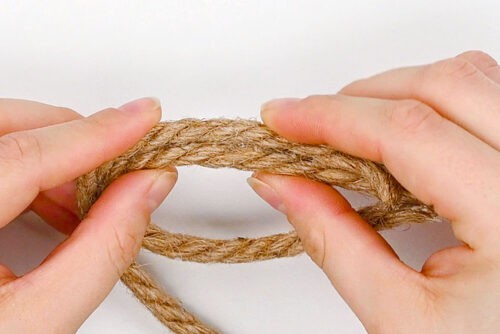
- Add hot glue to the middle of the second piece of twine. Attach this to the top center of the looped piece.
- Glue the second piece so it's attached all along the outsides of the loop, creating the bunny's ear.
- Repeat to make a second bunny ear.
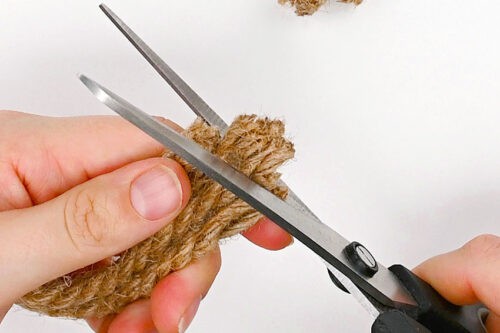
- Trim down the excess twine at the bottom middle of the ears, making them flat and even.
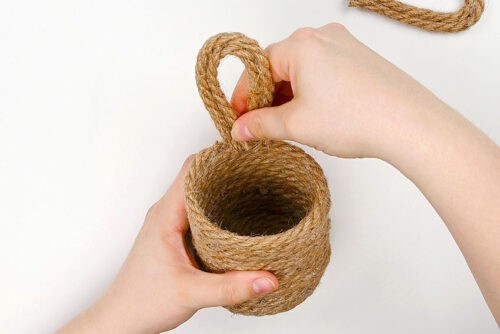
- Add a generous amount of hot glue to the flat bottom of an ear. Attach it to the rim of the pencil holder.
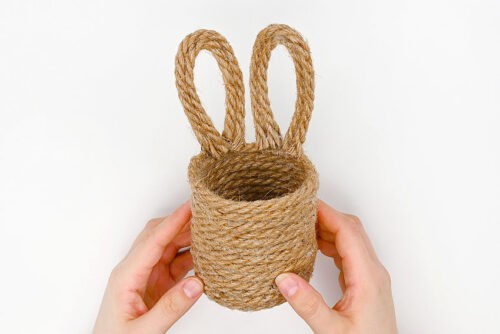
- Glue the second ear next to the first, spacing them about 1/2 inch apart.
Step 5: Add a bunny face
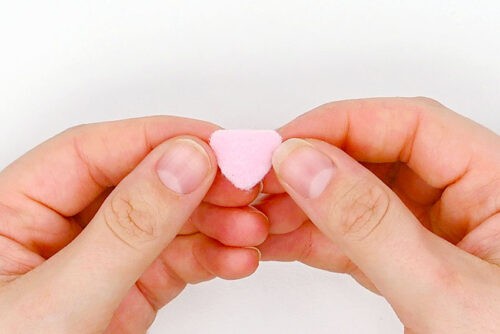
- Cut a rounded triangle from pink felt about 3/4 inch across. This will be the bunny's nose.
- From white cotton yarn (or macrame cord), cut a 4 inch piece.
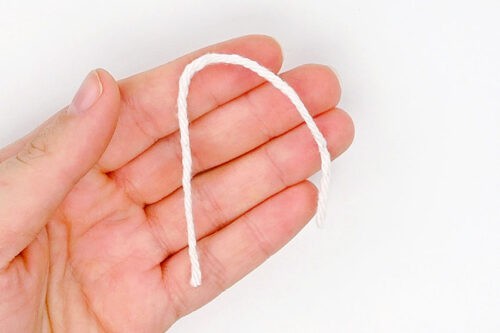
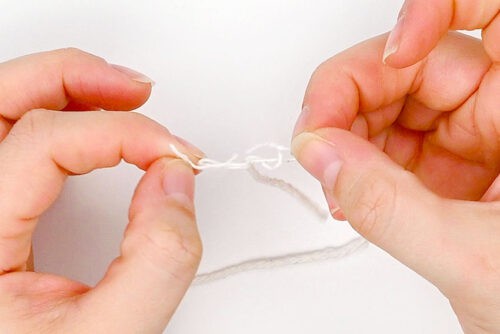
- Cut the yarn in half (creating two 2 inch pieces) and then separate the strands of yarn. This should give you 6 thin pieces.
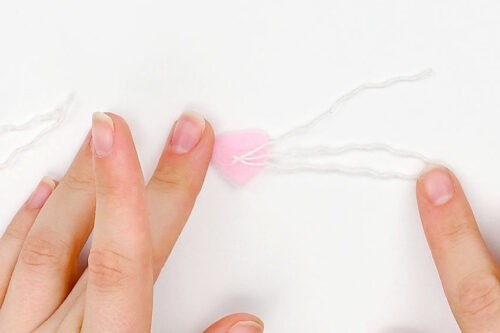
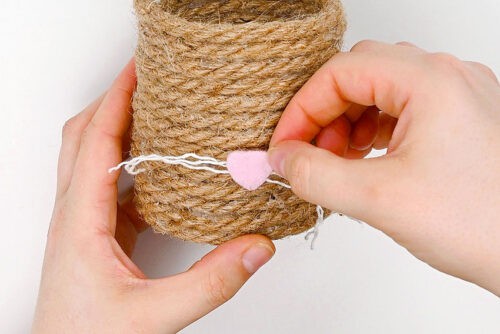
- Add hot glue to the middle of the nose and attach the yarn pieces as whiskers. There should be 3 on each side -- 1 in the middle going straight out, and 2 on either side at about a 45 degree angle.
- Add glue to the back of the nose (the side where the whiskers are attached) and place it on the basket, on the side opposite the ears, about 1/3 of the way up.
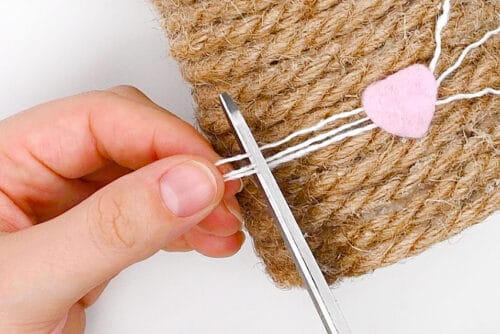
- Once the nose is attached, trim the whiskers down so they're even.
- Cut a 1 inch piece of black yarn. Add tacky glue to the yarn and attach it below the nose, shaping it into a curved line that slopes down and out from the center.
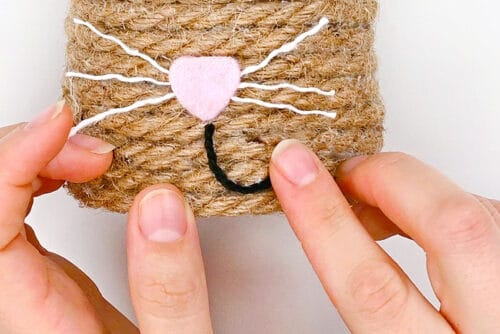
- Repeat on the other side, attaching another curved piece of yarn to mirror the first. This completes the bunny’s mouth.
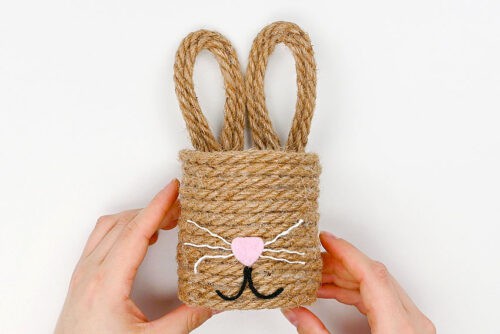
- Cut 2 more 1 inch pieces of black yarn. Glue them above the nose in curved lines (an upside-down smile shape) to look like closed eyes .
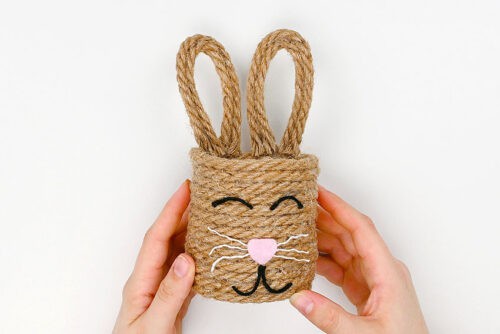
- Your twine bunny craft is complete!
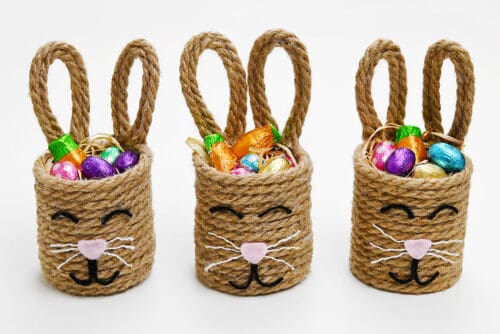
- Have fun making more bunnies and using them as Easter baskets, spring decor, or even pencil holders!
Notes
Looking for more twine crafts? Here's a few of our favourites:
Easy Jute Coasters
DIY String Christmas Tree
Twine Ball Ornaments