
How to Make a Pom Pom Dog
Have fun making a super cute pom pom dog! All you need is some yarn and a few other simple craft supplies to make this fun dog craft. Perfect for older kids and tweens, you can follow our step-by-step tutorial to make your own pom pom pups.
Yield: 1 pom pom dog
Cost: $1
Equipment
- Latch hook tool (optional)
- Toothpick (optional)
Materials
- Worsted weight yarn (dog colour)
- Felt (to match yarn & pink)
- Craft foam sheets (black)
- Round black beads (6mm)
Instructions
Step 1: Find what you need
- Gather your supplies and materials.
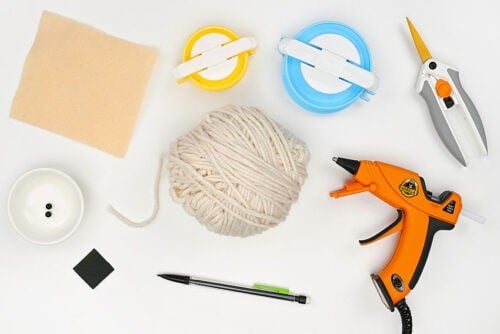
Step 2: Make the body pom pom
- Wrap the yarn around half of a 3-1/4 inch pom pom maker until it's full.
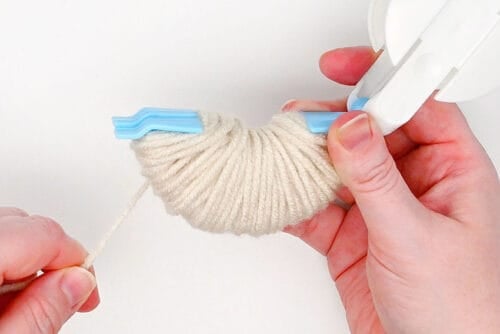
- Cut the yarn and secure the yarn end.We used a latch hook tool, but you can also use a crochet hook or even the end of your scissors to tuck it in.
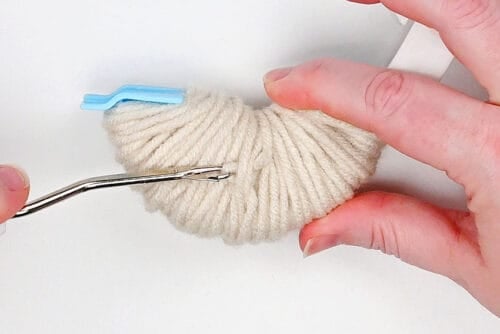
- Repeat, filling the other half of the pom pom maker with the same colour of yarn.How full you wrap the pom pom maker will determine the size of your dog's body. So if you want a leaner dog, don't wrap as many times.
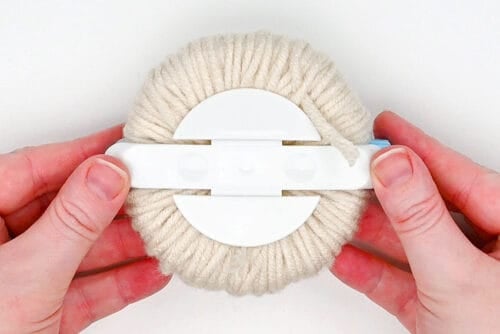
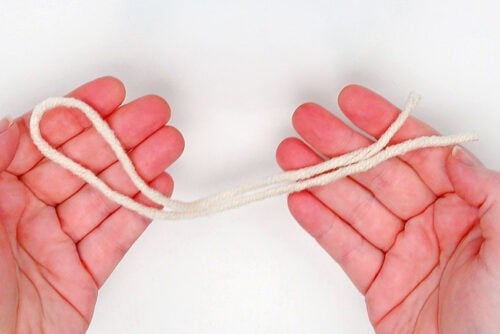
- Cut an 18 inch piece of yarn (one long enough to wrap around the pom pom maker a couple times).
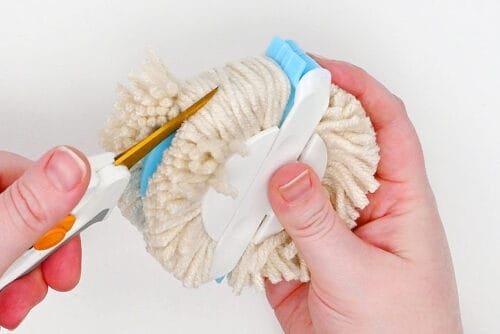
- Slide sharp scissors into the gap between the two sides of the pom pom maker and cut through the middle of the yarn.
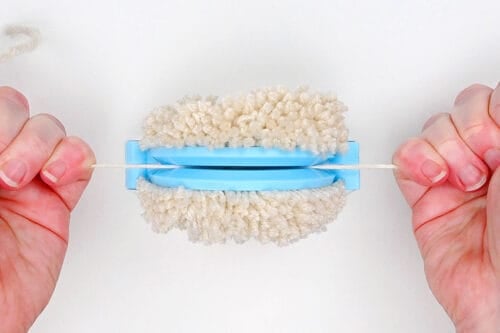
- Insert the yarn piece into the center of the pom pom maker (where you just cut). Wrap it around the maker a couple times and secure it with a double knot.
- Unlatch the maker and remove the pom pom.
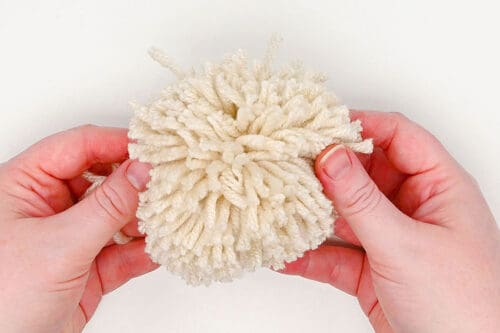
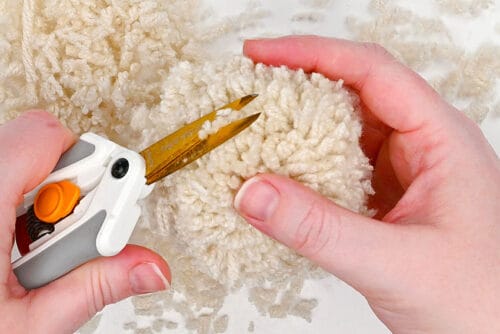
- Use sharp scissors to give the pom pom a “haircut”, trimming it down into an oval.Make sure to save a few of the smaller yarn scraps for later.
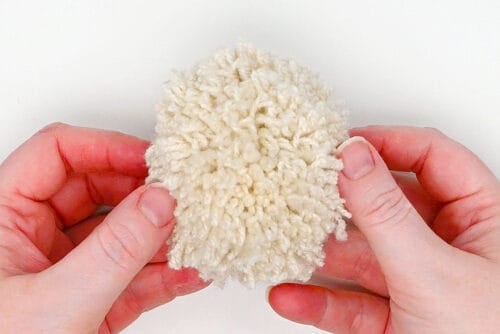
- Here's what your pom pom should look like. It's okay if it's still a bit shaggy in places -- you can trim more later.
Step 3: Make the head pom pom
- Wrap a 2-1/4 inch pom pom maker with the same colour of yarn.
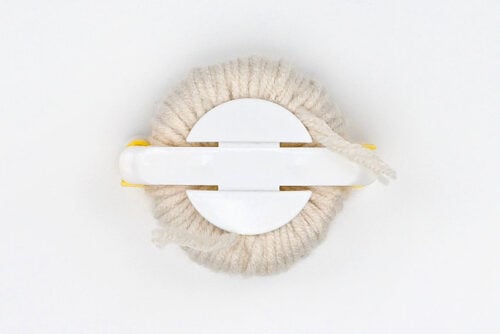
- Follow the same steps above and remove your pom pom from the maker.
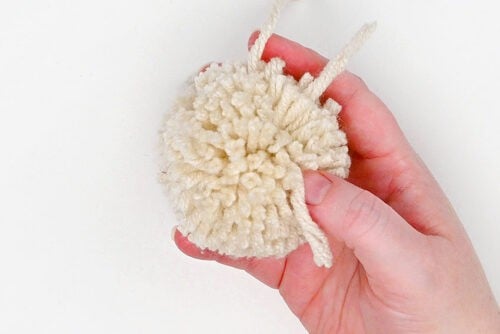
- This time as you trim the pom pom you should grab onto a section of the yarn and keep it long.
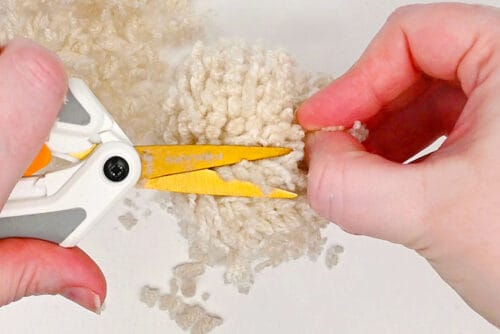
- Trim the pom pom down and make the long section into the dog's muzzle. To do this you'll want to shape the longer section so it's rounded, and trim away excess yarn around it -- especially where the eyes will sit.
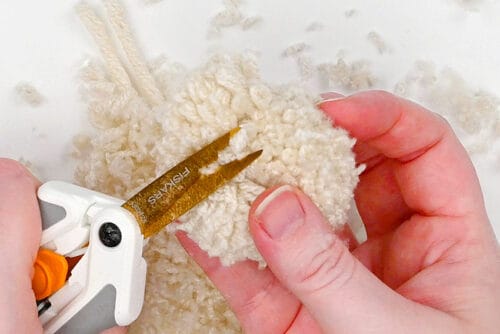
- Here's what our pom pom looks like from the top.
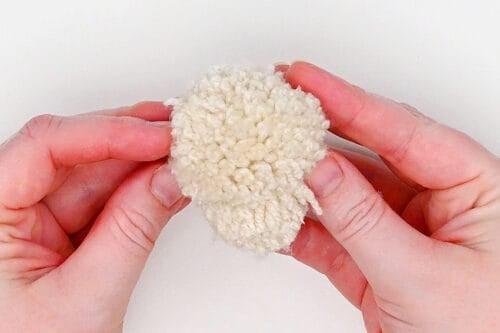
Step 4: Make the leg pom poms
- To make one of the dog's legs, wrap the yarn around 2 fingers about 15 times.
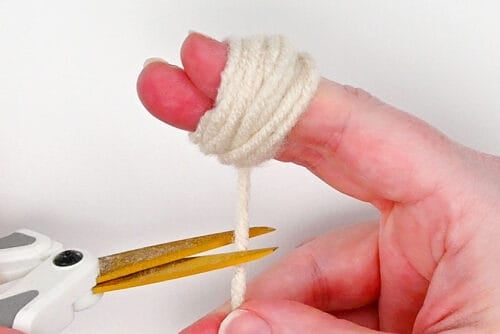
- Slide a piece of yarn between your fingers and tie it loosely to secure the bundle.
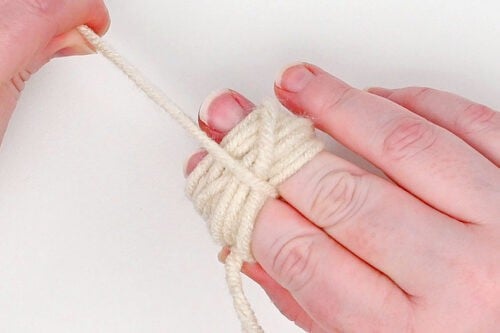
- Then you can remove the yarn from your fingers and tie the yarn into a double knot.
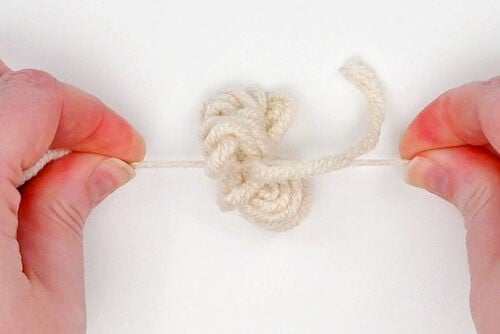
- Repeat, making 3 more bundles the same size.
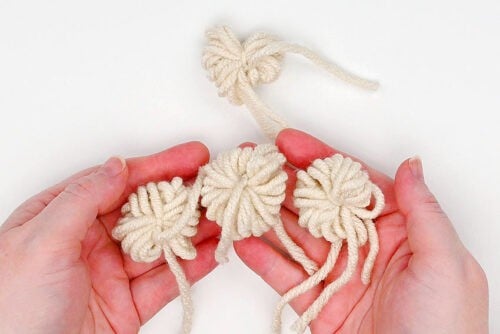
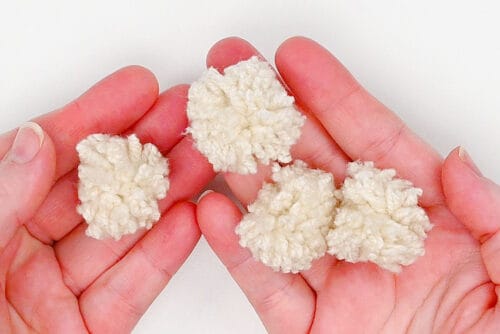
- Cut between the loops of yarn and trim them down to make little legs.You'll want the end that connects to the body to be fairly flat, and the bottom to be gently rounded.
Step 5: Make the tail pom pom
- For the tail, wrap yarn 10 times around 1 finger. Secure the bundle and then repeat, making 2 more.
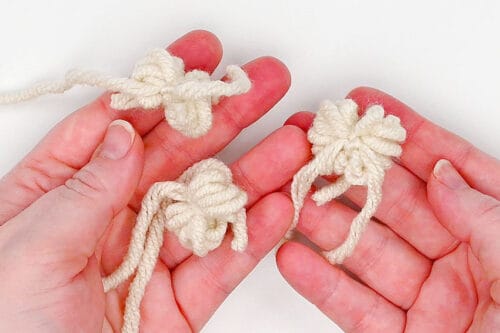
- Use the tails to tie the 3 bundles together, one on top of another.
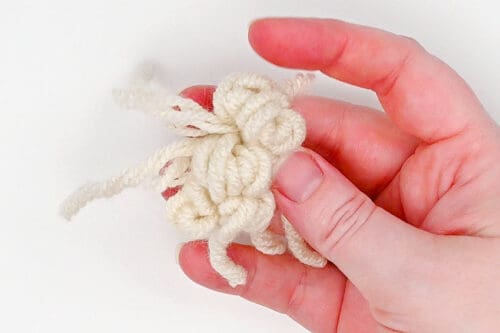
- Cut the loops and then trim the pom pom into a tail that's thinner on one end and comes to a bit of a point.
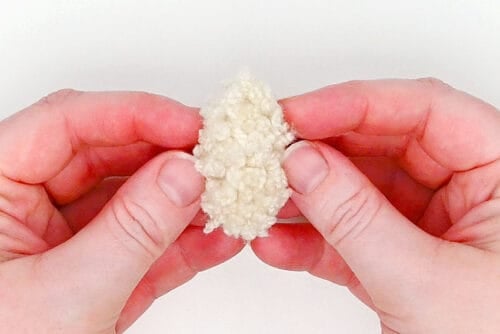
Step 6: Make the ears, nose, and tongue
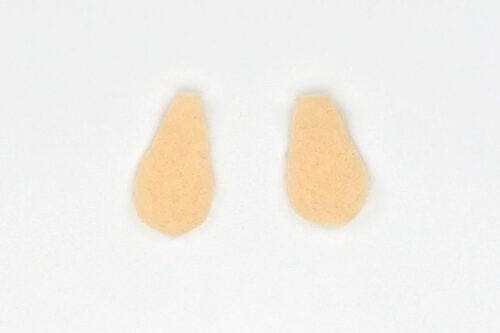
- Cut 2 ears from a piece of felt that matches your yarn colour.
- Then add hot glue or tacky glue onto the ear.
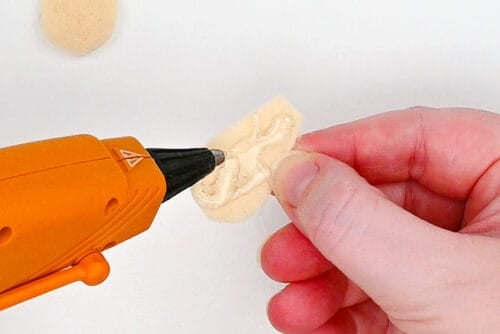
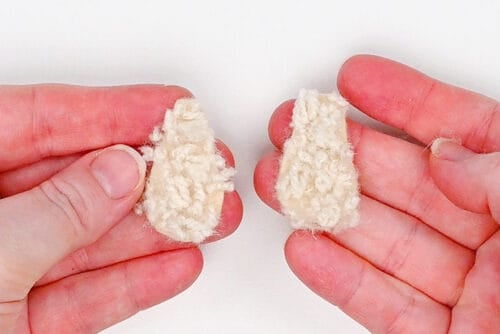
- Attach pom pom trimmings into the glue. Repeat for the second ear.(It looks better if the pieces you add are the really fine bits. We actually re-did the ears later so they looked more like fur.)
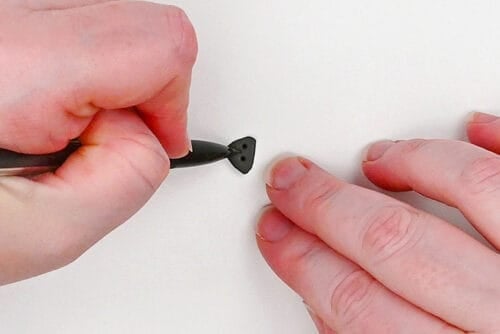
- Next, cut a nose from black craft foam. Use the end of a pencil to create nostril dents and a line down the center of the nose.
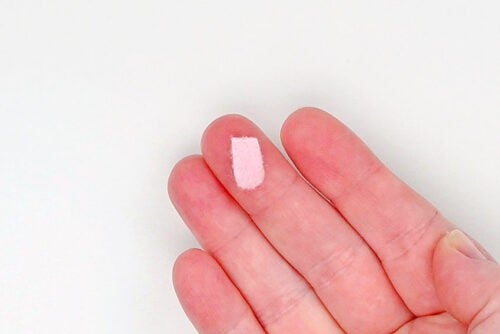
- Finally, cut a little tongue from pink felt.
Step 7: Assemble the pom pom dog
- Here are all the pieces you'll need to make your dog.(Minus the tongue! We forgot to add it here.)
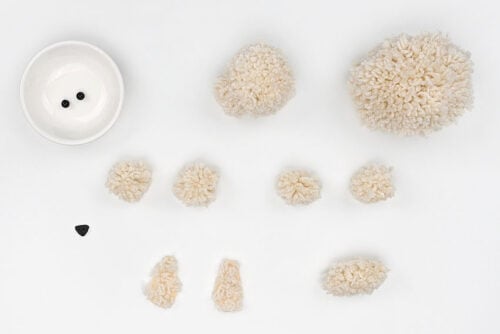
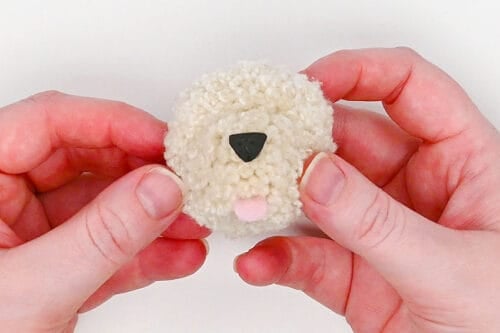
- Use hot glue to attach the nose near the top front of the snout. Then use a pencil or scissors to create a little "trench" in the yarn for the tongue. Glue it in place, pressing the yarn back together around it.
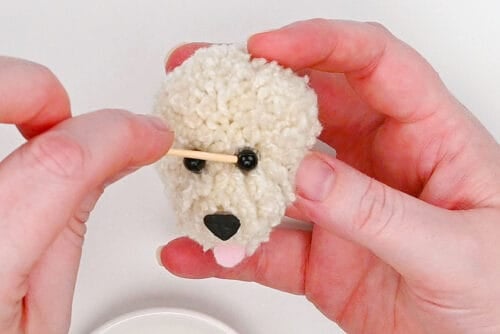
- Glue black beads above the snout for the dog's eyes.We found it helpful to pick up the beads with a toothpick to set them in place.
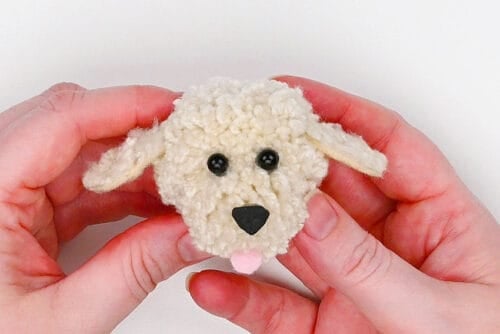
- Create little trenches on either side of the head, near the top, and glue the ears in place.
- Attach the head to the top front of the body and then glue the legs to the bottom of the body.Once the legs are glued in place you might want to trim the stomach down more so the legs show up better.
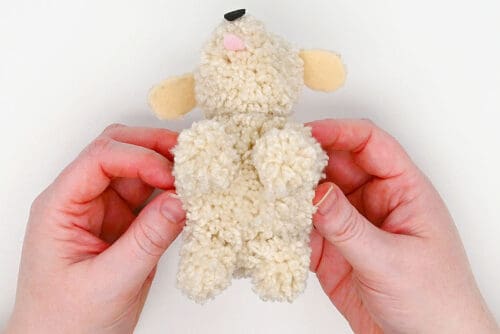
- Finally, glue the tail to the back of the body.
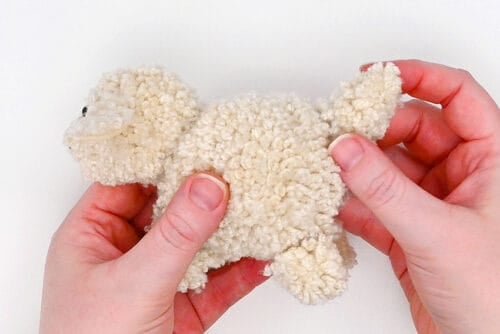
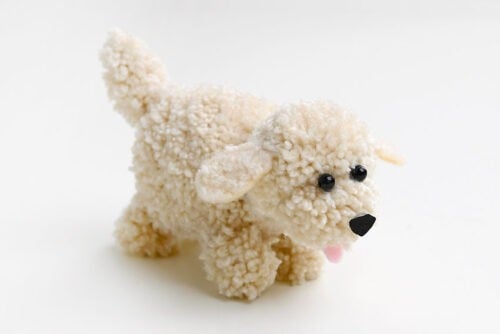
- Your pom pom dog is complete!
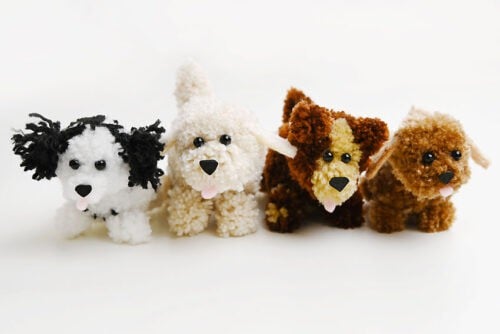
- Now have fun making all kinds of different pom pom pups. Keep reading below for more details!
Video
Notes
Looking for more dog crafts? Here's a few of our favourites:
Pipe Cleaner Dog
Perler Bead Dog
Dog Coloring Pages