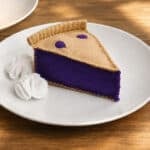
How to Make a Felt Pie Slice
These felt pie slices are truly adorable! Create your own felt pie with a "whipped cream" finish or a top crust. These soft toys are perfect for kids in their pretend play kitchens, and they're really easy to make using our printable pattern.
Yield: 1 felt pie slice
Cost: $1
Equipment
Materials
- Free Printable Felt Pie Pattern
- Felt (tan, filling colour, white)
- Sewing thread (or embroidery floss)
- Polyester fiber fill
Instructions
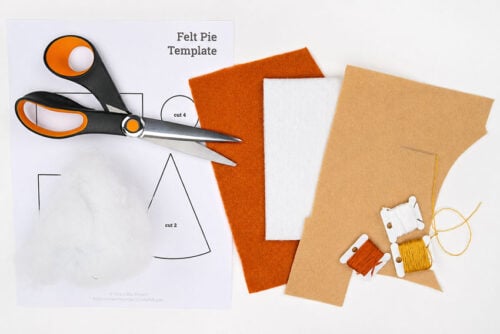
Step 1: Find what you need
- Gather your supplies and materials.
Step 2: Cut out the felt pieces
- Print our felt pie template (find the pattern link in the materials list above!) and cut out the pieces.
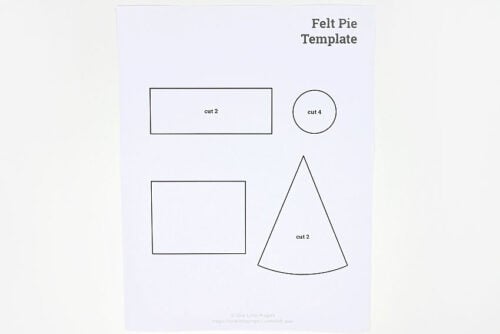
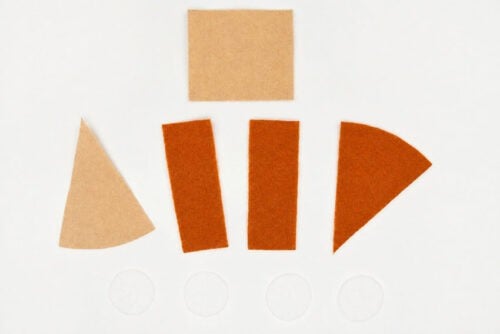
- Use the template pieces to cut out the felt pieces.Cut 1 triangle from the pie filling colour (pumpkin colour, here) and another in the crust colour. Cut the 2 rectangles from the filling colour, the square in the crust colour, and 4 circles in white.
Step 3: Sew the filling together
- Place 1 rectangle on top of the other, holding them together and especially lining up 1 end. These will be the sides of the pie slice.
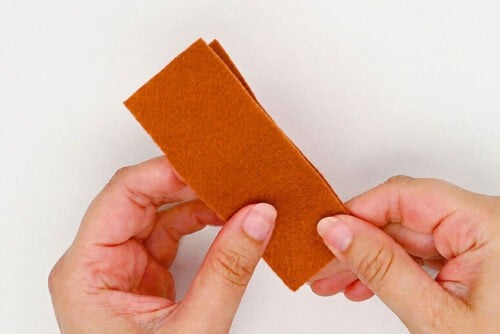
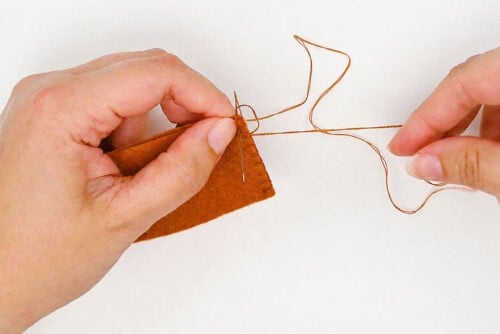
- Sew these short ends together with a blanket stitch.First tie a knot to connect the two pieces. Then bring the needle up about 1/8 inch away from the previous stitch. Before bringing the needle all the way through, wrap the thread around the needle. Repeat across.
- Where you've sewn the pieces together will be the point of the pie slice.
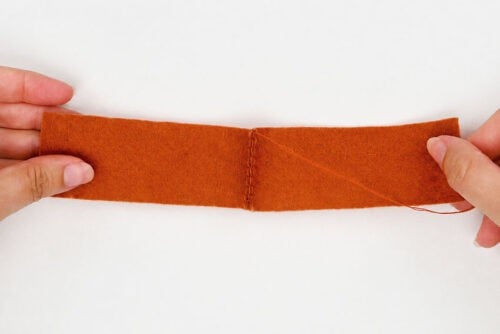
- Now you'll want to sew the filling triangle to the sides. Line up the point of the triangle to the part you've just sewn.

- Use a blanket stitch to connect this piece to both sides.
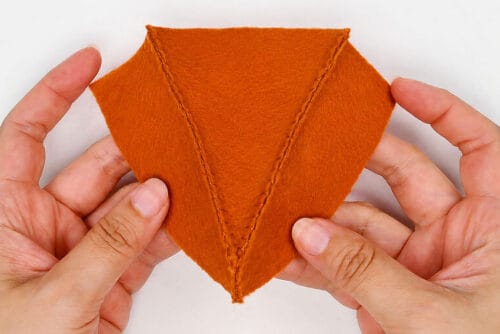
Step 4: Add the crust
- Roll one edge of square down so the unfolded part matches the height of the pie.
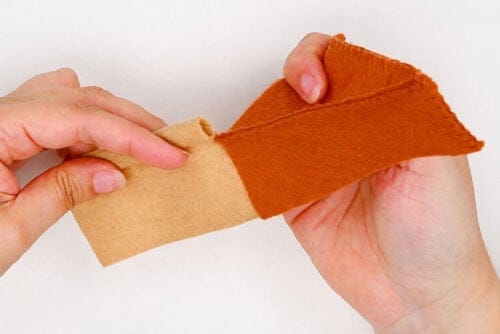
- Sew the folded edge in place, going around and around with the thread, to represent the crimped pie crust.
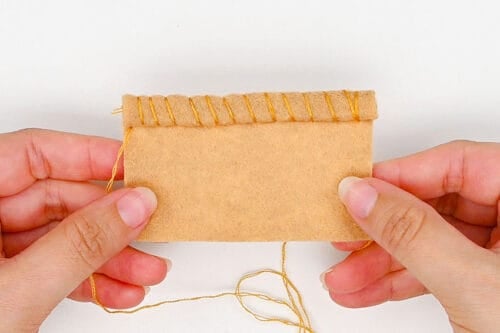
- Attach one side of this back crust to a side of the pie, ensuring that the folded edge is at the top.
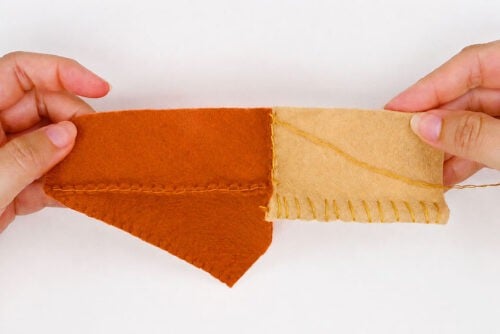
- Sew the pie crust triangle so it's connected to both bottom edges of the pie filling.
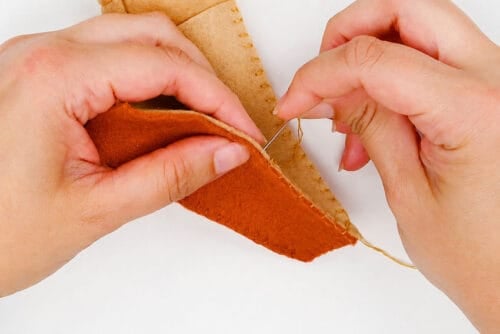
- Then sew the other side of the back crust to the end of the filling
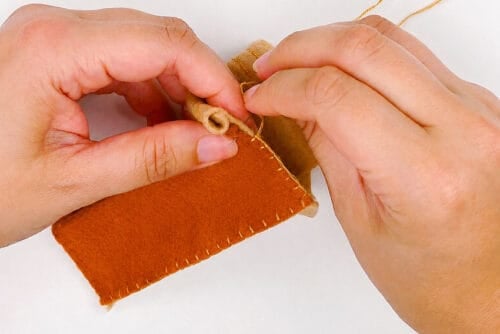
- Finally, sew the top of the filling to the back crust, below the crimping.
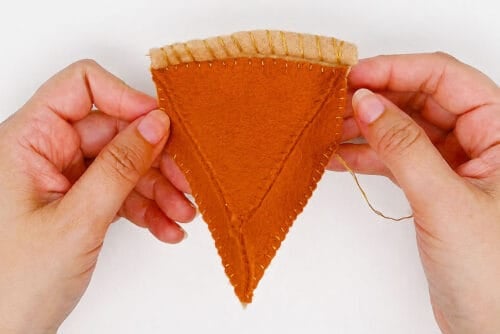
Step 5: Stuff the pie
- Add poly-fil stuffing into the pie until you're happy with the firmness or softness.

- Sew the last opening closed.
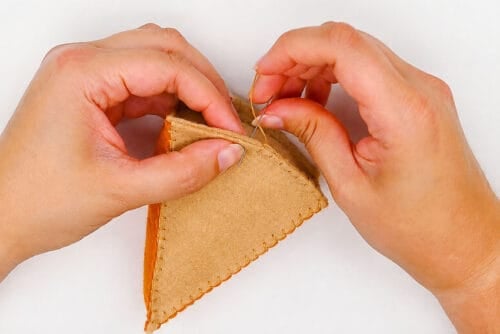
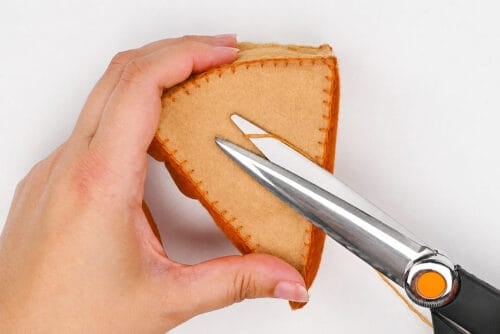
- Finish off the last thread by bringing the needle up through the middle of pie. Cut the thread close to the felt and then wiggle the felt around to hide the thread inside.
Step 6: Add the whipped cream
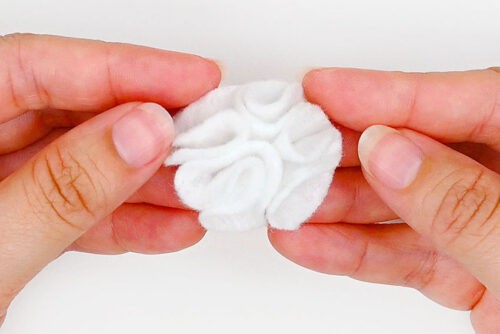
- Fold one of the white felt circles in half, and then in half again.
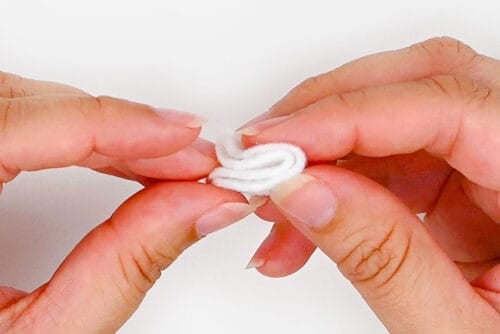
- Sew through the fold several times to secure it in place.
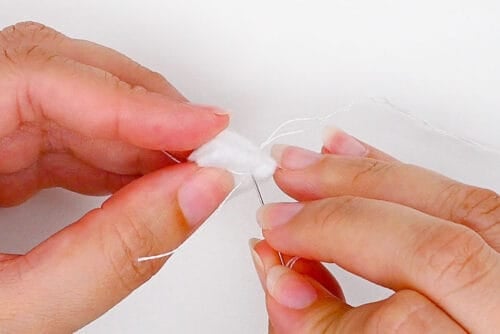
- Fold a second circle the same way. Sew it to the first circle so that they're beside each other, with the folded ends beside each other.
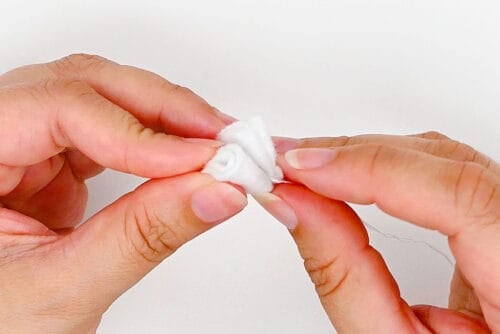
- Fold and sew the last 2 circles to the first ones, placing them so that these folded sides touch the first folds (so the folds are towards the inside of the bundle).
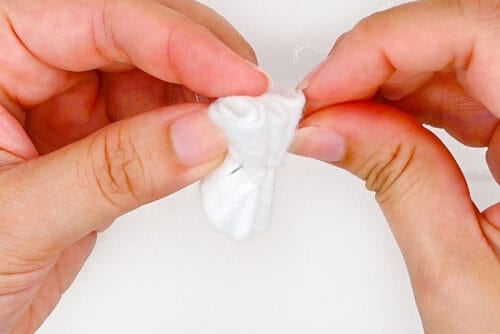
- Tie the 2 thread ends together in a double knot. Fluff the felt so it looks like a nice dollop of whipped cream.
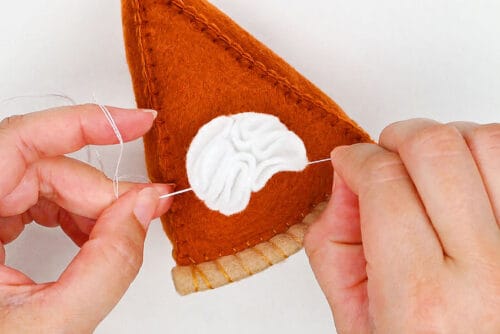
- Sew the whipped cream to the top of the pie. You can sew the thread through the top of the pie, attach the bottom of the whipped cream and then tie both ends of the thread together to secure it
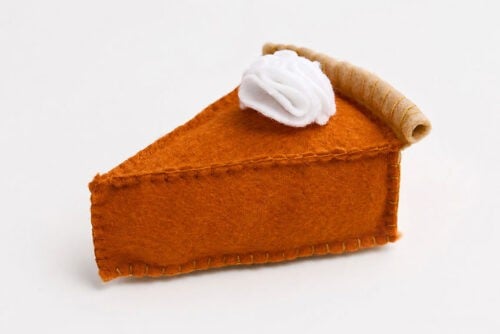
- Your felt pie slice is complete!
Video
Notes
Looking for more felt food patterns? Here's a few of our favourites:
DIY Felt Burger
Felt Donuts
Felt Strawberry