
How to Make a Crochet Wreath Ornament
Use the free crochet wreath ornament pattern below to create this adorable Christmas ornament. Or, if you’d like an ad-free, printable version with a bonus one-page Quick Guide, you can purchase the PDF from our Etsy shop!
Yield: 1 wreath ornament
Cost: $1
Equipment
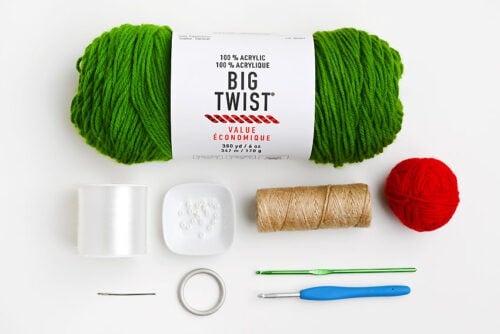
Materials
- Metal ring (or wood)
- Worsted weight yarn (green and red)
- Fishing line
- Pearl bead(s) (4mm)
- Crochet Wreath Ornament Pattern (No Ads)
Instructions
Find what you need:
- Gather your supplies and materials.
Begin crocheting around the ring:
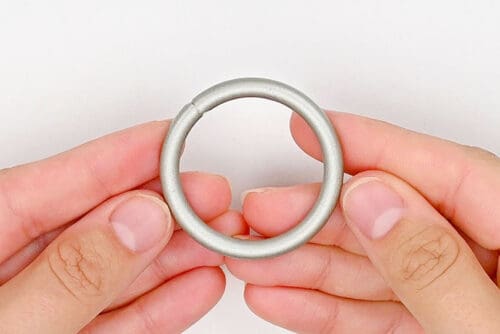
- Begin with a metal or wooden ring about 1-3/4 inches across.
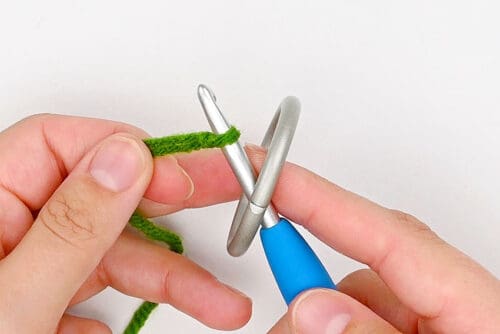
- Make a slip knot with green yarn.Insert your crochet hook through the center of the ring and attach the knot onto your hook.
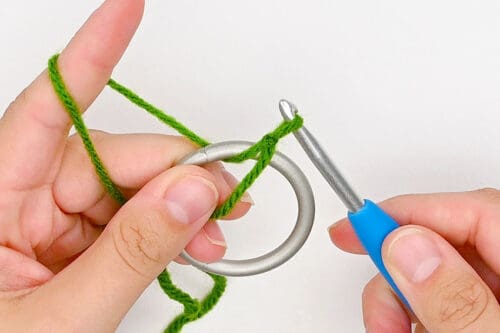
- Pull the hook back out of the ring, bringing the yarn with it.
Round 1:
- Chain 1.This will attach the yarn to the ring.
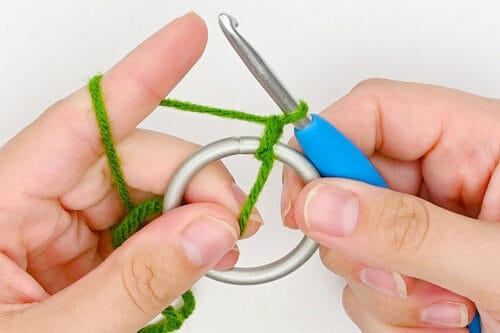
- Now we're going to make single crochet sts around the ring.Begin by inserting your hook through the center of the ring, as though the ring itself is a st.
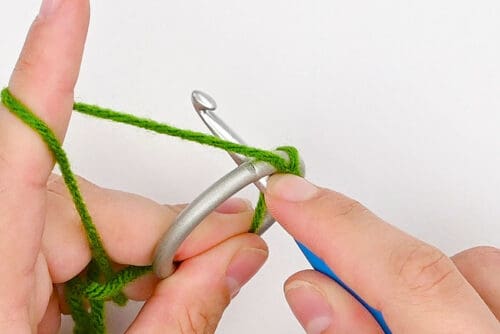
- Yarn over and pull up a loop through the ring. You should now have 2 loops on your hook.
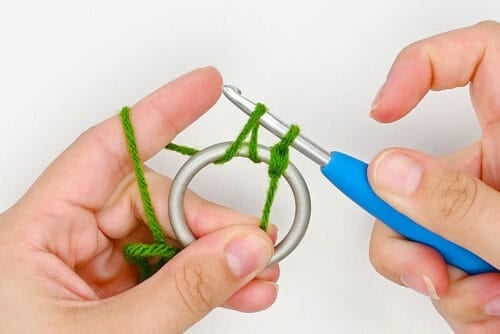
- Yarn over and pull through both loops. This completes 1 sc.
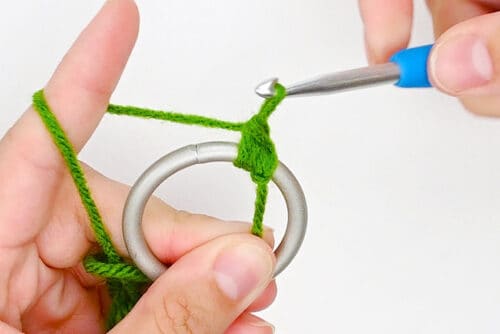
- Continue working sc around the ring until you have 30 in total.Make sure the sts fit snugly together without bunching up. Slip stitch in first st to join the round. (30)
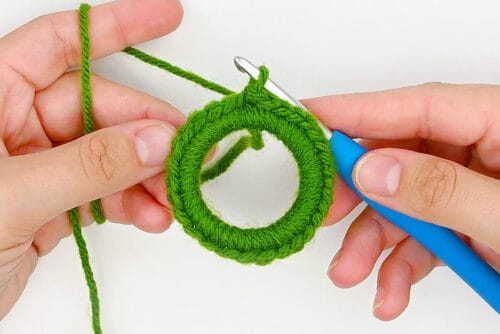
Round 2:
- Ch 1 and *insert 1 sc in each of the first 4 sts. Insert 2 sc in the next st (an increase).*Rep from * to * around. Sl st in the first st to join. (36)
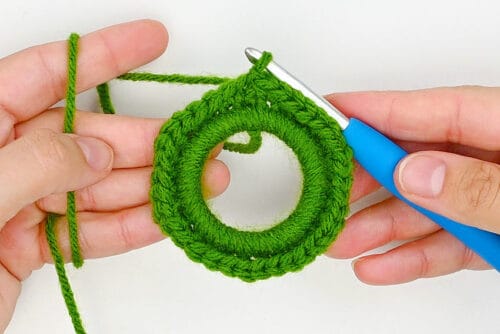
Round 3:
- Ch 1 and insert *1 sl st in the first st.
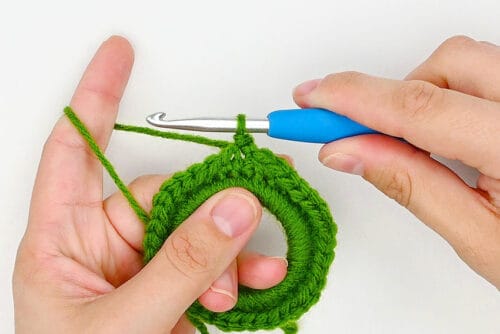
- Sk 1 st and insert 5 double crochet in the next st.
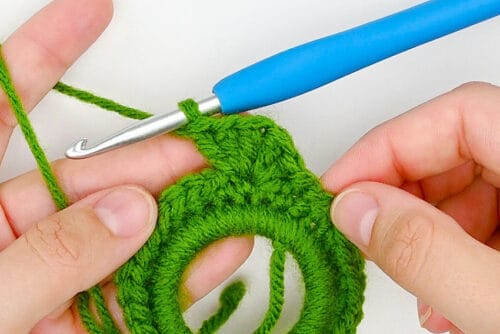
- Sk 1 st.* This completes the first scallop.Insert 1 sl st in the next st to begin the second scallop.
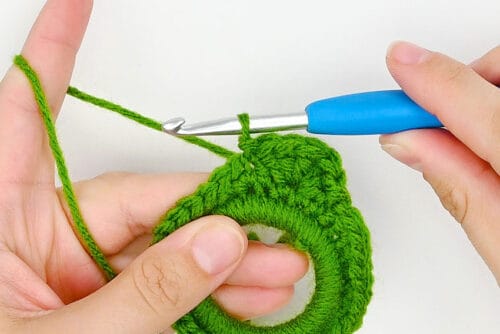
- Rep from * to * (over the last 3 steps) around, continuing from the sl st in the last st.Finish the round with a skipped st and sl st in the first st to join the round. (9 scallops)
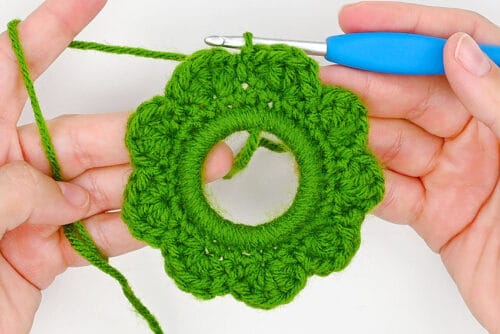
- Fasten off the yarn and weave in the ends.
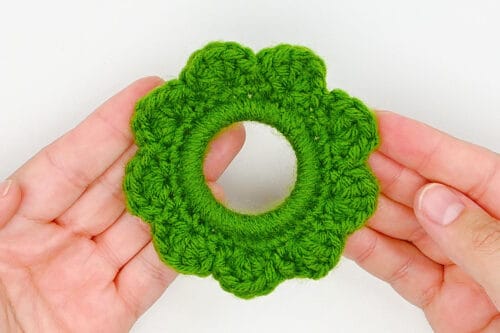
Make a bow:
- Using red yarn, ch 9.
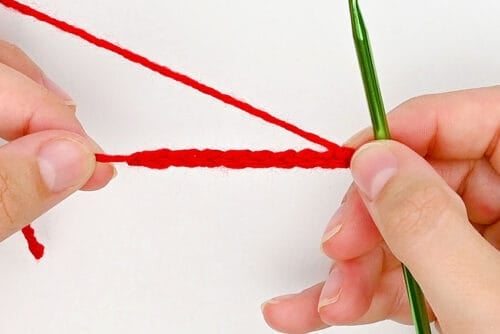
- Row 1: Insert 1 sc in each ch across, starting in the 2nd ch from the hook. (8)
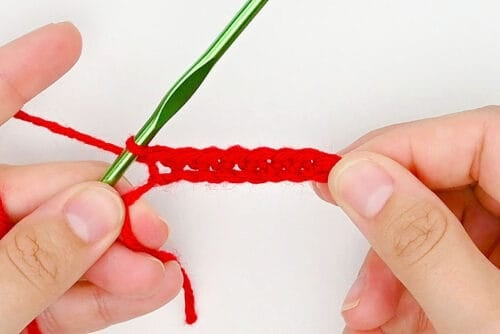
- Rows 2–5: Ch 1 and insert 1 sc in each st across. (8)
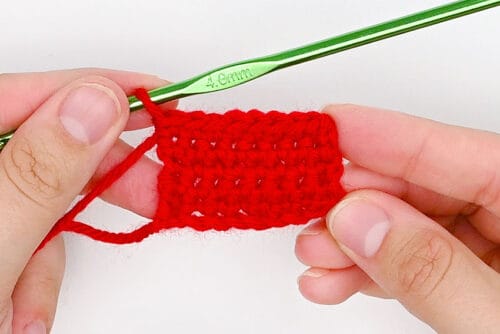
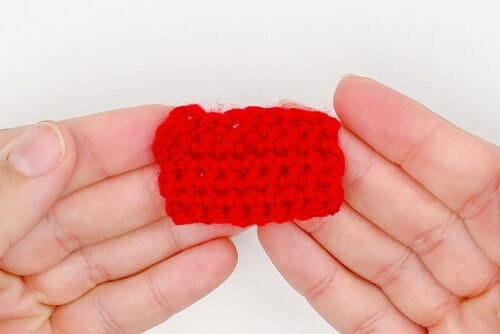
- Fasten off the yarn and weave in the ends.
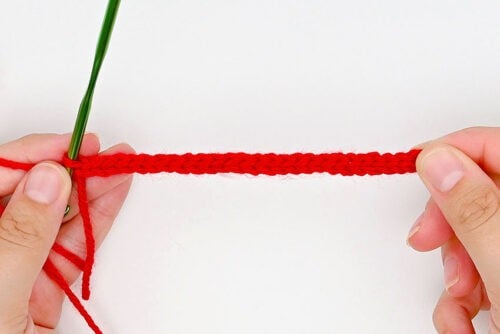
- Ch 26.
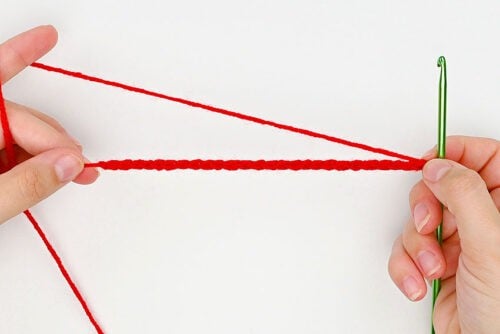
- Starting in the 2nd ch from the hook, insert 1 sl st in each ch across. (25)Fasten off the yarn and weave in the ends.
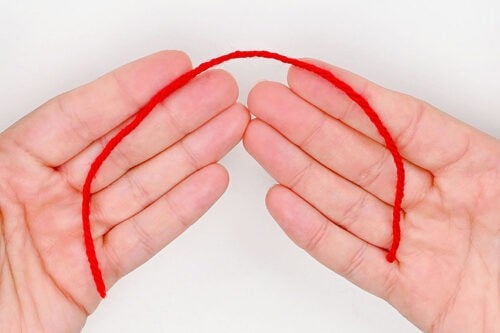
- Cut a piece of red yarn at least 8 inches long. Thread it onto a yarn needle.
- Pinch the red rectangle in the middle, gathering it together.
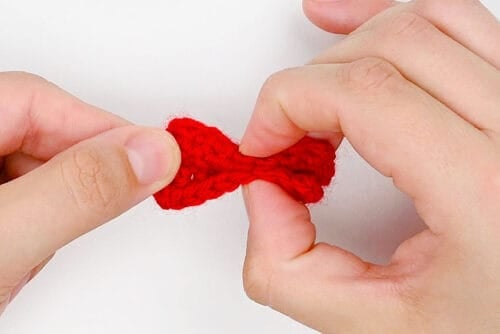
- Push the needle into the gathering.
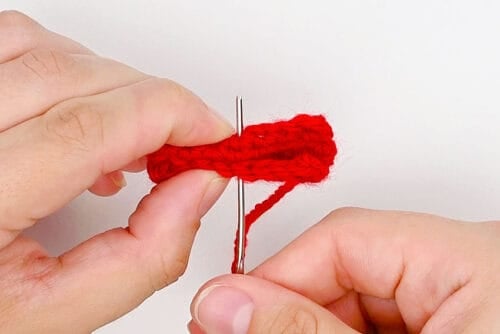
- Sew through the center a couple of times. Tie the 2 ends together in a knot to secure the gathered bow shape at the back.
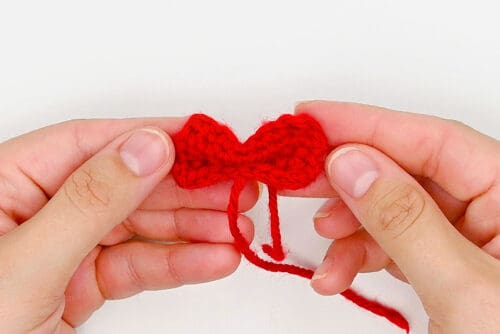
- Set the long red piece over the gathered rectangle, perpendicular to it.
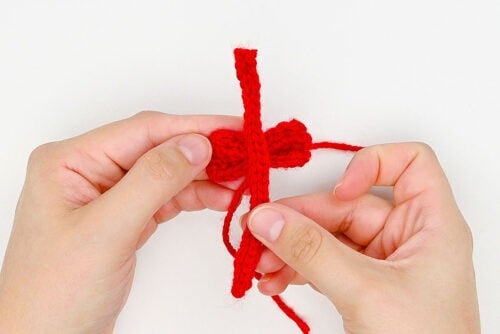
- Bring both ends of the strip around to the back of the bow, pulling them snugly. There should be an even length of each side at the back.
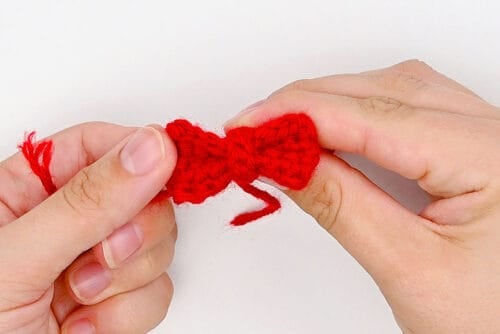
- Using the yarn ends left from gathering the bow, sew through the two ends of the long strip at the back, going back and forth several times.This will hold the strip securely around the center of the bow.
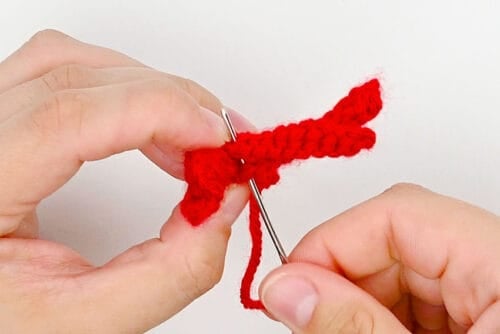
- Adjust the bow, pointing the two ends of the long strip downward to create the bow tails.
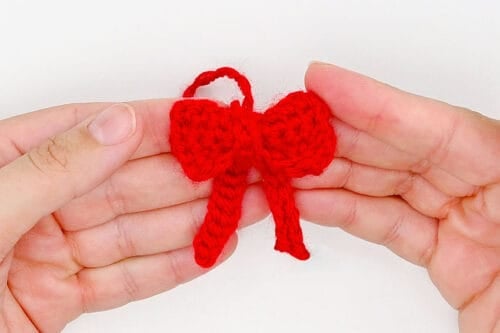
Decorate the wreath:
- Cut a long piece of clear fishing line, about 3 feet long. Thread it onto a sewing needle.
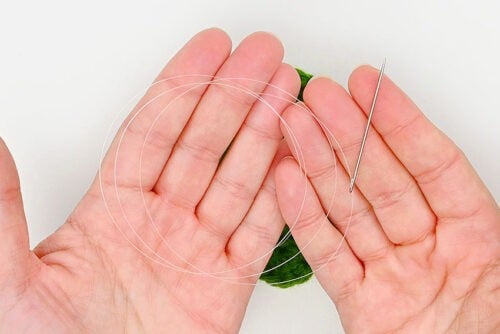
- Insert the needle through the wreath from back to front, leaving a 2 inch tail of fishing line at the back.Thread a pearl bead onto the needle, letting it fall down the thread so it sits next to the wreath. Insert the needle back down through the wreath, right next to where the fishing line came up, securing the bead in place.
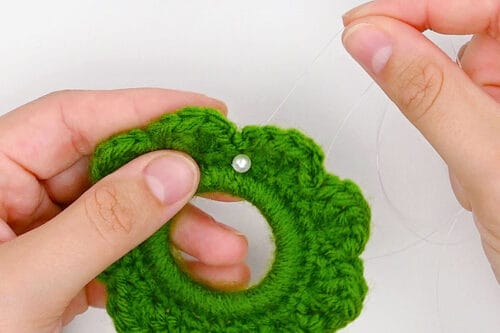
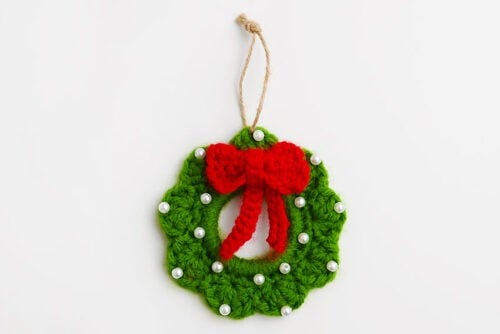
- Continue sewing beads onto the wreath, working your way around in any pattern you like.We spaced our pearl beads around the scalloped edge and inner section of the wreath.
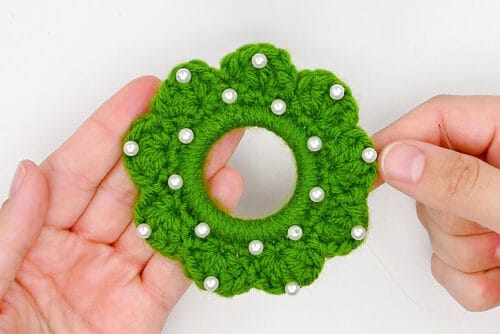
- Once finished decorating, tie the 2 ends of fishing line together in a double knot. Trim any excess thread.You may want to apply a dot of glue to this knot so it stays together.
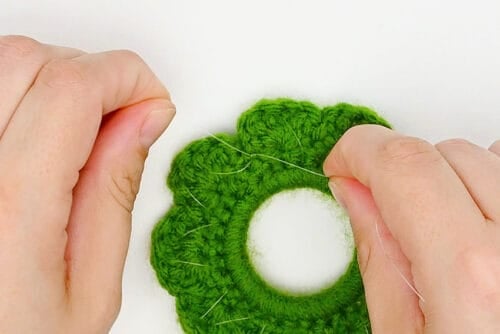
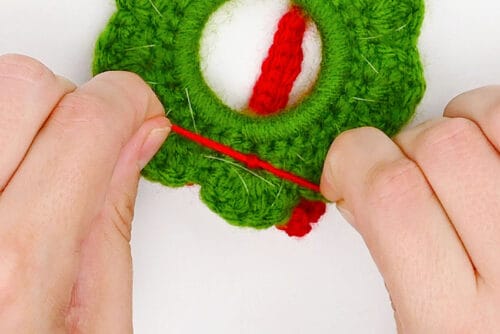
- Place the bow at the top of the wreath. Thread each tail onto the yarn needle again and sew the tails to the back of the ornament.
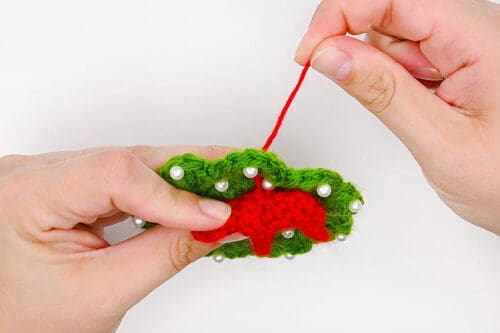
- Tie the tails together in a double knot to secure the bow in place.
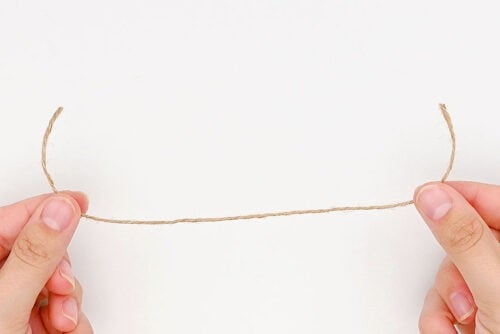
- Cut a 6 inch piece of twine.
- Push the twine through the top of the ornament and tie a knot, creating a looped ornament hanger.
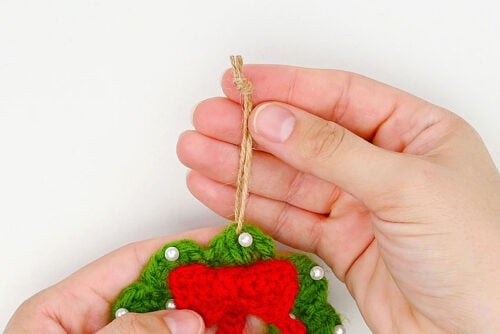
- Your crochet wreath ornament is complete!
Notes
Looking for more DIY ornaments? Here's a few of our favourites:
DIY Felt Ornaments
Beaded Christmas Ornaments
Scandinavian Star Ornament